How to Clean Bathroom Grout?

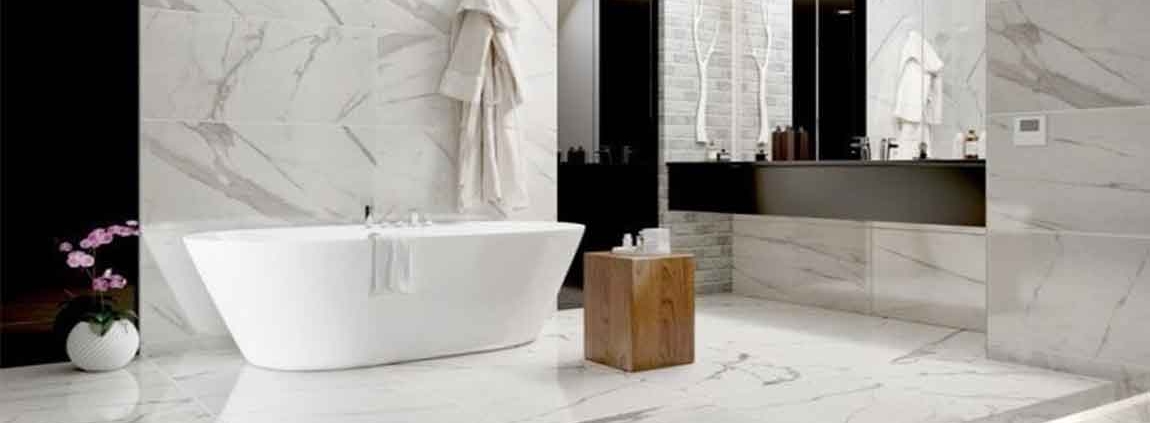
Grout is wonderful for keeping tiles and appliances in place and preventing water from getting where it shouldn’t be, but it can also be a pain to clean, and it requires time and effort to keep grout free of mold and mildew. Grout is porous, so not only does it stain easily, it can also trap dirt, grime, and soap scum. The important thing to remember when it comes to cleaning grout is that you should always start with the mildest cleaning product and only work your way up to harsher cleaners if necessary.

This may mean some extra time, but it could help preserve the life of your grout for another couple years, as some harsh cleaners can damage grout. There are quite a few products and methods you can try, but as always, the best way to keep grout clean is to prevent it from getting dirty or moldy in the first place.

You should never mix vinegar and hydrogen peroxide, so clean the area well and wait a couple days before trying this method. If the hydrogen peroxide doesn’t remove all the dirt and grime, it will at least improve the appearance of the grout by removing stains, and will kill any mold that’s present.

Give borax and lemon juice a try. In a small bowl, mix together ¼ cup (63 g) borax, ½ teaspoon (3 ml) lemon oil, and enough liquid soap (such as Castile soap) to make a paste. Use your toothbrush to scrub the paste into the grout, and then rinse with warm water.

Pour a small amount of grout colorant into a container. Dip a clean toothbrush or grout brush into the color and apply it to the grout using even, back and forth strokes. Remove the excess with a paper towel, and allow to dry as per the manufacturer’s instructions.


 Use a straightedge and washable marker to draw guidelines. Scoring and snapping is ideal for breaking glass tiles across their entire surface, rather than cutting sections out of a larger piece of glass tile. To give yourself a guideline, place a straightedge on the tile, and use it to guide your washable marker as you make a straight line across the tile. Washable marker will wipe off easily after you snap off your glass tile.