
How to Plan Tile Layout?

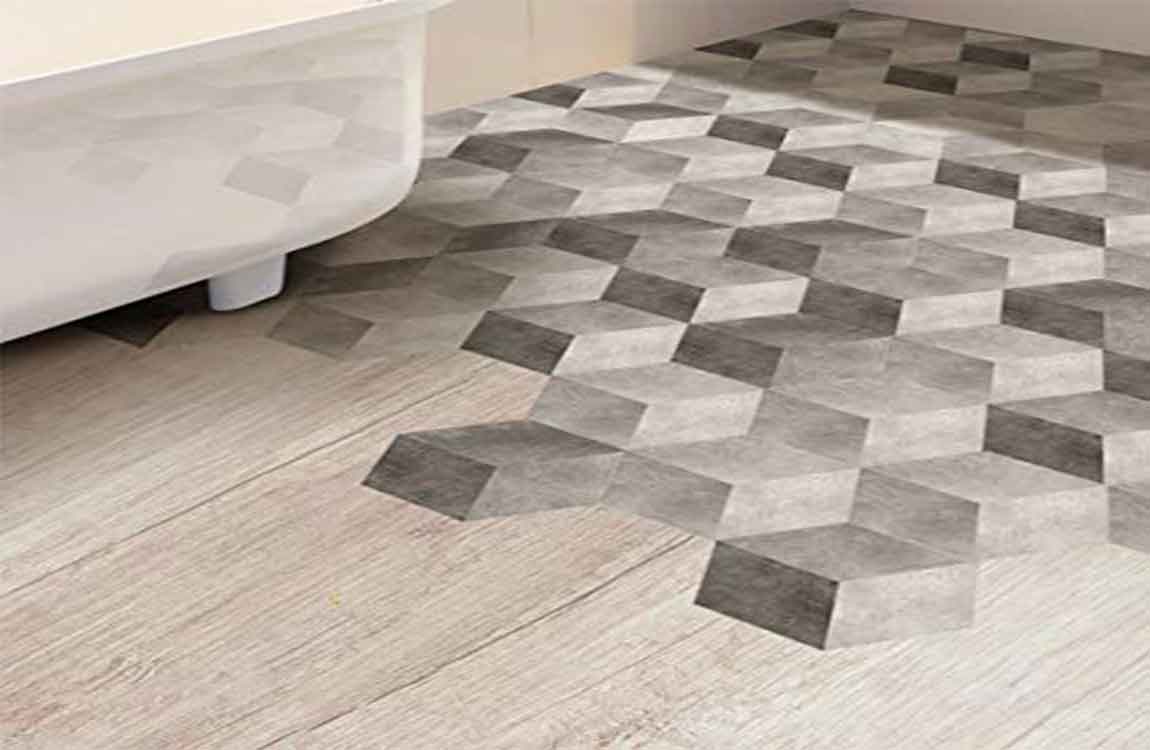
If you’re thinking about installing a tile floor in your home, it’s important to take the time to figure out the best way to arrange the individual tiles. In most rooms, square and rectangular tiles will fit together in a simple grid pattern. First, establish a series of layout lines to serve as a placement guide by finding the midpoint of each wall and drawing a line across to the opposing wall.

From there, you can begin dry-fitting the tiles around the room’s center point, working your way outward in manageable sections to avoid uneven spacing. Mark the midpoint of each wall. Divide the total length of the walls in half, then draw a small notch or dot on the floor at this spot using a carpenter’s pencil.

Aligning the midpoints of each wall will help you find the room’s center. For a wall that’s 16 feet (4.9 m) long, for instance, you would make your mark at 8 feet (2.4 m). If the room you’re measuring is perfectly square, you can go ahead and draw a line straight across to the opposite wall save time.
Draw a line connecting the midpoints of both walls. To ensure that the line is straight, run the tip of your pencil along the edge of a yardstick or straight edge, using a framing square to ensure a precise 90-degree angle. Slide your yardstick down and double-check its orientation every few feet to keep the line from becoming crooked.
You can also use a chalk line tool for greater efficiency and exactness. Simply extend the retractable wire between the 2 walls, then pull up and release the wire quickly to leave behind a perfectly straight line of chalk. Repeat the process on the room’s shorter walls. Measure the length of the remaining pair of walls, then mark the midpoint of each. Draw a line connecting the opposing midpoints through the center of the room.


")


")


