How Choosing Pool Tile Online or In-Store?

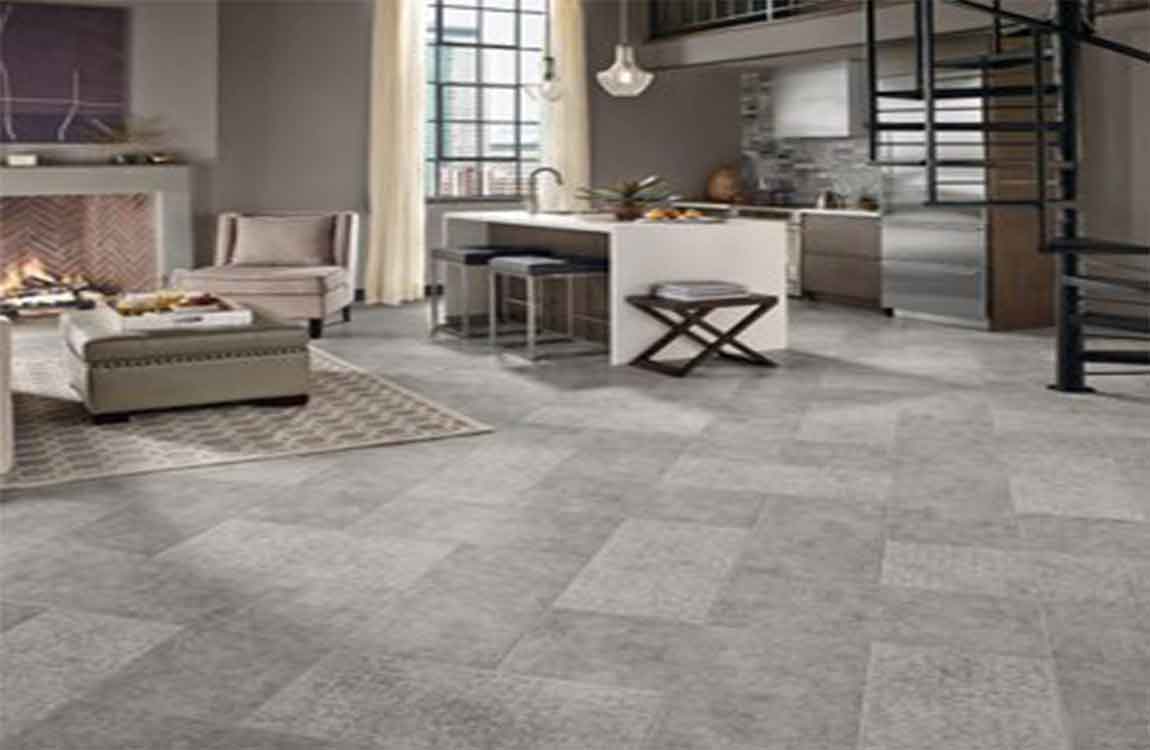
Look for tile online for inspiration. Look online for images of pools that you like and find out what kind of tile they’re finished with. Browse through websites for pool tile companies and see what different kind of tile they offer. Read online reviews to find good-quality tile. See what other homeowners are saying about particular kinds of pool tile and different tile businesses.
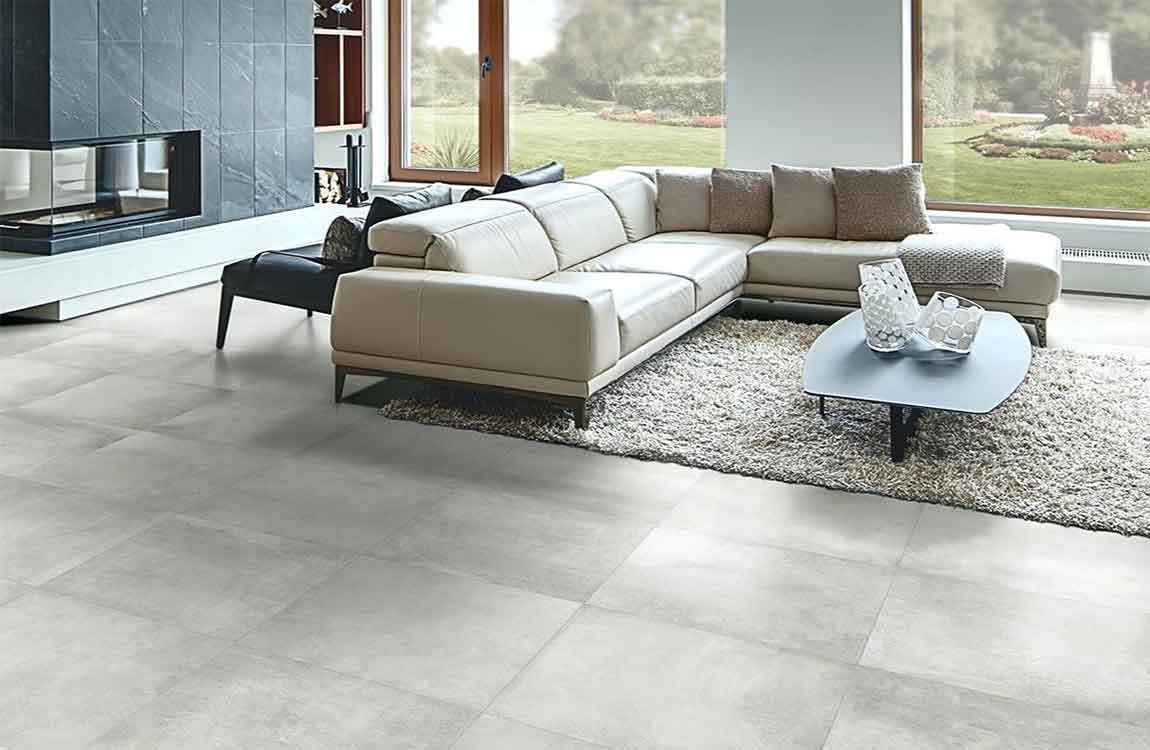
Take notes as you do your research. Use your notes to narrow down a few types of good-quality tile and some good places to buy them.Look at tile in a store to see what you like. Pay attention to the overall quality and feel of the different tiles. Do you prefer tile that is smooth or abrasive?
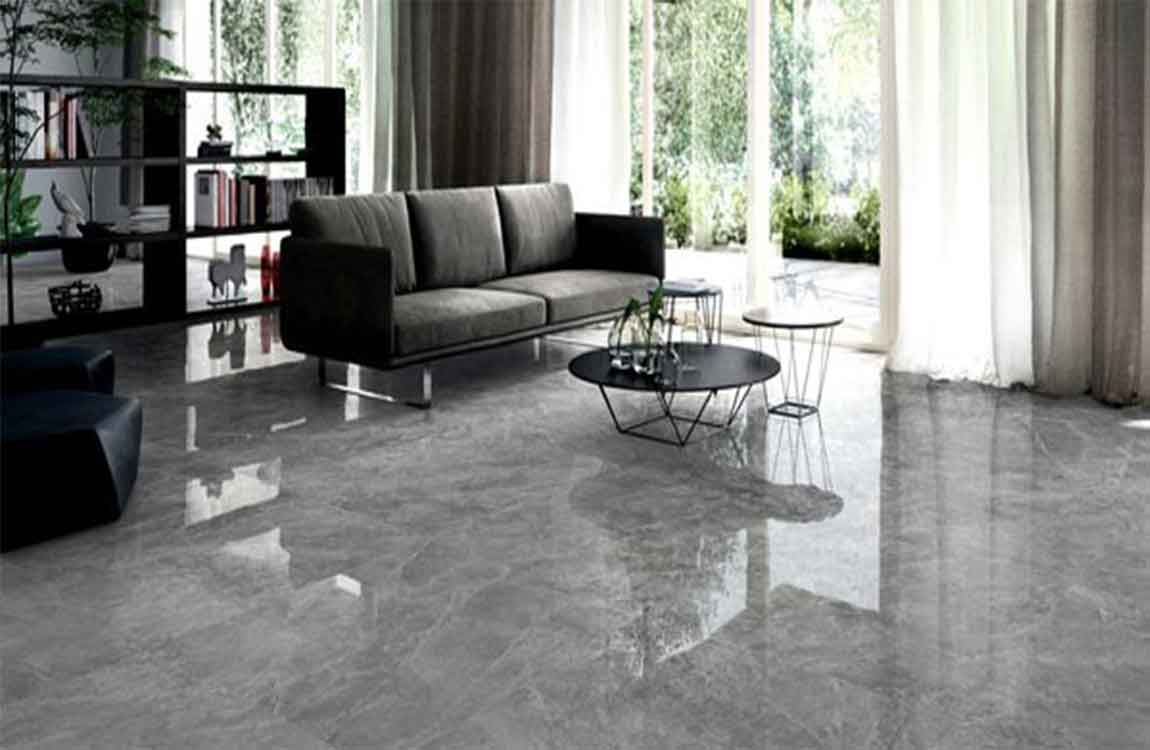
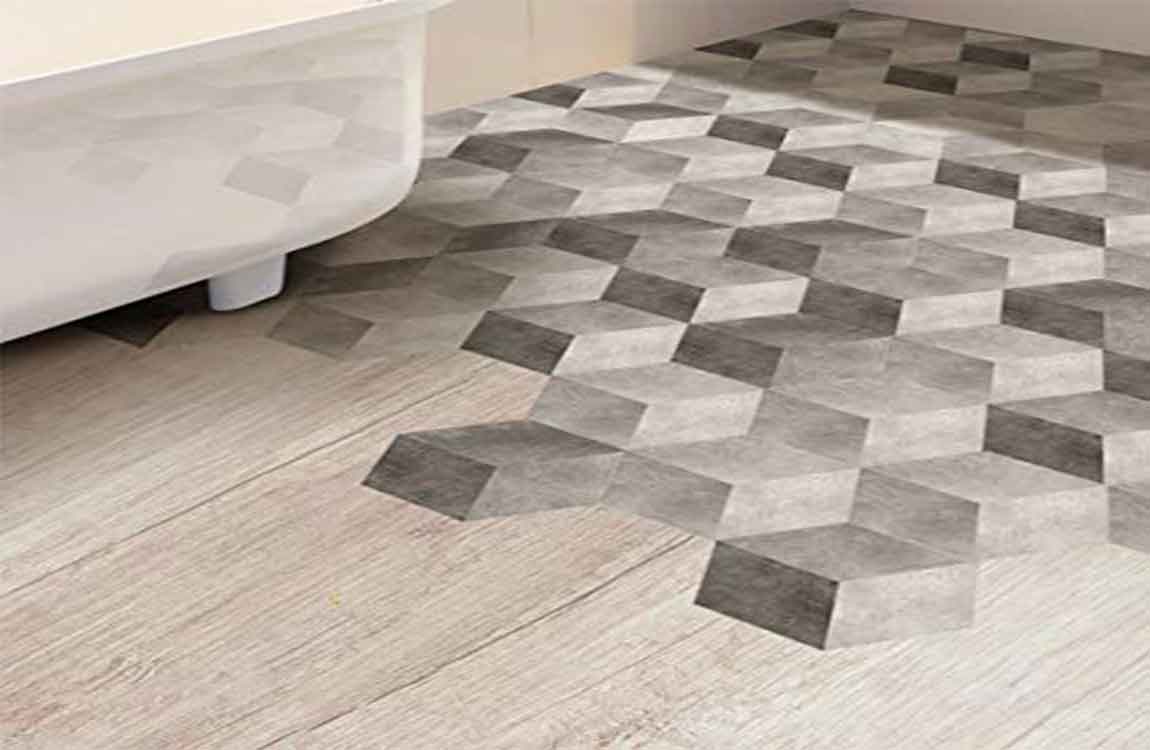
Hold up different tiles and see if you like how the light reflects off of them. Hold different tiles side by side to see if you like them together. Shop for slip-resistant tile for kids. Finish any edges or walkways around your pool with slip-resistant tile to prevent kids from falling and hurting themselves.
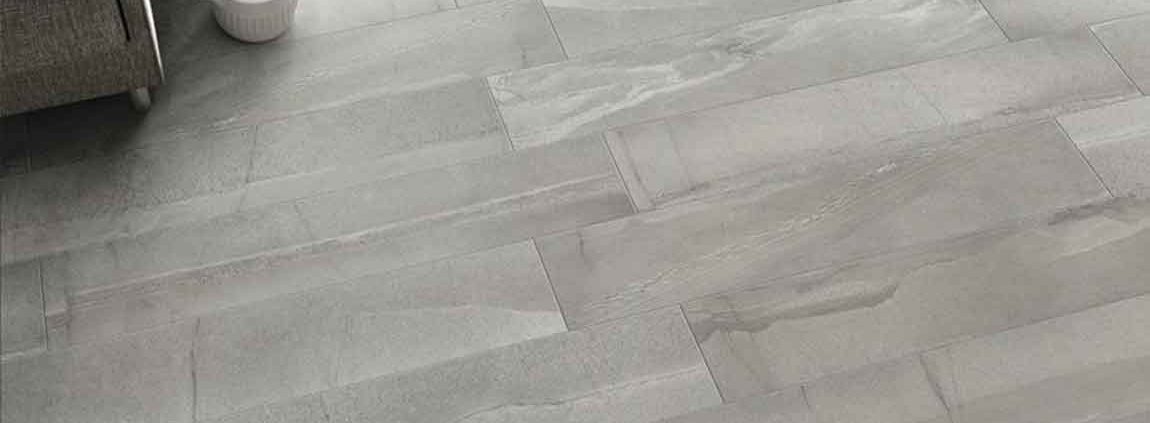
Trim end tiles to fit around household fixtures. It may also be necessary to cut tiles when they run up against door jambs, cabinet bases, air vents, fireplaces, and similar obstacles. To do this, record the length and width of the object protruding into the tile space, then mark those measurements on the tile using a straight edge.
Use a wooden shim or scrap piece of cardboard to account for the grout lines in your measurements. Make sure the lines you draw on your tiles are plainly visible. They’ll serve as a guide when it comes time to do your cutting.