How Applying a Wood Cleaner?

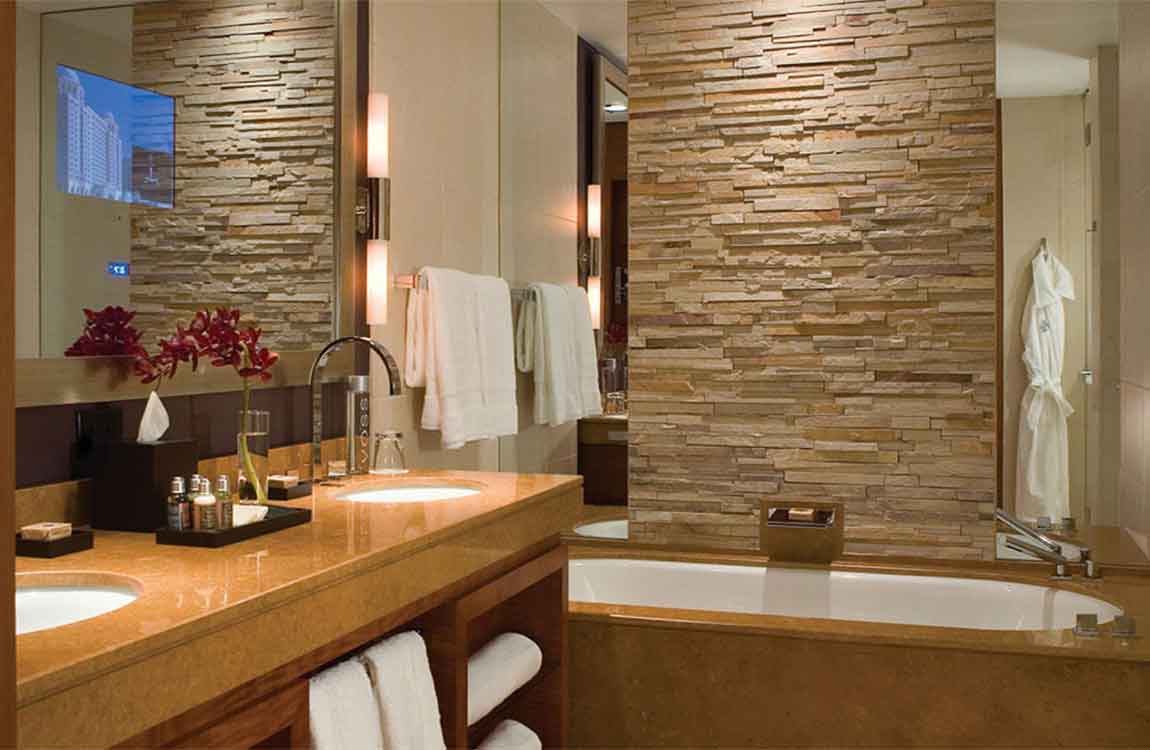
Make a vinegar and oil based cleaner. You can make your own wood cleaner for the wood walls at home using 1 cup (240 ml) water, 1⁄4 cup (59 ml) white or apple cider vinegar, 1⁄2 cup (120 ml) mineral oil, and 20 drops lemon oil. Shake the mixture well. Then, use a clean cloth to apply the cleaner to the wood walls. Work the cleaner into the wood with the grain in smooth, circular motion.
The cleaner will remove surface dirt or dust, leaving a nice warm shine to the wood. It will also give the wood a pleasant lemon scent. Use a commercial wood cleaner. You can buy commercial cleaners made for wood walls online or at your local hardware store. These cleaners contain natural ingredients and oils that are safe for use on wood paneling or wood slats. Follow the manufacturer’s instructions to apply the cleaner correctly to the wood walls.
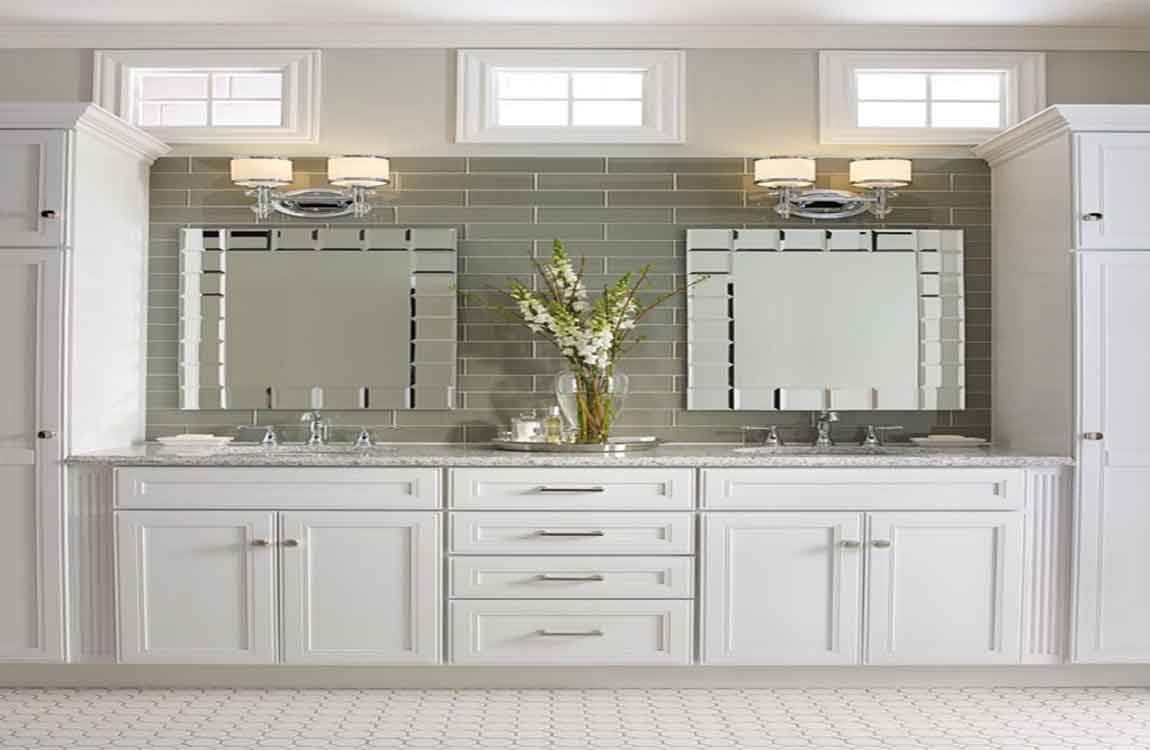
It may be worthwhile to invest in a commercial wood cleaner and keep it on hand at home. You can then apply it on the walls on a regular basis when it needs a clean, especially if the wood walls are located in high traffic areas like your kitchen or your living room.
Get the wood walls professionally cleaned. If you are unsure of how to best clean your wood walls without damaging them, contact a professional wall cleaner. Look for a professional wall cleaner online or through friends. Get a professional who has worked with wood walls before and has experience cleaning dirt, dust, and grime off of wood.
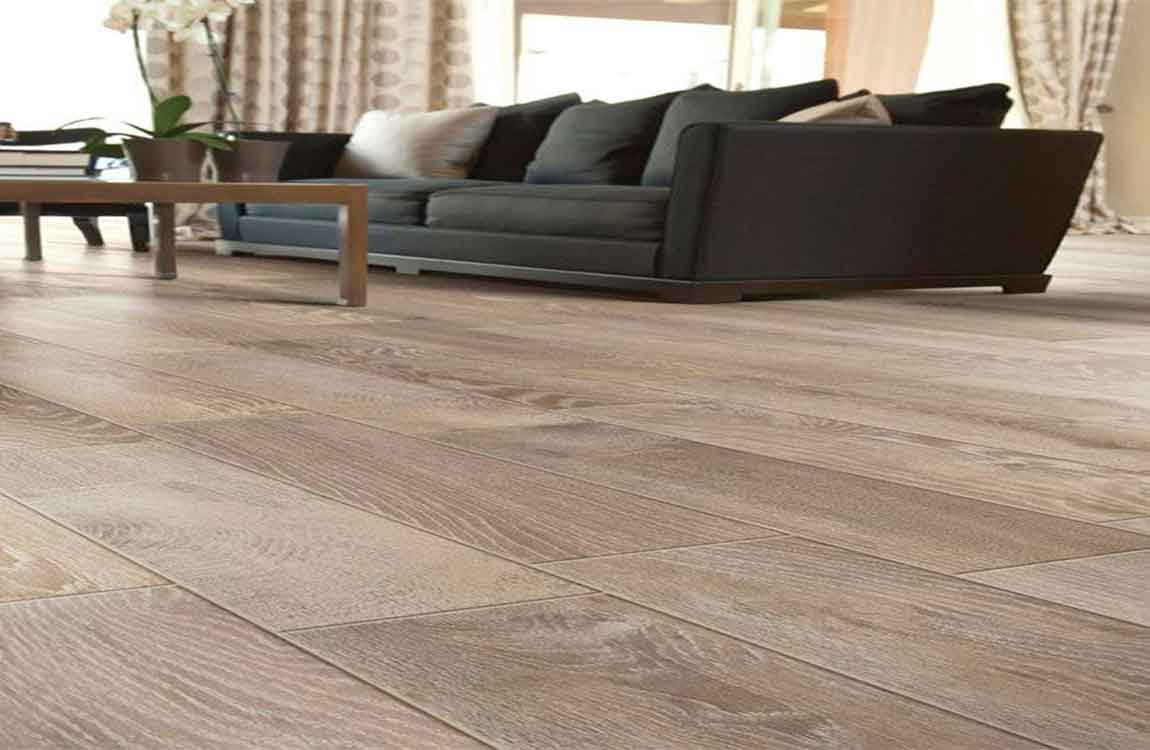
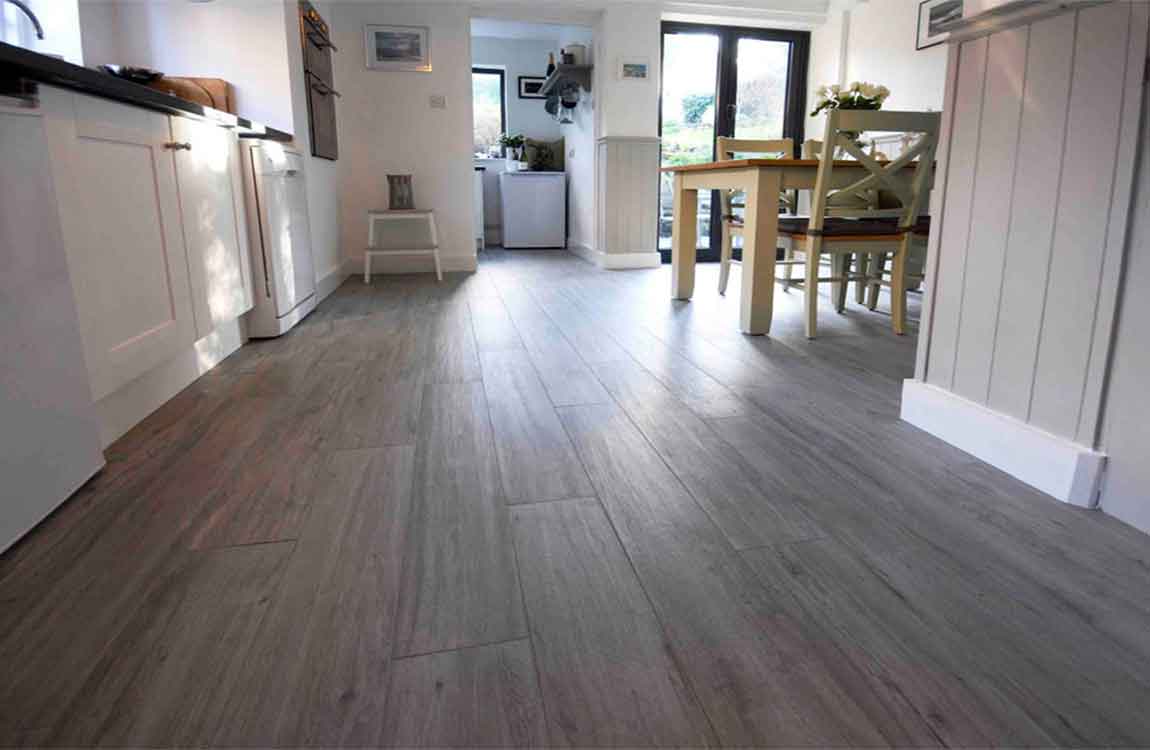
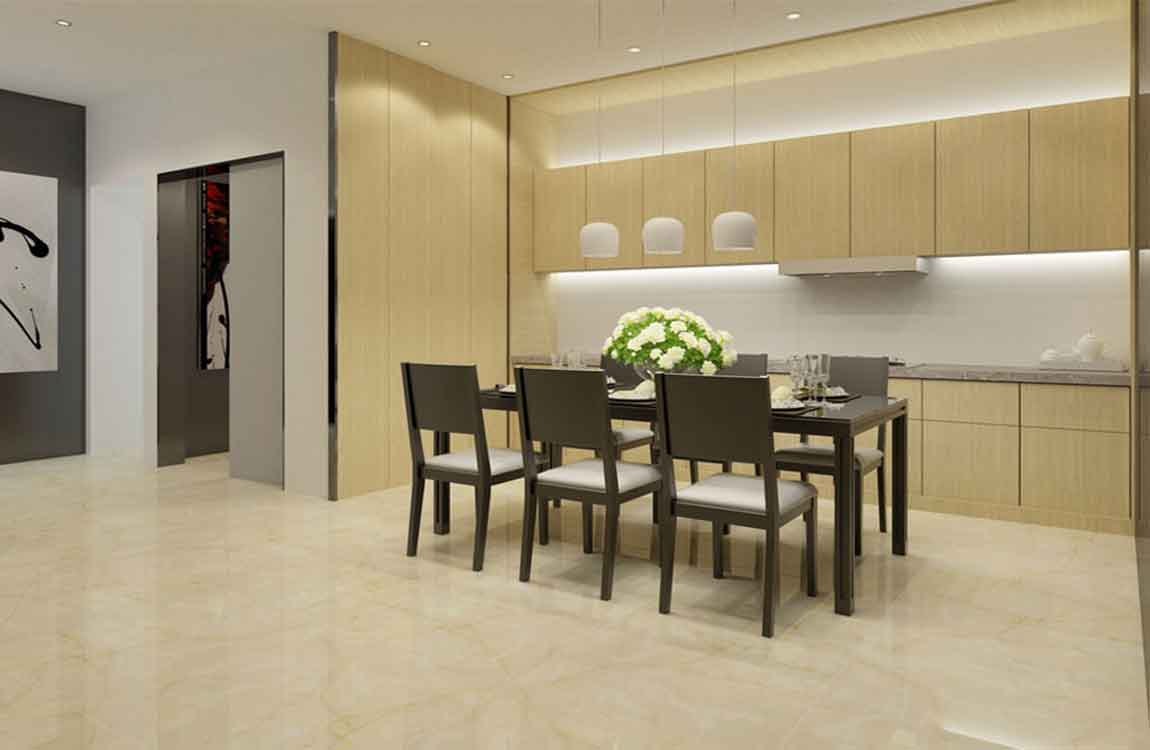
Clean your floor regularly. Mark when you cleaned your floor. Strive to clean your floor about once a week to keep it looking clean and fresh. If you wipe up minor spills, like splattered food, as they occur, it’s easier to clean your floor during routine mopping.