BARANA Smart Toilets – World Cup 2026 Special Offer for Hotels & Importers
The 2026 FIFA World Cup is in full swing. From June 11 through July 19, 48 teams are competing across 16 host cities in the United States, Canada, and Mexico. Millions of international visitors have descended on North America. Hotels are at capacity. Restaurants are packed. And for importers, wholesalers, and hoteliers, this moment presents a once-in-a-generation opportunity.
The numbers are staggering. The tournament features 48 teams and 104 matches—the largest World Cup in history. An estimated 3.5 million visitors are expected to pass through host cities like New York alone. Hotels, airlines, and travel companies are preparing for a massive influx of football fans.
But here’s what many buyers are realizing: this World Cup isn’t just about stadiums—it’s about bathrooms.
From Seattle installing advanced smart public toilets ahead of the tournament to Atlanta unveiling smart restrooms along the Beltline, cities across North America are upgrading their restroom infrastructure. Hotels are renovating bathrooms to meet rising guest expectations. Stadiums like BC Place in Vancouver have unveiled newly renovated player locker rooms, showers, and bathrooms.
And for suppliers of smart toilets, the opportunity has never been bigger.
The Smart Toilet Market Is Booming—and 2026 Is the Tipping Point
The global smart toilet market is experiencing rapid growth. It grew from $9.75 billion in 2025 to $10.76 billion in 2026, at a compound annual growth rate (CAGR) of 10.4%. By 2030, the market is expected to reach $15.76 billion. The integrated smart toilet segment alone—the category that includes our BARANA series—was valued at $4.08 billion in 2025 and is projected to grow to $4.53 billion in 2026, with a CAGR of 11.98%.
What’s driving this explosive growth?
A growing inclination toward home remodeling and renovations—U.S. homeowners alone spent $485 billion on remodeling in 2023
Rising consumer interest in hygiene, comfort, and automation
Commercial buyers—from hotels to premium offices—aligning restroom experiences with brand positioning and guest satisfaction
Integration of IoT-enabled toilets, AI-based hygiene monitoring, and eco-friendly water-saving technologies
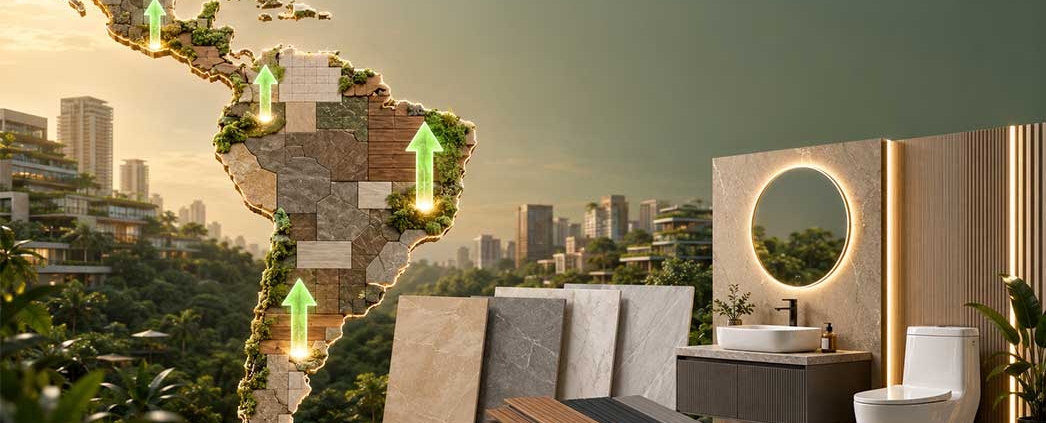
In South America specifically—a key market for many importers—the smart toilet market has significant growth potential, driven by increasing demand for smart home technology, water-saving regulations, and the need for efficient hygiene solutions. The Argentine market alone is expected to reach $408.8 million by 2028.
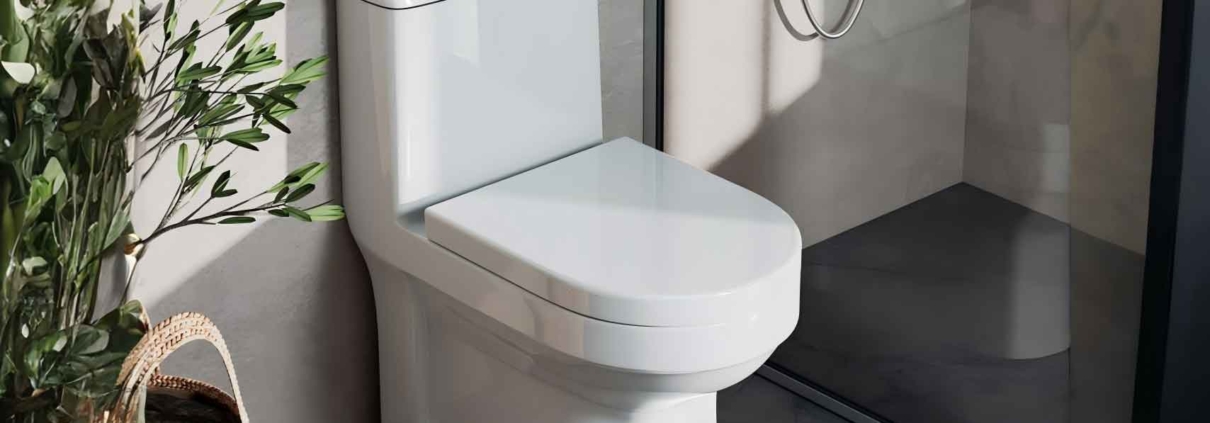
BARANA Smart Toilets: Premium Features at Unbeatable Prices
Our BARANA Smart Toilet Series is engineered to meet the demands of 2026—whether you’re supplying hotels preparing for World Cup guests, renovating commercial properties, or stocking for residential projects.
Available in three models and three configuration levels, BARANA offers something for every budget and every application.
Model BCM-809 measures 680×370×460mm with a 300/400mm rough-in. Simple configuration is priced at $61.51. Standard configuration is $76.10. High-end configuration is $86.13.
Model BCM-801 measures 680×370×460mm with a 300/400mm rough-in. Simple configuration is priced at $62.24. Standard configuration is $77.01. High-end configuration is $84.31.
Model BCM-821 measures 680×420×500mm with a 300/400mm rough-in. Simple configuration is priced at $66.07. Standard configuration is $80.66. High-end configuration is $86.13.
Additional rough-in options are available: strap 250/350mm for an additional $7, and Ptrap 180mm for an additional $27.
Feature Comparison: Which BARANA Configuration Is Right for You?
All BARANA Models—Regardless of Configuration—Include:
Heated seat, automatic flushing, foot sensor flushing, flush without power, rear and feminine cleansing, auto flush when rising, seat occupancy sensor, dry-burning protection, bowl pre-wetting, leakage protection, side control buttons, high and low water pressure protection, wireless remote control, IPX4 waterproofing, air temperature adjustment, seat temperature adjustment, and overheat protection. A water filter is also included to protect the unit from sediment and extend product life.
Standard Configuration Adds:
Night light, feminine cleansing, warm air drying, oscillating cleansing, nozzle self-cleaning, LED display, instant heating and constant temperature, water temperature adjustment, and posterior cleansing.
High-end Configuration Adds All Standard Features Plus:
Auto open and close lid, nozzle sterilization, and UV sterilization—delivering the ultimate in hygiene and convenience.
Special World Cup Offer: Free Replacement Parts
For a limited time, we’re offering an exclusive promotion on our BARANA Smart Toilet Series:
For every 50 sets ordered, 1 set of replacement parts will be given as a free gift.
This means you can stock confidently, knowing that your after-sales support is already covered. For hotel chains ordering 200 units, that’s 4 free replacement part sets—a significant value that protects your investment and ensures guest satisfaction.
Every BARANA smart toilet comes with a 2-year warranty from the date of shipment and is equipped with a 220V / EU Plug—ready for international markets.
Why BARANA Is the Smart Choice for Hotel Renovations
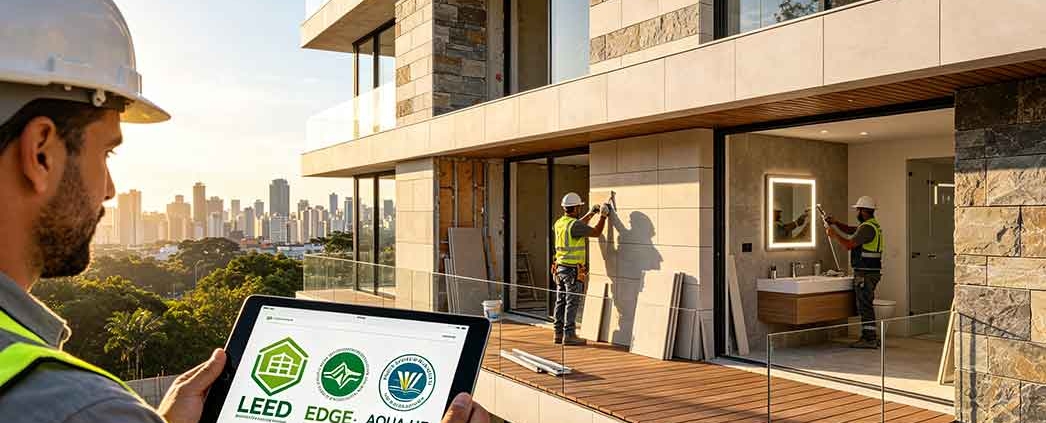
Hotels across North America are racing to upgrade ahead of the World Cup. Hilton LAX recently completed a $50 million renovation. BC Place Vancouver unveiled major upgrades including renovated bathrooms. And industry experts confirm that smart technology adoption in hotel bathrooms has accelerated rapidly since 2023—by 2026, it’s becoming standard rather than premium.
Here’s why hoteliers and commercial buyers choose BARANA:
Automatic Flushing & Hands-Free Operation – Improved hygiene perception and reduced maintenance issues caused by excessive manual use. In a post-pandemic world, touchless fixtures are no longer a luxury—they’re an expectation.
Heated Seats & Adjustable Temperature – Guest comfort drives reviews. Heated seats, adjustable water temperature, and warm air drying create a premium experience that guests remember—and rate highly.
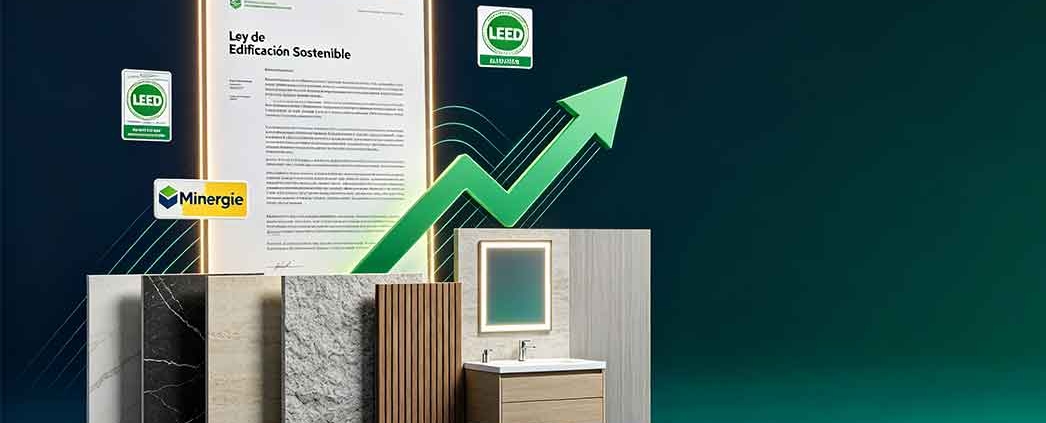
Water-Saving Technology – With water-saving regulations tightening across South America and beyond, BARANA’s efficient flushing systems help properties meet compliance standards while reducing utility costs.
IPX4 Waterproof & Leakage Protection – Built for real-world bathroom conditions. IPX4 waterproofing protects against splashes, and leakage protection ensures safety and reliability.
Easy Installation – With strap 300/400mm rough-in options (and 250/350mm available), BARANA smart toilets fit standard plumbing configurations—minimizing installation time and costs.
One Container, Multiple SKUs—The Smart Way to Import
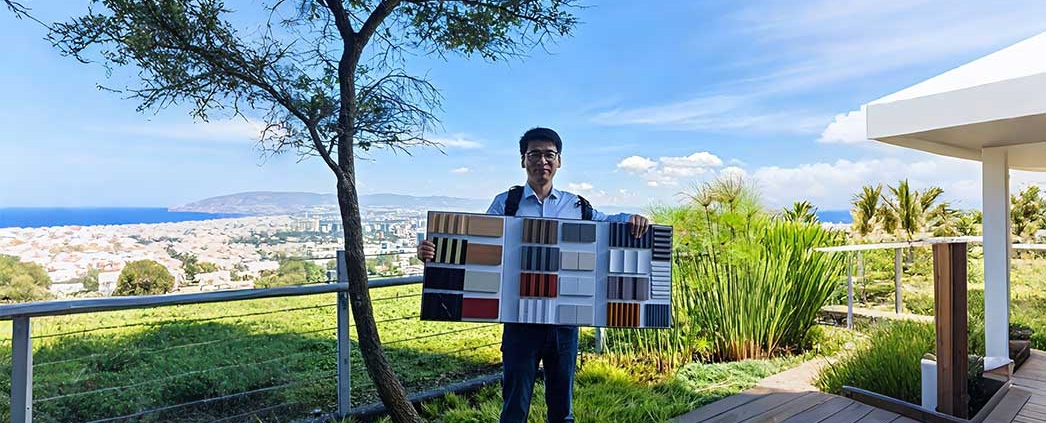
Like our wall panels and flexible stone, BARANA smart toilets can be mixed in a single container alongside other products. This means you can:
Test multiple models—BCM-809, BCM-801, BCM-821—in one shipment
Stock different configuration levels—Simple, Standard, High-end—to serve different market segments
Combine with other product categories—wall panels, flooring, sanitary ware—to maximize container utilization
One container, multiple products, one logistics cost. This is how smart importers reduce risk and enter new markets with confidence.
From World Cup Venues to Your Local Market
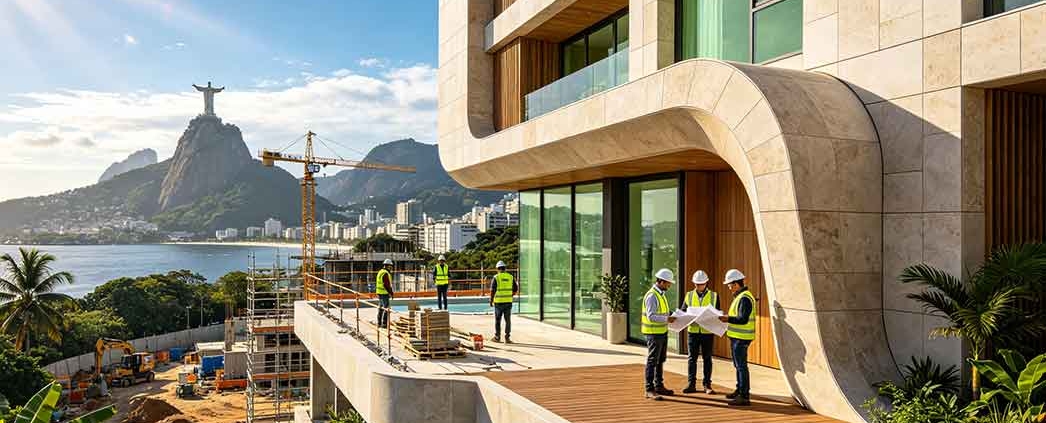
The 2026 World Cup has put bathroom infrastructure in the spotlight. Of the 16 host venues, 9 have directly or indirectly used Chinese building materials and equipment. From the legendary Estadio Azteca in Mexico City—which underwent a 20-month renovation with Chinese construction equipment—to BC Place in Vancouver with its Chinese-supplied LED display systems, Chinese manufacturing has proven its quality on the world’s biggest stage.
Now, that same quality is available to you—at factory-direct prices.
Whether you’re supplying hotel renovations, residential projects, commercial properties, or public facilities, BARANA smart toilets deliver the features your customers want at prices that make sense for your business.
The World Cup Window Is Open—Don’t Miss It
The 2026 FIFA World Cup has created a surge in demand for premium hotel accommodations, commercial renovations, and residential upgrades. Smart toilets are no longer a niche product—they’re becoming the new standard in bathrooms worldwide.
BARANA Smart Toilets combine premium features—heated seats, automatic flushing, feminine cleansing, warm air drying, UV sterilization—with prices starting at just $61.51. And with our World Cup promotion—free replacement parts for every 50 sets—you can enter this booming market with minimal risk.
Contact us today to request samples, get a custom loading plan, or ask about our special World Cup promotion. One container MOQ. 2-year warranty. Factory-direct prices. Premium quality.