Posts

Tile Commercial Polishing

Apply a wax stripping solution to remove any built up wax. If your tile floor has previously been waxed, you’ll want to remove it before polishing. The old wax may be flaking or collecting dirt, and will affect the overall polish. Fill your bucket with a wax stripper and scrub your tile floor clean of any old wax with a scrub brush, then mop the floor with clean water to remove any chemical residue.

Allow the floor to dry at least 1 hour before moving on, but make sure the floor is fully dry. You can find wax stripper at any home improvement or hardware store. Try hydrochloric acid for soap scum and water deposits on tile flooring. Hard water deposits and soap scum stains require heavy duty chemicals to be removed.

Empty the bucket of water completely, then fill it with 4 cups (950 mL) of water and 1⁄2 cup (120 mL) of hydrochloric acid. Apply the mixture directly to the stain and allow it to sit for several minutes. Then scrub the stain clean and allow the area to dry completely. Hydrochloric acid is available for purchase at most hardware stores. It is also often sold at pool supply stores because the acid is commonly used to sanitize swimming pools.

Hydrochloric acid is a harsh chemical and can burn your eyes and throat, so mix it in the bucket outside or a well-ventilated area. Be sure not to get any of the chemical on your skin as it can cause chemical burns. Use an electric floor buffer to buff the tile floor quickly. A floor buffer is a great option for a quick and consistent buffing. Consider renting or borrowing one for the day if you do not own one.

They are often as easy to use as a standard vacuum cleaner. Turn the buffer on and move it across the tile floor using small, sweeping side-to-side movements for an even finish. You can rent electric floor buffers from home improvement stores like Home Depot for around $30 a day.

How Cleaning Textured Porcelain Tiles?

Start by sweeping the floor with a soft-bristled broom. Sweep the textured porcelain tiles in two directions. This will better remove any dirt or debris in the texture of the tiles. Start by brushing in the direction or texture of the tile. Then, sweep diagonally across the tile to remove any dirt or debris.


Mop the floor with a mild cleaning solution. Once the floor has been swept, you can saturate it by mopping the floor with a mild cleaning solution. Combine the cleaning solution with hot water. Mop the floor and then allow the cleaning solution to sit on the floor for five to ten minutes.

Textured porcelain requires more maintenance than other types of porcelain and you will need to clean it more frequently to keep it looking good. To maintain the textured tiles, you should try to mop and scrub the floor daily, especially if it is walked on constantly throughout the day.

Scrub the floor with a soft, nylon brush. Once the cleaning solution has been on the floor for ten minutes, you can use a soft nylon brush to scrub at any dark spots or stains on the floor. You can also use an old toothbrush to scrub the floor. Use the same two direction method that you used for sweeping the floor. Start by scrubbing the floor following the direction of the textured tile. Then, scrub in the opposite direction of the texture on the wall tile.

Rinse the floor with clean water. Do not let the cleaning solution sit on the floor and dry, as it can damage the floor. Make sure you rinse off the cleaning solution with clean, clear water. You can then dry the floor with a clean microfiber cloth. Check that there are no water spots or puddles on the floor. You can also open windows in the room and turn on a fan to dry the floor more quickly.

How to Tile a Wall With Porcelain Tile?

Covering a wall is a great way to transform the look of a room. Wallpaper, fabric are excellent media for redecorating. Although ceramic tile is often used for flooring and countertops, it can serve as a patterned surface for a wall. Italy, China and the United States are known for creating porcelain tile designs used in home decoration. You will want to take extra time when applying the tile, to ensure it is straight and well spaced. Porcelain tile is also known for being fragile, so you will need to work carefully. Find out how to tile a wall with porcelain tile.

Apply final sealer. Apply a penetrating sealer using either a sponge or spray bottle to the grout joints once the grout has completely cured. Wipe off excess sealer from the tile immediately as it will stain the tile. Clean the tile’s surface. Wipe the tile with a rag soaked in mild soap and water. Examine the cleaned surface for damage.

If the tile is cracked, you’ll need to replace it before you continue. Choose a drill bit. An ordinary steel drill bit may fail to penetrate the tile, or cause it to shatter. Search for an appropriate bit using the following guidelines: Glass or tile bits are shaped to reduce the risk of shattering brittle materials. These should be carbide-tipped.

Diamond bits are especially vulnerable to damage from fast drilling. Drill no faster than 600 rpm for diamond bits below ½ inch (1.25 cm), or 450 rpm for bits from ½ to 1 inch (1.25—2.5 cm). Lubricate with water as you drill. Friction from drilling hard materials creates a great deal of heat, which can scorch the drill bit or even break the tile. Protect your project and extend the lifespan of the drill with a constant trickle of water. You may use a small hose, or an assistant with a squirt bottle or glass of water.

“Pump” the drill every 15 to 20 seconds with a tiny up-and-down motion. This draws water to the tip of the bit, where friction is greatest. The drill bit should never feel more than slightly warm. If it gets hot, stop and wet it until it cools down. As an alternative, lubricate the drill with drilling oil.

Penetrate the backing board. You can switch back to a regular drill bit for this process if you prefer. Continue to drill slowly and patiently, as it is just as important to maintain the wood or drywall behind the tile. Damaging the backing board can make it difficult to anchor your screw or whatever you plan to insert.

How to Prepare Concrete Floor for Ceramic Tile?

A concrete floor is a good base for laying ceramic tiles, provided it is level and free of cracks or abrasions. Self-leveling compound can be purchased at your local home improvement store and applied to the concrete floor prior to tiling. Cleaning and filling any cracks in the floor takes a little time, and the only precautions to take prior to tiling are to make sure that the floor is completely dry, as the thinset used for tile needs a moisture-free environment. The following steps will allow you to prepare a concrete floor before you lay your tiles.

Sweep the floor for dust and debris. Use a broom to sweep any debris from the floor. Remove dust. Use a wet mop to get any remaining dust from the cement floor. Leveling compounds are sensitive to dust so it’s important to remove the dust with water. Allow the floor to dry for at least 1 hour.

Identify and fill any cracks in the concrete. Mix thinset mortar with water in a bucket according to package instructions. Stir the thinset thoroughly with a trowel. Pour the thinset in any cracks, to about 1⁄4 inch (0.6 cm) above the floor surface. Smooth the thinset with a masonry float. Allow to dry according to manufacturer’s instructions.

Apply latex primer. Pour latex primer into a paint tray. Use a paint roller to apply the primer to the floor. Cover the entire floor with 1 coat. Allow the primer to dry according to the manufacturer’s instructions. Most primer will take at least 24 hours to dry thoroughly. Use a level to check the floor. Use a large carpenter’s level to identify low areas of the floor. Move the level across the floor and use a marker to mark low levels of the concrete.

Apply self-leveling compound. Mix the self-leveling compound in a bucket according to package directions. Pour the compound into a bucket. Slowly pour the compound into the areas that you previously marked as low. The compound will expand and rise to reach the correct levels of the rest of the concrete. Use a trowel to spread the compound until it is as flat and smooth as possible. Allow the compound to dry for 24 hours before starting on your tile.

How Identifying Loose Tiles?

Inspect the tiles’ finish to see how smooth it is. You can do this either by visually inspecting the tiles’ top surfaces or by running your fingers over the top of the tiles. Porcelain tiles have a fine-grained finish that is smoother than the finish on ceramic tiles. So, if the finish is slightly bumpy or coarse when you touch it, you’re dealing with non-porcelain (ceramic) tile. If the tiles are already glazed, flip them over and look at the unglazed underside.

Look for chips in the glaze to identify ceramic tile. Look closely at the glaze: if it’s chipped, you will be able to see the tile’s white or tan base. This is a sure sign that the tile is ceramic. Porcelain tiles are sometimes, but not always, glazed. Most high-quality porcelain tiles will have a consistent color that goes through the top, body, and bottom of the tile. Ceramic tiles, on the other hand, are nearly always glazed. Glazed porcelain tiles are much harder and are more resistant to wear and damage than non-porcelain ceramic tiles.

Examine the sides of the tile for a white, tan, or red color. While porcelain tiles can be colored, ceramic tiles will always have a white, tan, or red color, with a colored glaze on top. So, if you see that the sides (and base) of the tile are any other color other than white, tan, or red, you can be sure that you’re dealing with a porcelain tile. Some cheap, low-quality porcelain tiles may not have the color mixed through the body of the tile. Avoid purchasing these tiles.

Compare the costs of the two tile types. In nearly every scenario, porcelain tiles are more expensive than ceramic tiles: they take more time to produce, are more versatile, and tend to last longer. If you’re looking at two types of tiles in a hardware or home-supply store, non-porcelain (ceramic) tiles will be a little cheaper. As a broad rule of thumb, porcelain tile usually costs approximately 60% more than ceramic tile.

How Using a Hammer Chisel Remove Ceramic Tile?

Rent a hammer chisel. A hammer chisel is an electric machine similar to a jackhammer. Many home improvement stores offer a day-to-day rental service so you don’t have to buy your own, so call a few stores and see what their daily rates are.

Some hammer chisels are handheld so they can be used on walls or floors, while others are larger and made just for floors. Pick the right hammer chisel for your job. Hammer chisel rentals usually cost around $50-$60 USD per day.
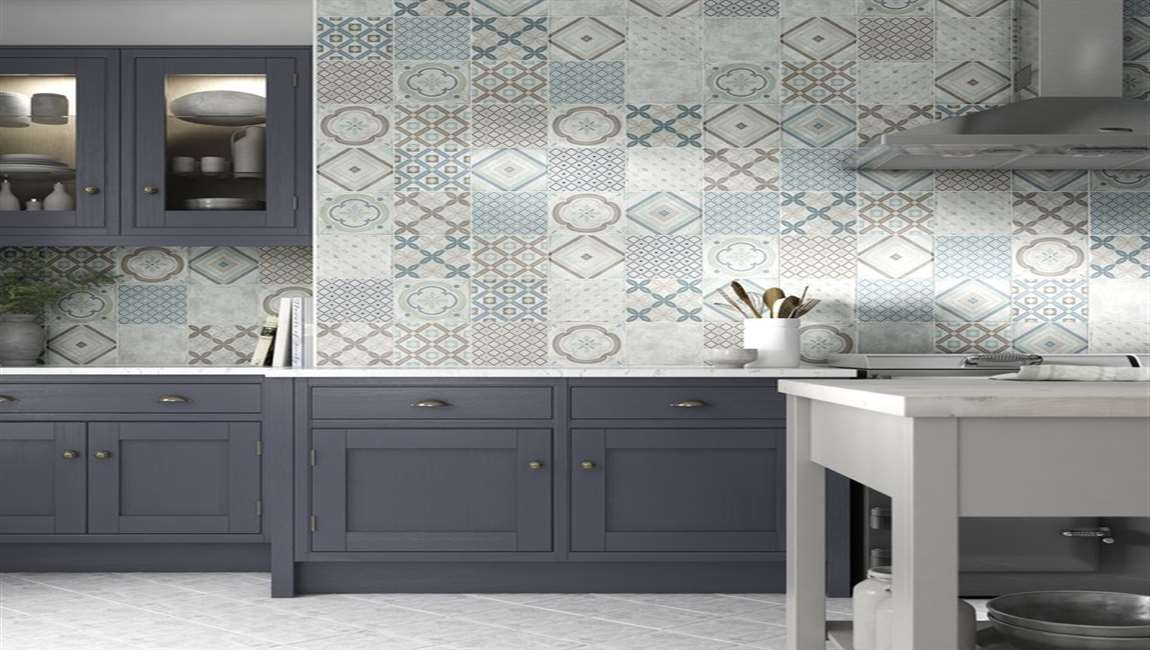
Put on safety glasses and earplugs before you start working. Since hammer chisels break apart your tiles and could send shards into the air, wear safety glasses to protect your eyes. Hammer chisels also make a lot of noise, so wear earplugs to prevent damage to your hearing. If you have a large project, wear a face mask as well to prevent dust inhalation.
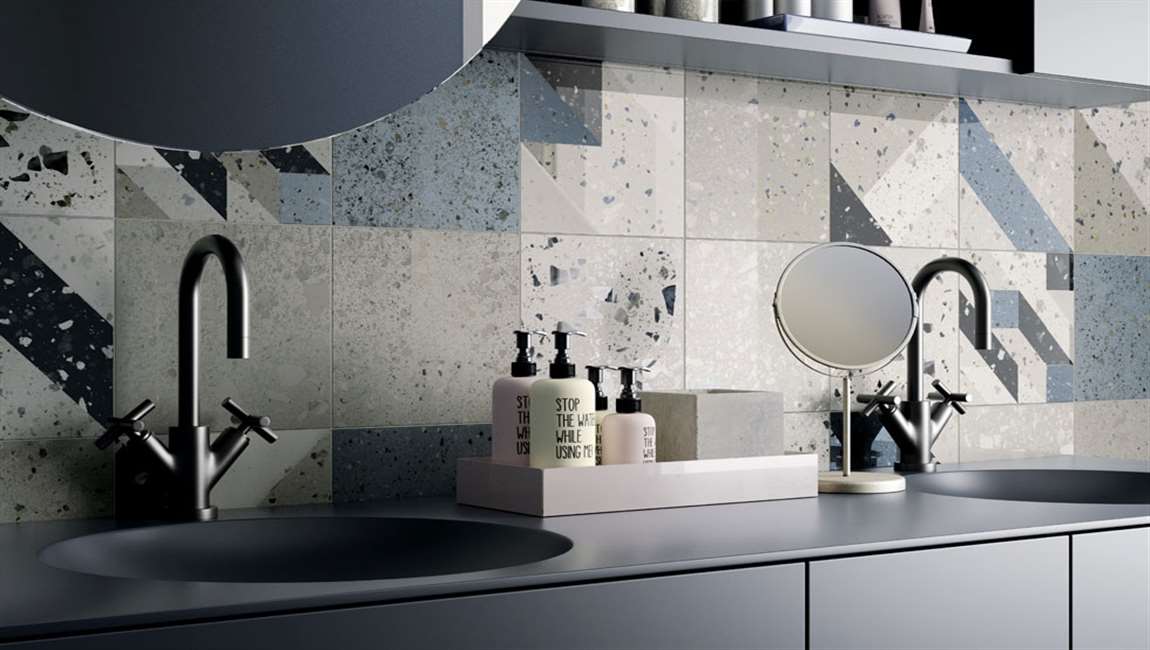
Hold the end of the chisel against the edge of your ceramic tiles. Start on the outer edge of your room or wall. Hold both of the chisel’s handles so you have the most control. Set the blade of the hammer chisel against the bottom of the tile at a 30 or 45-degree angle.
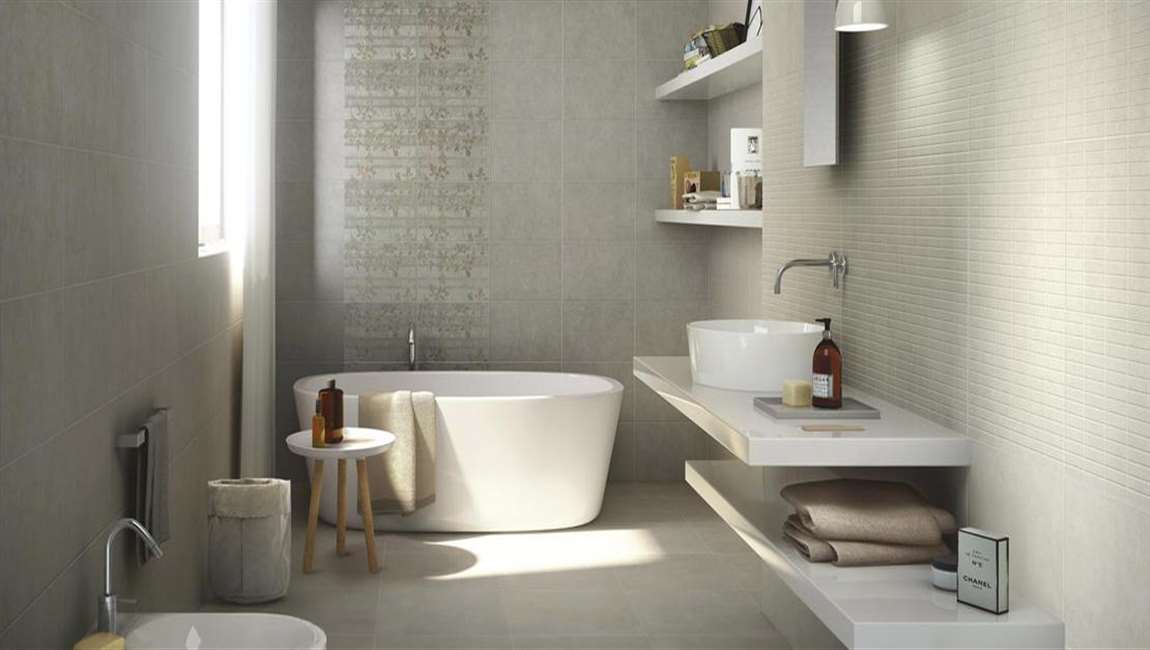
Turn on the hammer chisel to break apart your ceramic tiles. Pull the trigger on the handle of your hammer chisel and push it underneath your tiles. The hammer chisel will chip away the ceramic as well as the adhesive underneath. Continue breaking your tiles until you’ve removed them all. Clear your work surface occasionally so your broken tiles don’t pile up.
How to Grout Wall Tile?

Whether you’re remodeling a bathroom or repairing existing marble tile, grouting wall tile is a necessary and often time-consuming task. However, by preparing yourself and being systematic, you can dramatically cut down on the time and effort it takes. Ultimately, by preparing your work area and gathering supplies, mastering grouting, and cleaning up excess grout, you’ll finish a seemingly overwhelming task quickly. In the end, whatever room your tile wall is in will look refreshed.

Get rid of nail polish stains with nail polish remover. Small spots of nail polish can be removed with the applicator attached to the lid of your bottle of nail polish remover. If the stain refuses to come off the ceramic tile, mix a solution with proportions 1:99 bleach to water. Dab a dishcloth in the mixture. Use the dishcloth to clean the nail polish. Alternately, dip a dishcloth in hydrogen peroxide and scrub the nail polish away. If using bleach, a mixture of 2 teaspoons (9.9 ml) bleach and 1 US quart (0.95 L) of water is typically appropriate.

Use paint remover against paint stains. Before you try to lift a paint stain from your ceramic tile, mop or wipe down the wood tile and allow it to dry. Apply the commercial paint remover according to manufacturer directions. Typically, this means applying a coat of paint remover with a paintbrush just as you would when painting. After about 30 minutes, the paint should be ready to wipe away with a damp paper towel. Open the windows of the area you’re working in to reduce inhalation of the toxic fumes paint removers give off.

Remove iodine with ammonia. Mix a few tablespoons of ammonia with an equal amount of water. Dampen a dishcloth with the solution. Scrub the iodine stain from your ceramic tile by pressing it and scrubbing in a back-and-forth method.

How Maintaining Your Tile?

Clean spills promptly after they occur. If a spill happens on your ceramic tile floor, clean it up as soon as possible. The longer a stain sits on your ceramic tile, the harder it will be to remove. Use mops on large spills and absorbent cloths on smaller spills.

Clean your grout. The grout is the sunken area bordering each ceramic tile. Over time, it can become discolored and gross. To keep it clean, mix baking soda and water in equal amounts. Coat the grout with the paste. Allow it to sit for several hours (or even overnight). Scrub the grout vigorously with an old toothbrush or a stiff-bristled brush. Wipe the paste scum away with a sponge soaked in warm water.

If you have a large amount of grout to scrub, purchase a grout brush from the cleaning supplies section of your local store. For an extra boost of cleaning power, fill a spray bottle with vinegar and spray the paste after you apply it.

The frequency with which you clean your grout is up to you. Clean your grout as often as you like, or when it begins to show discoloration. Floors that are used more heavily will require more frequent cleaning. If you have children, pets, and/or walk about your home with shoes on, you’ll need to clean your grout more often.

Use the least abrasive means possible to clean. When cleaning ceramic tiles, always start with just water. Test any commercial cleaning solution on a small and out-of-sight portion of your ceramic tile before you apply it to a larger or more visible area of your tile. This will help you ensure that the solution does not discolor or otherwise damage your tile. Avoid using abrasive cleaners or creams containing gritty ingredients like silicate.

How to Clean Ceramic Tile?

There are a number of ways to get your ceramic tile clean. Engage in regular maintenance to prevent grime and grit from collecting on your ceramic tile. Sweep (or vacuum) and mop your ceramic tile at least once each week. If your tile is stained, you should identify the specific substance or agent of the stain, then choose an appropriate remedy. If you’re facing a particularly obstinate stain on your ceramic tile, consider steam cleaning or a muriatic acid solution.

Sweep your ceramic tile regularly. Use a broom and dustpan to sweep your floor at least once each week. This will remove dust, dirt, and other grime from the tile. Alternately, you could vacuum your ceramic tiles to remove dust, dirt, and crumbs.

Mop the floor weekly. After sweeping the floor, mop it at least once each week. There’s no need to use soap (though it doesn’t hurt). This will keep your ceramic tile looking shiny and new. Once you’ve mopped the floor, wring the mop out immediately and dry the floor with it to prevent any new dirt from settling in wet areas, and to protect you from slipping.

If you use soap, use a non-toxic dish detergent. Start with a couple drops of detergent so it doesn’t become over-concentrated. Too much detergent can leave soapy residue or film on your floor tiles. Continue regular maintenance on your floors without using any strong chemicals. Over time, chemicals can degrade the quality of your wood tiles.

Use a doormat. If you’re trying to protect ceramic tile located directly inside the foyer, place a doormat outside the door of your residence. Additionally, place a rug or another mat right inside the house. Encourage family members and visitors to wipe their feet on both mats, and to remove their shoes when they enter the home. Use of doormats is especially important during rainy and snowy seasons.

How to Remove Wall Tiles?

Removing wall tiles is different, and more difficult, than removing floor tiles because wall tiles are typically set very close together, with minimal grout lines. This means that it takes more care to remove a wall tile without damaging the surrounding tiles.

Try to locate a loose tile. If you plan to remove a whole wall of tiles, try tapping the edge of each one with a chisel for signs of looseness. The first Rustic tile is much harder to remove than the rest, so it’s worth taking some extra time to see if you can get lucky. If you locate one, use either of the methods below to remove it. Your best bet is in areas where you’ve removed the grout, and areas with signs of water damage.

Chisel tiles away from the wall. This approach should let you save more of your cement tiles for reuse, unless the tiles are unusually well-adhered or a relatively recent installation. Give it a try by inserting a chisel, putty knife, or other flat tool in between the spots tile and the wall, almost parallel to the wall. Tap the handle of the tool with a hammer until the ceramic tile comes away from the wall. You may need to pry it off in two or three places if firmly attached.

If the wood marble tiles break instead of coming away, try an air chisel instead. Have an assistant wearing leather gloves catch the tiles as they come away, before they fall. The first wood tile is generally much harder than the rest. Take your time to tap out the first one, then attack the exposed edge of the next tile. Make sure to be very careful near the edges because the tile price will chip easily.


Break the tile if necessary. If your wall tiles design are set directly into the mortar, you’ll probably need to give up on saving it and crack it into pieces. Start by using a hammer and chisel to make a hole in the center of the wood marble tile, then chisel the cracked tile pieces away, being careful not to damage the surrounding tiles.

Eye protection is especially important for this method. Porcelain tiles will break into extremely sharp, glass-like shards. If this happens, consider breaking them from the side with a hammer and chisel instead, to reduce the number of fragments. Clear the area of any remaining setting material. Use a cold chisel to chip away the setting material until the exposed wall surface is fairly even. You may not be able to remove all of the adhesive and grout, but you want to ensure that a new wall tile will sit flush with the surrounding wall tiles once it is installed.

Get rid of spacer lugs before attempting to install a replacement tile. These are metal objects that may be left behind during removal. You can remove spacer lugs by snipping them off with utility clippers, breaking them off with pliers, cutting them with a utility knife or sanding them down with sandpaper.