Posts

How to Close Gaps in Laminate Flooring?


With enough time and wear, unsightly gaps can begin to open up in interlocking laminate flooring. Fortunately, this tends to be a minor issue, and correcting it won’t require you to go to the trouble of replacing the flooring altogether. For most jobs, all you’ll need is a simple tube of wood glue, or a mallet and flat object heavy enough to provide enough traction to allow you to tap the planks back into place.


This will ensure that the far end remains concealed by the baseboard. If you go towards the wall instead, you may end up having to deal with gaps in adjacent planks as a result. When correcting more than one plank in the same row, it may be necessary to also move the neighboring planks inward to keep the spacing consistent and avoid making the gap worse.


Tap the end of the block with a mallet to close the gap. Steady the tool with one hand and give the side furthest from the gap a couple whacks to move the loose plank closer to the one it’s drifted away from. It should slide along a few millimeters at a time. Continue tapping the block until the plank rests snugly against its neighbor.


Be careful not to strike the block too forcefully. This could dislodge it, or even damage the underside of the flooring. After successfully closing the gap, simply pull up the floor gap fixer to remove it. Repeat with any remaining gaps. Use the block and mallet to repair any other slipped planks that have appeared in your laminate flooring. Work carefully to keep your floor looking neat. All in all, the project should only take a matter of minutes.


If necessary, wipe off any dust or debris that’s accumulated on the adhesive pad with a damp cloth before the next time you use it. If you own a floor gap fixer tool, consider using it in conjunction with a touch of wood glue to ensure that the gap stays closed for good.

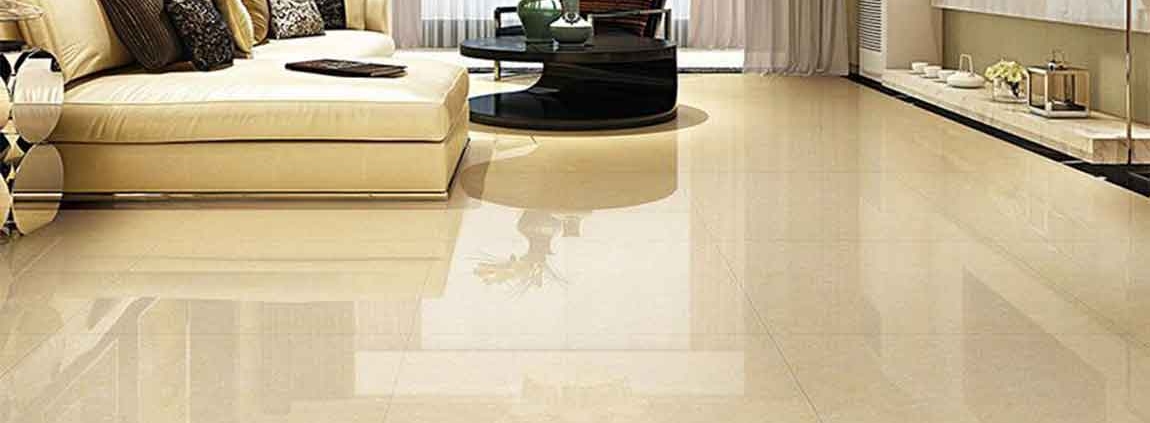
How Filling Gaps with Wood Glue?


Scoop up a glob of wood glue using a small utensil. A toothpick, cotton swab, or similar item will make it easier to reach down into the narrow space. Some home improvement buffs even use disposable syringes for precision application. The important thing is that the glue only ends up on the grooves where the planks interlock.


Any clear or yellow wood glue will work just fine. Invest in a high-strength adhesive to spare yourself followup repairs in the future. Alternatively, you can also use caulk or wood putty to fill in gaps in laminate flooring. However, these substances may require special applicators or additional equipment.


Swab the glue onto the exposed tongue of the displaced plank. Inside the gap, you should be able to see the squared edge where the bottom of the plank is designed to fit together with the top of the next one in the row. Apply a thick coating of glue to this surface, aiming for even coverage from one end to the other. If you don’t apply enough glue, the repaired section of flooring may not hold up long under constant foot traffic.


Don’t be afraid to use more glue than you think you need—you don’t want the planks separating again after a few short days. Do your best to work neatly and efficiently, but don’t take too much time. Wood glue dries quickly, and once it does, it will be tough to get a second shot.


Push the separated planks together to close the gap. To do this, strike the plank at an angle repeatedly with the palm of your hand. For a less forceful approach, you could also try placing both hands flat against the plank and guiding it slowly towards its neighbor using your full body weight.

How Removing Debris from the Floor?


Sweep the floor with a soft broom. Take a soft dust mop or a broom with soft bristles and sweep the floor. Make sure to sweep up as much debris as you can. Pay special attention to areas along walls or doors.


Be careful using a vacuum. If you choose to use a vacuum, you need to be careful not to damage your marble floor. The plastic on the nozzle or wheels of a vacuum can etch or scratch marble. As a result, use caution if you decide to use a vacuum. If you have a central vacuum system in your home, you may be able to use a soft floor attachment on the nozzle. However, you should test the attachment in an inconspicuous area (such as behind a door) before using it.


Use rugs and mats throughout your home. Rugs and mats will help accumulate debris. As a result, sweeping or vacuuming your floor will be easy. In addition, rugs or mats will protect high traffic areas from scratches.


Put down rugs to protect your floors. Area rugs and floor runners can help protect your marble floors, especially in high-traffic areas. Use area rugs in places like the living room and rug runners in hallways to prevent scuffing and scratching. Adding a no-slip pad under your rugs will help further protect your floors and keep your rugs in place.


Apply additional layers the same way. After the previous layer is completely dry, wax the floor again. Remember to do it in sections and plan your route to the door. Your specific floor wax product should include a recommended number of coats. If it doesn’t, apply three or four thin coats. Stop if the wax starts turning yellow.

How Securing the Buff Floors Area?


Remove movable items from the floor being buffed. Place these items in a separate room or hallway. Moving these items allows you to buff the area under and around them. Otherwise, it will be very difficult for you to get an even shine. Keep in mind that a buffer is a bulky machine that can easily damage items that it bumps into, and it’ll be harder for you to buff the area around the items in the room if you don’t remove them.


Block off the area to prevent people from slipping on the wet floor. This will also help protect your freshly buffed floor from getting dirty while you’re still working. Tell other people living in your home or those who are in your place of business that the floor will be wet for the next several hours.


If you moved large items from the room, you can always use these as a blockade to help keep people out. Simply position them along the entrance to the room. If you’re cleaning a commercial floor, put up “Caution” or “Wet Floor” signs for added safety.

Place your pets in a safe location if you’re buffing the floor of a home. Pets can get in the way of the buffer and may dirty your floor. You don’t want to accidentally buff pet fur into your floor, as you won’t be able to remove it once it’s buffed into the finish. Put your pets in a separate room and shut the door.


Alternatively, you can place your pets in their kennel if they already use one. Your pets will likely be afraid of the buffer, so keeping them out of the way will save them a lot of stress!

How Cleaning the Buff Floor?

Use a broom or dust mop to remove any debris. Start in the corner of the room and slowly sweep the entire room. Make sure you get the floor as clean as possible. Otherwise, you risk buffing dirt into the finish. Over time, buffing a dirty floor can permanently alter the color of your floor finish, turning it a dingy yellow color.


You can also use a vacuum to suck up the dirt you swept. Use a vacuum attachment meant for your type of flooring. Wash the floor with a wet mop to ensure it’s completely clean. For best results, dip the mop into a bucket of soapy warm water. Then, start in the corner of the room and slowly work your way back toward the entrance. As you mop, make short, even strokes to clean the floor.


Rinse your mop when it starts to look dirty. Use a floor cleaner that’s formulated for the type of flooring in your home. Allow the floor to dry for 2 hours or use a fan to dry it faster. Touch the floor to make sure it’s dry before you move on to buffing. Don’t try to buff a wet floor because you will be applying a buffing solution, which is also a liquid.


If the floor is already wet, there will be too much liquid, which will make you need to change your buffing pad more often. Turning on a fan will help you dry the floor more quickly. A ceiling fan or box fan will work best.


The microfiber cloth shouldn’t damage your floor, no matter what material it is. Keep in mind that buffing a floor typically requires a lot of pressure, so you may not see much difference if you don’t press down very hard.

How Waxing Your Floor?


You can use an auto scrubber or floor machine for this step as well, as long as you change the pad beforehand. Don’t use the same pad you used to apply or wipe up the stripping solution. Wash all tools used. Thoroughly clean any tools used, including the interior of machinery hoses and tanks. If left uncleaned, the stripping solution will dry into a hardened mess and ruin your tools.


Let your floor dry completely. Don’t move on to waxing your floor until it is completely dry, or the wax may not attach properly. You can put a fan in the room to hasten the drying process. Apply wax to your mop. Immerse a sponge mop into the wax, or pour some wax onto the upper side of a flat wax applicator mop.


If your mop is dripping, you should press it into the wringer portion of the mop bucket or press it against the sides of the bucket. Don’t actually wring your mop; the goal is to make it damp with wax, not dry or dripping. Apply the wax to one small section of floor at a time. Start at the opposite end of the room from the door so you don’t have to cross the waxed portion to leave the room.


If you try to wax too large an area at once, you are more likely to miss spots or apply the wax unevenly. If your first layer is too thick, the whole process could fail to set properly. Be careful not to drip excess wax onto the floor, and only use a damp,not soaked mop. Once the floor in one section is evenly covered, mop over it with broad strokes in the same direction to create an even appearance. Now you can move on to the next section.


Wait for it to dry completely. This should take about half an hour, but could be longer in areas with high humidity. After ten minutes of natural drying, you can point a fan into the room to make it dry faster, but do not point it directly at the waxed floor. This could interfere with the adhesive. Read the label of your floor wax for more accurate estimate of drying time.

How Using a Spray Buffer?


Spray the buffing solution onto your floor, if you’re using it. For best results, use a professional sprayer or a product that comes with a spray nozzle. Start in the far corner of the room and work your way toward the other side. Aim the spray 2–4 ft (61–122 cm) in front of the buffer in an area that’s about 6–8 in (15–20 cm) wide.


Use a buffing solution formulated for the type of floor material you have, such as wood, tile, or vinyl. If you don’t have a sprayer, you can use a mop to apply the solution. However, it won’t be as effective at distributing it. You can buy or rent a sprayer from most home improvement stores. Additionally, some buffing solutions come in a spray bottle.


Attach a red buffing pad if you’re spray buffing your floor. This pad is intended for use on a wet floor, so it will soak up some of the buffing solution. Follow the instructions for your buffer to attach it correctly. Be sure to read all of the instructions that come with your buffer.


It’s best to have an extra pad handy if you’re going to be buffing a large surface area. Although you’ll be able to use both sides of the pad, it can get clogged up or dirty as you work. If you’re spray buffing your floor, you’ll need both a red pad and a gray or beige pad, for best results. Your floor will look better if you do a dry buffing after your spray buffing.

Work in 3 ft (0.91 m) by 3 ft (0.91 m) sections. Start in the far corner of the room and work your way back toward the entrance. As you buff the floor, mentally separate it into small sections to make it easier to buff the entire surface area of the floor. Overlap your passes to ensure every bit of flooring gets buffed.

How Mopping Your Floor?

Use hot water. Whether you are creating a solution to wash your floor, or just using water, you should use hot water. Hot water will help cut through grime. Ultimately, by using hot water, you’ll decrease the chance that you’ll need tougher solvents that could damage the marble.


Focus on distilled water. Distilled water is water that has gone through a process to remove minerals and other impurities. By using distilled water, you’ll reduce the chance of discoloring or staining your marble. You can buy distilled water at just about any grocery store or box store. It is usually cheap.


Add a mild detergent to your water. Add a mild detergent such as 2-3 drops of dish soap into a bucket with your hot, distilled water. Follow the directions of the soap and dilute it with an appropriate amount of water. Mix your solution thoroughly. Make sure to only add pH neutral soap to your water.


Harsh chemical solutions like bleach, hydrogen peroxide, ammonia, and vinegar can be damaging to your floors. Avoid using these on marble. If you prefer, you may be able to use a commercially prepared marble cleaner. Simply follow the directions on the bottle and then clean as you would with a water and detergent solution. Some products include Stone Tech, Resolve, or Simple Green.


Use a soft mop on your floor. Take a mop with a soft mop head (preferably microfiber) and dip it into your solution of detergent and water. Wring out the mop head to relieve it of excess water and systematically mop your floor. Do short strokes that overlap. Rinse and wring out the mop head after you’ve covered 10 to 20 square feet (1 to 2 square meters). This might vary depending on how dirty the floor is.

How Caring for a Waxed Floor?


Reapply wax to the floors regularly. Wooden floors should have an additional layer of wax added once every six to twelve months. Vinyl floors should be waxed every six months, as should sealed ceramic or stone floors. Don’t use a soaking mop, and never mop waxed hardwood. The wax seal is not watertight, so the water could damage the wood.
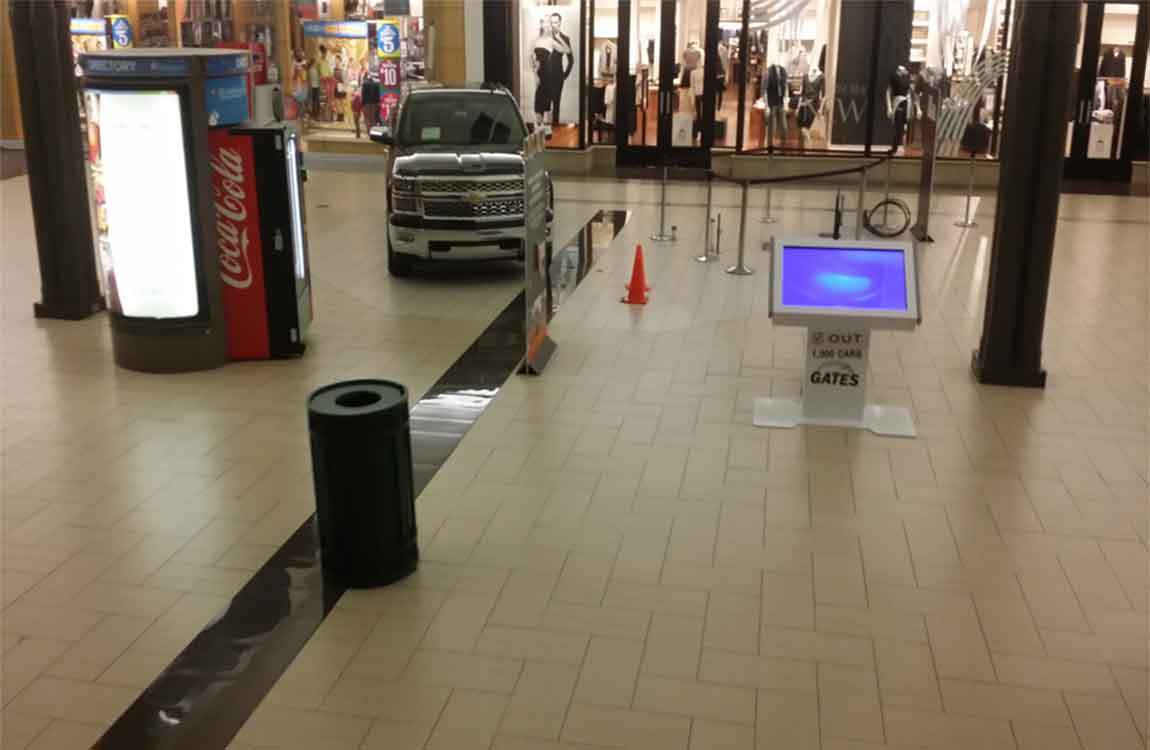

Wipe up spills with a damp paper towel instead. Vinyl and other non-wood surfaces can be cleaned with a damp mop, not a soaking one. This does not apply to wood treated with polyurethane, which can be mopped with a mop dampened by a mixture of one quart (1 liter) water and 1/4 cup (60 mL) vinegar.
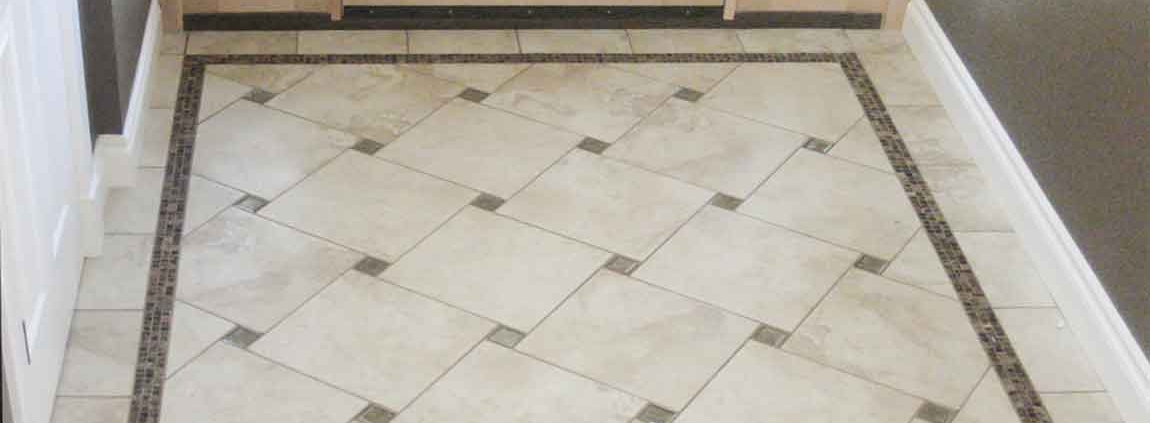
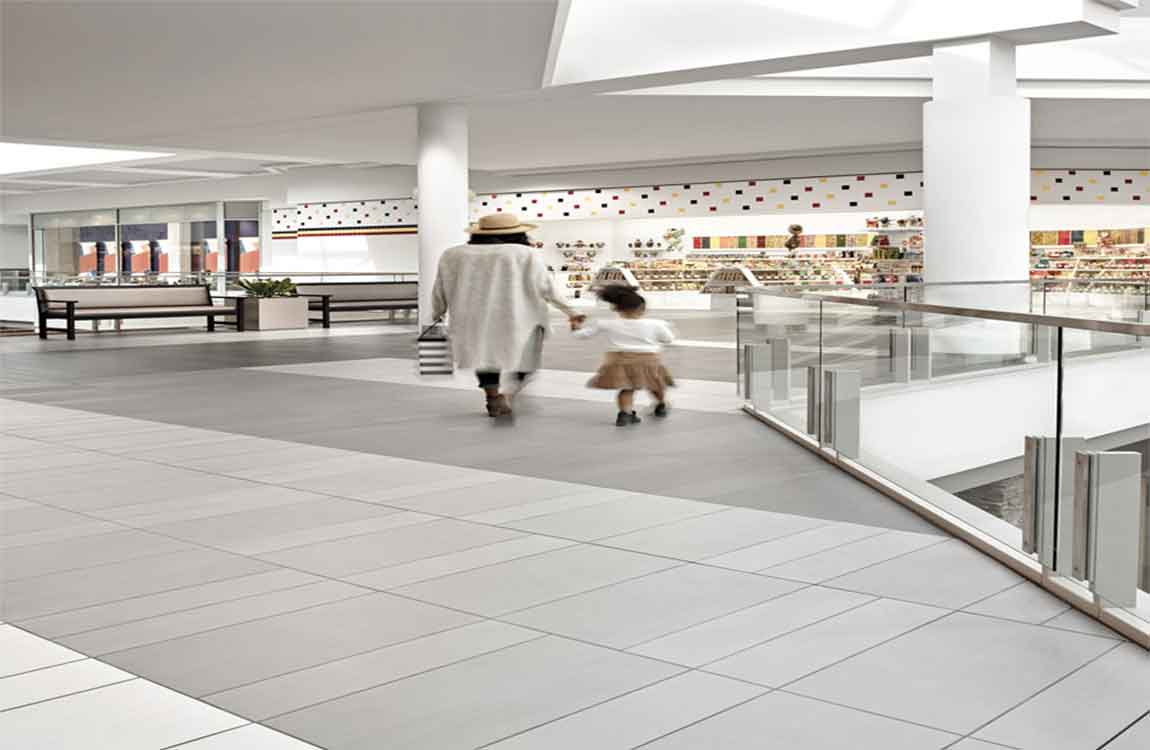

Buff or polish the floor if the shine fades. Use a terry cloth or buffing pad to polish the floor if it begins to get dull. This shouldn’t be necessary for no-buff wax. Sand or scrub off part of the wax if it becomes yellowed or discolored. If you don’t want to do this manually, use a floor machine with a light scrubbing pad just strong enough to remove a small portion of the wax.


You should apply a new layer or two of wax after removing some to create a strong protective layer again. This should not be required for several years at least if your floor was waxed properly. Buff the floor if it the wax requires it. Many waxes are no-buff and will remain glossy with no further effort.


Others require polishing with a buffing pad or burnishing machine. If you don’t want to track down specialized equipment, simply use a clean, dry terry cloth towel to polish your floor with a circular motion. Tie the towel around a dry mop head and you don’t have to be on your hands and knees. A buffing pad can be attached under the brush of the floor machine and used to buff the floor.

How Applying a Wood Cleaner?

Make a vinegar and oil based cleaner. You can make your own wood cleaner for the wood walls at home using 1 cup (240 ml) water, 1⁄4 cup (59 ml) white or apple cider vinegar, 1⁄2 cup (120 ml) mineral oil, and 20 drops lemon oil. Shake the mixture well. Then, use a clean cloth to apply the cleaner to the wood walls. Work the cleaner into the wood with the grain in smooth, circular motion.


The cleaner will remove surface dirt or dust, leaving a nice warm shine to the wood. It will also give the wood a pleasant lemon scent. Use a commercial wood cleaner. You can buy commercial cleaners made for wood walls online or at your local hardware store. These cleaners contain natural ingredients and oils that are safe for use on wood paneling or wood slats. Follow the manufacturer’s instructions to apply the cleaner correctly to the wood walls.


It may be worthwhile to invest in a commercial wood cleaner and keep it on hand at home. You can then apply it on the walls on a regular basis when it needs a clean, especially if the wood walls are located in high traffic areas like your kitchen or your living room.


Get the wood walls professionally cleaned. If you are unsure of how to best clean your wood walls without damaging them, contact a professional wall cleaner. Look for a professional wall cleaner online or through friends. Get a professional who has worked with wood walls before and has experience cleaning dirt, dust, and grime off of wood.


Clean your floor regularly. Mark when you cleaned your floor. Strive to clean your floor about once a week to keep it looking clean and fresh. If you wipe up minor spills, like splattered food, as they occur, it’s easier to clean your floor during routine mopping.