
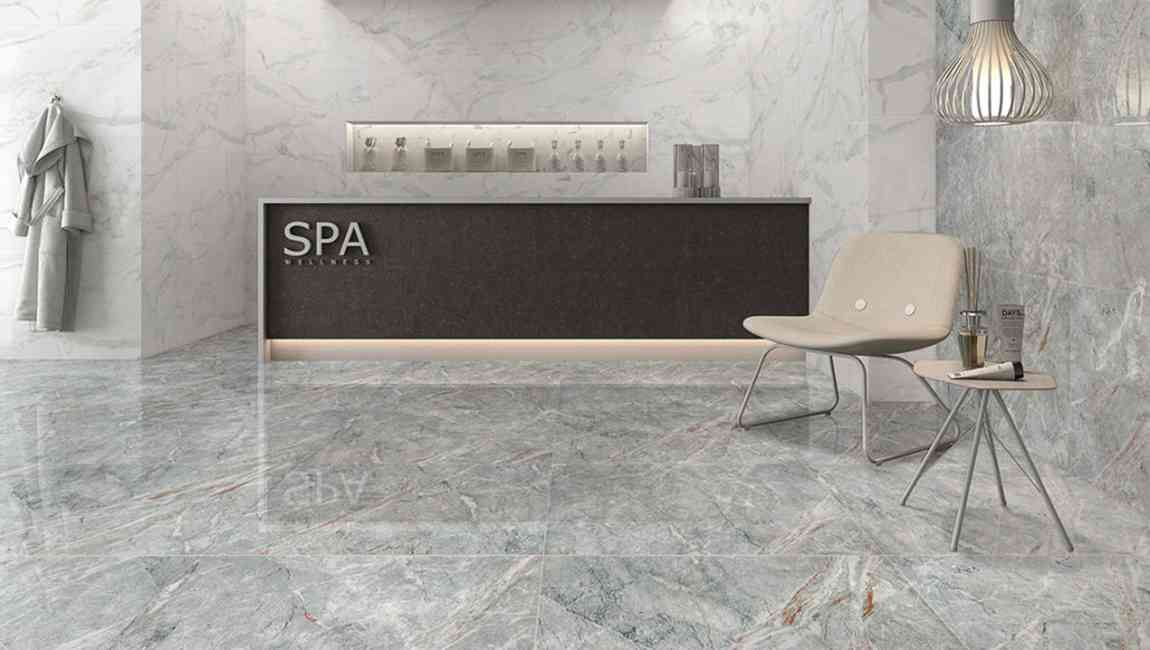
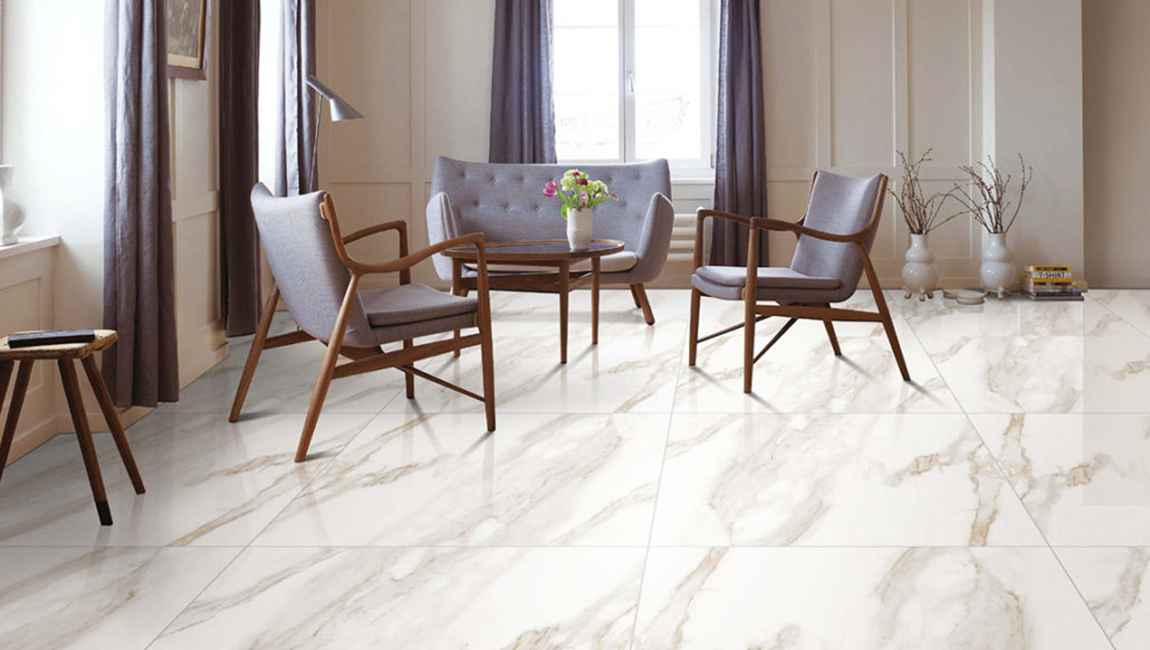
How to Install Marble Floor Tile?
Place the marble tiles in the pattern. Place your tiles within the grid you have created. This dry-run allows you to identify areas where you will need to cut floor tiles to fit and will help you determine the best place to start laying the tile based on your pattern and the shape of the area you plan to tile. If the gap between the last complete tile and the wall is less than 2 inches (5 cm) then you should move the center tile over. This makes the strip of tile in this area wider, which will look nicer when you lay your tiles design.

Apply a layer of thin-set adhesive on the floor surface using a notched trowel. Be sure to wear heavy-duty work gloves and work one section of the floor at a time. The adhesive should be thick enough that you can use the notched edge of the trowel to make grooves in the adhesive without showing the floor below, but thin enough that it does not push up between the cement tiles. The grooves ensure that the adhesive spreads evenly on the back of the wall tiles. Choose the adhesive recommended for your type of marble. Ask at the location where you purchase your tiles about the proper adhesive to use.

Lay wood marble tiles firmly in the thin-set adhesive. Lay the wood tiles on top of the adhesive within 10 minutes of applying the adhesive. Be careful not to slide the small tiles into place or get adhesive on the top of the tiles. Sliding the tiles into place will push up the adhesive and make the tiles uneven, causing them to crack. Adhesive will be difficult to remove from the tops of the tiles.

Position the tiles in place using spacers.Use spacers to create the correct spacing between the ceramic tiles and keep them even with straight lines along the rows and columns. You should use 1/8 inch (3 mm) marble tile spacers. Spacers help ensure proper placement of the tiles.
Check the level of the tiles.Check the level of the tiles to ensure that no edge “lips”, or rises above the rest of the tiles. Take a length of wood and lay it across the tops of the common marble tiles, using a hammer to lightly tap the wood down. This ensures that all the tiles are at the same level. Use the piece of wood in both directions along the grid to make all the tiles exactly the same level.
Measure the dimension of any partial tiles needed by placing one tile on top of the full tile closest to the wall.Place another tile against the wall so that the edge of the second tile lays on top of the first tile. Score a line in the first tile using a utility knife to mark your cut line for the correct width of tile needed.

Use a wet saw to cut the tiles to fit in the edges along the walls or special spaces.In order to minimize the risk of tiles breaking when they are being cut, saw three-fourths of the length of the tile, turn the tile around and then cut the remaining length. Repeat the process until you have cut all the specially sized tiles and placed them into the adhesive. You can usually rent a wet saw for a day from a local hardware store or tool rental company.

Remove any excess adhesive between the tiles.If you have put too much adhesive beneath the tiles or push the tiles down too hard then it can push up between the tiles. If this has happened then you must take a small knife to cut out these extra bits. Leave tiles undisturbed 24-48 hours to allow adhesive to dry completely. Different adhesives take different lengths of time so check the adhesive instructions for the proper drying time. Do not step on the tiles during this time or else you can make them uneven.
")
")


")


