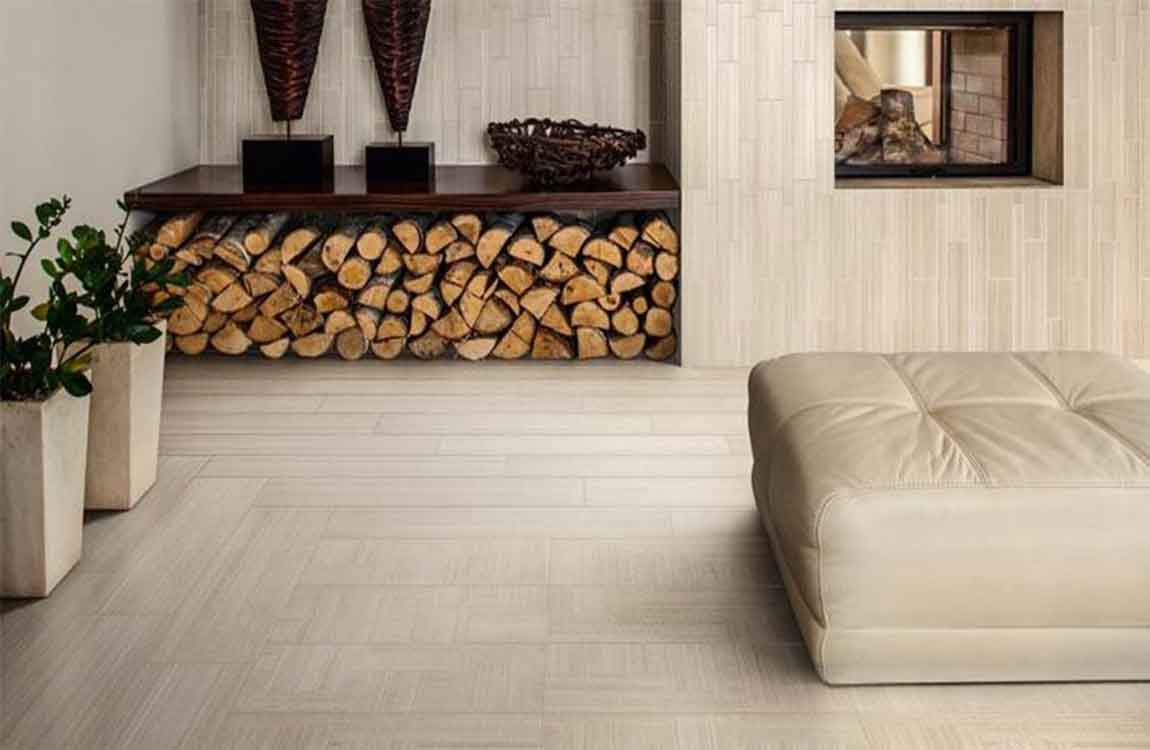
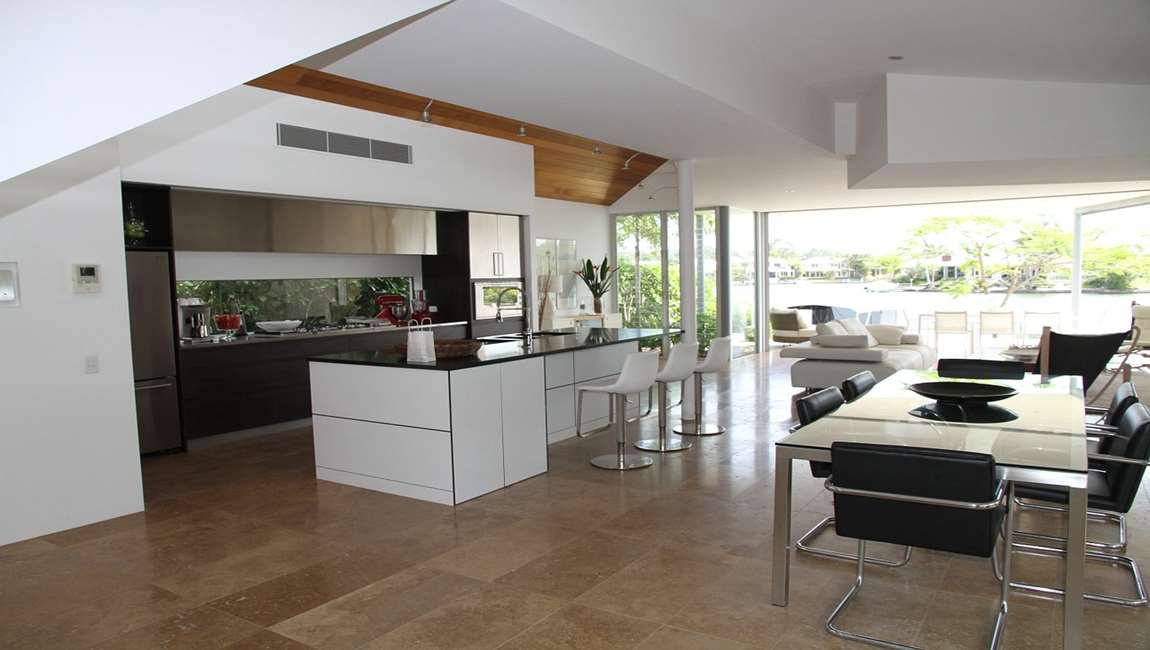
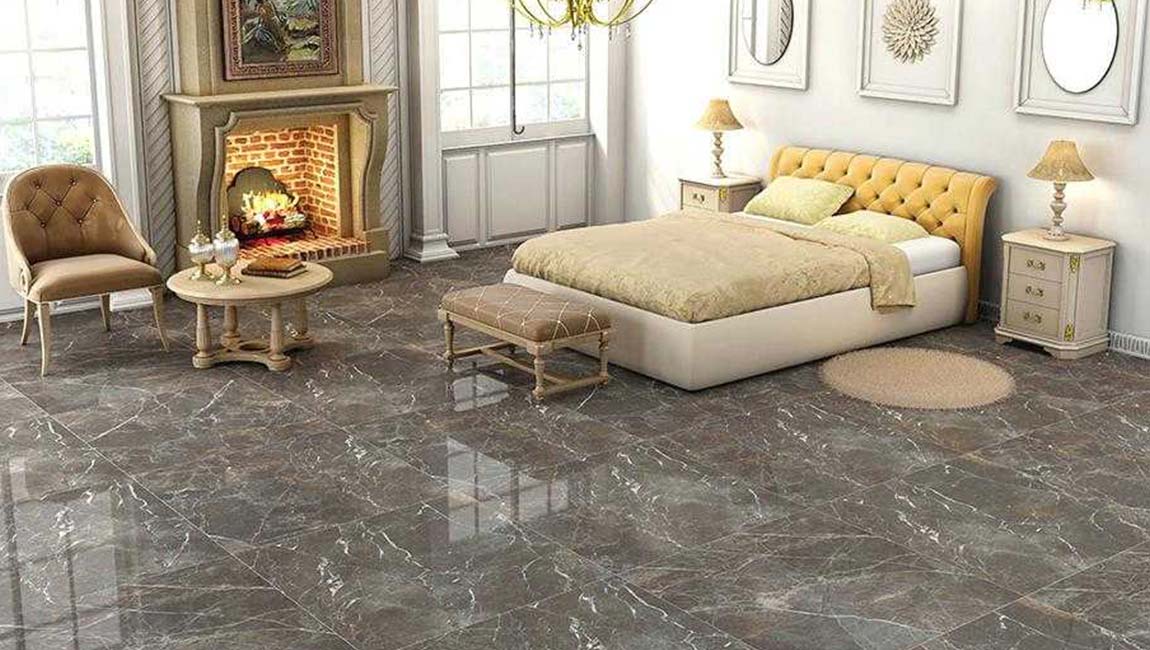
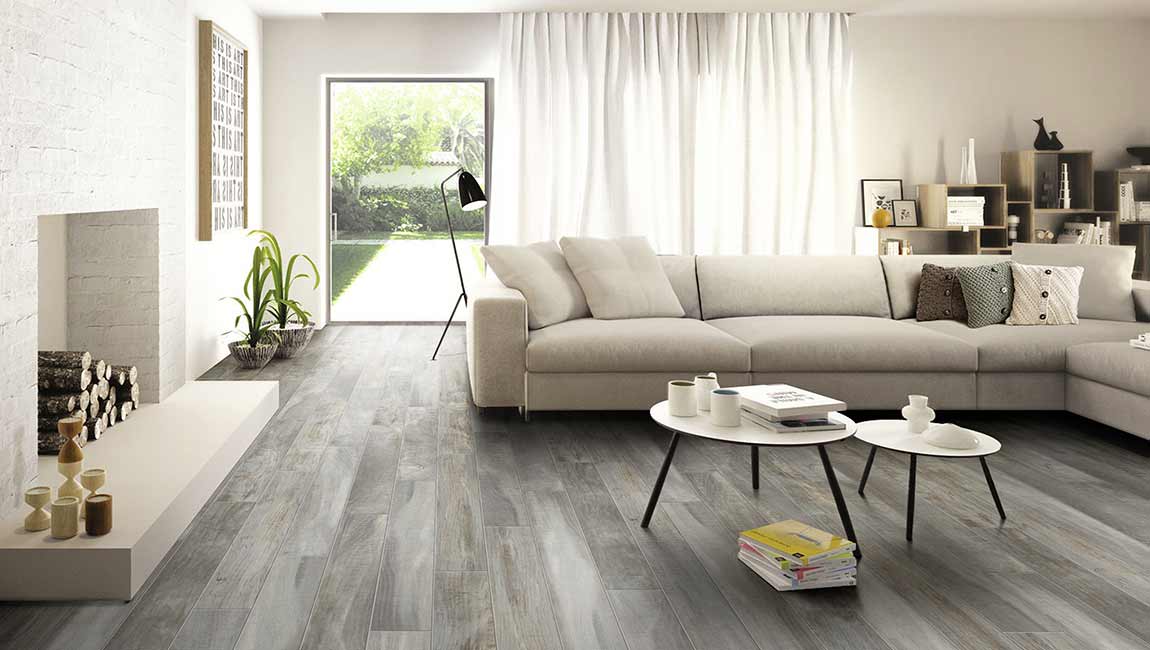
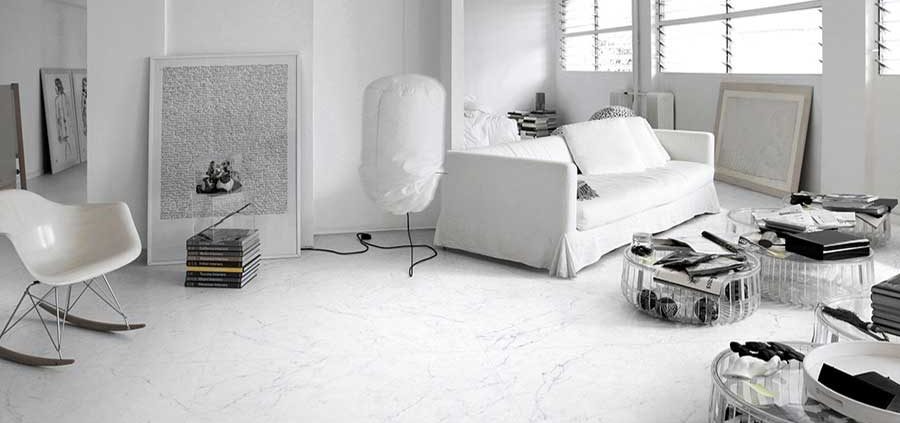
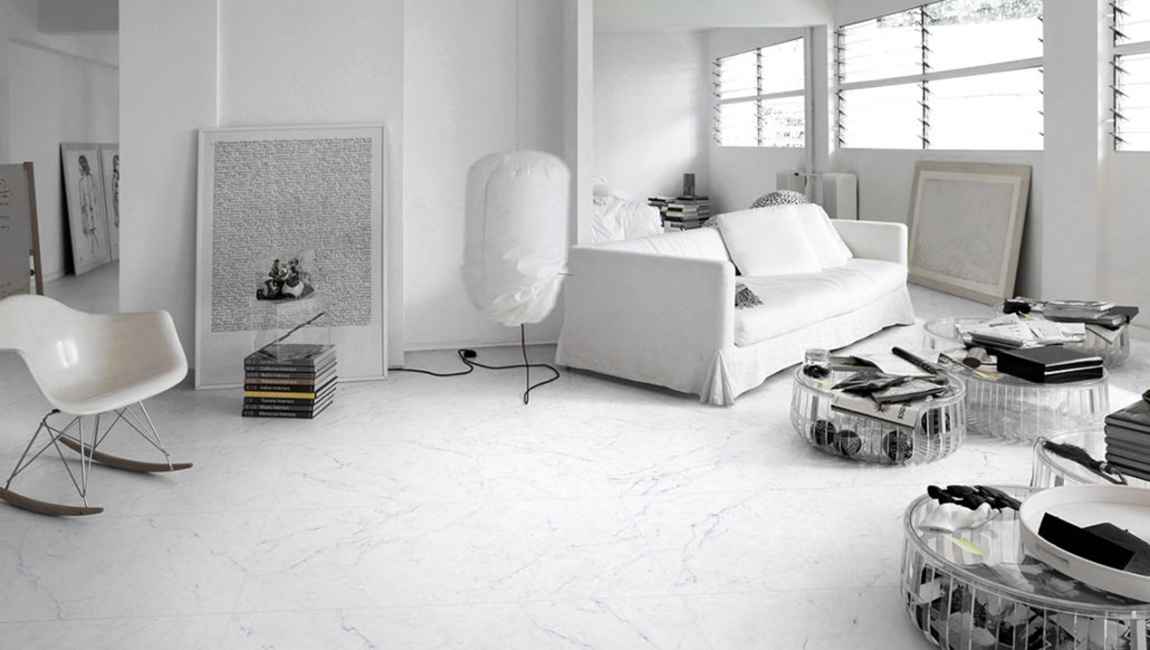
Use vinegar for most floor types. The majority of floors can be cleaned with a mixture of vinegar and warm water. Place a quarter cup of white vinegar in a 26 ounce (780 mL) water bottle to clean the following floor types:Cork, Vinyl, Porcelain.
Opt for a neutral pH cleaner for stone, hardwood, or bamboo floors. Hardwood, stone, and bamboo floors need a gentle cleanser. Purchase a mild to neutral pH cleaner at a department store. Apply it to your floor as directed on the bottle. Most pH cleaners are diluted with water. About a quarter cup of a pH cleaner (60 mL) mixed with water should adequately clean a bamboo or hardwood floor.
Do not mop waxed wood or laminate floors. If you have a wax wood or laminate floor, mopping is unnecessary. Such floors only need vacuuming and dry mopping to stay clean.
Use a steam cleaner for a very dirty floor. For the most part, you can wash your floor with detergent, warm water, and a rag, mop, or sponge. However, you can use a steam cleaning mop on some occasions. A steam cleaner is a special type of mop that automatically fills with water and your chosen detergent.
While steam cleaners are pricier, they tend to remove unseen bacteria better than a conventional mop and bucket. They may also remove set-in stains easier. If your floor is very messy, steam clean your floor with your chosen cleaner.
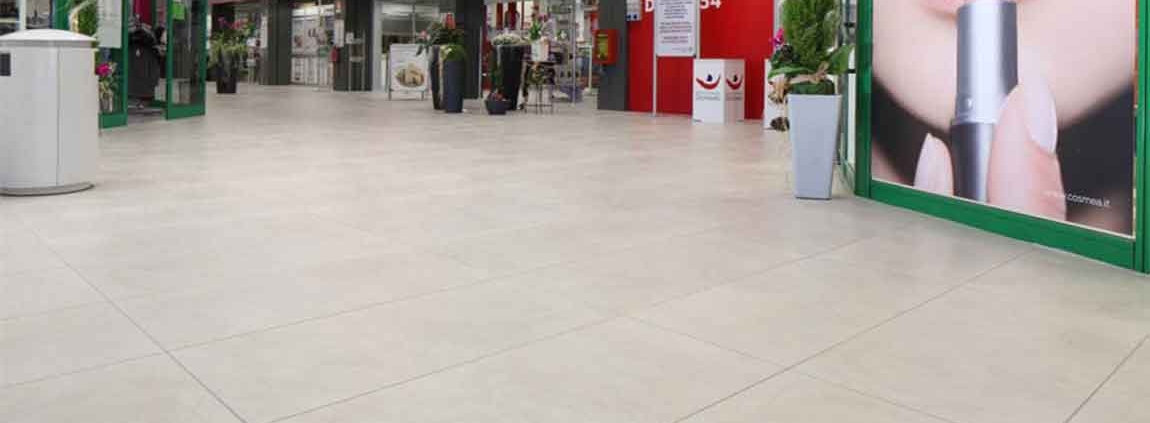
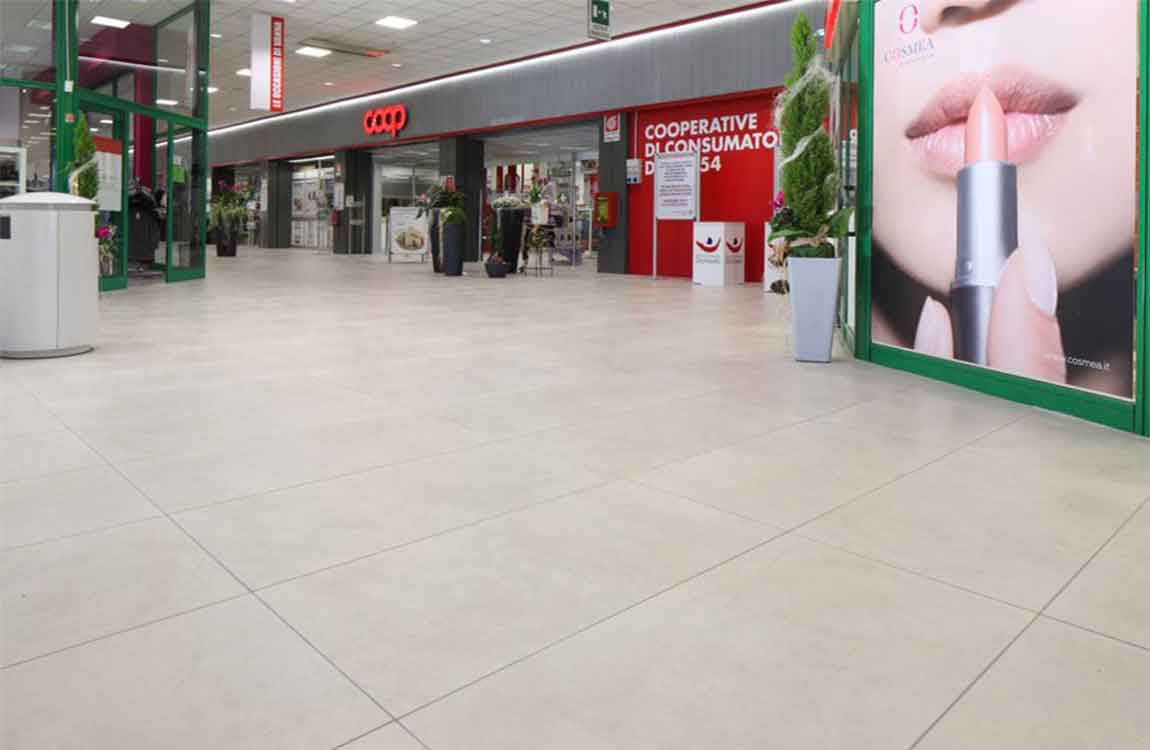
https://baranaceramic.com/wp-content/uploads/2019/10/Cleaner-Based-on-Floor-Type-4.jpg7501150administratorhttps://baranaceramic.com/wp-content/uploads/2025/09/logo.pngadministrator2019-10-02 08:00:052019-10-10 09:20:57How Selecting a Cleaner Based on Floor Type?
Calculate the square footage of the room. To determine the square footage of a square or rectangular room, simply find the length of 2 adjacent walls in square feet and multiply them together. For irregularly-shaped areas like closets, alcoves, and counters, multiply the length and width of the extra space separately, then add this number to the square footage of the main part of the room.
If you’re measuring a rectangular room that’s 18 square feet (1.7 m2) x 12 square feet (1.1 m2), for example, the total square footage would be 216 square feet (20.1 m2). Figuring out the room’s square footage will tell you exactly how much tile you’ll need for your flooring project, which may influence the size and style you go with.
Note the size of your tiles. Once you’ve picked out a style you like, jot down the tile’s dimensions in a notebook or on a separate sheet of paper. You’ll need to know their exact length and width in order to determine how many will fit within the floor space of the room you’re tiling.
The size of the tiles should be plainly displayed on the product listing, packaging, or order invoice. It may be a good idea to measure the tiles yourself just in case the listed dimensions are off by a centimeter or 2. Be sure to measure the wall using the same unit as your tiles. If the length and width of the tiles is given in inches, for example, you’ll want to measure the room in inches, as well.
Find the length of the room’s longest walls. Run a tape measure along the wall from corner to corner. Record this number in your notebook, being sure to specify which measurements are which. If the room you’re working in is perfectly square, you can start with either set of opposing walls.
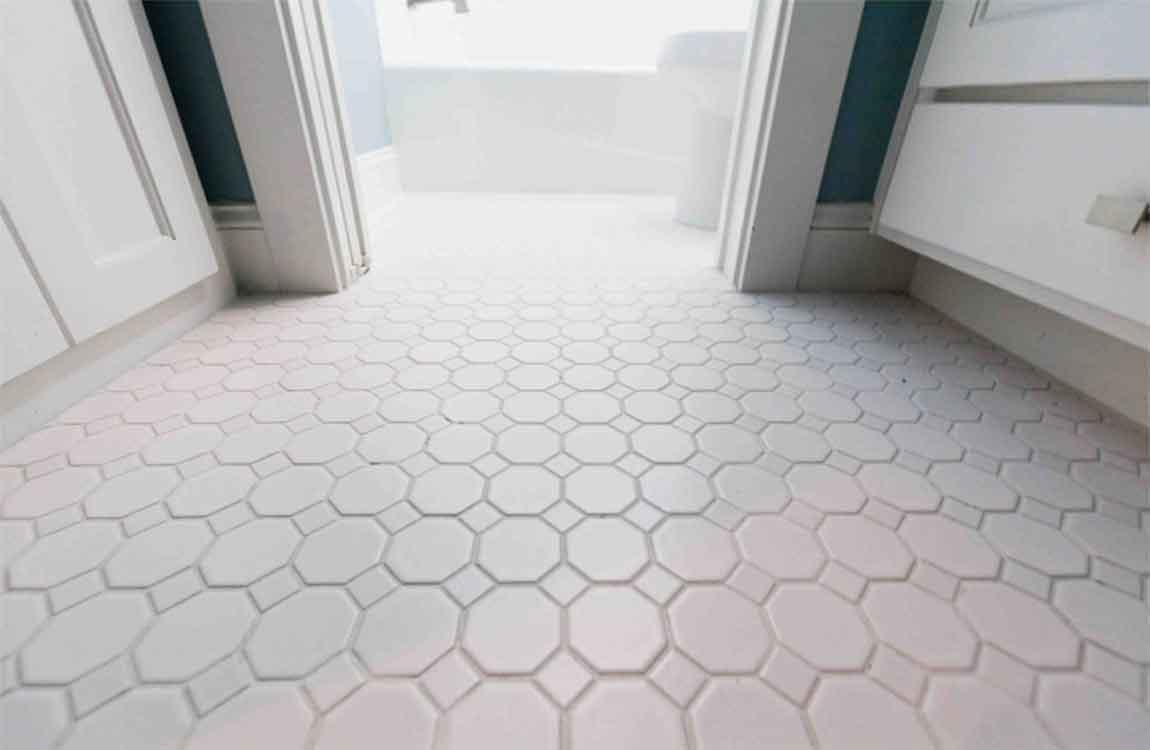
https://baranaceramic.com/wp-content/uploads/2019/08/establishing-layout-lines-2.jpg7501150administratorhttps://baranaceramic.com/wp-content/uploads/2025/09/logo.pngadministrator2019-08-13 08:00:462019-08-07 03:28:20How Establishing Your Layout Lines?
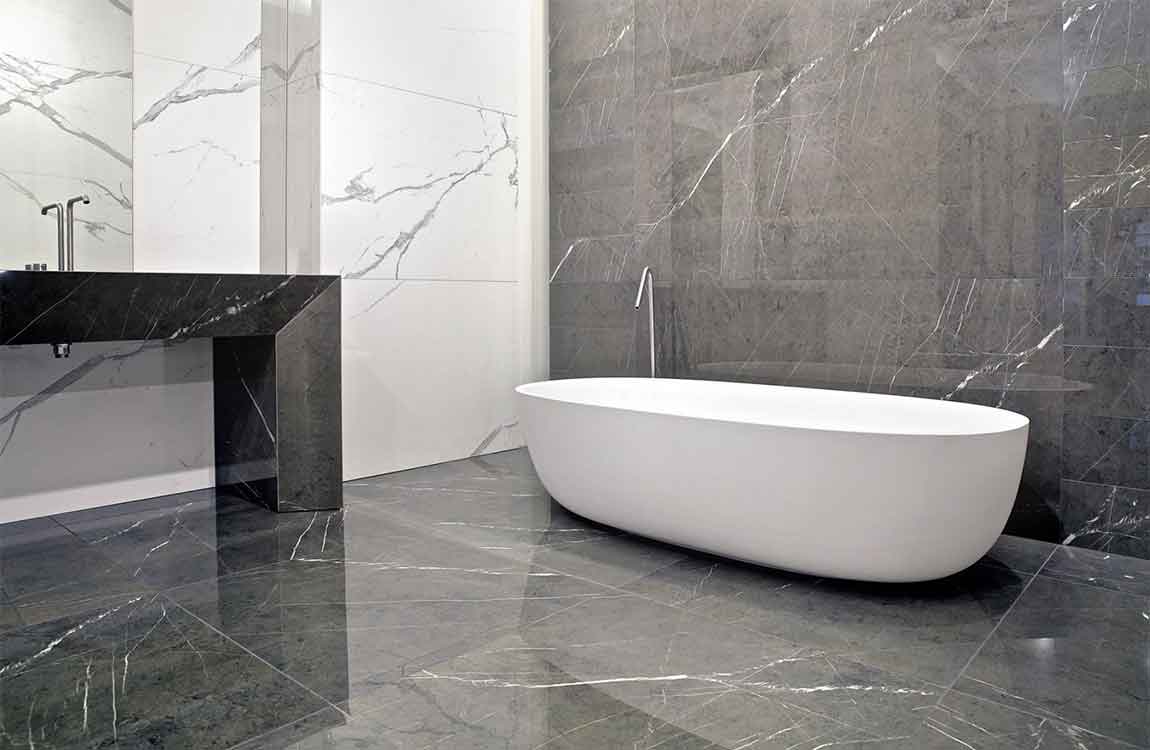
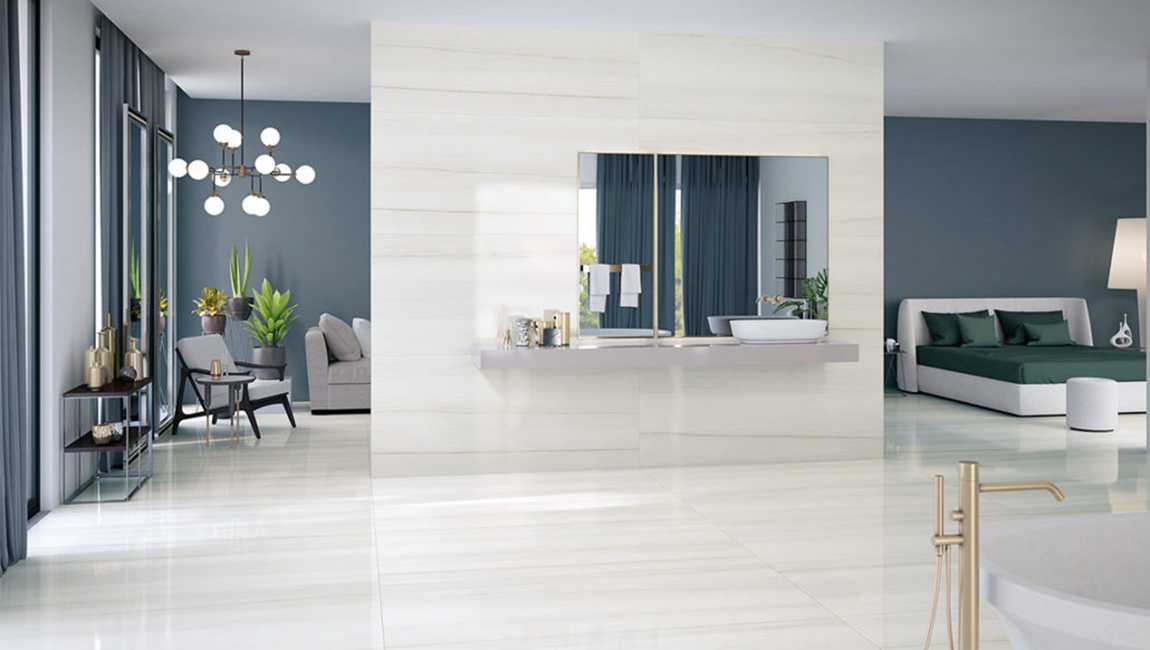
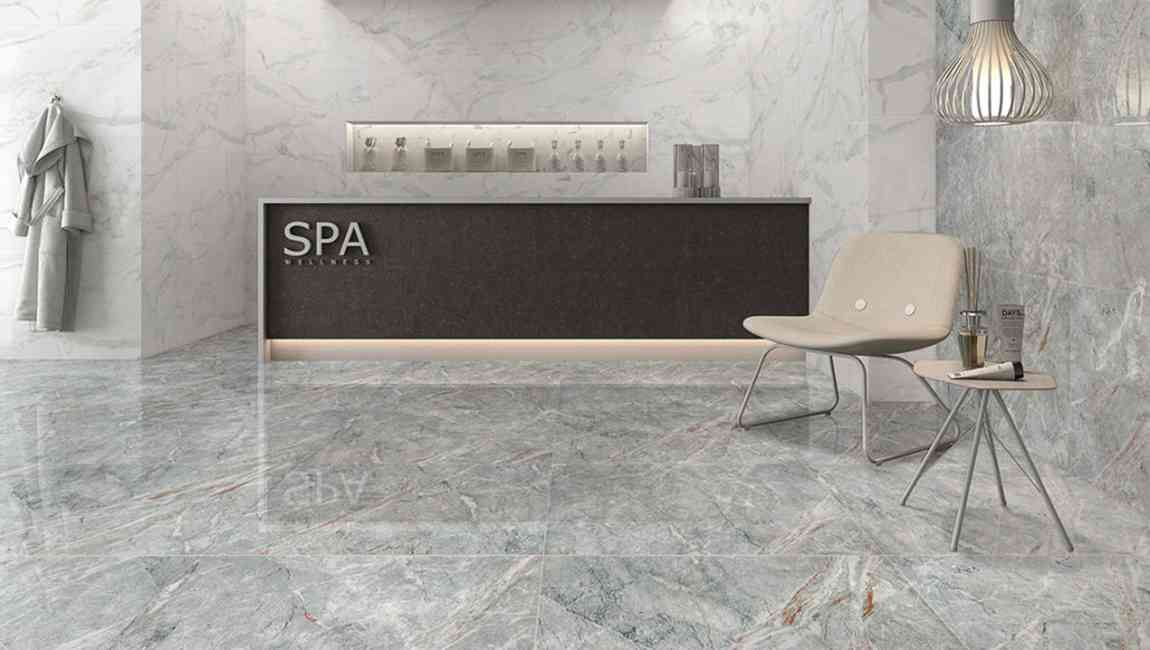
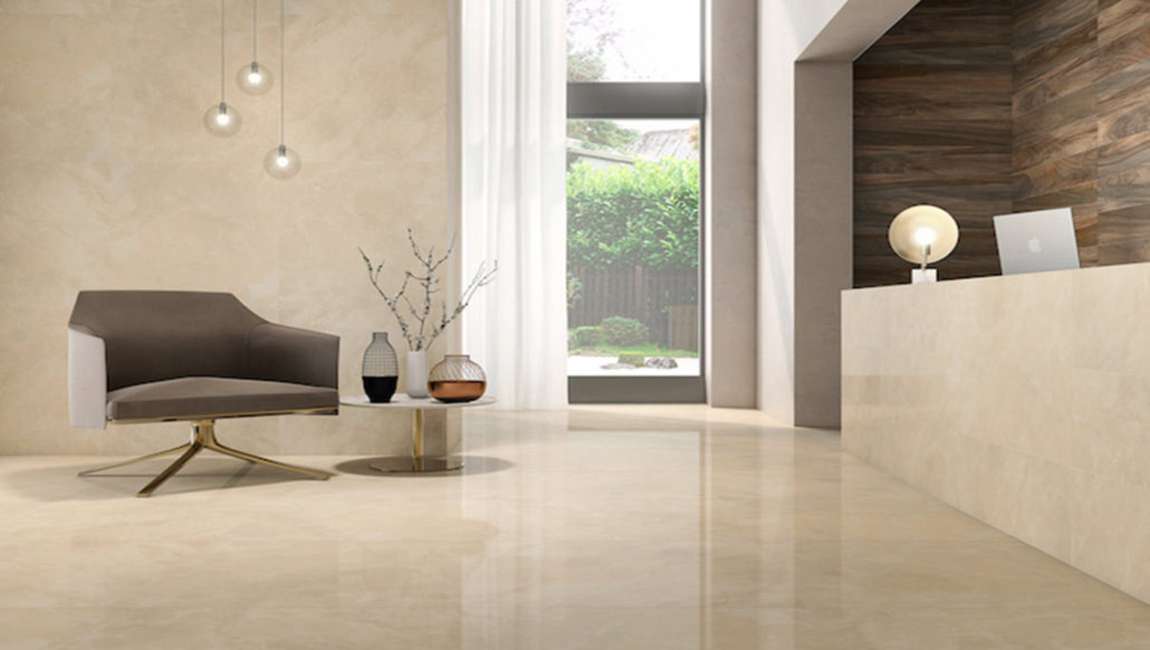
Before you buy tile for a tiling project, you should be able to identify porcelain and ceramic tiles. Both are made from a mixture of clays and other materials, then kiln-fired. Both porcelain and ceramic tile are in the category of “ceramic tile.” Ceramic tiles are divided into two groups: non-porcelain tiles (or ceramic) and porcelain tiles. In general terms, porcelain tiles are a higher quality and more resistant to damage, since they’re fired in a kiln at higher temperatures and made of less porous materials.
Inspect the tiles’ finish to see how smooth it is. You can do this either by visually inspecting the tiles’ top surfaces or by running your fingers over the top of the tiles. Porcelain tiles have a fine-grained finish that is smoother than the finish on ceramic tiles. So, if the finish is slightly bumpy or coarse when you touch it, you’re dealing with non-porcelain (ceramic) tile. If the tiles are already glazed, flip them over and look at the unglazed underside.
Look for chips in the glaze to identify ceramic tile. Look closely at the glaze: if it’s chipped, you will be able to see the tile’s white or tan base. This is a sure sign that the tile is ceramic. Porcelain tiles are sometimes, but not always, glazed. Most high-quality porcelain tileswill have a consistent color that goes through the top, body, and bottom of the tile. Ceramic tiles, on the other hand, are nearly always glazed. Glazed porcelain tiles are much harder and are more resistant to wear and damage than non-porcelain ceramic tiles.
Examine the sides of the tile for a white, tan, or red color. While porcelain tiles can be colored, ceramic tiles will always have a white, tan, or red color, with a colored glaze on top. So, if you see that the sides (and base) of the tile are any other color other than white, tan, or red, you can be sure that you’re dealing with a porcelain tile. Some cheap, low-quality porcelain tiles may not have the color mixed through the body of the tile. Avoid purchasing these tiles.
Compare the costs of the two tile types. In nearly every scenario, porcelain tiles are more expensive than ceramic tiles: they take more time to produce, are more versatile, and tend to last longer. If you’re looking at two types of tiles in a hardware or home-supply store, non-porcelain (ceramic) tiles will be a little cheaper. As a broad rule of thumb, porcelain tile usually costs approximately 60% more than ceramictile.
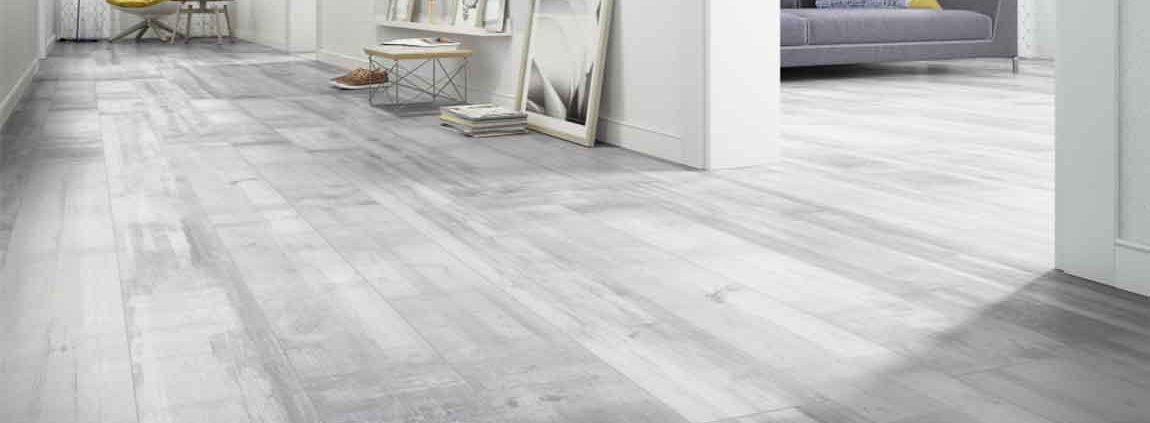
https://baranaceramic.com/wp-content/uploads/2018/11/The-Difference-Between-Porcelain-and-Ceramic-Tiles.jpg600900administratorhttps://baranaceramic.com/wp-content/uploads/2025/09/logo.pngadministrator2018-11-12 08:50:502019-11-26 08:47:56The Difference Between Porcelain and Ceramic Tiles
Ceramic tile can be a beautiful addition to your home or garden. It begins with just a lump of clay, which is mixed with other ingredients to create a medium by which to form the tiles. Pigments and designs are added before glazing to add color and texture. If you love working with your hands, making your own ceramic tile can be fun and rewarding, especially if you intend to use it in your own home or garden. Aside from purchasing a kiln for firing your tiles, most ingredients are fairly inexpensive and some can be made from materials in your own home. Making ceramic tiles takes only a bit of creativity and time.
Begin with good clay, such as that designed for sculpting and that has small- and large-sized grog (fired and ground up clay). Check the temperature at which you will fire the clay. Ensure that the clay you use will mature at that temperature. Work the clay when it is fairly dry. Ensure that your wood tiles are at least 1/2-inch (1.3 cm) thick.
Roll a slab of clay onto a hard working surface from which your clay can be easily removed. Use a slab roller to flatten the clay. Calculate the diameter of a ball of clay that is needed to reach your marble tile’s size, including shrinkage. Use a magic marker to mark that size on your bat. Throw to the mark.
Determine the weight of the clay ball that ended up to be the correct dimensions of your floor tiles and use that weight for the rest of the clay. Construct a bottomless wood frame. Pound the clay into the frame. Cut off the excess clay. Allow the clay to dry slightly or use a spray lubricant to avoid having it stick to the wooden frame. Push the clay out of the frame’s bottom using a strong material the same size as the clay.
Purchase a clay-cutting device, which is similar to a cheese slicer, or make your own. Ensure that the device is at the specific thickness for your tile specifications. Put the device wire evenly through the block of plugged clay (ground clay that is kneaded with water and becomes more elasticized) to slice off bathroom tile pieces.
Make a metal or wooden template. Cut the cement tiles out after the clay has dried to a leathery consistency. Cover the tiles with plastic. Place the tilesbetween two pieces of sheetrock, plywood or fire-proofing board to help draw out the moisture or dry the tiles on a wire rack or plastic grids.
Incise a slab of clay with a 3.94-inch-long (100 mm) line. Fire the slab at the appropriate temperature. Measure the line after firing to determine shrinkage rate. Stack your kitchen tiles atop each other or place the tiles in a tile setter for bisque firing or place topps tiles on a flat surface for glaze firing. Create a moat to protect your tiles and ensure even firing using bars of clay.
https://baranaceramic.com/wp-content/uploads/2018/10/barana-offer-cheap-marble-floor-tile-and-marble-wall-tiles-主图.jpg600900administratorhttps://baranaceramic.com/wp-content/uploads/2025/09/logo.pngadministrator2018-10-08 03:39:372018-11-28 05:50:12How to Make Ceramic Tiles?
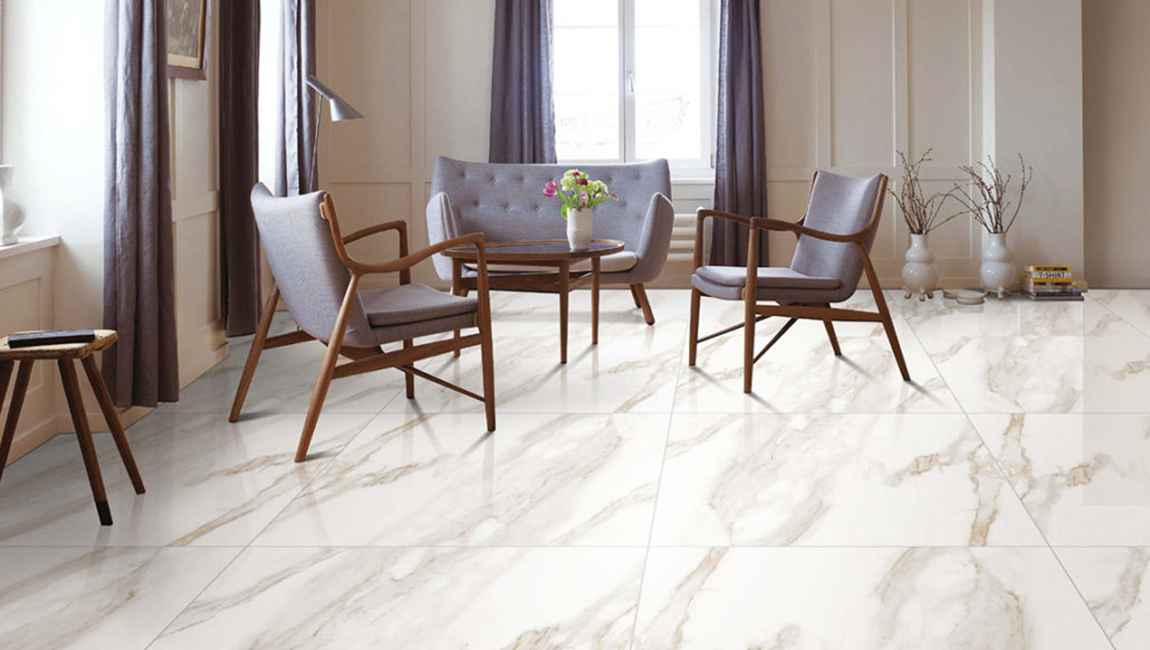
Place the marbletiles in the pattern. Place your tiles within the grid you have created. This dry-run allows you to identify areas where you will need to cut floor tiles to fit and will help you determine the best place to start laying the tile based on your pattern and the shape of the area you plan to tile. If the gap between the last complete tile and the wall is less than 2 inches (5 cm) then you should move the center tile over. This makes the strip of tile in this area wider, which will look nicer when you lay your tiles design.
Apply a layer of thin-set adhesive on the floor surface using a notched trowel. Be sure to wear heavy-duty work gloves and work one section of the floor at a time. The adhesive should be thick enough that you can use the notched edge of the trowel to make grooves in the adhesive without showing the floor below, but thin enough that it does not push up between the cement tiles. The grooves ensure that the adhesive spreads evenly on the back of the wall tiles. Choose the adhesive recommended for your type of marble. Ask at the location where you purchase your tiles about the proper adhesive to use.
Lay wood marble tiles firmly in the thin-set adhesive. Lay the wood tiles on top of the adhesive within 10 minutes of applying the adhesive. Be careful not to slide the small tiles into place or get adhesive on the top of the tiles. Sliding the tiles into place will push up the adhesive and make the tiles uneven, causing them to crack. Adhesive will be difficult to remove from the tops of the tiles.
Position the tiles in place using spacers.Use spacers to create the correct spacing between the ceramic tiles and keep them even with straight lines along the rows and columns. You should use 1/8 inch (3 mm) marble tile spacers. Spacers help ensure proper placement of the tiles.
Check the level of the tiles.Check the level of the tiles to ensure that no edge “lips”, or rises above the rest of the tiles. Take a length of wood and lay it across the tops of the commonmarble tiles, using a hammer to lightly tap the wood down. This ensures that all the tiles are at the same level. Use the piece of wood in both directions along the grid to make all the tiles exactly the same level.
Measure the dimension of any partial tiles needed by placing one tile on top of the full tile closest to the wall.Place another tile against the wall so that the edge of the second tile lays on top of the first tile. Score a line in the first tile using a utility knife to mark your cut line for the correct width of tile needed.
Use a wet saw to cut the tiles to fit in the edges along the walls or special spaces.In order to minimize the risk of tiles breaking when they are being cut, saw three-fourths of the length of the tile, turn the tile around and then cut the remaining length. Repeat the process until you have cut all the specially sized tiles and placed them into the adhesive. You can usually rent a wet saw for a day from a local hardware store or tool rental company.
Remove any excess adhesive between the tiles.If you have put too much adhesive beneath the tiles or push the tiles down too hard then it can push up between the tiles. If this has happened then you must take a small knife to cut out these extra bits. Leave tiles undisturbed 24-48 hours to allow adhesive to dry completely. Different adhesives take different lengths of time so check the adhesive instructions for the proper drying time. Do not step on the tiles during this time or else you can make them uneven.
https://baranaceramic.com/wp-content/uploads/2018/09/How-to-Install-Marble-Floor-Tile-1.jpg600900administratorhttps://baranaceramic.com/wp-content/uploads/2025/09/logo.pngadministrator2018-09-25 07:37:502018-11-28 05:51:42How to Install Marble Floor Tile?