
How Removing Backsplash Tile?
Purchase a multi-tool with saw attachments. Buy a grout cutting attachment. Secure it with a hex key. If you can’t find a grout cutting attachment, try using a sharp and strong utility knife to cut through old grout. Put on safety goggles, a long-sleeved shirt and leather gloves.

Use the electric saw attachment to cut through the lines of grout in your backsplash. You can also do this by hand with a grout scraper, but a cutting tool will be more exact. You have to be more carefully with a backsplash since you may not be able to replace damaged drywall near your kitchen appliances.
Wedge a chisel beneath the stone tile using the cuts in the grout. Hit the chisel with a hammer to drive it further under. The tile should chip away slowly. Scrape along the backsplash with a putty knife to remove surface debris. Patch the backsplash sheetrock with patching compound and drywall mesh tape.
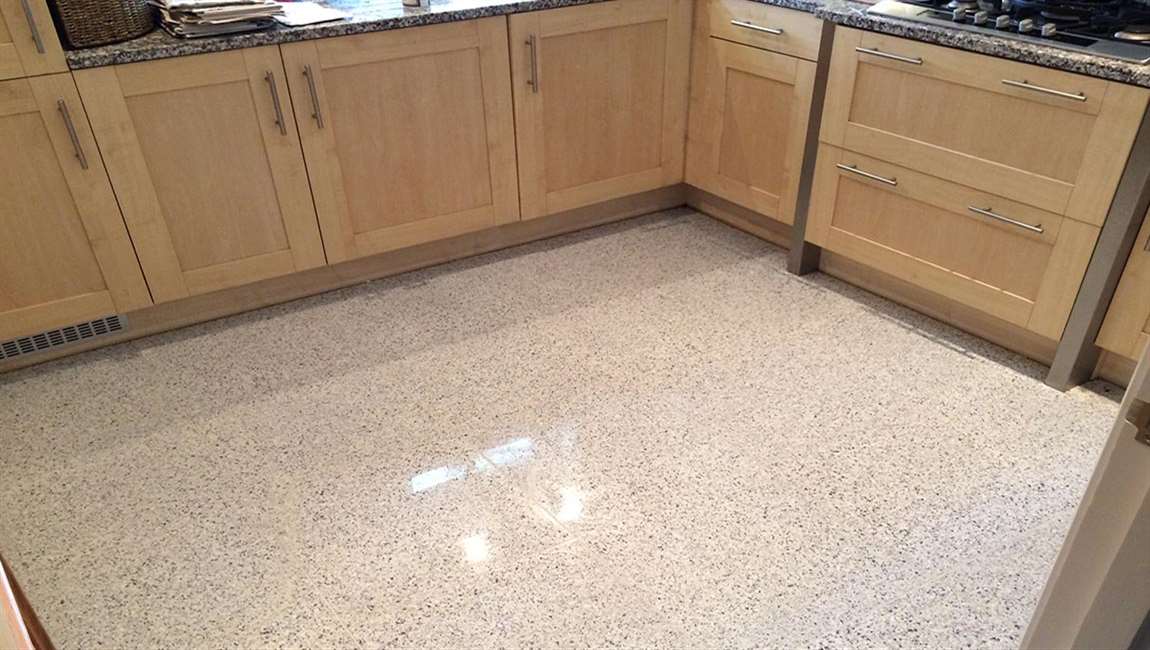
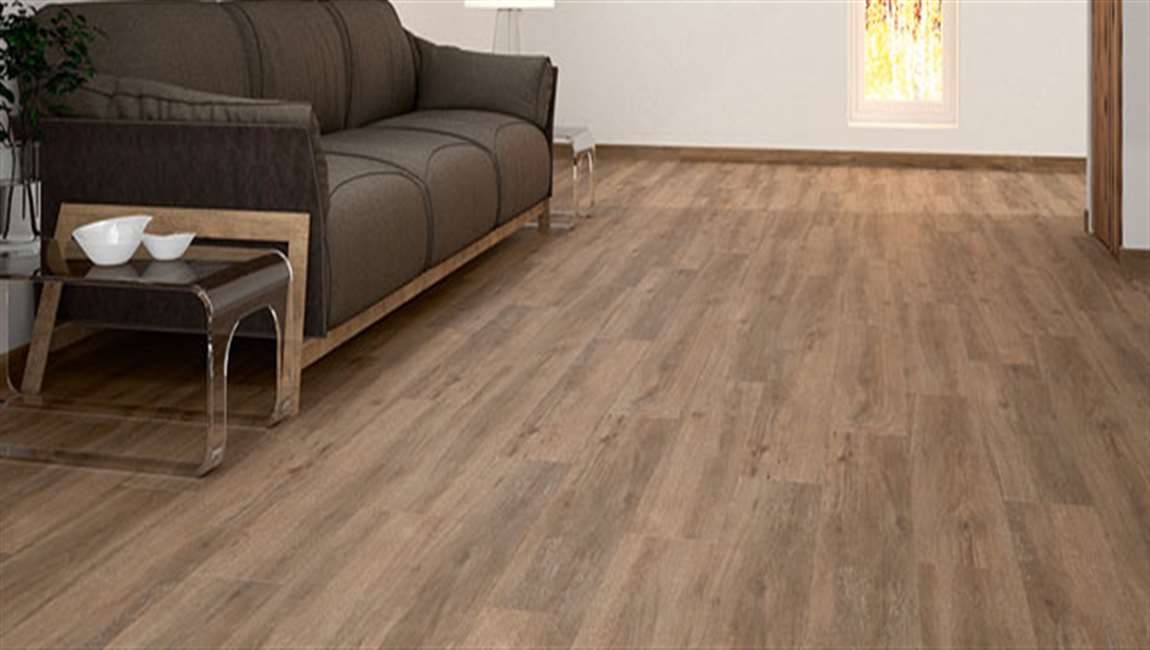
Once you have prepared your mortar solution, use a trowel to spread it onto the floor. Once the mortar has been spread evenly, gently lay the white tiles and tap them into place with the trowel. Use spacers into ensure that the tiles are properly spaced as you lay them into your envisaged patterns. Once the element tiles have been set, let them dry out for at least a day.

Complete the finishing touches. Once the wood tiles have set properly, finish them off using grout. Grout is commercially available in a variety of colours, choose the one that suits your needs best. Mix as directed and apply to the gaps in the tiles. Be sure to clean off the excess grout from between the tiles and any that spills onto their surface. After this is done, let the floor set for a couple of days. Clean off the floor one last time with a wet mop, and then it is ready for use.

")


")
")


