Posts

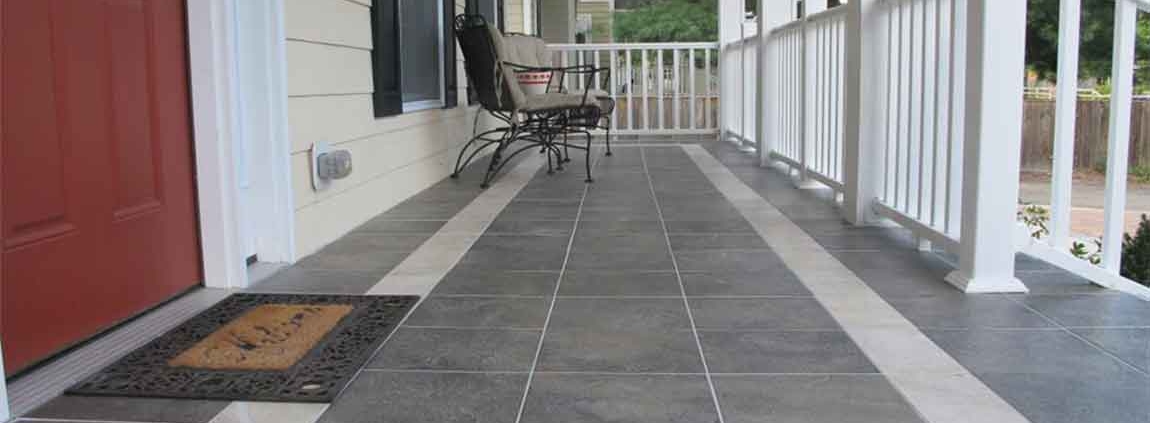
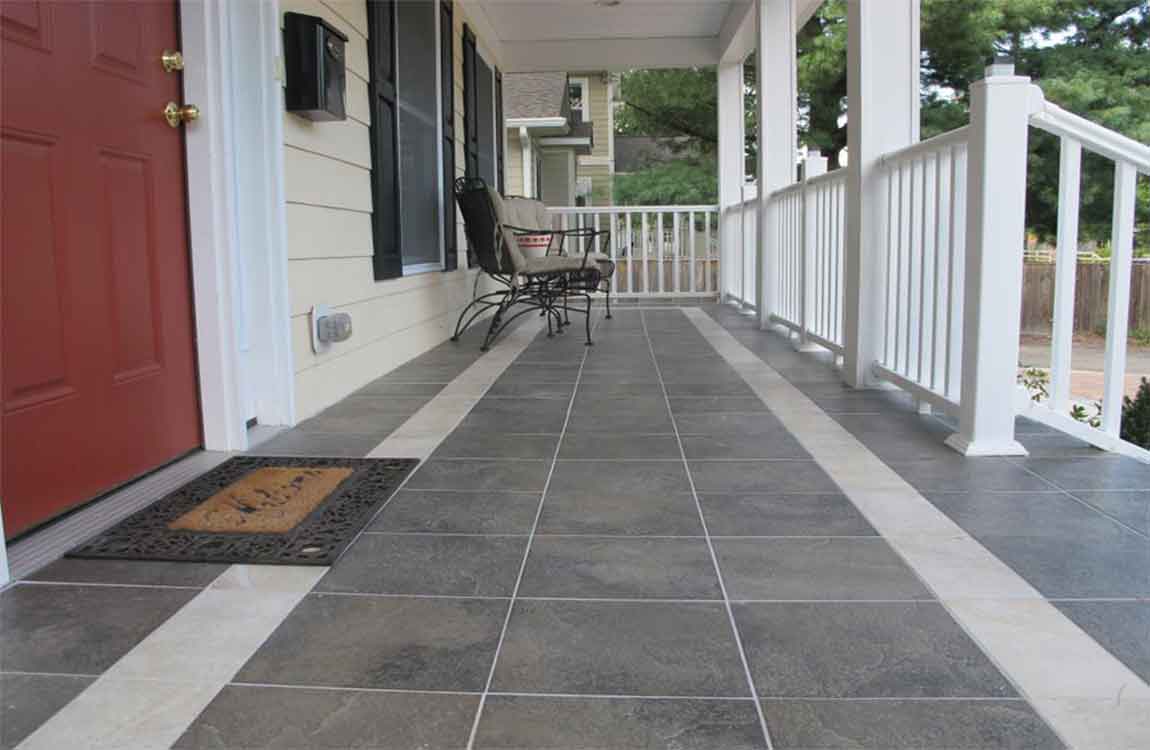
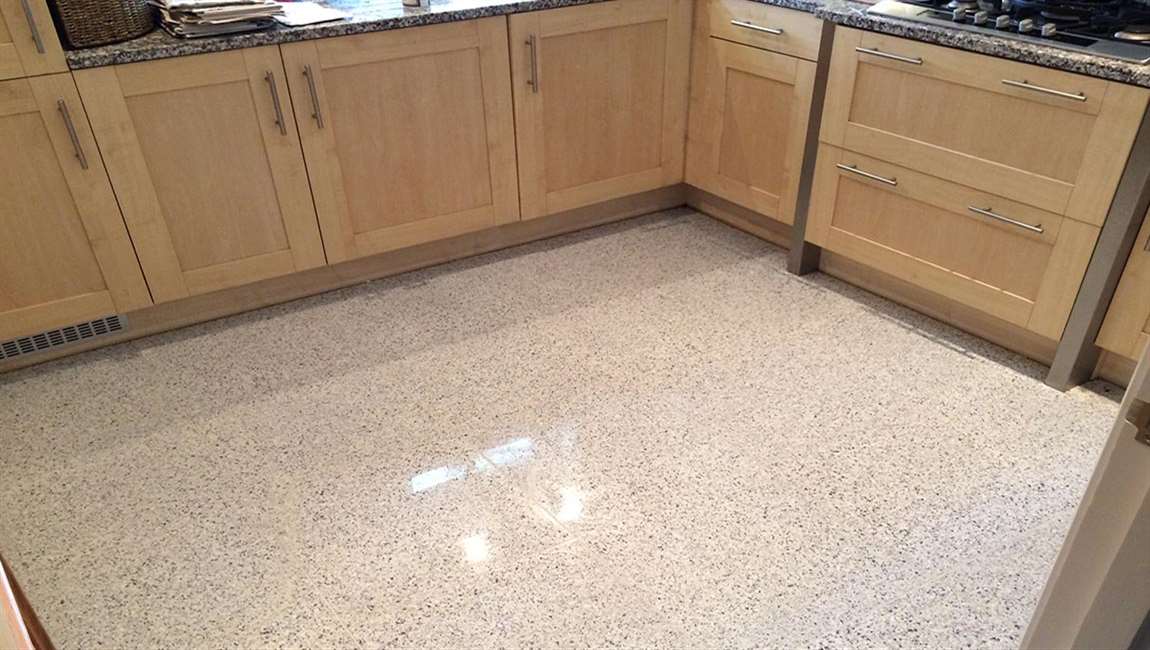
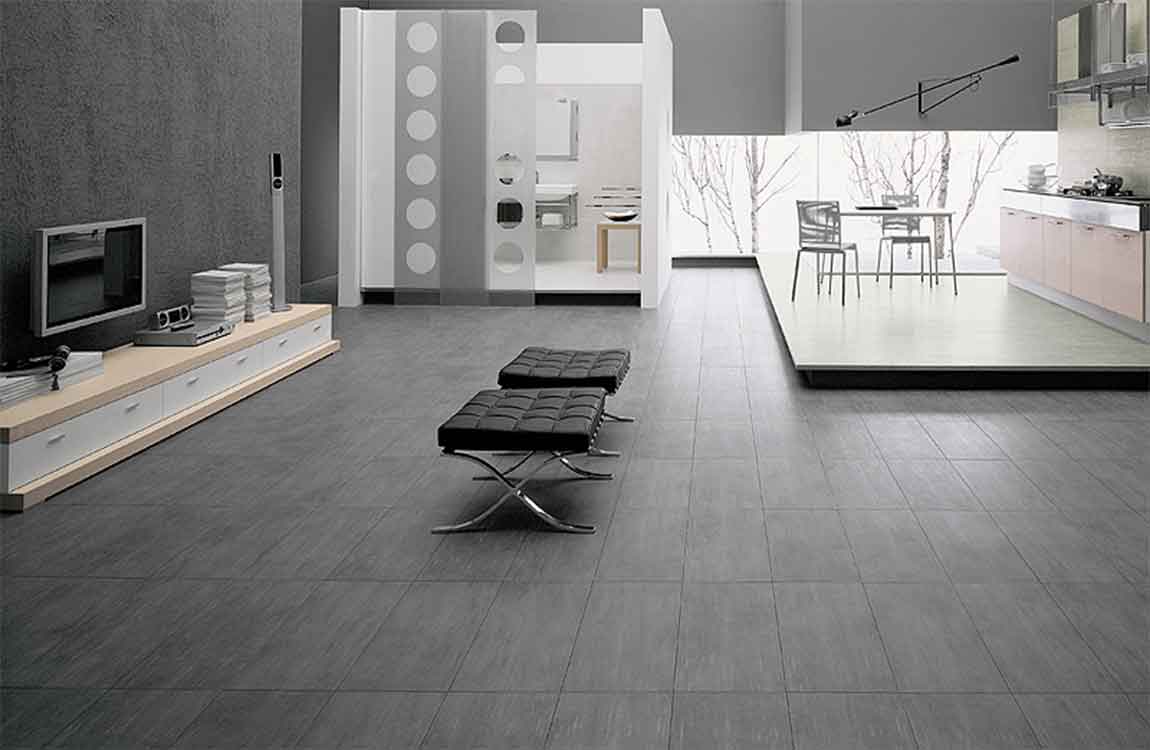
Vacuum Cleaning Floor Before Clean the Tile Floor


Clean the active floor with a vacuum cleaner at least 3 times a week. The floors of the kitchen and living room need to be vacuumed regularly, and as the number of people living in the house increases, so does the floor. The area floor with less activity, such as bedroom floor, should be cleaned once a week. 

According to general experience, the number of times a week that an area is vacuumed is the same as the number of people using the space. For example, one person’s bedroom floor can be cleaned once a week. However, a living area with four people should be cleaned four times a week.

If your pet is depilated or your child is allergic, you need to vacuum the floor frequently. Move all the small furniture out of the room once a month, so you can vacuum the floor under the room. Move all the big furniture out of the room and vacuum the floor once or twice a year.

Clean the floor first. The high efficiency air filter in the modern vacuum cleaner can prevent small pieces from being discharged from the vacuum cleaner, which means you don’t need to dust the floor again. Wipe objects, surfaces, and furniture with microfiber cloth.

You shake the curtains off when you dust them. Leave the curtain dust on the floor for a few minutes before vacuuming. Remove the big toys and pet bed from the floor. At this point, anything touching the floor should be moved. So you can vacuum the floor of the room thoroughly.

The Knowledge of Tiling Tiles

Scratch the stucco 5 to 10 minutes after applying it. Waiting allows the scratch coat to solidify it a little bit so you don’t accidentally end up scratching the wall underneath it. When you’re ready, get a tool called a scarifier, which looks like a handheld rake or comb. Rake it horizontally across the entire wall to scratch lines into the stucco. A scratch coat is a rough initial layer. You create scratch marks on it to create a base for the final layer to bond to, leading to a stronger wall covering.


The scratch marks don’t have to be perfectly horizontal or even. Simply drag the tool across the wall a few times. As long as you have marks along the entire wall, you can create a much stronger finish. If you don’t have a scarifier available, use the edge of a trowel or another tool. Make the scratches about 1⁄8 in (0.32 cm) deep.


Dry the stucco for 2 days, misting it twice a day. Leave the stucco exposed to harden in open air. Keep it wet by spraying it with water from a misting bottle each morning and afternoon. If you let the stucco dry out before it finishes curing, it may weaken and crack. Stucco is similar to concrete and needs to be treated the same way. Always let the first layer cure before applying a second one.


Apply a second layer of stucco and let it dry. Finish the wall cover by repeating the process with another 1⁄4 in (0.64 cm) layer. This time, instead of scratching the stucco, use the trowel to create whatever finished design you want. When you’re finished, mist it and dry it for at least 2 days.


For example, some designers sweep a trowel across the stucco to give it an uneven, ridged design. You could also use a scarifier to give it a scratched design or leave it flat if you wish. If you wish to use concrete pigment, don’t forget to mix it in with the fresh batch of stucco. Otherwise, you can apply wall paint to the stucco after it finishes drying.

How Removing Backsplash Tile?

Purchase a multi-tool with saw attachments. Buy a grout cutting attachment. Secure it with a hex key. If you can’t find a grout cutting attachment, try using a sharp and strong utility knife to cut through old grout. Put on safety goggles, a long-sleeved shirt and leather gloves.

Use the electric saw attachment to cut through the lines of grout in your backsplash. You can also do this by hand with a grout scraper, but a cutting tool will be more exact. You have to be more carefully with a backsplash since you may not be able to replace damaged drywall near your kitchen appliances.

Wedge a chisel beneath the stone tile using the cuts in the grout. Hit the chisel with a hammer to drive it further under. The tile should chip away slowly. Scrape along the backsplash with a putty knife to remove surface debris. Patch the backsplash sheetrock with patching compound and drywall mesh tape.

Once you have prepared your mortar solution, use a trowel to spread it onto the floor. Once the mortar has been spread evenly, gently lay the white tiles and tap them into place with the trowel. Use spacers into ensure that the tiles are properly spaced as you lay them into your envisaged patterns. Once the element tiles have been set, let them dry out for at least a day.

Complete the finishing touches. Once the wood tiles have set properly, finish them off using grout. Grout is commercially available in a variety of colours, choose the one that suits your needs best. Mix as directed and apply to the gaps in the tiles. Be sure to clean off the excess grout from between the tiles and any that spills onto their surface. After this is done, let the floor set for a couple of days. Clean off the floor one last time with a wet mop, and then it is ready for use.