
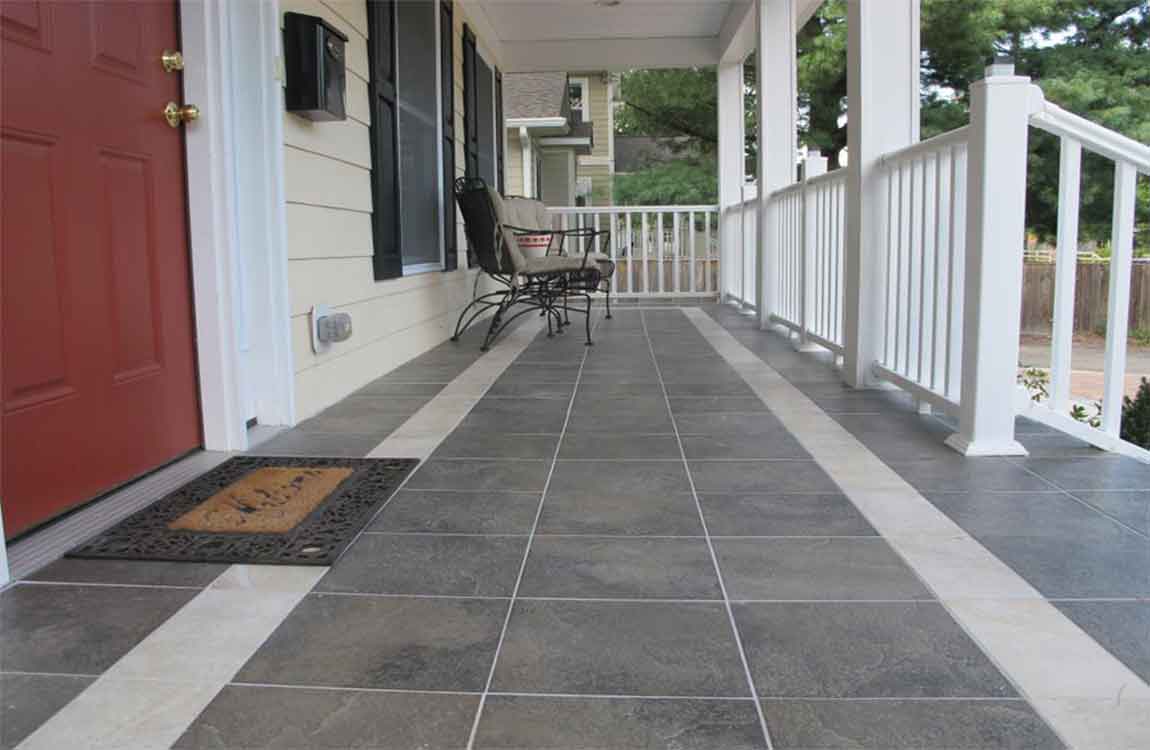
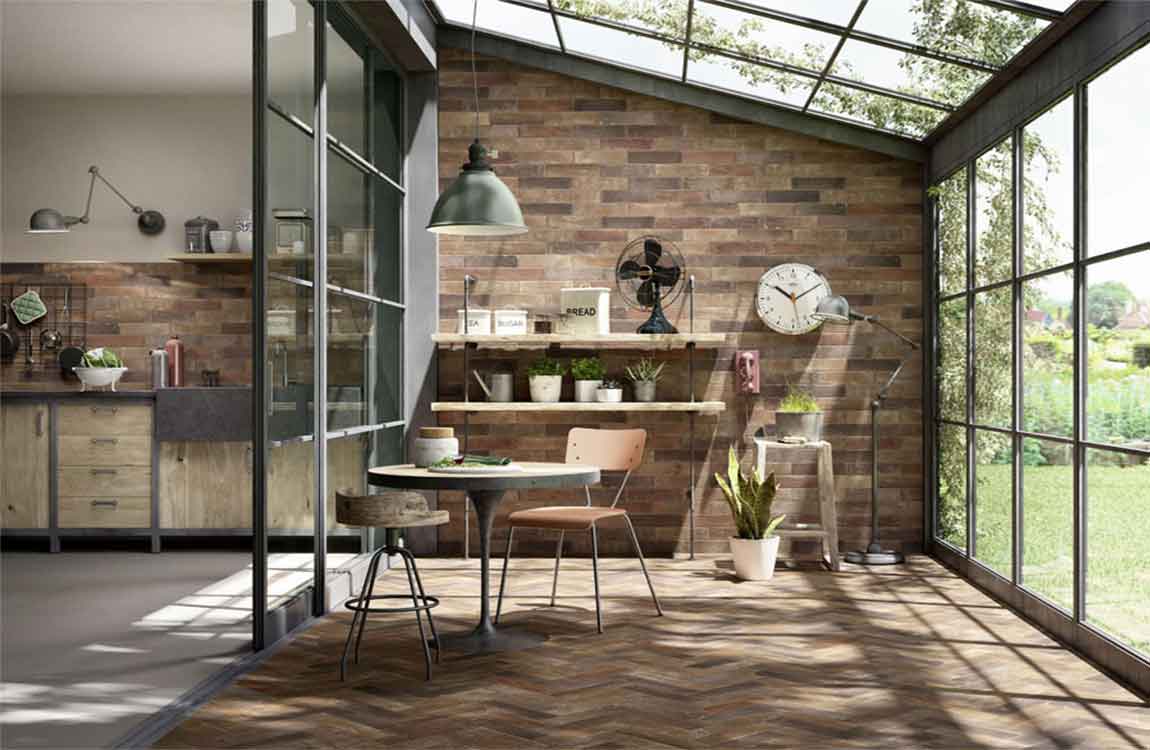
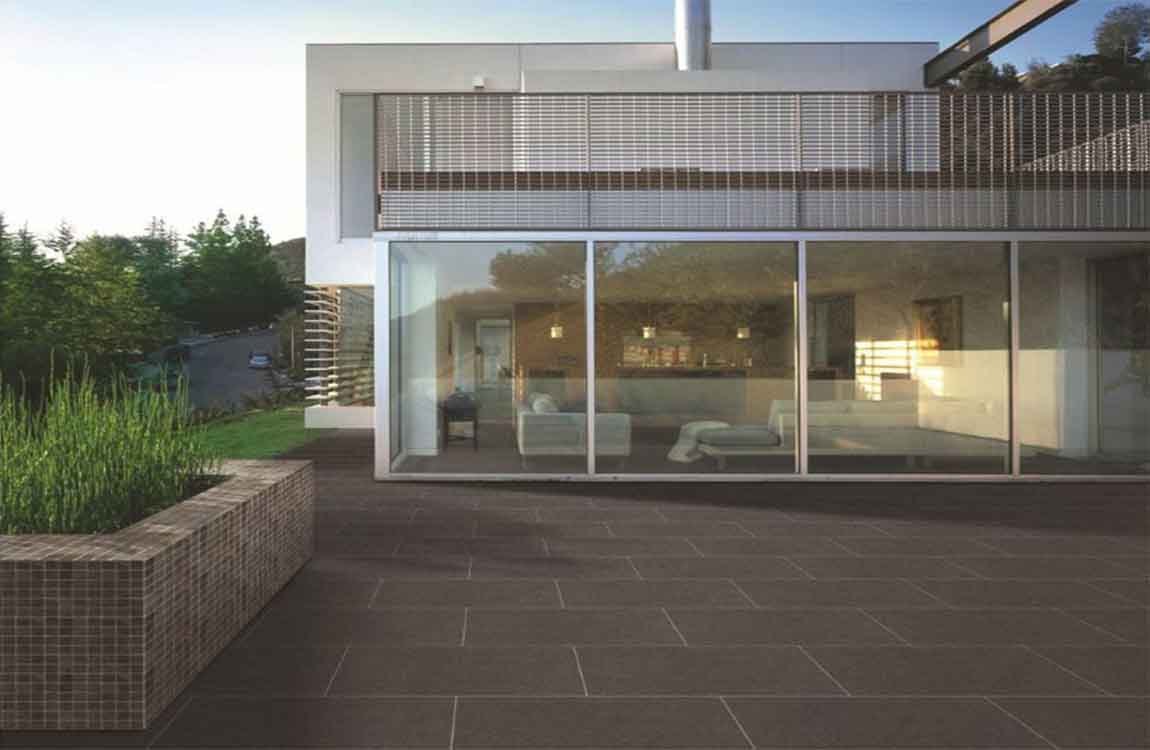
The Knowledge of Tiling Tiles

Scratch the stucco 5 to 10 minutes after applying it. Waiting allows the scratch coat to solidify it a little bit so you don’t accidentally end up scratching the wall underneath it. When you’re ready, get a tool called a scarifier, which looks like a handheld rake or comb. Rake it horizontally across the entire wall to scratch lines into the stucco. A scratch coat is a rough initial layer. You create scratch marks on it to create a base for the final layer to bond to, leading to a stronger wall covering.
The scratch marks don’t have to be perfectly horizontal or even. Simply drag the tool across the wall a few times. As long as you have marks along the entire wall, you can create a much stronger finish. If you don’t have a scarifier available, use the edge of a trowel or another tool. Make the scratches about 1⁄8 in (0.32 cm) deep.

Dry the stucco for 2 days, misting it twice a day. Leave the stucco exposed to harden in open air. Keep it wet by spraying it with water from a misting bottle each morning and afternoon. If you let the stucco dry out before it finishes curing, it may weaken and crack. Stucco is similar to concrete and needs to be treated the same way. Always let the first layer cure before applying a second one.
Apply a second layer of stucco and let it dry. Finish the wall cover by repeating the process with another 1⁄4 in (0.64 cm) layer. This time, instead of scratching the stucco, use the trowel to create whatever finished design you want. When you’re finished, mist it and dry it for at least 2 days.
For example, some designers sweep a trowel across the stucco to give it an uneven, ridged design. You could also use a scarifier to give it a scratched design or leave it flat if you wish. If you wish to use concrete pigment, don’t forget to mix it in with the fresh batch of stucco. Otherwise, you can apply wall paint to the stucco after it finishes drying.
")


")


