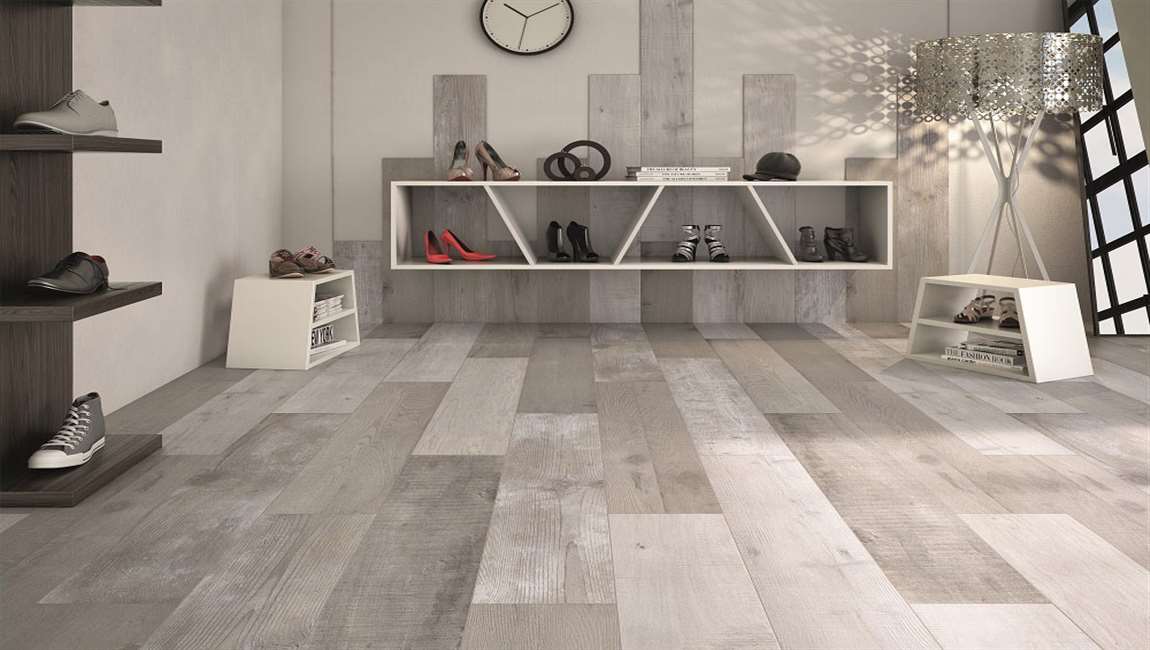
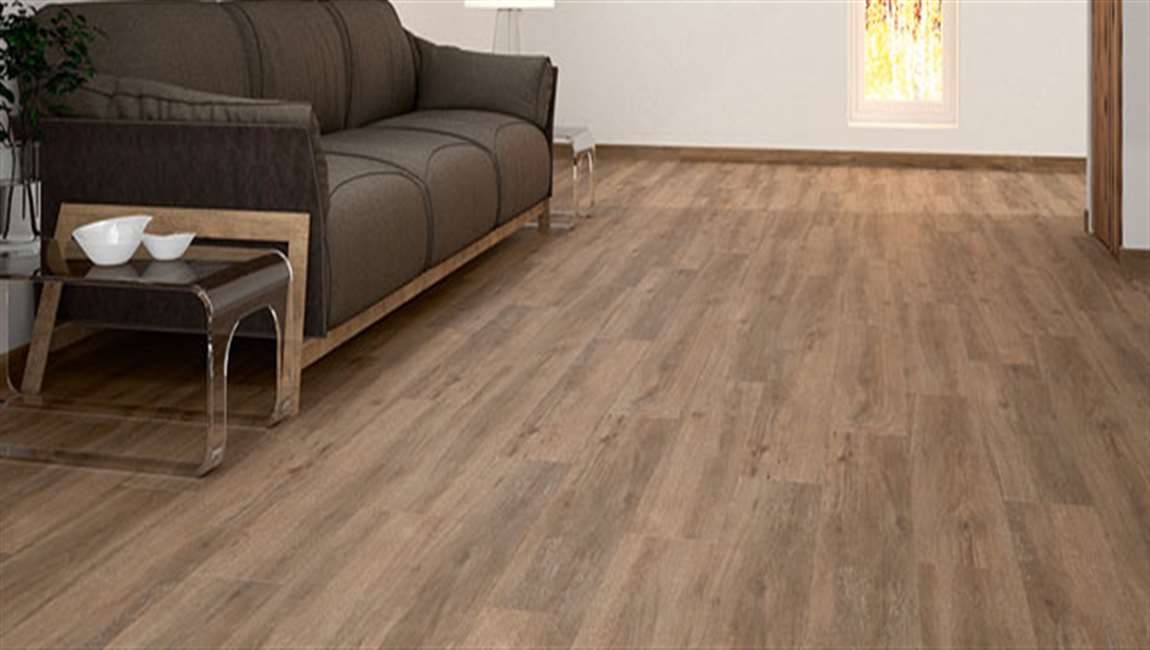
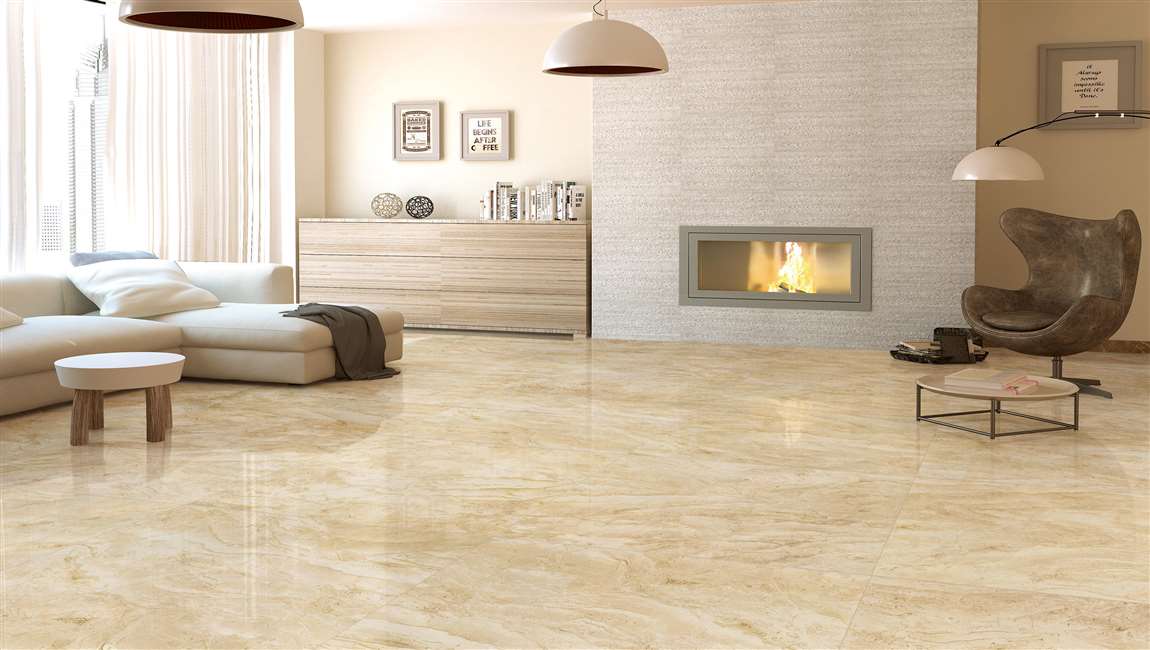
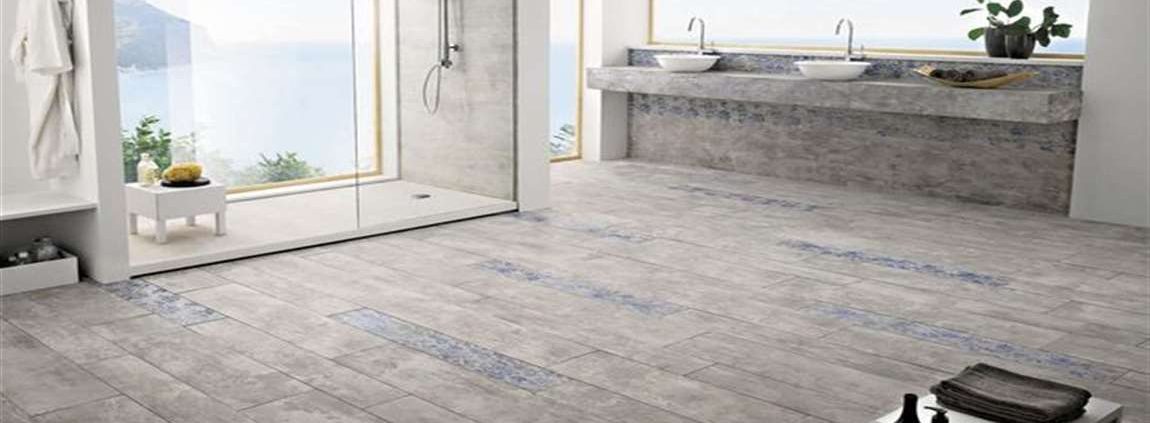
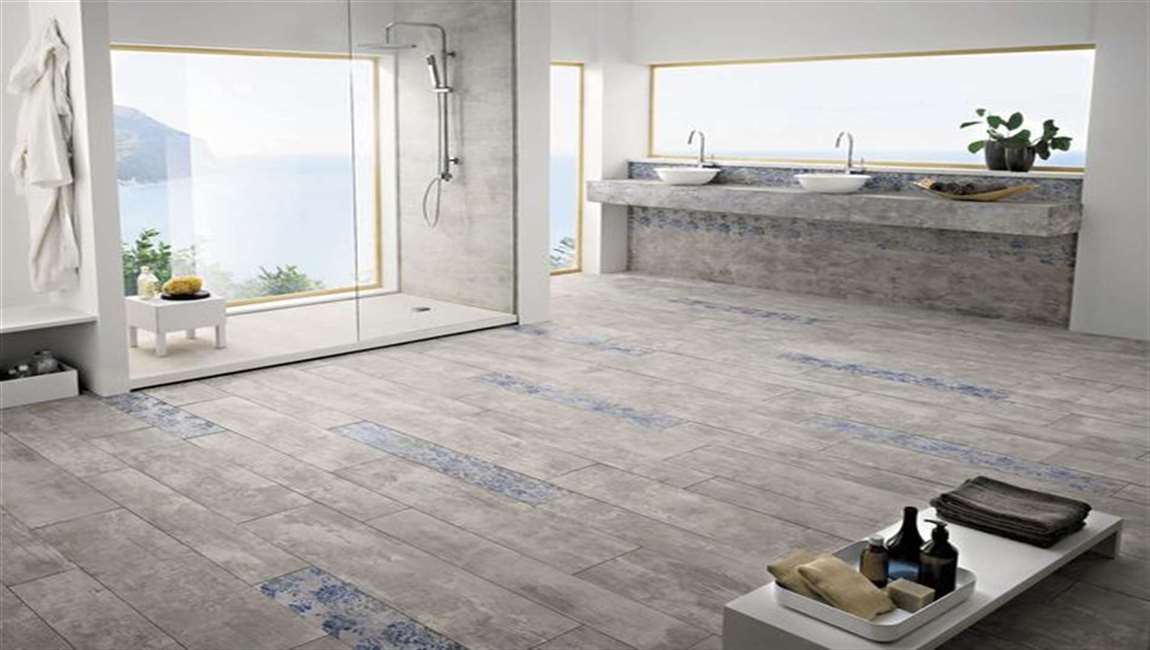
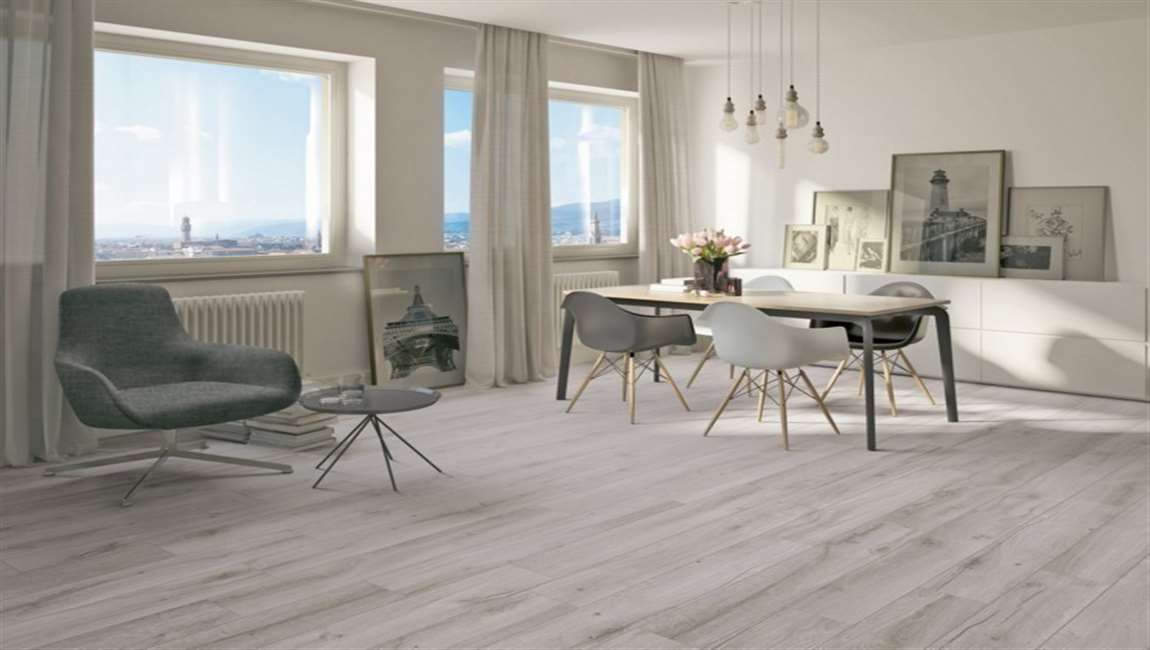
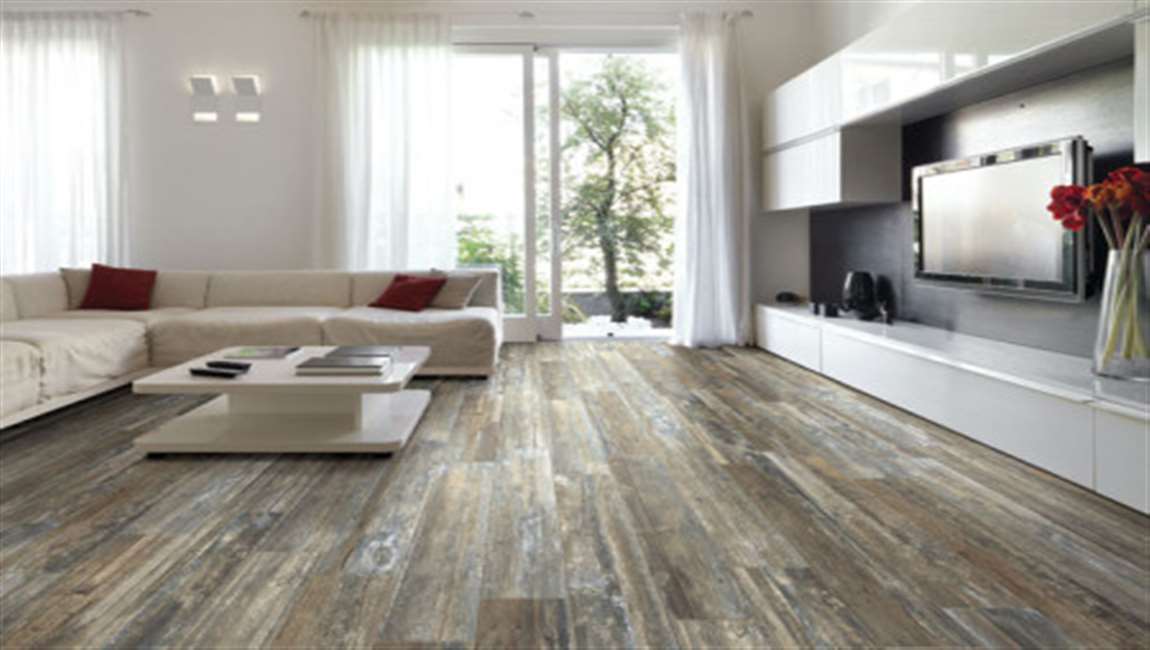
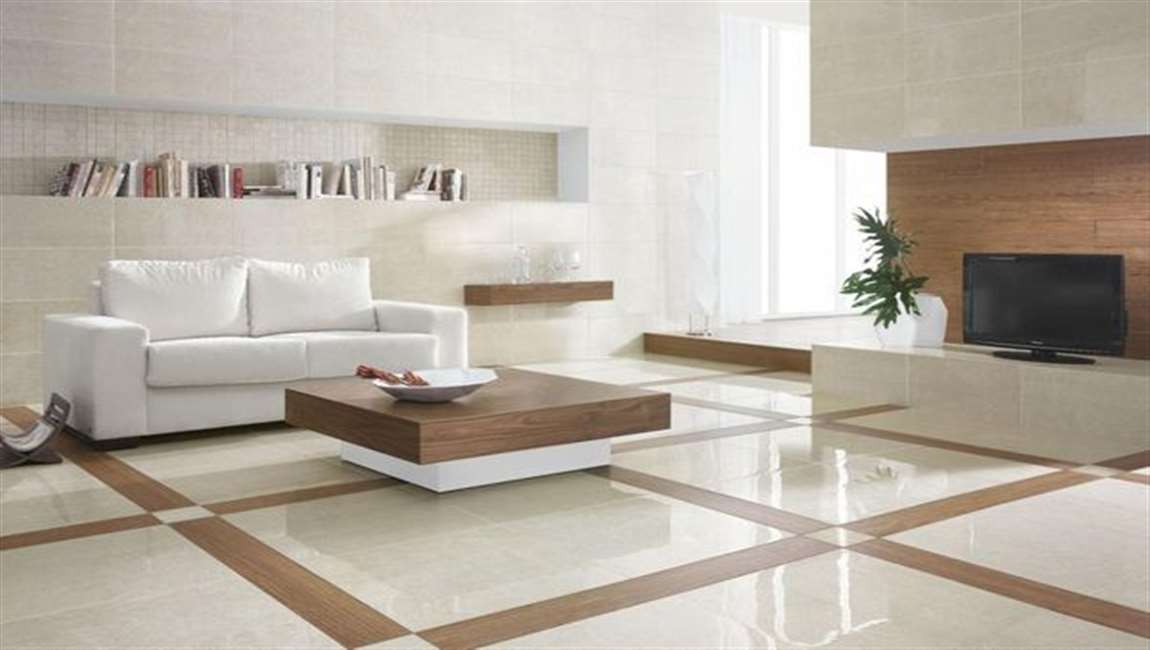
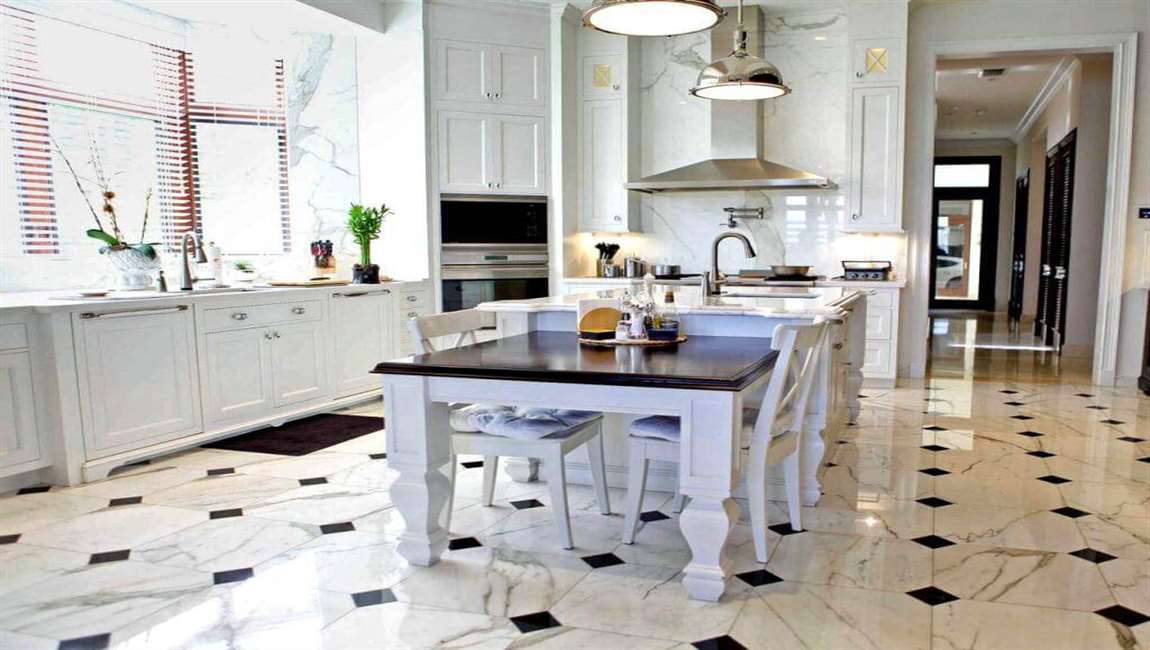
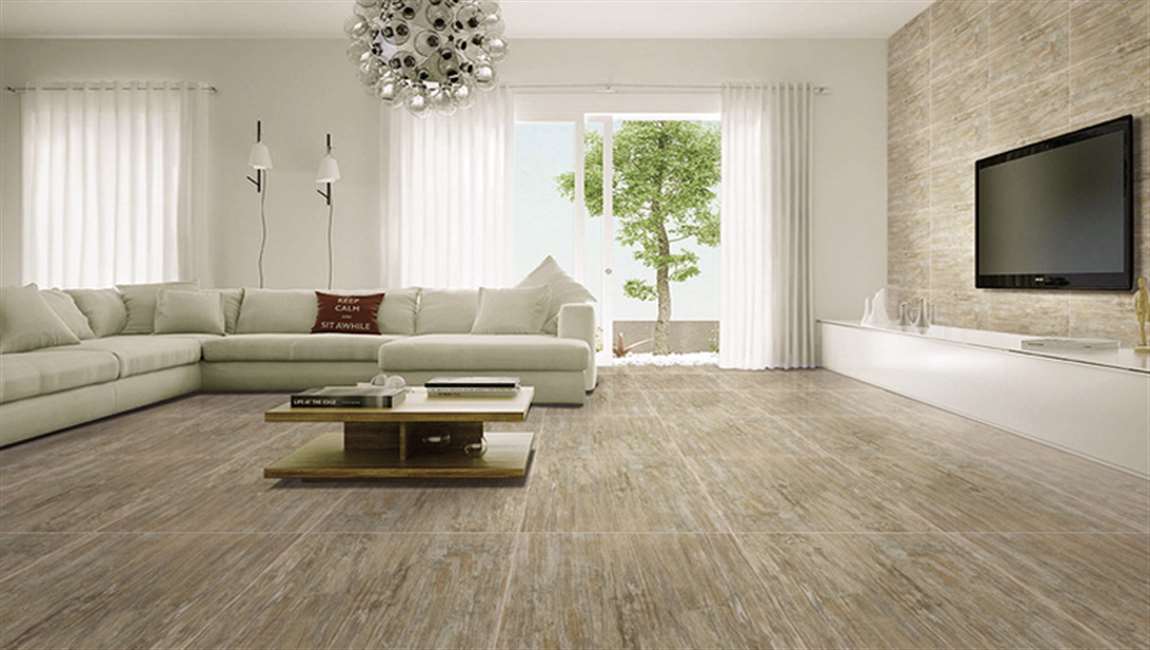
How to Do Tile Painting?

Many people believe that the only way to color a tile is to glaze it in a kiln, but you can actually paint tile yourself at home! If you do the right prep work, it’s a quick, easy task that will let you re-color your flooring or bathroom, or even add a decorative element to your floors, counters, or mantel. Learning how to choose the right supplies, prepare your tile for painting, and paint and seal your wood tile correctly will help you re-do your home quickly and inexpensively.

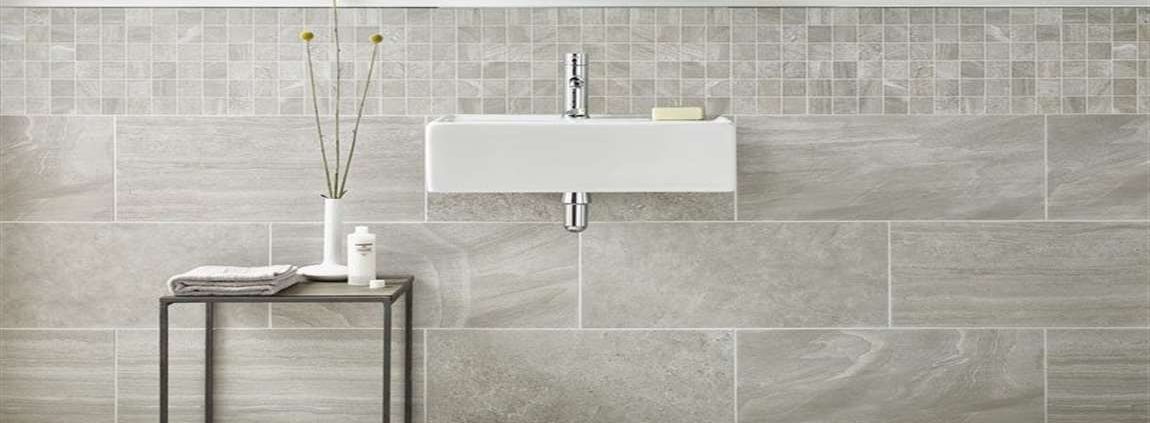
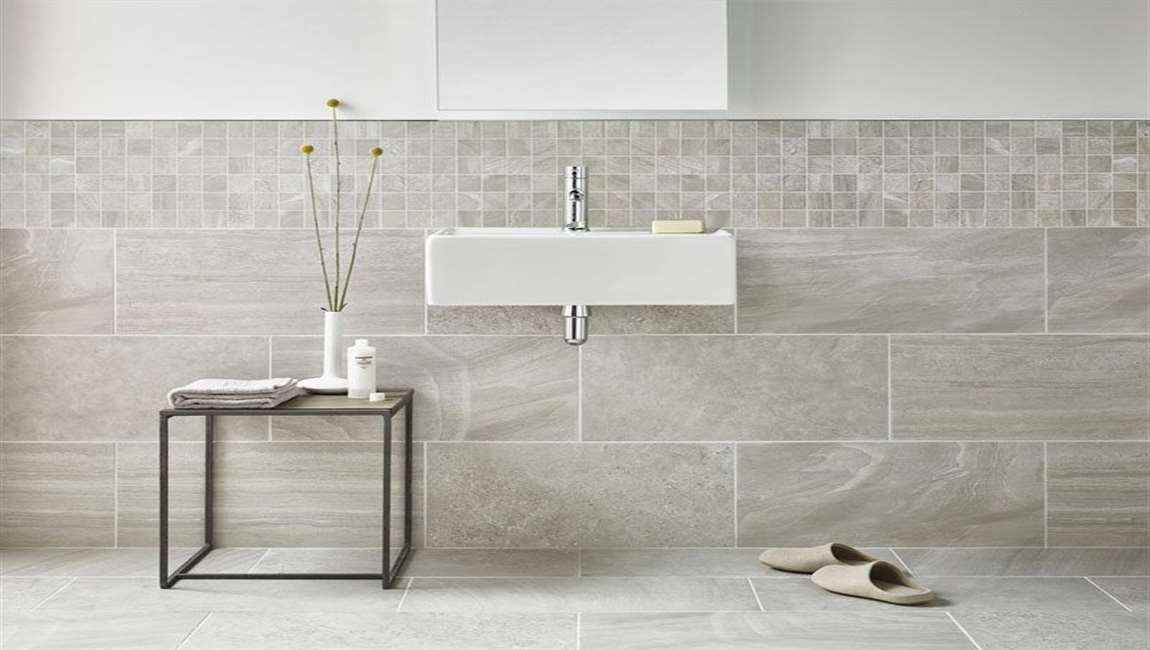
Use bleach or hydrogen peroxide to remove any mold. Vinegar works well for removing soap scum and shower residue. Sand your vatican tile with 1800-grit paper until it’s no longer smooth. You won’t need to sand unglazed tile, but any ceramic that has already been glazed will need to be sanded to provide a rough surface for the paint to adhere to. Use 1800-grit sandpaper to smooth the tile and remove uneven gloss.

Wipe off the dust with a damp rag. Sanding creates a lot of dust, and it will affect the look of your paint. Make sure all of the dust from sanding is gone by wiping the entire surface with a damp cloth. You can also vacuum away any accumulated dust. Apply an oil-based high adhesion primer to home surfaces. Oil primers are efficient at preventing stains and holding on to ceramic and/or oil-based paint, but you won’t need to use them for decorative art tiles that won’t be walked on or used.

If you’re planning to paint in a high-traffic area, like the shower or the hallway floor, use two coats. Wait at least 24 hours for the primer to dry. Check the primer’s label for a precise drying time. If you’re working in an area with a lot of moisture, like the bathroom, you may want to wait 48 hours.

Lay the cement tiles. Once everything is ready, start by applying a layer of mortar to the floor. Mortar is basically the adhesive that helps the tile stick to the concrete, so choose the one that best suits your needs and your current situation. The commercially available mortars generally need to be mixed with a proportional amount of water. Be sure to read the manufacturers instructions on this.

How Painting Your Tile?

Decide on your colors or design. If you are painting existing marble wall tile in your home, make sure that the colors you choose complement the rest of your design scheme. It is usually best to choose light colors when painting your tile, as dark or bright colors can overwhelm a room. If you’re painting a design, choose one that will be easy for you to do and will look good in your home.

Create a painted design (optional). If you want to paint a design, try searching for inspiration in Spanish, Portuguese, or Chinese tile paintings. You could also try a geometric design, like a chevron pattern or checks. Transfer your design to the tile with a pencil. If you have an intricate design, draw it on the elegant tile with pencil first. Be sure to press the pencil very lightly so that it is easy to hide with paint and/or erase if necessary. You can also practice on paper beforehand.

Paint your tile. If you are painting a design, start with the lightest color first to avoid smudges, and let each color dry before starting a new one. If you’re painting a home surface in a solid color, apply the paint in multiple thin layers. It’s usually necessary to do at least 3 layers, especially if your paint color is lighter than the original color.Painting over the grout is much easier than trying to avoid it, and it isn’t noticeable if you choose a light color.

Let the paint dry for at least 24 hours. For small art projects, 24 hours will be enough, but for larger home surfaces, wait for at least 48 hours. This is especially important for high-traffic areas like the bathroom or kitchen counter. If you’ve painted a ceramic bathtub, wait for several days before filling it with warm water.

Coat with clear urethane to seal in the paint. You can buy urethane from any home supply store. It’s important to use a sealant like urethane that is made for ceramics, especially if you’re painting kitchen or bathroom tiles that get a lot of use and come into contact with moisture. Apply according to the package directions and let it dry thoroughly before touching your tile.

How Gathering Tile Painting Materials?

Purchase ceramic, epoxy, enamel, or latex paint. Using the right paint is very important. Water-based paint like acrylic, watercolors, or spray paint will not work at all, especially if you’re painting bathroom or kitchen tile. You can use commercial tile or ceramic paint, oil-based paint, colored epoxy, enamel, or latex paint.

Choose the best brushes for your project. If you are painting an intricate scene or design on your amazon green tile, you’ll most likely need several different sizes of brushes. If you are painting a large bathroom wall, for example, you can use a larger brush.

Set up your supplies and protect your work area. Lay out cleaning supplies, sandpaper, and protective gear. You’ll need to take a few precautions to prevent injury or paint spills in your work area. Lay a tarp down on the floor to prevent paint from dripping on it. Line the edges of your work area with painter’s tape.

Keep damp rags nearby in case you need to fix any mistakes. Open windows or bring a fan into the room for ventilation. Wear a painter’s mask to avoid inhaling fumes. If you’re working in the kitchen, move food to another area to prevent contamination.

Clean the tile with degreaser and tile cleaner. If your sahara tile is brand new, you can just wipe off the surface. Older tile, especially flooring or bathroom tile, will need to be cleaned thoroughly. Start by using a degreaser, then wash the wood marble tile with tile cleaner or soap and water. It’s very important that your mould wall tile is perfectly clean, so don’t skip this step!

How Removing Backsplash Tile?

Purchase a multi-tool with saw attachments. Buy a grout cutting attachment. Secure it with a hex key. If you can’t find a grout cutting attachment, try using a sharp and strong utility knife to cut through old grout. Put on safety goggles, a long-sleeved shirt and leather gloves.

Use the electric saw attachment to cut through the lines of grout in your backsplash. You can also do this by hand with a grout scraper, but a cutting tool will be more exact. You have to be more carefully with a backsplash since you may not be able to replace damaged drywall near your kitchen appliances.

Wedge a chisel beneath the stone tile using the cuts in the grout. Hit the chisel with a hammer to drive it further under. The tile should chip away slowly. Scrape along the backsplash with a putty knife to remove surface debris. Patch the backsplash sheetrock with patching compound and drywall mesh tape.

Once you have prepared your mortar solution, use a trowel to spread it onto the floor. Once the mortar has been spread evenly, gently lay the white tiles and tap them into place with the trowel. Use spacers into ensure that the tiles are properly spaced as you lay them into your envisaged patterns. Once the element tiles have been set, let them dry out for at least a day.

Complete the finishing touches. Once the wood tiles have set properly, finish them off using grout. Grout is commercially available in a variety of colours, choose the one that suits your needs best. Mix as directed and apply to the gaps in the tiles. Be sure to clean off the excess grout from between the tiles and any that spills onto their surface. After this is done, let the floor set for a couple of days. Clean off the floor one last time with a wet mop, and then it is ready for use.

How Removing Wall Tile?

Put on your safety gear before you start. Safety glasses and leather gloves are essential to avoid sharp edges as they fly off your walls. Lay drop cloths around the room to avoid mess and damage to the area.

Take a grout scraper and drag it through all the grout on the wall. If your element tiles are small, this will take a long time. Dig the point of the scraper into the grout to loosen it. Look for areas that have the most wear and tear. It should be easier to start with weak spots and attempt to dislodge several wood tiles at once.Stick a putty knife into the bottom or top of the tile and pry out the dinosaur stone tile. If they don’t pop out, wedge the putty knife into the top of the tile and hit the end with a mallet to drive it under the adhesive.

Repeat throughout the wall until it is free of vatican tile. Then, scrape your putty knife horizontally across the remaining chunks of tile and adhesive to loosen them. Patch holes in the sheetrock with patching compound and drywall mesh tape.

Plan to replace the drywall if you can’t remove the tile by force. You can cut through the drywall with a reciprocating saw and remove the tile along with the wall. Install a new piece of drywall when the area is free of tile.

How Installing Your New Tiles?

Comb the thin-set onto the floor. Dip your trowel into the bucket of thin-set and spread it out across the floor. Move your trowel in the same direction, to reduce the possibility of air pockets. If there were low spots in the floor that you marked earlier, you may need to apply extra thin-set to those areas.

Set each calacata tile down and wiggle it a bit. Hold the new slate tile above its future spot and drop it down gently and slowly. Move it just a bit side-to-side to secure the tile to the floor. Tap the top of the tile with a wooden hammer as well. Place a level on top of the tile to verify that the wood marble tile is level. Continue until all the tiles are placed.


Thin-set starts to dry immediately. If you need to peel up a tile and move it, you’ll need to do so almost immediately or risk having to chisel away hardened thin-set. The thin-set will be totally dry within 24-48 hours.

Use a tile cutter to make smaller tile pieces. You can either rent a cutter or buy a hand-held one from a home improvement store. You’ll likely need to cut crystal tiles to complete the edges of your floor. Hold a full cement tile under the cutter and run the scoring wheel across the top. Next, push down on the cutter’s handle until the tile snaps along the scoring line. Other options for cutting tile include using a wet saw or glass cutting tool.

Inspect each section of black tile before moving on. After you finish four or more tiles, stand up and take a few steps back. Look down to see if the amazon tiles appear in proper alignment. Place a level across the only tiles to make sure it is even. Take this opportunity to clean away any thin-set from the tile’s surface with a damp sponge as well.

Work the grout into the joints. When all of the tiles are placed, mix your grout in a bucket according to the package directions. Use a trowel and grout float to press the grout in between each tile. Wipe away any excess from the tile’s surface before it hardens by using your trowel and a sponge. When you are finished, let the grout dry for two days before walking on it. Don’t add too much water to your grout. It should be similar in texture to cake batter.

How Choosing Your Tiles and Layout?

Measure the size of your floor. Get out a tape measure and write down the length and width of the room. Measure twice just to be careful. Multiply these 2 numbers and you’ll have the square footage of the space. Look at the square footage covered by a box of wood tile or a single clunny tile. Divide your floor’s square footage by the amount contained in each box and this will tell you how many boxes you’ll need to buy.

For example, if your room is 150 square feet and each box covers 10 square feet, you’ll need to buy 15 boxes to cover the floor. It’s also best to buy an extra 10% of cloud tile, so that you have some room for error, too.

Choose your replacement wood marble tile. Create a construction budget, so you know how much you can spend. Then, use your room measurements to determine what type of tile you’ll buy. You’ll also want to consider the style of the space, the ease of installation, and the durability of the tile type. A single wall tile generally costs between $5 to $15 a square foot. Keep in mind your other construction expenses too, such as grout.

Dry-lay the wood tile to see how it looks. Set the bara tiles out on the floor in the planned pattern. Try to get a feel for where you’ll need to use the tile cutter to break full-size calacata tiles down into smaller pieces. This is also the time to move the wood tiles around to experiment with different patterns. After you look everything over, you can either leave the tiles down or pick them up and reapply them later.

Pay particular attention to entryways. Small pieces of tile can sometimes look awkward in these spaces, so you may need to rearrange to guard against this.

How Removing the Old Tiles Instead?

Pry up the existing tiles. Place a chisel at the edge of the element tile at an angle. Hit the back of the chisel with a hammer slowly and continue until the tile begins to break apart. Continue as you move across the entire floor. Throw the broken tile pieces into a wastebasket.

Another option is to simply hit each tile in the center with a sledgehammer. This will create more pieces, but can be a quick way to pull up a floor. Wearing a mask can protect you from any small dust particles kicked into the air as you pull up the subway tiles. It’s also a good idea to wear long pants and sleeves to protect your arms and legs from scrapes or cuts. Protect your knees when removing or laying only tile by wearing pads or padded pants.

Scrub the floor with a stripper. Use a floor stripping solution purchased from your local hardware or home improvement store. Apply the stripper to the floor as directed. Wait until it takes full effect and then use an abrasive scouring pad to scrub loose any stuck on debris or glue. Keep going until the floor is fairly smooth to the touch

Inspect and repair the subfloor. Once you’ve removed the spots tiles and any associated grime, take a close look at your floor with a work light. If the floor is wood, see if there are any areas that are rotten or warped. You’ll need to replace these spots with fresh wood. If the concrete subfloor is slightly cracked, sand it down with an abrasive pad.

Replacing any damaged wood sections is a great way to prevent a future mold problem, especially in bathrooms or kitchens. Just make sure that you address the cause of any leaks as well.

How to Replace Tile Floor?

Installing a new white tile floor is a great way to update a space. If the old tiles and subfloor are in good shape, then you can tile directly over them. Or, you can pull up the flooring and start over entirely from scratch. To lay your stone tiles, start by deciding on a pattern. Then, apply thin-set to the floor and set each tile down individually. Keep going until your floor is finished, wipe it down with a wet sponge, and admire your work.

Decide whether or not to tile directly on top of the prior layer. If the old Cement tile is securely installed and in good condition, you can save yourself a lot of time by just laying new tile on top of it. However, the floor level will change a bit. If you rip up the old tile, it will take more time, but you can guarantee that the subfloor is secure.

Tap each old tile lightly to check for looseness. Get a small wood mallet and tap the center of each wood tile. Listen closely to the noise that follows. If it sounds hollow, then you need to pull up the tile, spread a layer of thin-set underneath it, and press it back down.

Check the floor for levelness. Place a level down on the floor. Look at it to see if the floor reads out as perfectly level. Move your level device around to check all parts of the room. If there are high points in the room, use a masonry grinder to grind them down. If there are low points, plan to build them up with some extra thin-set before laying your new tile.

Sand the old tiles down. Get an 80-grit or rougher sand paper. Go over the room, sanding each area until all of the Wood Marble tile is a bit rough on the surface. Use a broom or vacuum to pick up any dust left over from sanding. The rougher texture of the tile will help the new tile to attach more securely to the floor.Before you start working, put on a pair of construction goggles to protect your eyes. Don protective gloves that fit you well, if you are worried about skin irritation.

How to Remove Tile?

Tile is usually installed with a sturdy adhesive called mortar. It takes the right tools to remove without damaging the sub-floor or wall. Before removing tile, make sure you have a strong back and stamina for a tough project. Then, prepare yourself with safety glasses, heavy leather gloves and knee-pads.Rule out whether your old floor tile may include asbestos. You can consult with a home inspector or asbestos removal company if you don’t have a record of the material. If it does contain asbestos, hire a company to seal off the area and remove it to reduce your risk of harmful inhalants.Use the chisel to pry up sections of tile and view what’s underneath. The following are the best ways to remove tile depending upon your subflooring. If the tile is adhered directly on the subfloor you will need to break it back by hand, instead of removing pieces of tile along with the underlayment.If the underlayment is plywood, use a reciprocating saw and 12 inch (30.5 cm) wood cutting blade to cut through the plywood. Cut the plywood underlayment out and remove it along with the tile.If the underlayment is cement backer board, use a reciprocating saw with a carbide-grit masonry-cutting blade and remove the backer board with the tile still attached. Be careful to avoid cutting through the subfloor or you will have to reinstall a new subfloor before you place new flooring down.