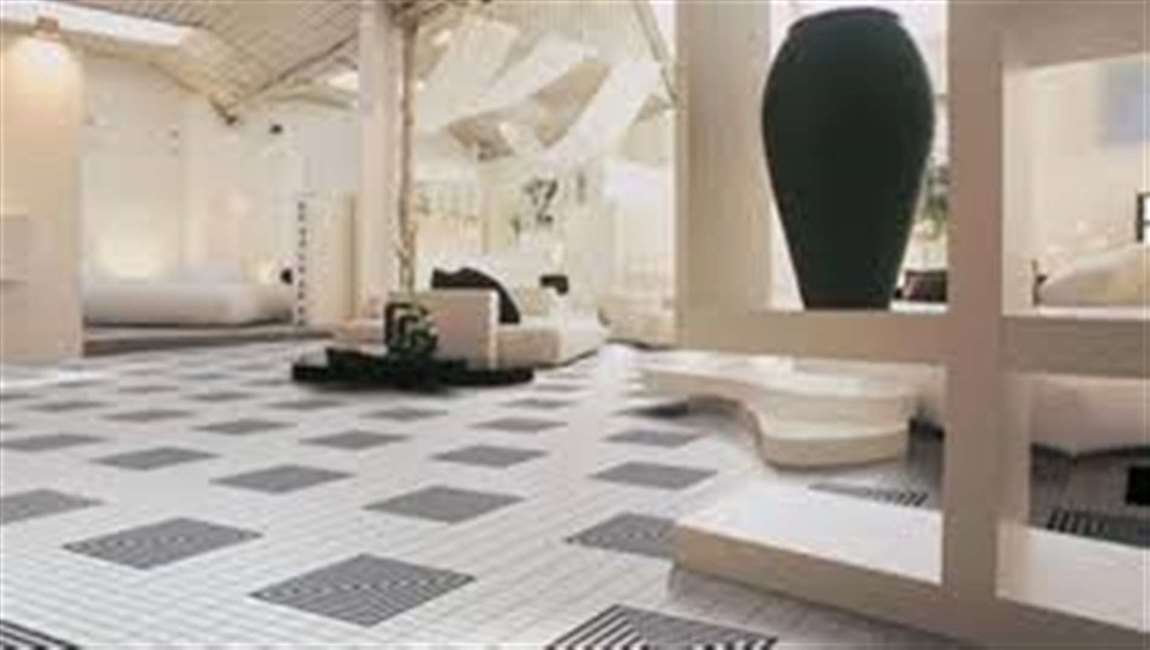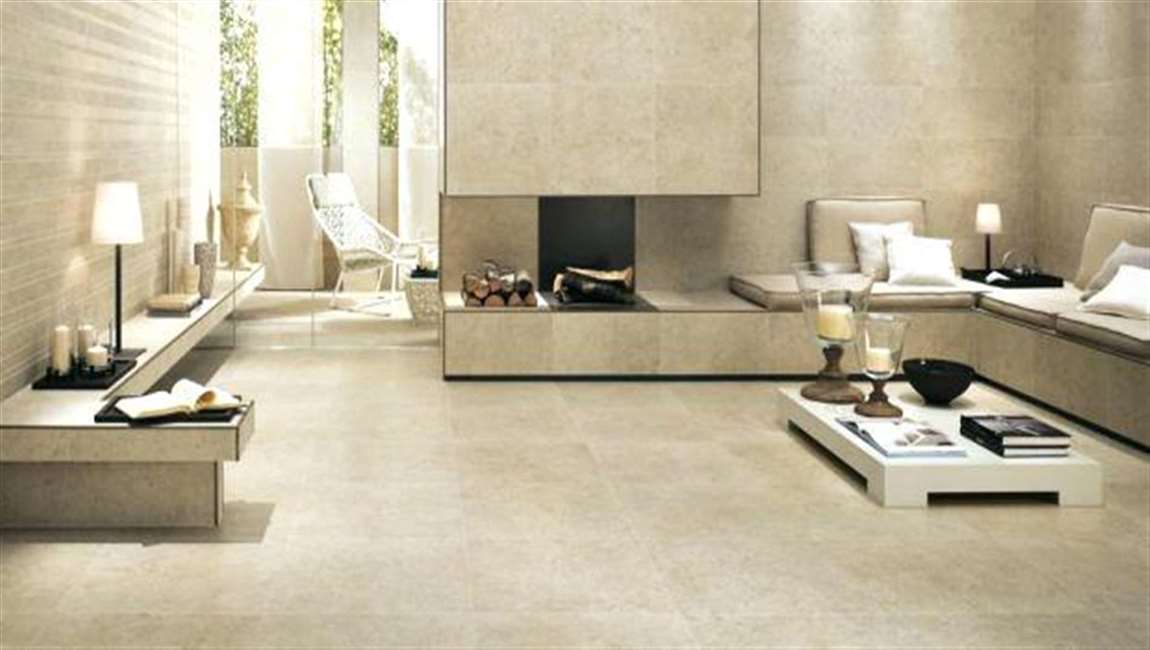
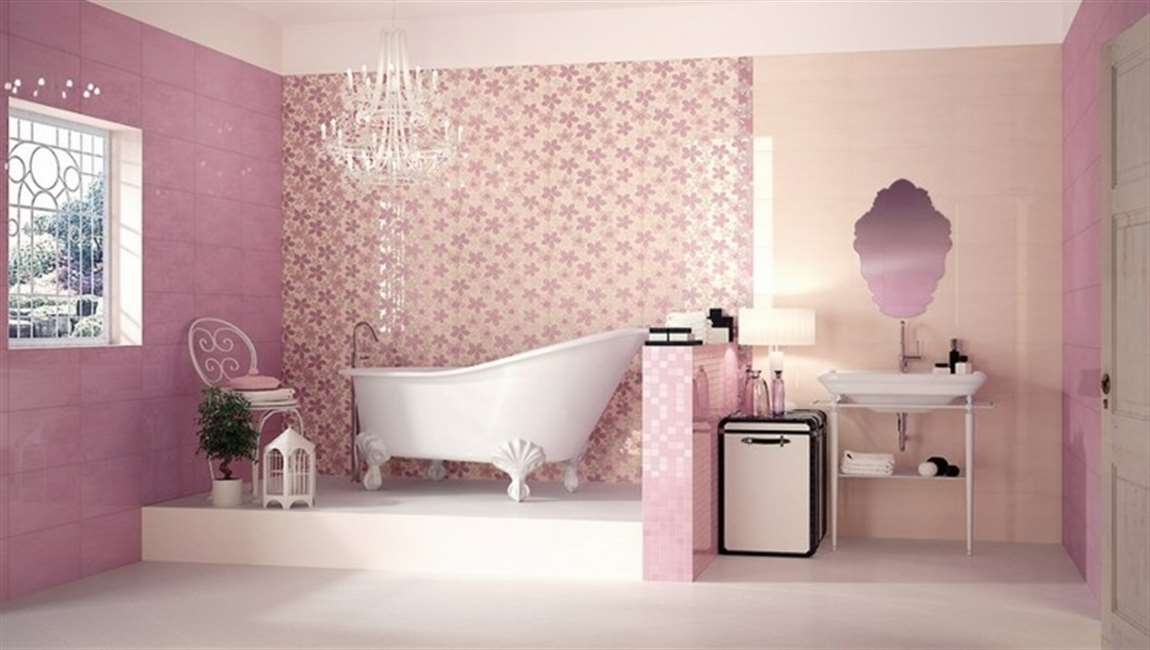
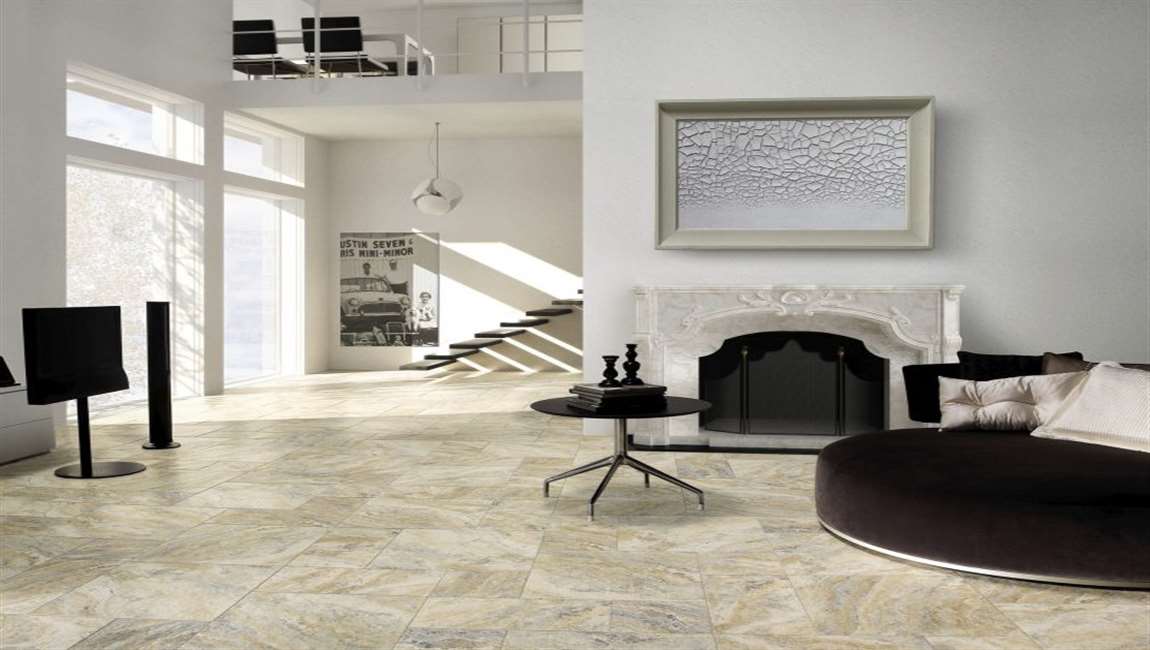
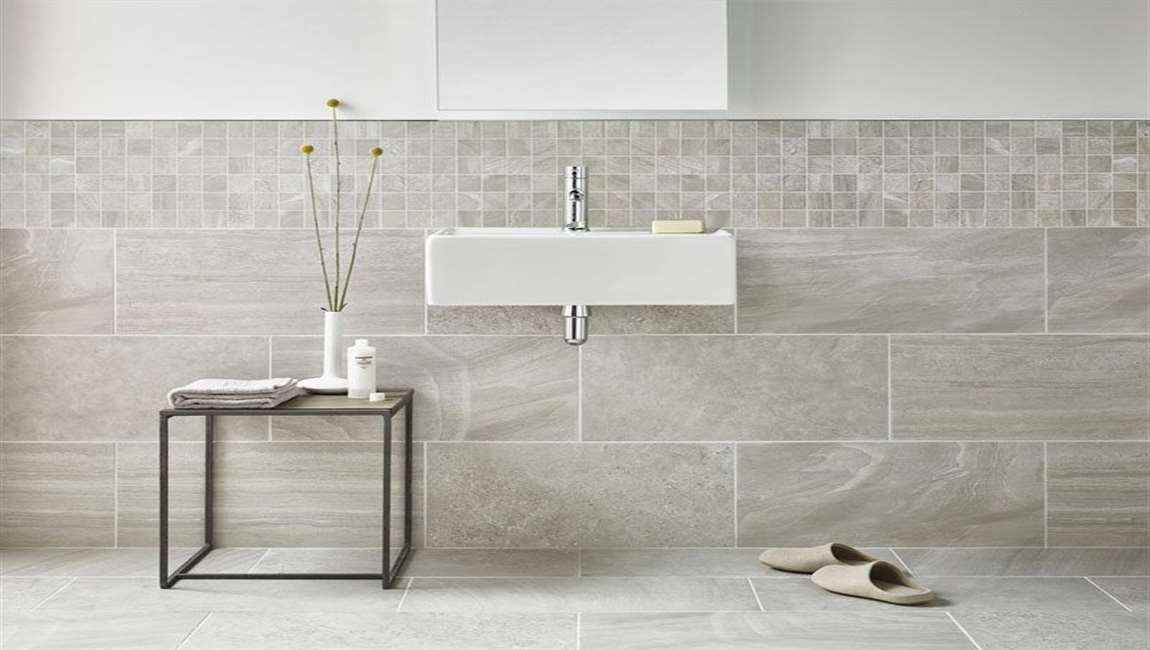
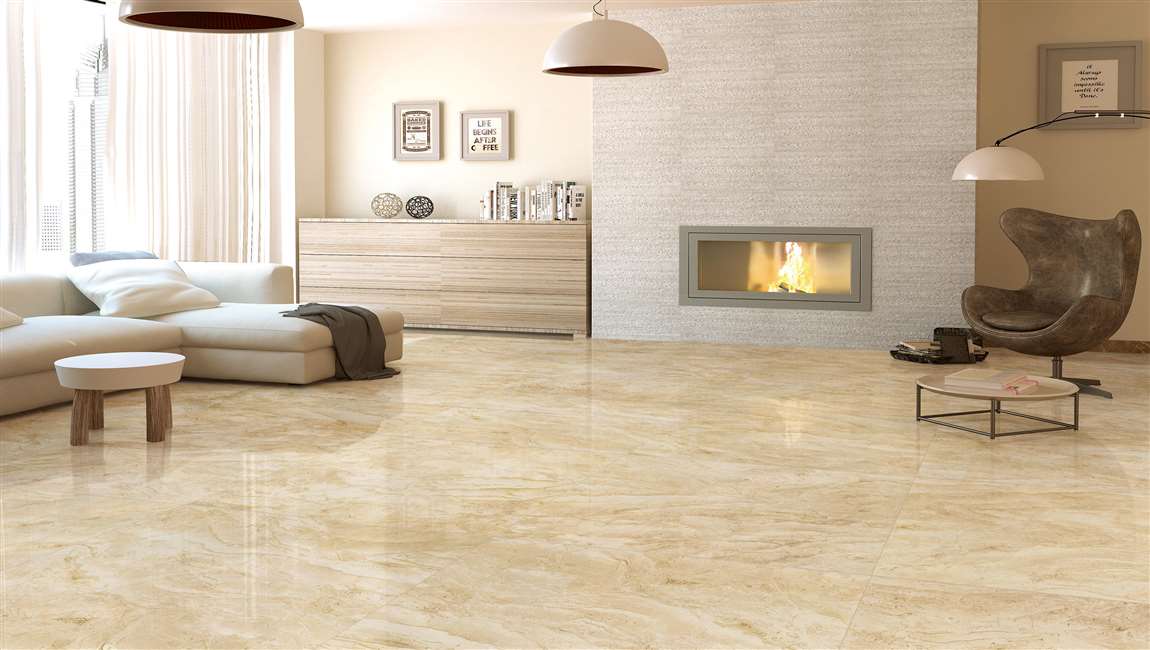
How Deep Cleaning the Tile?
Pick a pH-neutral cleaner. You don’t want an acidic or basic cleaner for this type of polished tile, so pick a cleaner that states it is pH neutral. You can find special cleaners specifically for quarry floors, if you prefer.

You can also make your own cleaner. Mix 0.5 cups (120 mL) of baking soda into 1 gallon (3.8 l) until the baking soda is completely dissolved. Add 5 drops of liquid dishwashing detergent, and stir gently to combine. Dampen a mop with the mixture. Once again, you don’t want to use a large amount of cleaner or water on this type of floor. Therefore, make sure you wring out the mop well once you’ve dampened it with the cleaner.

Mop the floor. Run the mop over the floor, focusing on particularly dirty spots. Scrubbing is fine on the dirty areas, though you don’t want to use anything too abrasive. Keep in mind that this vatican tile will always have a matte finish. You may need to scrub the grout a bit harder, but it will likely still get darker over time.
Rinse the floor thoroughly. You don’t want to leave cleaner on the floor, as it can damage the tile. Rinse it off with warm water, making sure you get off all the cleaner before moving on. Dry the floor with a dry mop or rag. Once you’ve rinsed the floor, dry it off with a dry mop. You can also use a rag, if you prefer. You just don’t want to leave water on the floor, even to “soak” stains.
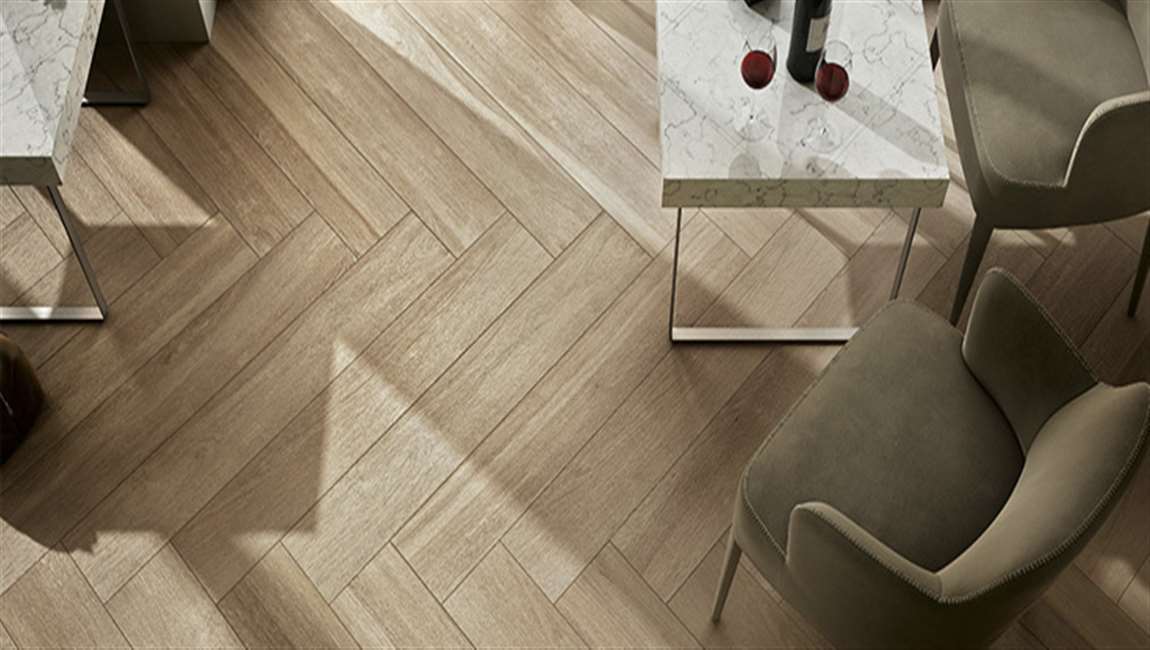
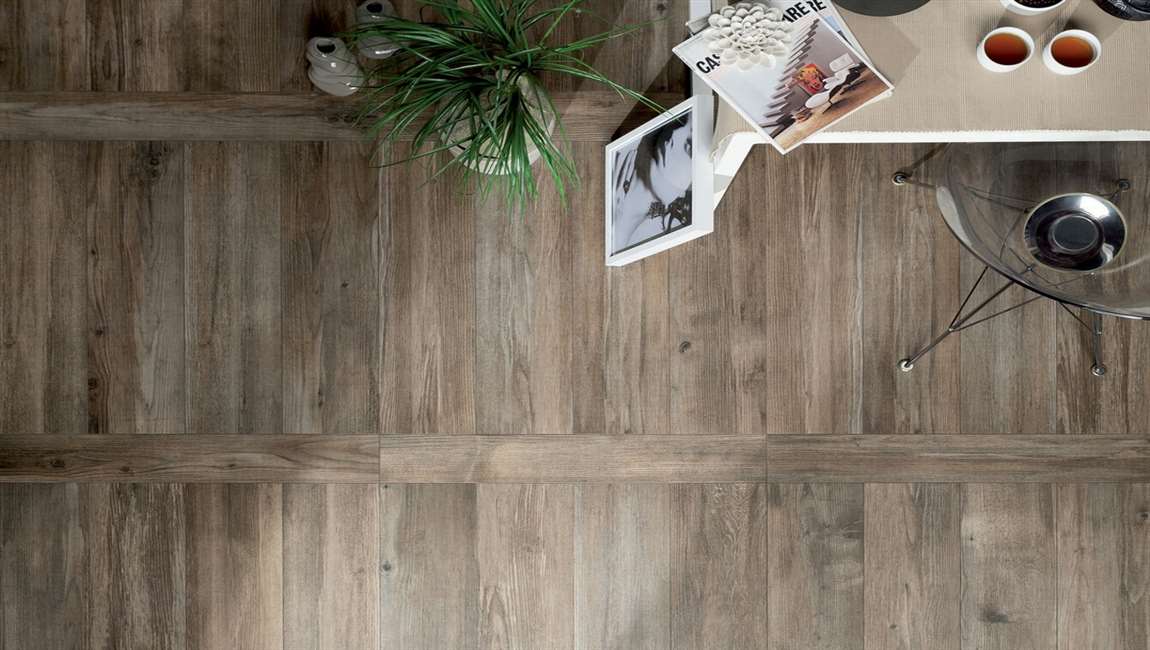
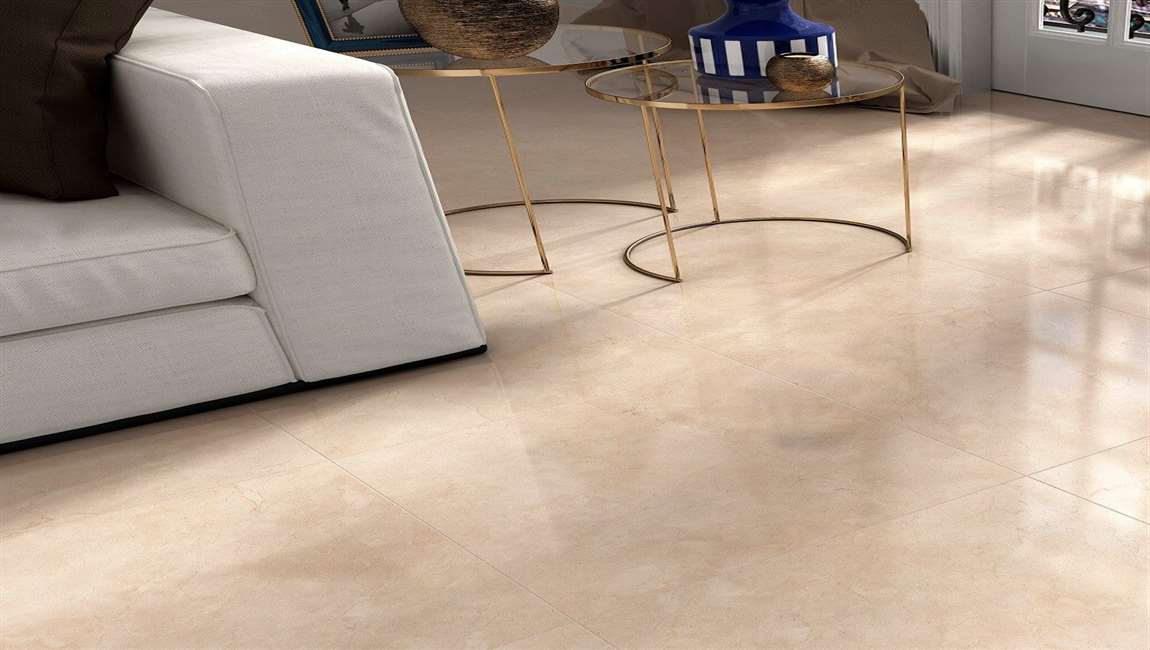
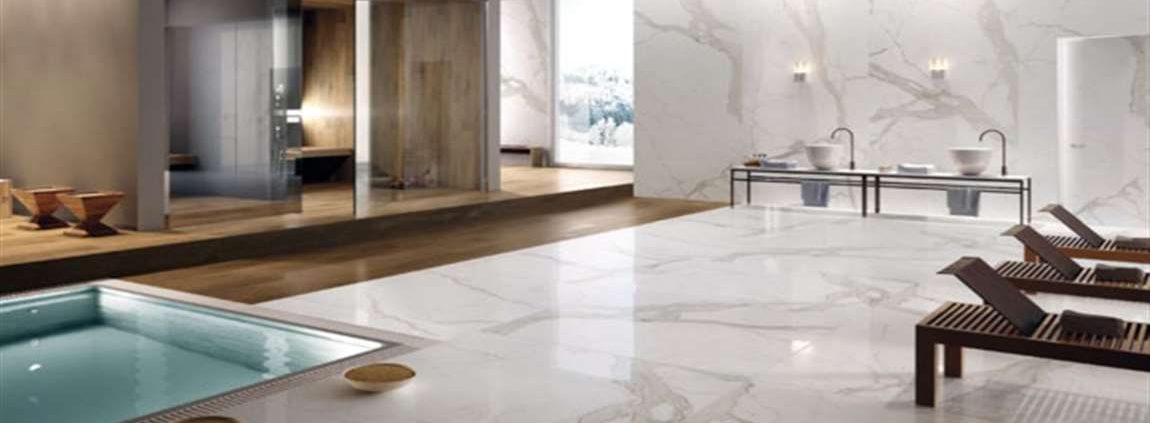
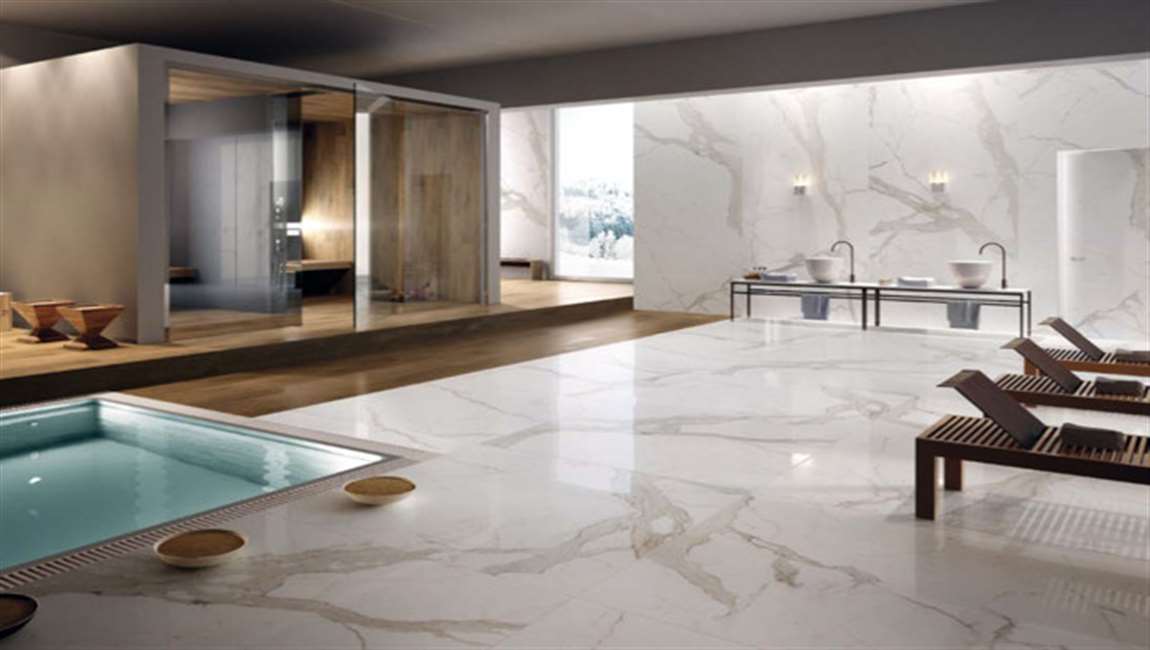
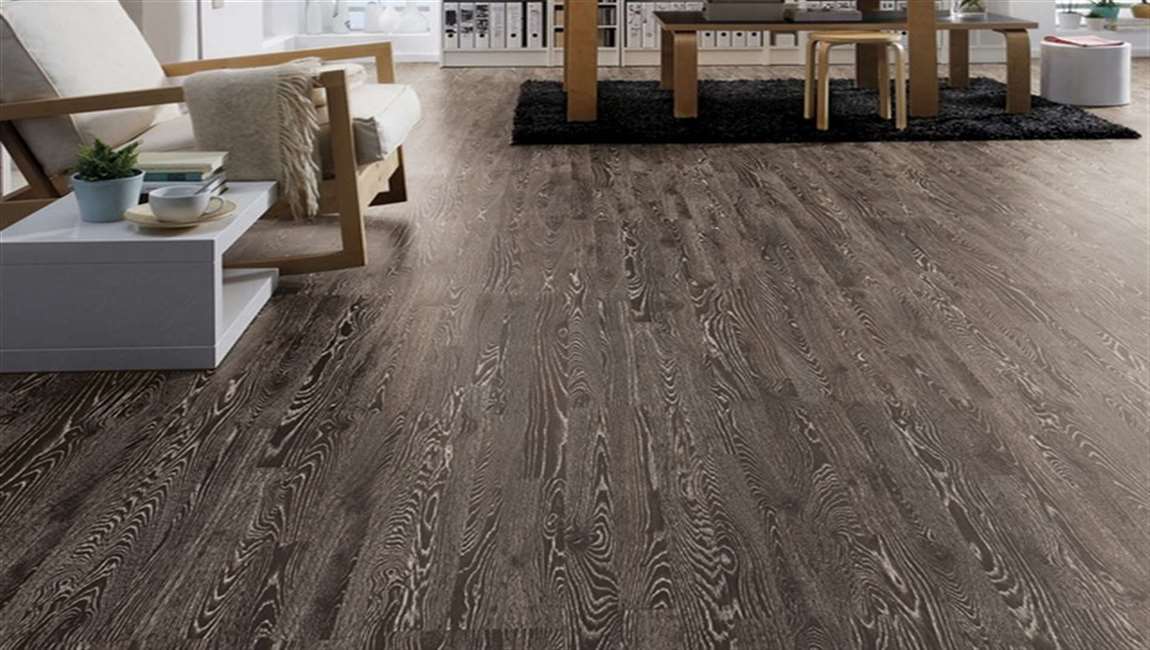
Use a clean wet towel and wipe your floors so you can get as much of the leftover splash and residue from the buffing compound off the floors and fixtures. Then go over your wood marble tiles once again with a dry towel. Finally, after your tiles and grout lines are dry, use a stone/marble sealer to seal your calacata tiles. Two coats are sufficient and your floors will look as good as new.


 Stick a putty knife into the bottom or top of the