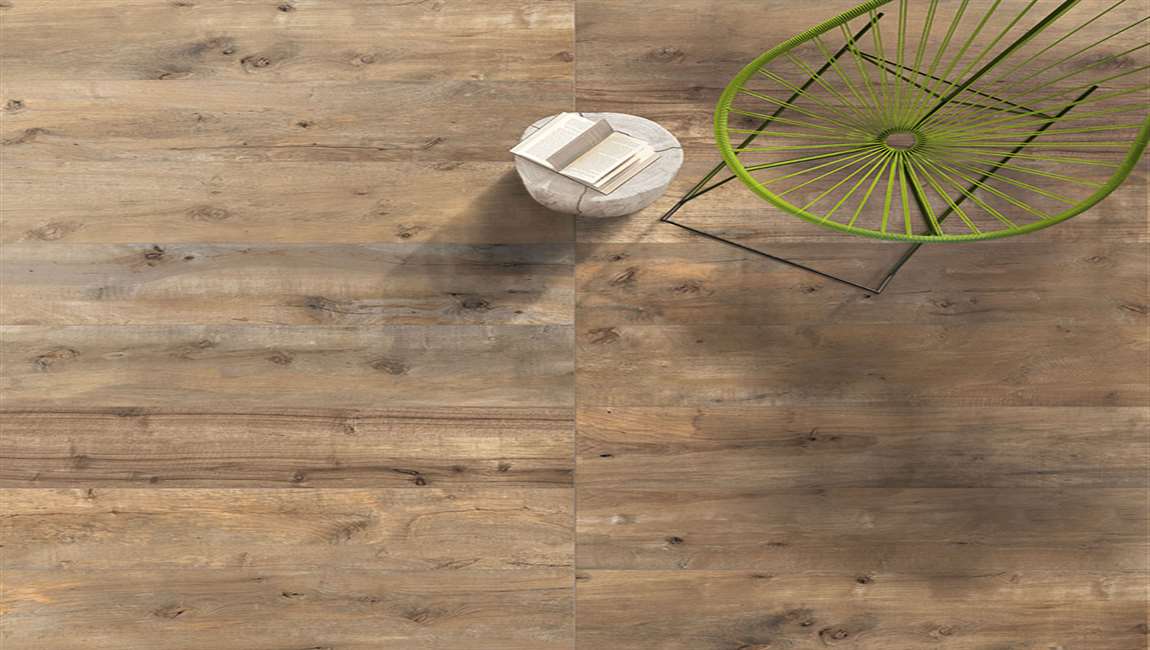
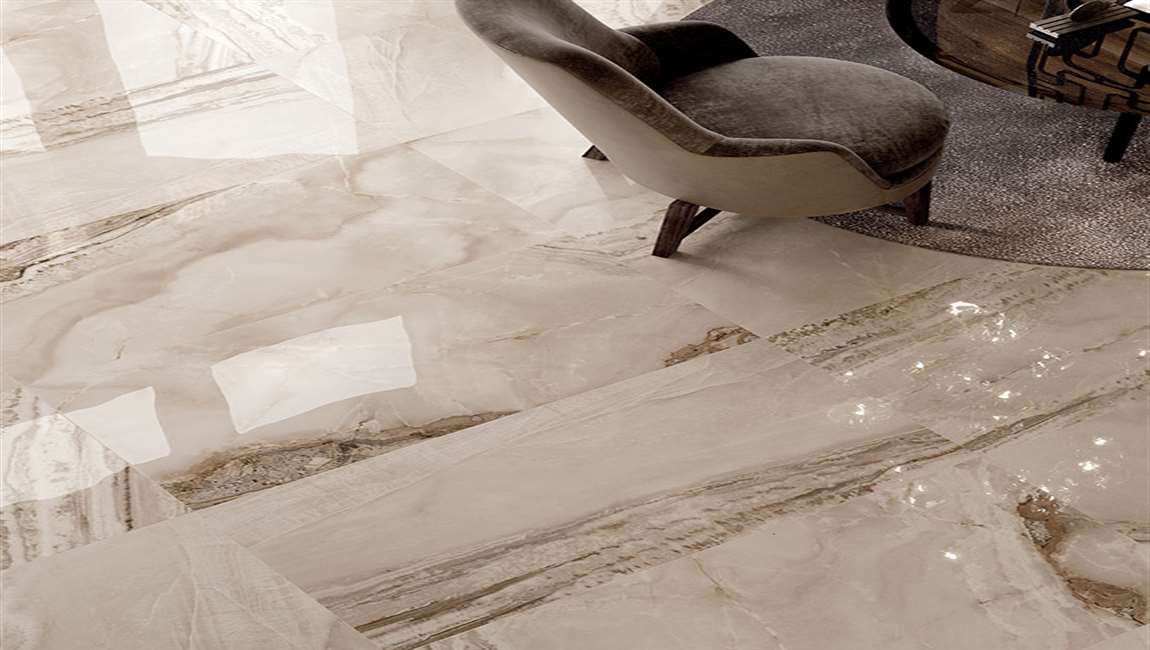
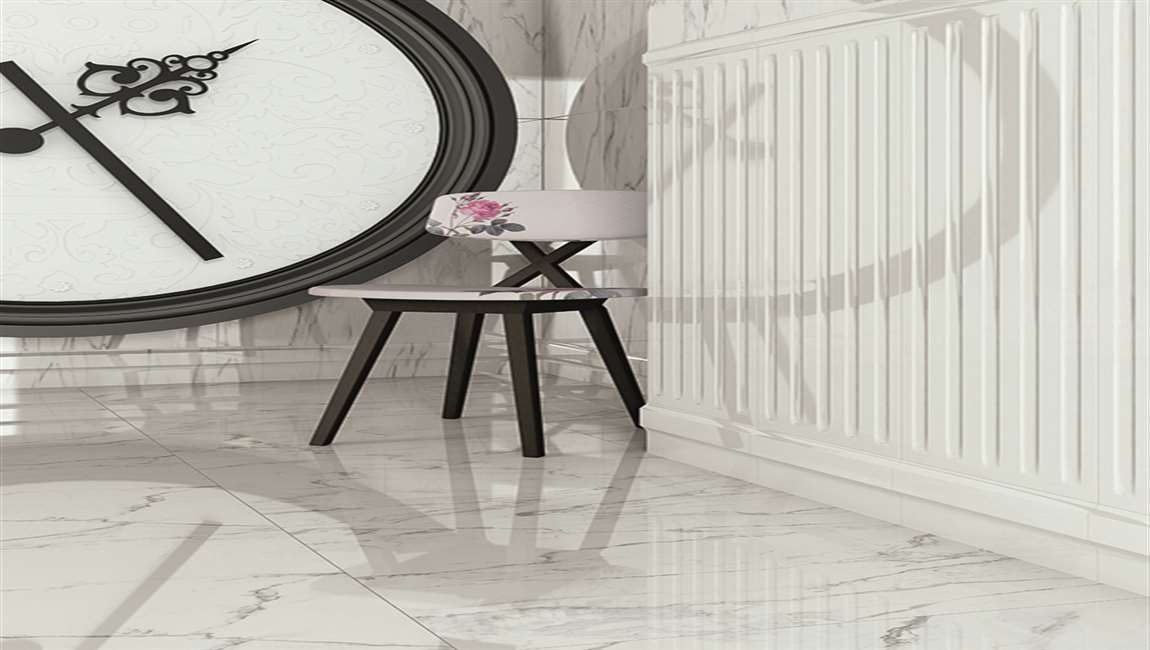
How to Mop Ceramic Tile?

Ceramic tile floors are sturdy and relatively low-maintenance. With just a little attention to detail, you can keep your tile floor looking new. Find out how to easily and effectively mop your ceramic tile floor after the jump. Sweep or vacuum your tile floor to remove any loose dirt, pet hair or other debris. Dilute your household cleaner according to the directions using a bucket and warm water. Submerge your mop into the bucket of soapy water until it is saturated.

Wring the mop well to remove excess water. If the bucket you’re using has a wringer on it, this is the preferred method of extracting the excess water. Some mops, especially those with cloth strips, have a wringer attached and these work just as well. If you don’t have either of these, you can simply use your hands to wring the mop.

Mop the tile in small sections, being careful not to walk over the wet areas. The grout is very porous and tends to hold more dirt than the tiles. Pay close attention to the grout when mopping your tile floor to be sure you’re covering the grouted parts well.

Immerse the mop into the soapy water after mopping each section of tile. Remove the excess water again by wringing the mop. Repeat these steps until the entire floor is clean. Allow the floor to dry completely. Speed up the drying process by opening windows and/or turning on fans in the room, if possible.

Rinse both the mop and bucket thoroughly. Add clean water to the bucket. Dip the mop into the clean water. Squeeze any excess water from the mop. Mop the floor again, following the same steps, but using only the clean water this time. Mopping the floor with clean water removes any build-up that may be left behind by the cleaning solution. The floor stays cleaner longer and helps reduce slipping. Allow the floor to dry completely.

How Using Homemade Cleaners?

Use a paste of baking soda and bleach. Make a thick paste from ¾ cup (180 mL) of baking soda with ¼ cup (60 mL) of bleach. Use an old toothbrush or nylon scrubbing brush to work the paste into the grout. Let it sit for 15 minutes, then scrub it. Allow it to sit another 15 minutes, then wipe it off with a damp rag. Frequently rinse out the rag with water as you’re wiping off the paste.

Wear gloves when cleaning with bleach. Open a window or wear a respirator to protect your nose, throat, and lungs. Protect your eyes with safety glasses. Wear old clothes that can get bleached.

Try baking soda and vinegar. Rub baking soda into the grout with your finger. Make it stickier by combining water with the baking soda until you have a thick paste. Next, fill a spray bottle with vinegar and spray vinegar all over the baking soda. Let the mixture bubble for a few minutes, then scrub it with an old toothbrush or nylon scrubbing brush. Wipe up the solution with a damp rag that you rinse frequently.

Scrub it with coarse salt. Wet the grout and surrounding tiles with a damp sponge. Sprinkle it with a coarse salt, then scrub the salt into the grout with a toothbrush or nylon scrubbing brush. Allow the salt to dry overnight, then rinse it off in the morning. Scrub with any coarse salt, even Epsom salts. You can use the same method to clean your grout with Borax. Put a damp scrub brush in a bowl of the Borax and use that to scrub the grout.

Clean and lighten the grout with cream of tartar. Combine two teaspoons (9.85 mL) of cream of tartar with enough lemon juice to create a liquidy paste. Rub the paste into the grout, then scrub it with a toothbrush or nylon scrubbing brush. Rinse the paste off with plenty of water. Use water if you don’t have lemon juice.

How Removing Grout Haze?

Clean the haze with a damp tile sponge. Dip a large yellow tile sponge in a bucket of water and wring it out. Scrub the tile in a single direction, rather than moving back and forth or cleaning in a circular motion. Rinse and wring the sponge frequently, and change out the water in the bucket when it gets dirty. Use grout haze remover if water doesn’t work. Pick up grout haze remover from your local hardware store or wood tile supply store. Put the remover on a clean cloth or rag, and wipe the tiles with it.

Mop the floor with vinegar and water as an alternative to haze remover. Mix 1 cup (240 mL) of distilled vinegar with 1 quart (0.946 L) of warm water. Mop the floor with this solution. Use a scrub brush on stubborn areas. Don’t rinse the vinegar solution off the floor. Allow it to dry completely before sealing. Don’t use vinegar on marble, travertine, or granite.

Remove hardened grout from your wood marble tile with sugar. Stir white sugar in warm water in a ratio of 1 part sugar to 10 parts warm water. Sponge this mixture into the hardened grout. Leave it alone for an hour, then scrape the grout off your tile. Keep applying sugar water as needed while you scrape to keep the tile moist.

Adjust the ratio of sugar to warm water until you have an effective mixture. Alternatively, you can apply undiluted vinegar to hardened grout to make it easier to scrape the grout off of your wall tile. Once the grout is removed, rinse the entire area thoroughly with plain water to remove all of the vinegar.

Sand it lightly if all else fails. Use a dry scrubbing sponge or cheesecloth to rub down the tile. Rub the only tile until the haze is removed. After you lightly sand the grout off of the small tile with the cheesecloth or sponge, vacuum up all of the dust before sealing. Try this method on grout that has not set for long. Don’t wet the sponge or cheesecloth or the dust from the grout will stick to the floor again.


Avoid using commercial detergents. Though you may be tempted to spray a commercial cleaning product on the tile to remove grout haze, this could actually make the problem worse. Not only can it create additional haze, it may discolor the grout between the mould wall tiles.

How to Drill Ceramic Tile?

Ceramic tile is both hard and brittle, making it easy to damage both tile and drill bit. Adopt a patient approach with the correct tools, and you have a high chance of success. Hopefully, you will not have to read the included instructions for repairing cracked tile.

Diamond bits are more expensive, but can drill through extra-hard tiles. You may need these for modern porcelain tiles (made since the late 1990s), because they’re much harder than ceramic tiles. Masonry bits are made from carbide-tipped steel. These are strong enough to drill through, but their shape increases the risk of shattering porcelain and other brittle tiles.

As a last resort, use high speed steel (HSS) bits. Expect these to wear down after one or two holes. If drilling a large hole for plumbing installation, use a hole saw bit made from one of the above materials. Make sure its central pilot bit is also made from a suitable material.

Wear safety glasses. Ideally, the wood tile should not chip or break. In the event that it does, your eyes should be protected. Cover the area with masking tape. Tape over the area in an X shape, marking the site of the hole. This will help give the drill bit some traction, reducing the chance of it slipping. The tape also makes chipping less likely on the outer rim of the hole.

Tap the drill bit in lightly with a hammer. A drill bit may skip and jump around on the tile’s smooth surface, unless you make a small pilot hole to steady it. Hold the drill bit over the center of the X and tap it in with a hammer. Tap gently to avoid damage, repeating until you’ve made a small dent through the surface of the glaze. If you’re using a solid drill bit larger than 1⁄4 inch (0.6 cm), consider drilling a pilot hole with a smaller bit first.

Drill through the tile slowly. Set your drill to a low speed and apply modest pressure to the surface. Allow the drill to work slowly, rather than push hard and crack the tile. This may take three or four minutes. Applying too much pressure can cause the wall tile to blow out and crack on the backside, creating a weak spot in the tile and often a much larger hole than originally intended.

How to Tile a Wall With Porcelain Tile?

Covering a wall is a great way to transform the look of a room. Wallpaper, fabric are excellent media for redecorating. Although ceramic tile is often used for flooring and countertops, it can serve as a patterned surface for a wall. Italy, China and the United States are known for creating porcelain tile designs used in home decoration. You will want to take extra time when applying the tile, to ensure it is straight and well spaced. Porcelain tile is also known for being fragile, so you will need to work carefully. Find out how to tile a wall with porcelain tile.

Apply final sealer. Apply a penetrating sealer using either a sponge or spray bottle to the grout joints once the grout has completely cured. Wipe off excess sealer from the tile immediately as it will stain the tile. Clean the tile’s surface. Wipe the tile with a rag soaked in mild soap and water. Examine the cleaned surface for damage.

If the tile is cracked, you’ll need to replace it before you continue. Choose a drill bit. An ordinary steel drill bit may fail to penetrate the tile, or cause it to shatter. Search for an appropriate bit using the following guidelines: Glass or tile bits are shaped to reduce the risk of shattering brittle materials. These should be carbide-tipped.

Diamond bits are especially vulnerable to damage from fast drilling. Drill no faster than 600 rpm for diamond bits below ½ inch (1.25 cm), or 450 rpm for bits from ½ to 1 inch (1.25—2.5 cm). Lubricate with water as you drill. Friction from drilling hard materials creates a great deal of heat, which can scorch the drill bit or even break the tile. Protect your project and extend the lifespan of the drill with a constant trickle of water. You may use a small hose, or an assistant with a squirt bottle or glass of water.

“Pump” the drill every 15 to 20 seconds with a tiny up-and-down motion. This draws water to the tip of the bit, where friction is greatest. The drill bit should never feel more than slightly warm. If it gets hot, stop and wet it until it cools down. As an alternative, lubricate the drill with drilling oil.

Penetrate the backing board. You can switch back to a regular drill bit for this process if you prefer. Continue to drill slowly and patiently, as it is just as important to maintain the wood or drywall behind the tile. Damaging the backing board can make it difficult to anchor your screw or whatever you plan to insert.

Repairing Cracked Tiles

Fill hairline cracks with epoxy or tile filler. You can repair hairline cracks without having to replace the only tile, as long as the wall tile is still firmly set. You can use specialized ceramic tile repair kits, but a two-part ceramic epoxy will work fine. Mix the two components together using a piece of scrap wood, then spread over the crack using a clean rag. Wipe up the excess using a second rag. Take care not to get the epoxy in the grout lines between tiles.

Add color to hide the repair. There are two ways to make the repair invisible: Before filling, mix the epoxy with epoxy tint the same color as the tile. Or, after filling, paint over the repair using an oil-based enamel paint marker. Select a replacement tile for more severe damage. Purchase a replacement casstle tile for any damage wider than a hairline crack. Bring the tile to a home repair store to find a match for size, shape, and pattern. Note the thickness of the tile as well. A thinner replacement will need a layer of mastic to raise it.

Remove surrounding grout. Carefully cut away the grout around the broken tile. A grout saw will make this task go faster, but you can use a hammer and chisel instead. Work slowly all the way around the tile, to allow for safe removal without damaging the surroundings. Break away the rest of the tile. Use a hammer and large chisel to break the tile apart. Angle it away from you and start from the center to reduce damage to backing. Wear gloves and safety glasses. Lay down cloth to protect surrounding surfaces from ceramic shards.


Replace tile adhesive. Scrape off the existing adhesive using a putty knife. Spread a new layer of thin-set mortar onto the wall or floor. Follow label instructions for mixing the mortar. You may need to wear a dust mask. Press in the new tile. Make sure the tile is flush by tapping it in place with a rubber mallet, or a piece of wood wrapped in cloth. Scrape out any excess mortar from the grout lines with a screwdriver.

Replace the grout. Let the tile dry overnight, or as specified in your mortar instructions. Mix the grout, then add a thin line around the tile using a plastic putty knife. After a week, apply grout sealer over the grout to protect from moisture.

Measuring Tiles

Measure the size of the tiles you want to use and any tile spacers or grout. Decide how many tiles you will need to use to complete your pattern. Ensure level tiles with the use of a batten, or wooden straight edge. Do not measure the tile according to the ceiling or floor, since these surfaces are not always level. Place a batten horizontally across the wall, and use a level to make it straight.

Pin the batten on the wall. Mark where the wood tiles will go with a pencil, including spacers or grout. The batten will help you to keep the tile straight and evenly spaced, so do not avoid this time-consuming step. Use a vertical batten for your first tiles as well. Pin a level vertical batten in place. This will ensure your first wall tiles are at a 90 degree angle.

Apply a layer of glue to the area above the batten with a notched trowel. You can use a vertical straight edge to help align the tile uniformly. In small areas, you may need to apply the glue with a brush, but make sure it has a notched surface. Place a tile spacer between the small tiles as you set them into the glue to allow space for grout.

Press the tile into the wall with a wooden board. Allow the cement tiles to dry according to adhesive directions in small areas, so that you can concentrate on making the tiles straight. Wipe away any excess glue with a wall scraper. Then, wipe away the tops of the tiles with a wet rag.

Cut porcelain tiles to go near the edges of your walls. You will need to use a wet cutter with a blade that goes in water. Measure each tile before cutting for a good fit. Allow the tiles to dry for at least 24 to 36 hours. The glue directions should specify the necessary time.

Spread grout over the surface of the tile with a grout float. Choose a tile that is water and mold resistant. Clean the surface of the tile with a wet sponge. Run the wet sponge over the surface of the tile. Allow the grout to dry completely. Polish the surface of your tiles with a dry cotton rag. This should remove any remaining grout residue.

Wall Preparation Before Tile a Wall

Prepare the area around your walls. Place drop cloths on the floor to catch dust and tile pieces. Wear protective clothing. You should use safety goggles, long shirts, long pants and gloves. Broken wall tile can be sharp and dangerous.

Remove the old tile, if necessary. It is inadvisable to try to tile over old tile, because your surface will not be even. Use a chisel and a hammer to crack existing tiles. Once cracked, remove the cloud tile in pieces, if it does not fall off automatically. Chisel off remaining pieces. Beware not to gouge the wall too deeply, or you may create an uneven surface.

If the resulting wall is very uneven, you may want to re-plaster it. It is best to hire a professional to plaster the walls. If you are installing wall tile in a bathroom or other wet area, use cement fiberboard on the surface before you adhere tile. Sand the wall with medium-grit sandpaper to create an even surface. If you are not removing previous tile, you will still want to scuff up glossy surfaces with a fine-grit sandpaper to help the adhesive stick.

Buy your tiles. Porcelain tiles are available through the Internet, home improvement stores and decorators. Buy extra tile for your project, since tiles will break in the process. Take your tile to the home improvement store to try out glue. Different ceramic tiles require different types of glue. You do not want your glue to discolor the wood tile. Apply a wall sealant. This mild adhesive product will keep the glue moist while you complete your project. It is available at home improvement stores.

Cure grout. Allow grout to cure for 24 to 48 hours before stepping on it to ensure its stability and to make sure that it is completely dry. Finish expansion joints. Caulk the expansion joints using a grout caulk in a color that matches your grout. Completely fill these expansion joints then smooth and concave using your finger. You can find grout caulk at large home improvement stores.

How to Prepare Concrete Floor for Ceramic Tile?

A concrete floor is a good base for laying ceramic tiles, provided it is level and free of cracks or abrasions. Self-leveling compound can be purchased at your local home improvement store and applied to the concrete floor prior to tiling. Cleaning and filling any cracks in the floor takes a little time, and the only precautions to take prior to tiling are to make sure that the floor is completely dry, as the thinset used for tile needs a moisture-free environment. The following steps will allow you to prepare a concrete floor before you lay your tiles.

Sweep the floor for dust and debris. Use a broom to sweep any debris from the floor. Remove dust. Use a wet mop to get any remaining dust from the cement floor. Leveling compounds are sensitive to dust so it’s important to remove the dust with water. Allow the floor to dry for at least 1 hour.

Identify and fill any cracks in the concrete. Mix thinset mortar with water in a bucket according to package instructions. Stir the thinset thoroughly with a trowel. Pour the thinset in any cracks, to about 1⁄4 inch (0.6 cm) above the floor surface. Smooth the thinset with a masonry float. Allow to dry according to manufacturer’s instructions.

Apply latex primer. Pour latex primer into a paint tray. Use a paint roller to apply the primer to the floor. Cover the entire floor with 1 coat. Allow the primer to dry according to the manufacturer’s instructions. Most primer will take at least 24 hours to dry thoroughly. Use a level to check the floor. Use a large carpenter’s level to identify low areas of the floor. Move the level across the floor and use a marker to mark low levels of the concrete.

Apply self-leveling compound. Mix the self-leveling compound in a bucket according to package directions. Pour the compound into a bucket. Slowly pour the compound into the areas that you previously marked as low. The compound will expand and rise to reach the correct levels of the rest of the concrete. Use a trowel to spread the compound until it is as flat and smooth as possible. Allow the compound to dry for 24 hours before starting on your tile.

How to Clean Stone Tile?

Stone tile is durable and waterproof, which makes it a popular choice for flooring. Although it is a popular choice, stone tile needs to be cleaned often and maintained properly to remain in good condition. For a routine cleaning, you can do things like mop your floor with warm water and detergent. Spots should be attended to immediately, and the cleaner used for spots depends on what has been dropped. Along with the tile itself, the grout should be cleaned regularly for an overall clean and shiny floor.

Make a paste with baking soda and water. You will need to use baking soda and water. Combine the baking soda with a small amount of water. Add more water or baking powder if necessary until a paste is made. Saturate the grout. Apply the paste directly to the grout. Use enough paste so that the dirty grout is saturated with the baking soda and water. The paste should only be applied to the grout. Do not put it on the tile.

Let the paste sit. The amount of time you allow the paste to sit depends on how dirty the grout is. If the grout is only slightly dirty, you can allow it to sit for a few hours. Allow the paste to sit overnight if the grout is very dirty. Scrub the grout. Once you have let the paste sit, scrub the grout with a toothbrush. You may have to use a little force if the paste has hardened. Scrub until you see clean grout underneath.

If your grout is really dirty or if you have a lot of cleaning to do, you may wish to purchase a grout brush. Grout brushes have stiffer bristles than toothbrushes, so they can remove stubborn dirt more efficiently. You can get one for about $3 to $10 USD at a hardware or home supply store. Wash off the paste. Pour water onto the remaining paste. Rinse the grout off until all of the paste is gone. Use a towel to wipe off the paste. Dry with a towel. You can use oxygen bleach on the grout if it doesn’t turn out as clean as you’d like after the paste.