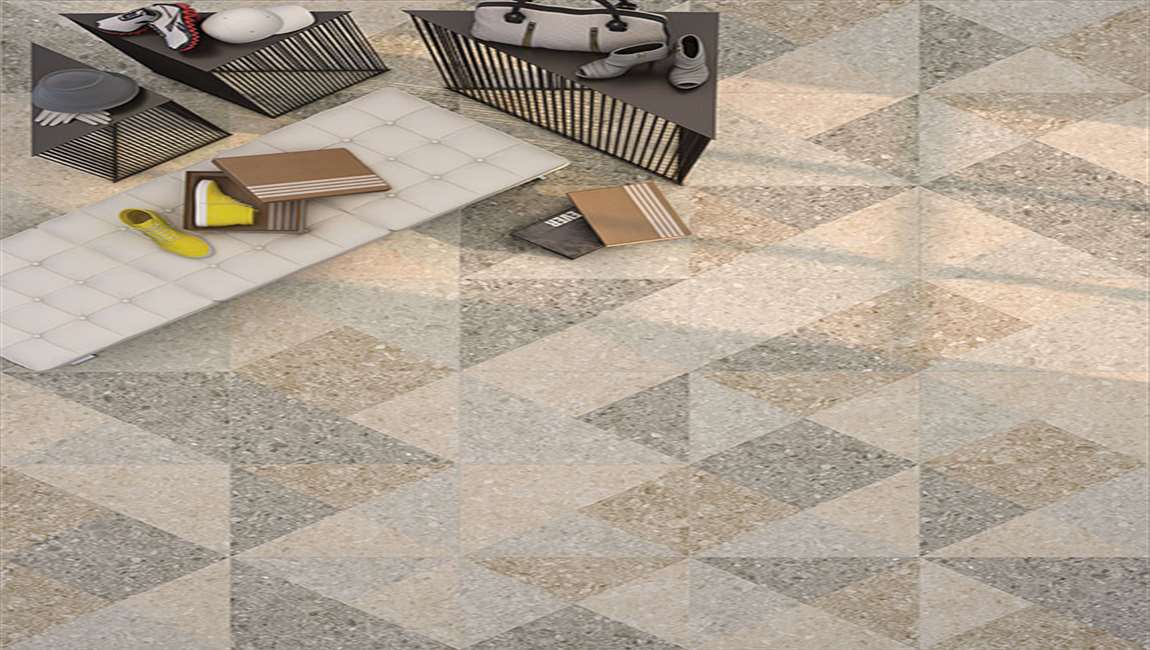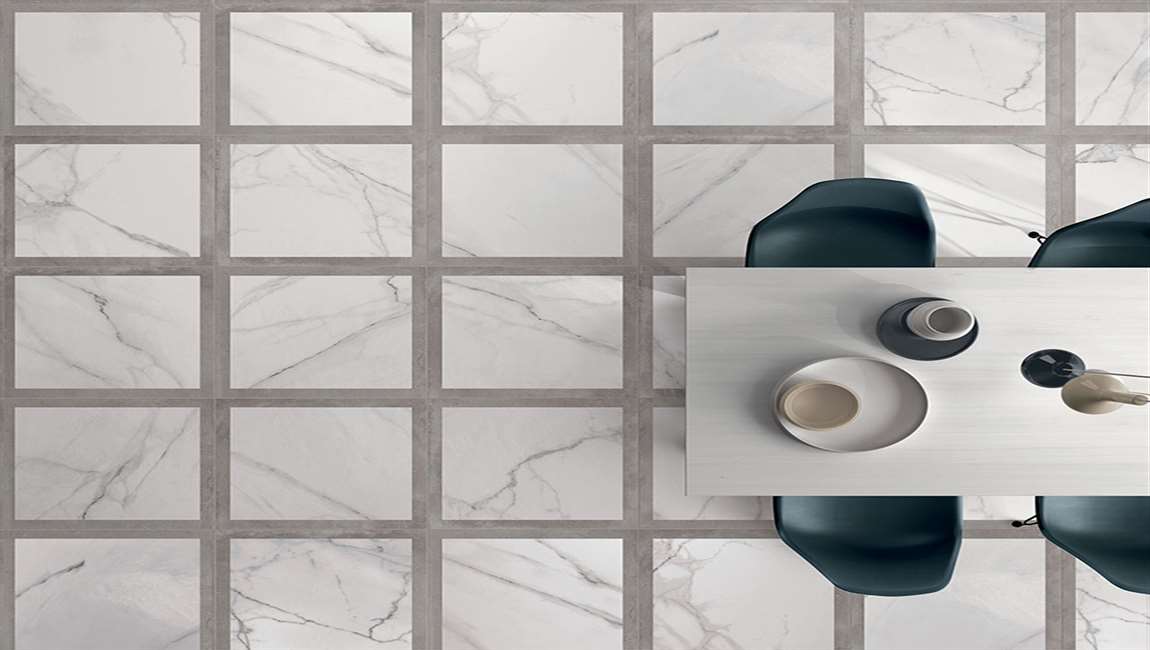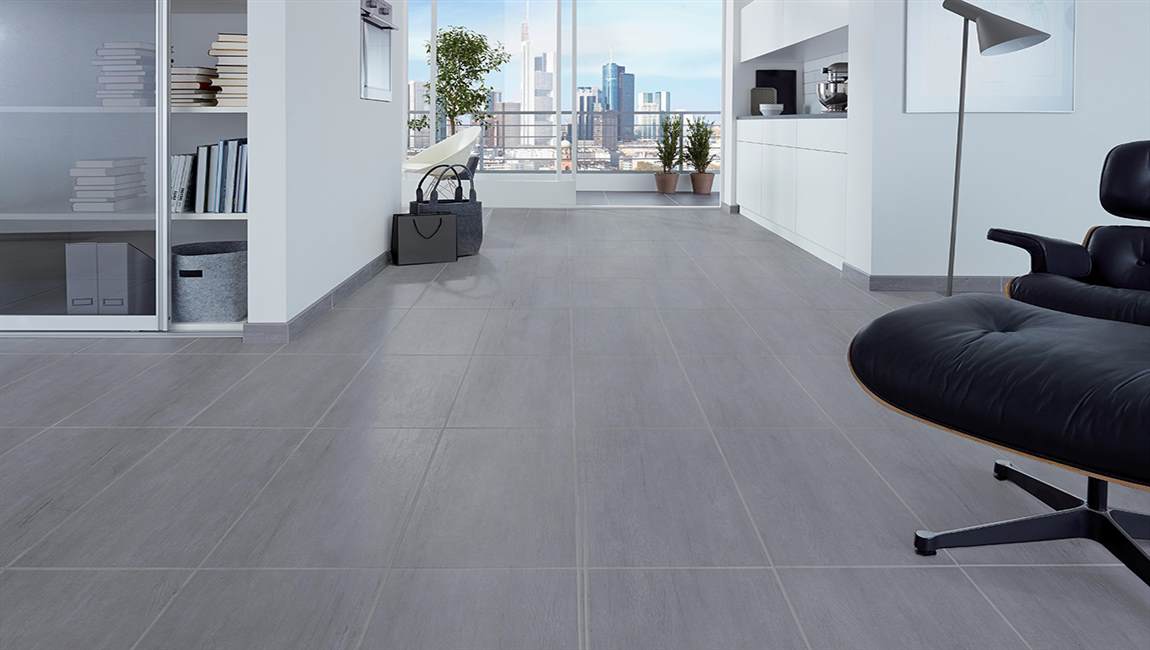
How Maintaining Your Tile Floor?
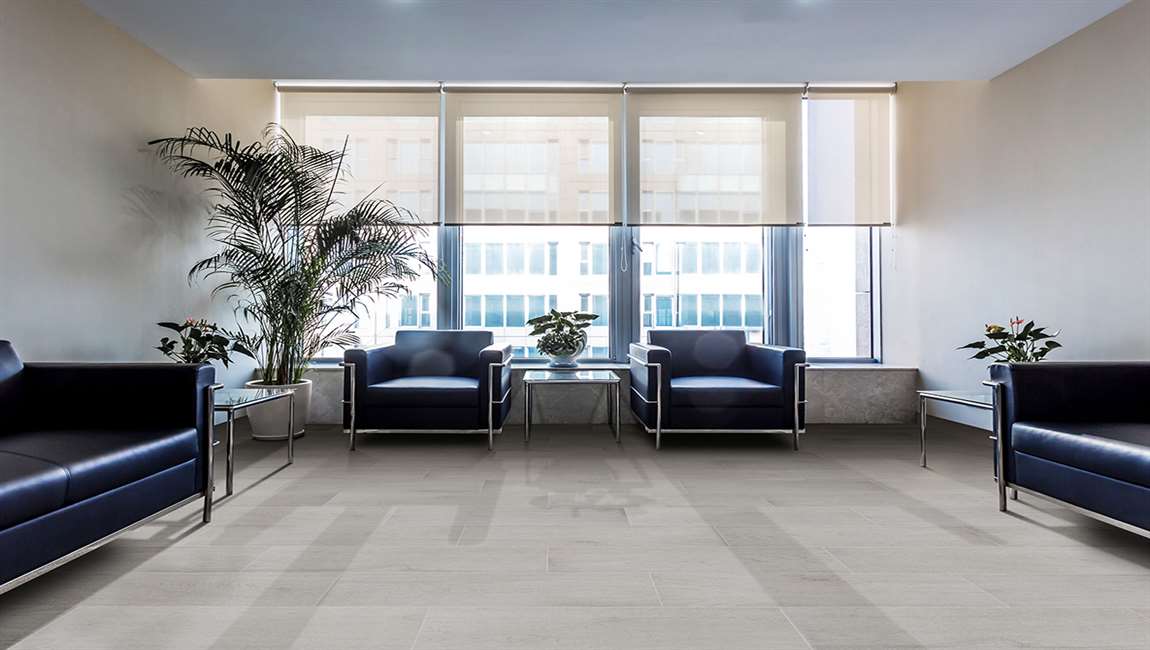
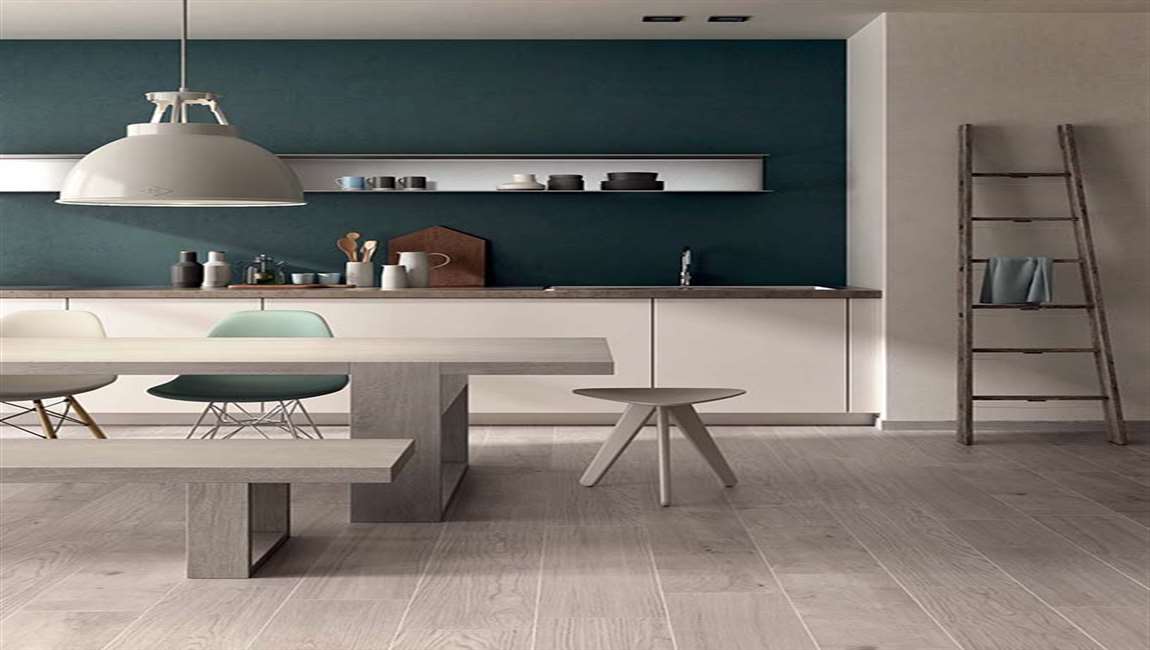
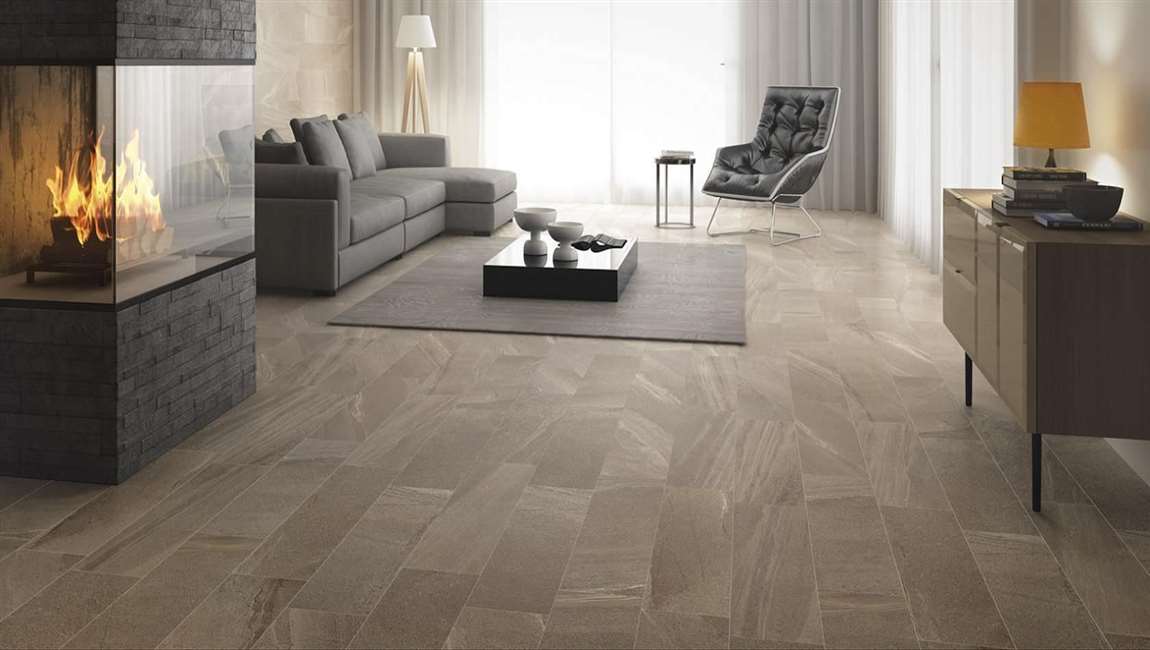
Clean tile floors regularly. When it comes to maintaining tile, the best solution is prevention. By sweeping, vacuuming and polishing your flooring on a consistent basis, there will be less chance of stain-causing substances accumulating underfoot. Be on the lookout for places where dirt and debris have a tendency to collect, especially in corners, beneath furniture and around the baseboards.
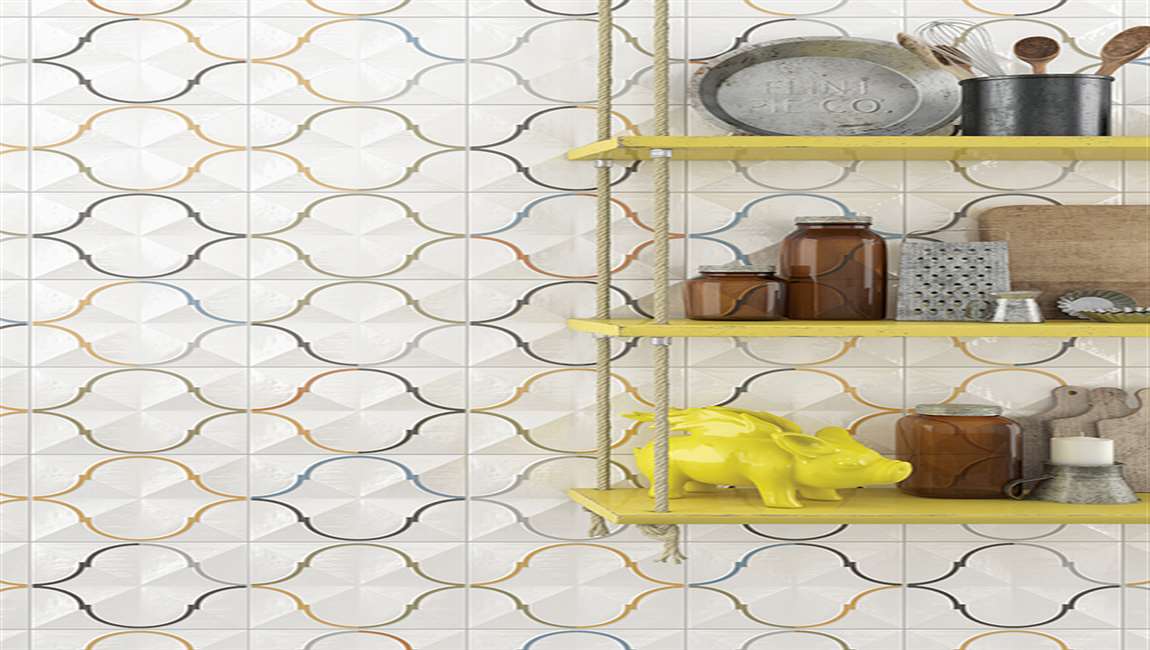
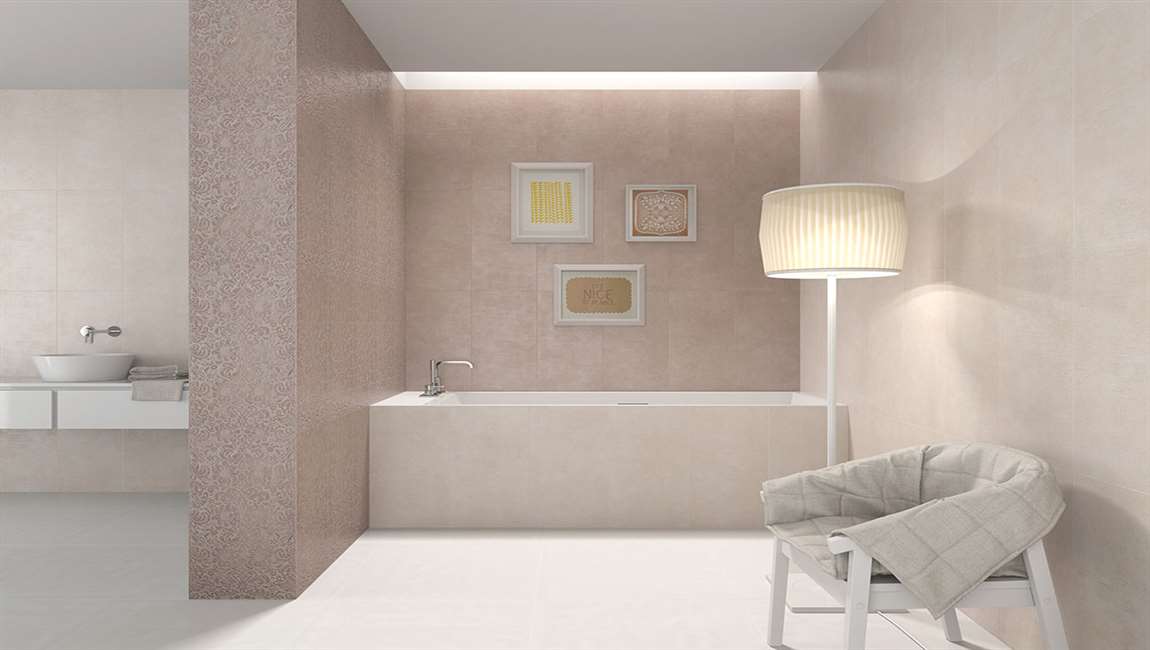
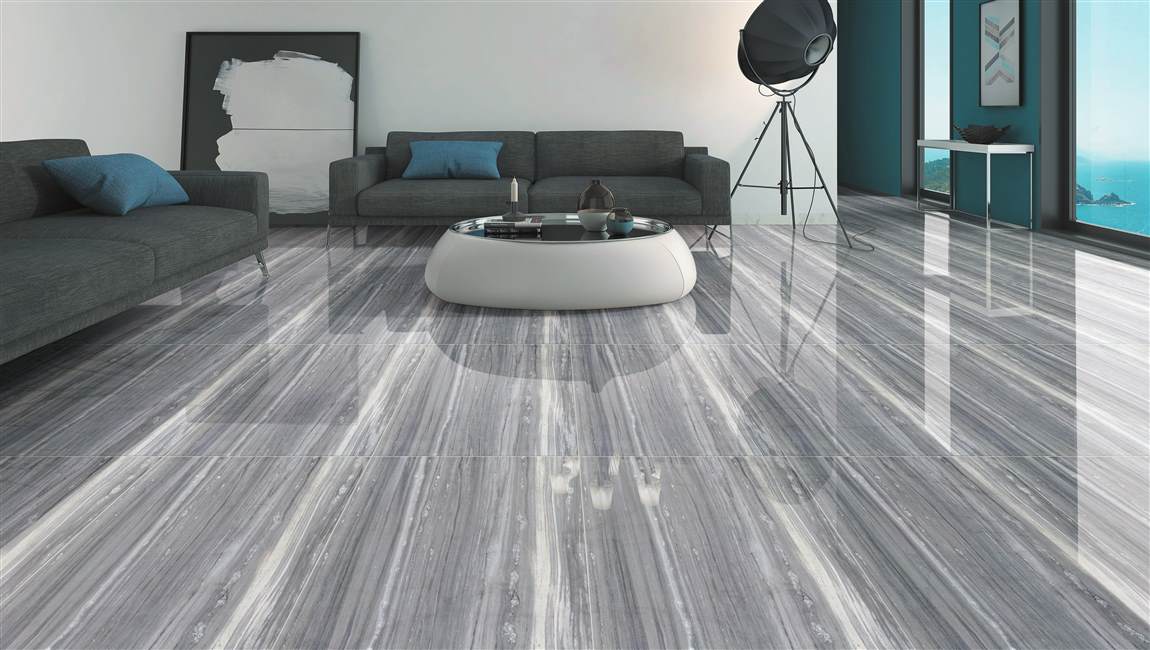
Aim to sweep or vacuum your tile floors every couple of days, and to mop or give them a more extensive wipedown about once a week. Neglected wall tile will quickly begin to advertise itself. If you allow it to get bad enough, it may even negatively affect the value of your home.
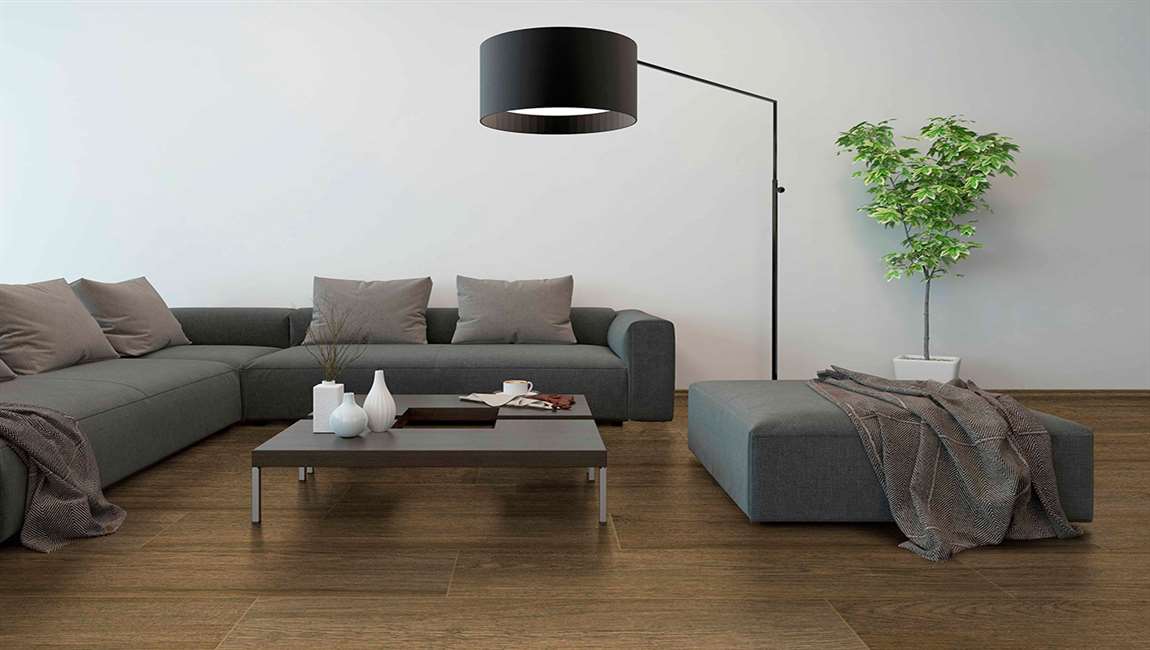
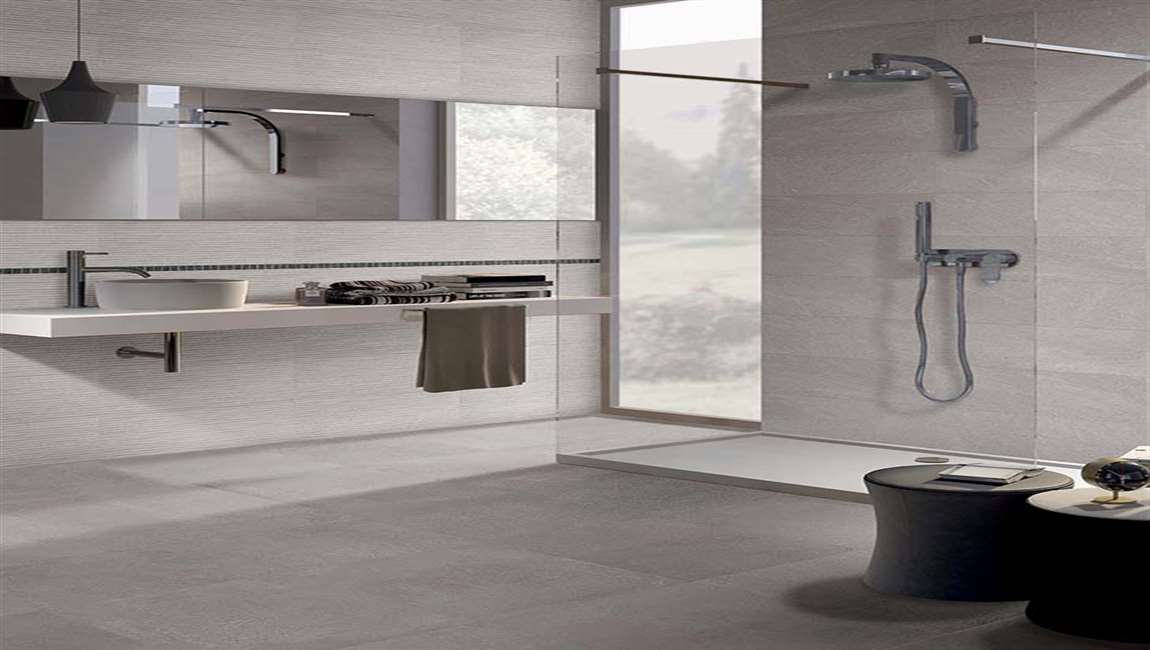
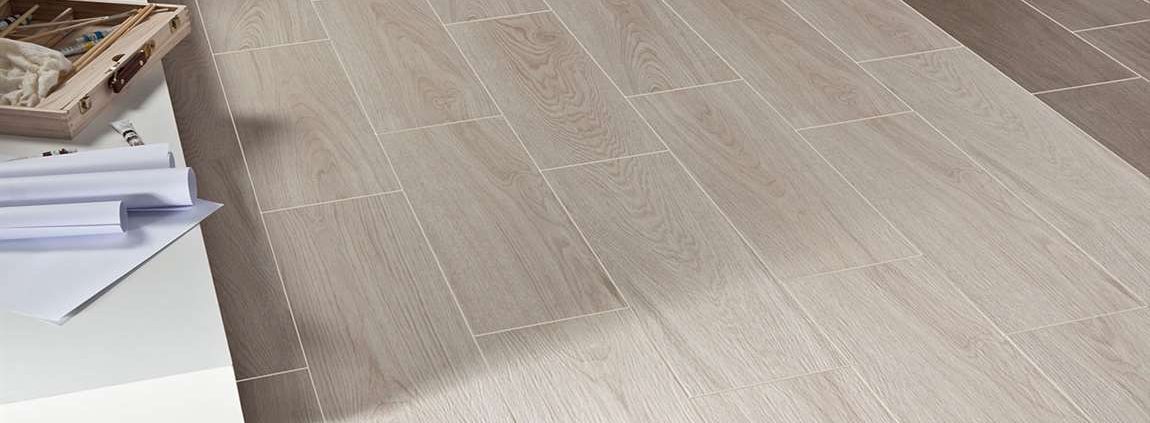
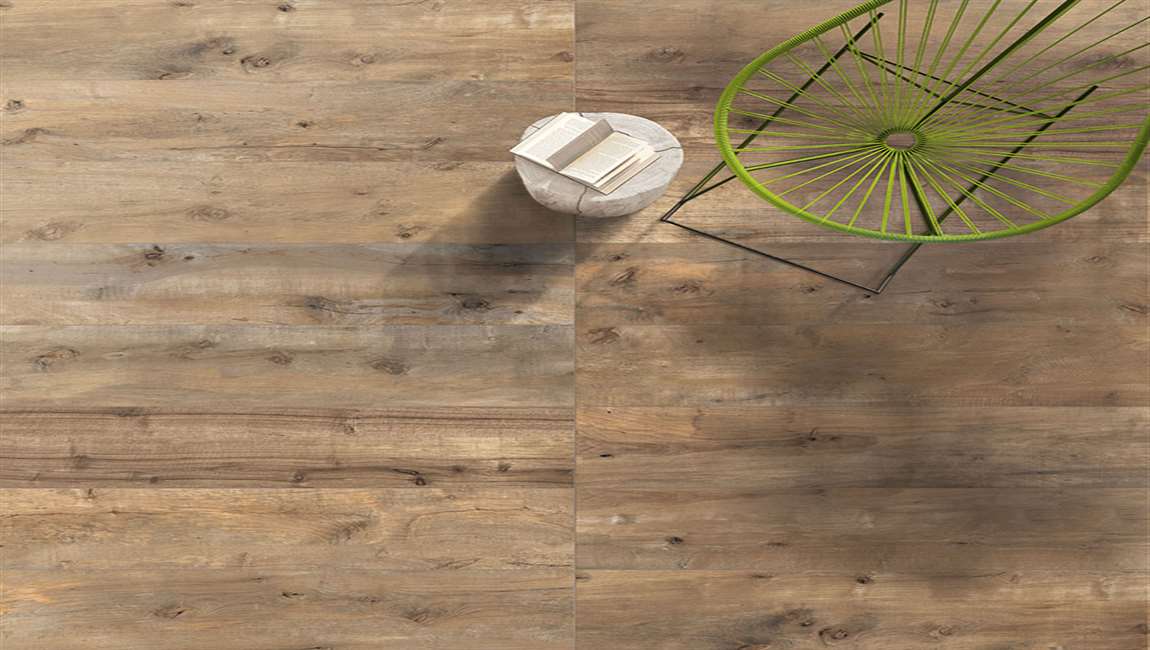
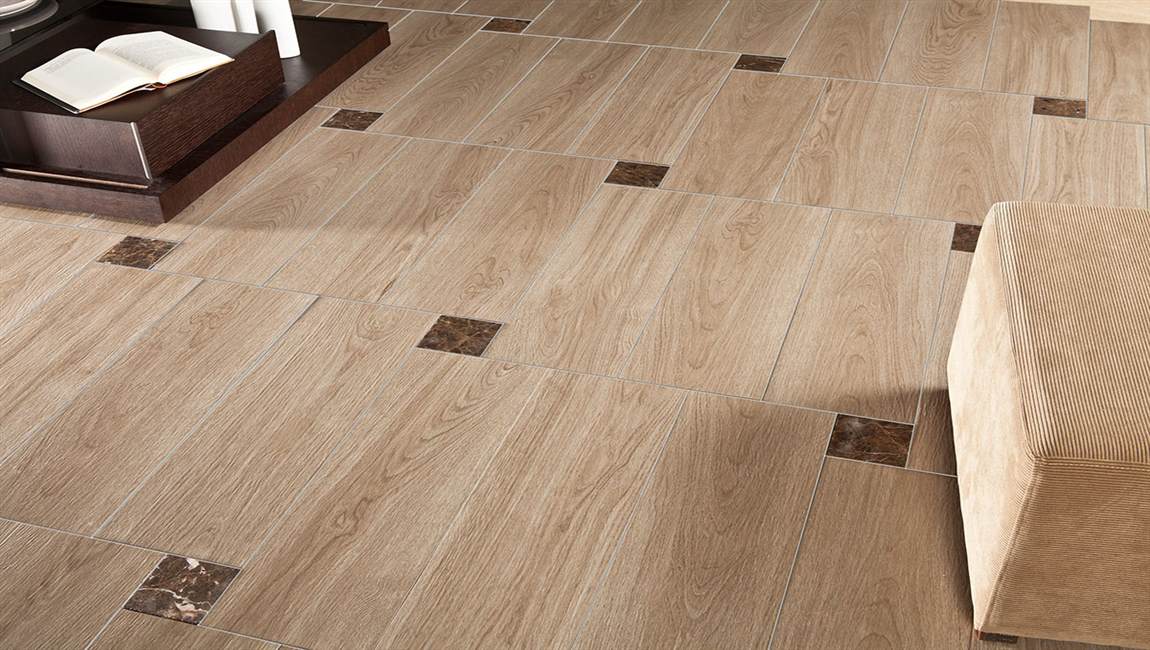
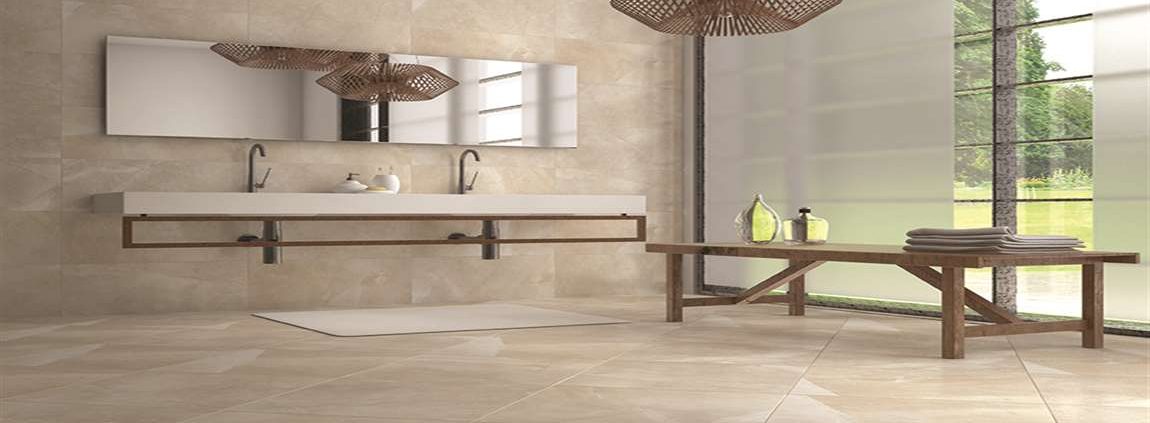
Wipe up spills and messes right away. When left untreated, even the smallest spill can become a stubborn stain. As promptly as possible, blot the affected area with a clean cloth dampened with warm water or a small amount of vinegar solution. Tracked-in dirt and food particles should be swept up so they don’t get ground into grout or rough surfaces.
Gradually apply more vinegar as need until the stain begins to come out. Responding to messes quickly is especially important if you have light-colored tile or grout that make discoloration more noticeable.
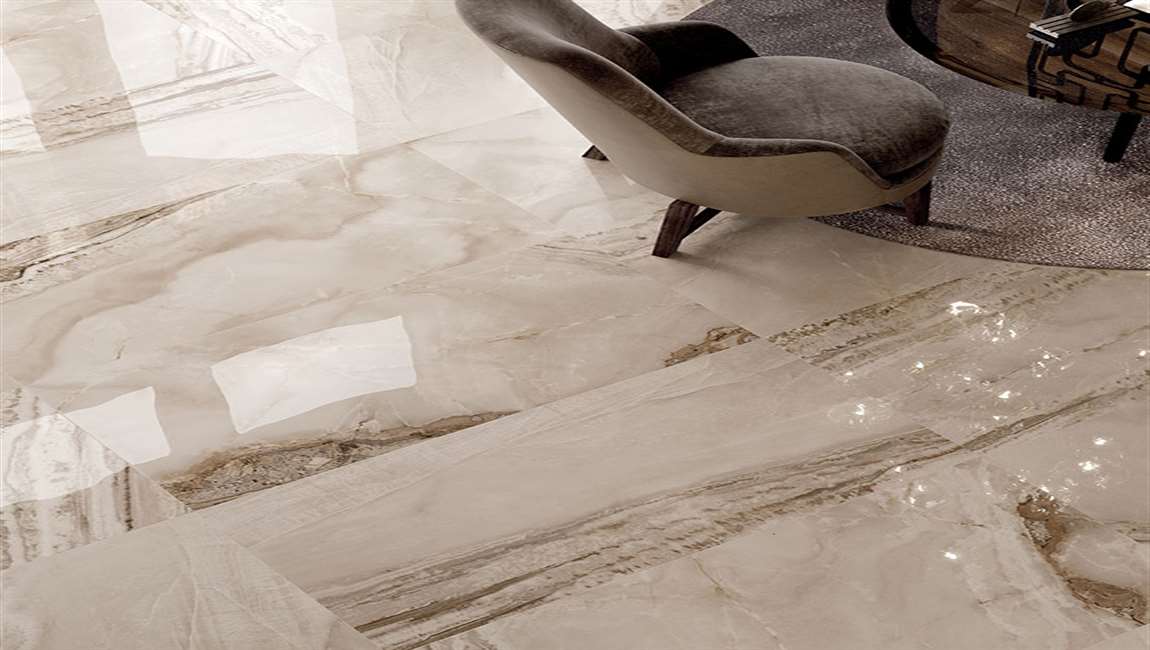
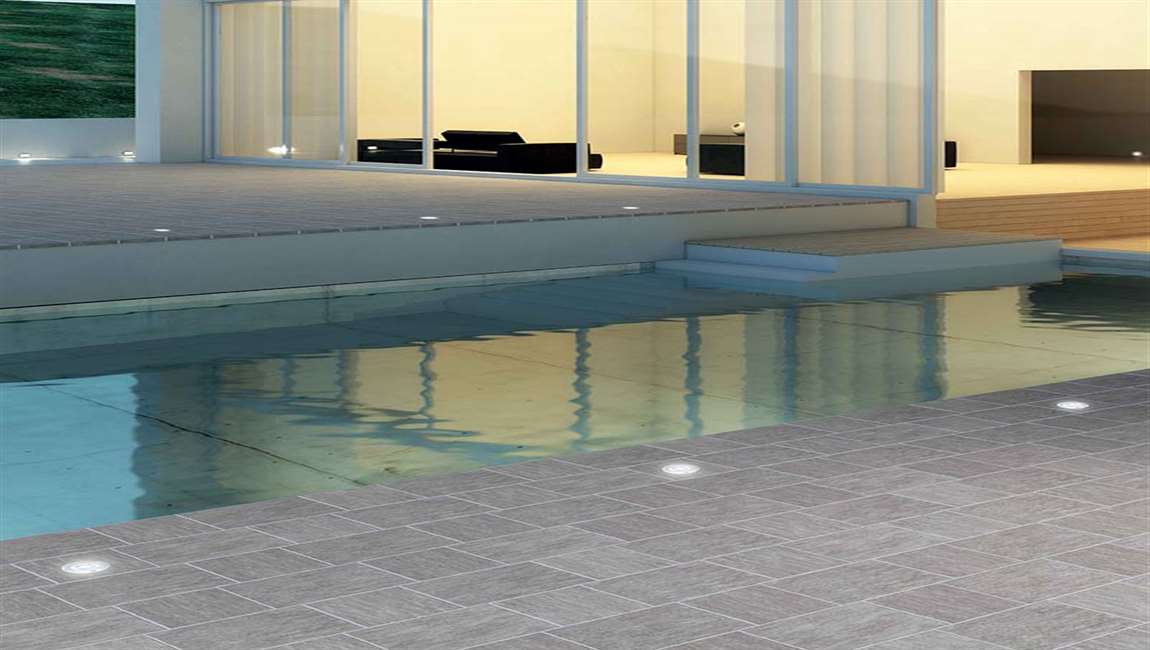
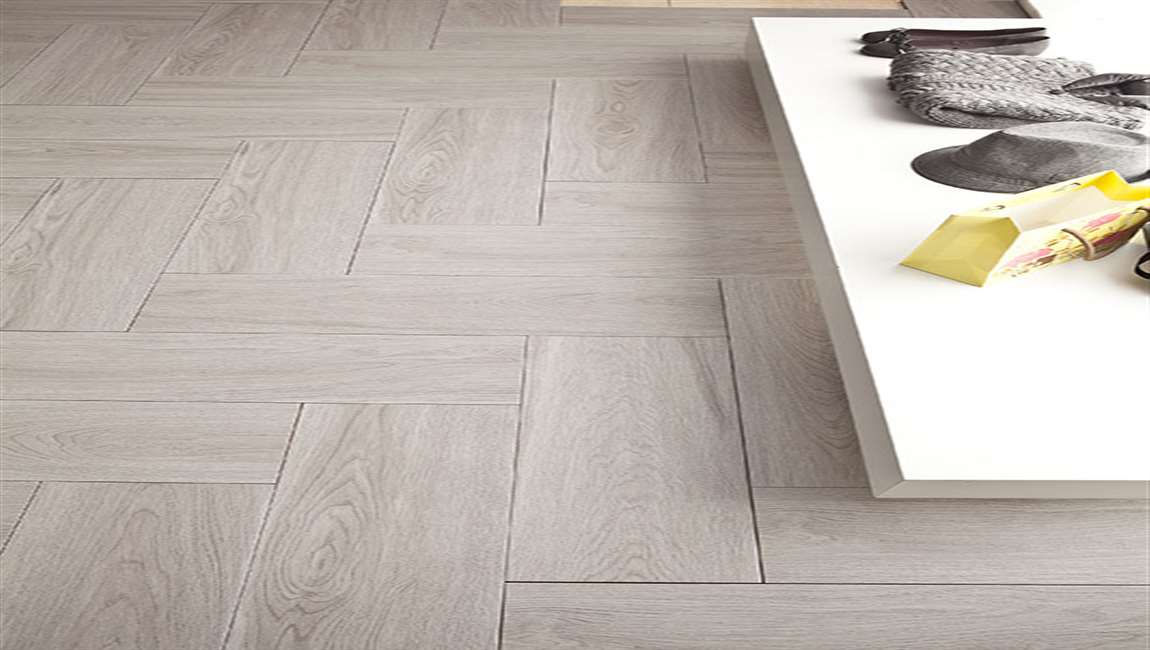
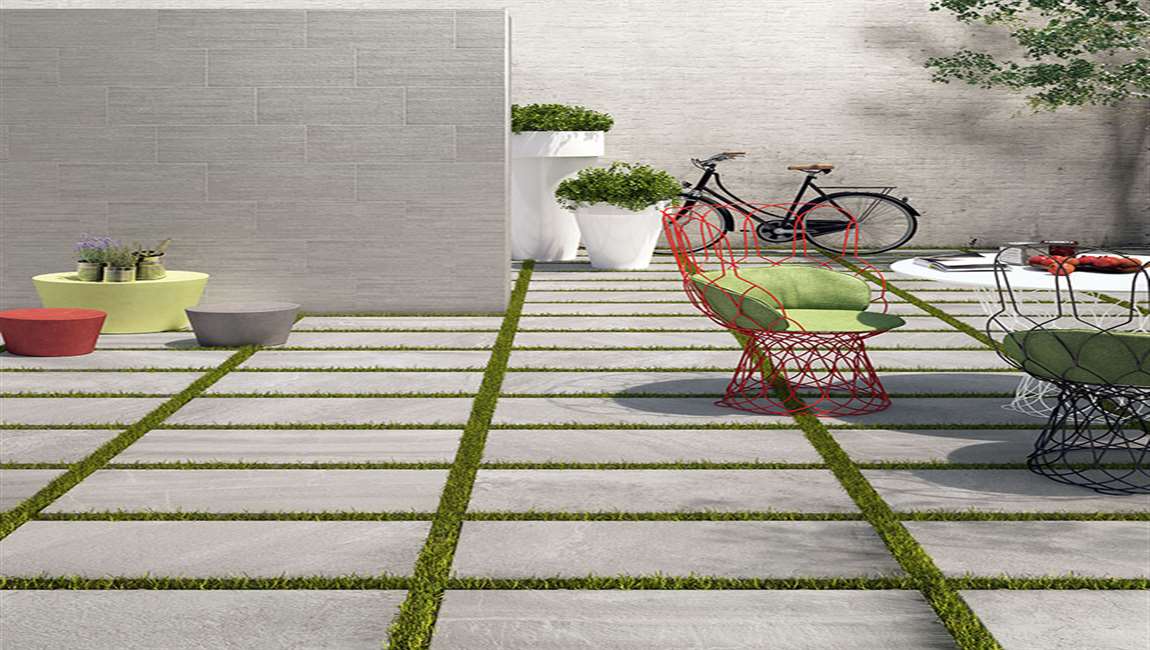
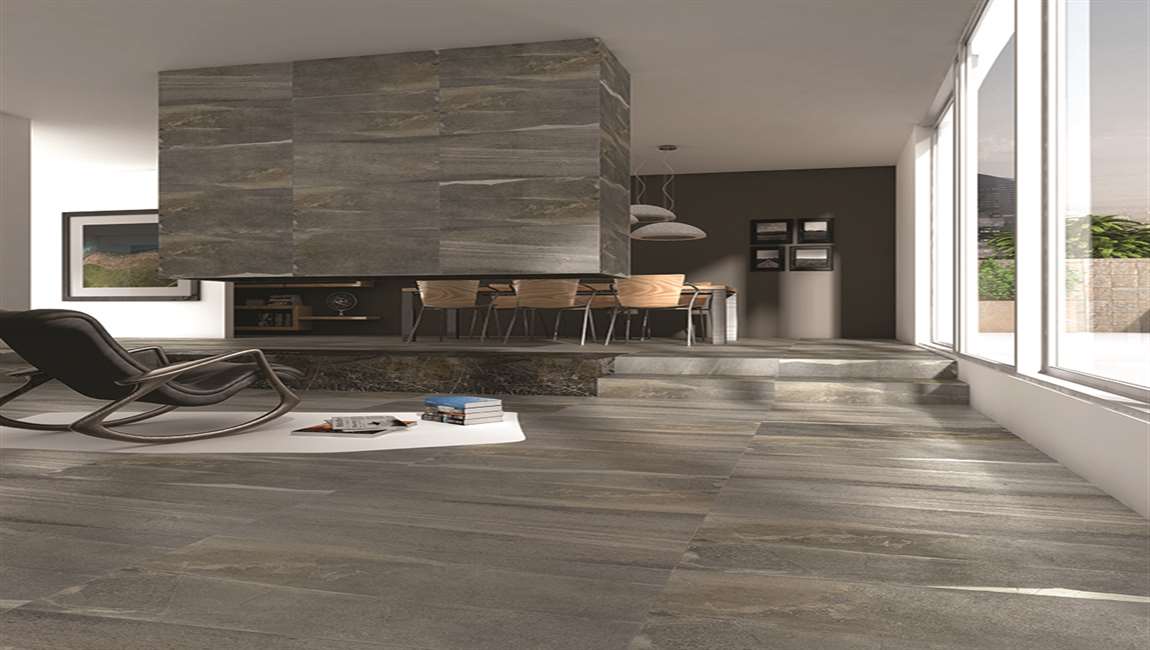
Avoid using chemical cleaners. Tile is praised for its durability and ease of cleaning, but it’s not indestructible. Harsh chemicals like bleach can cause natural materials to fade, while astringent cleaners may ruin the smooth finish of porcelain tiles after only a few uses. Whenever possible, opt for mild green alternatives such as vinegar and baking soda instead.
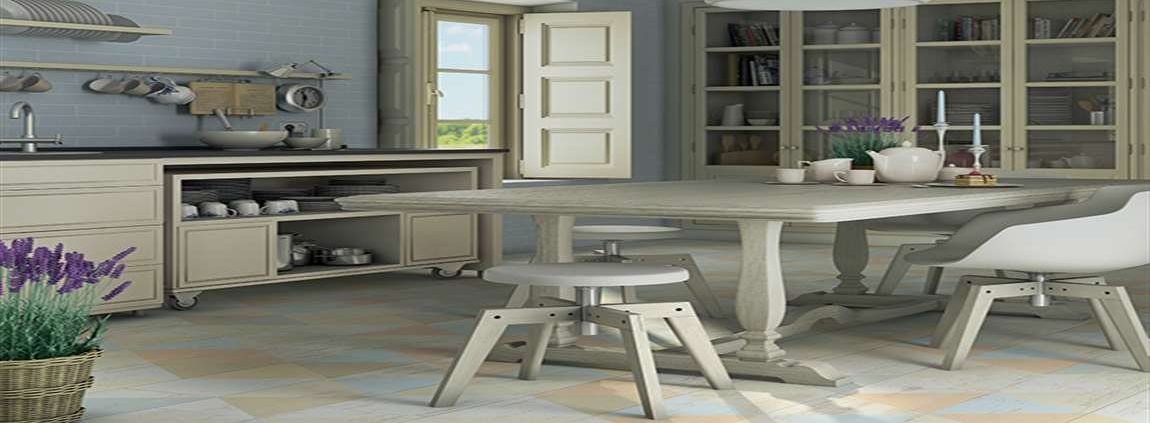
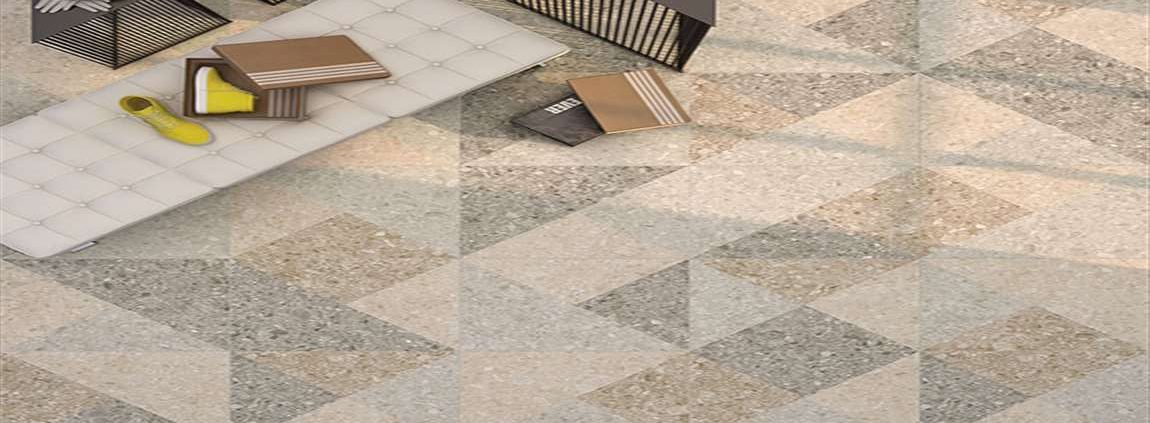
Even commercial tile cleaners can take their toll when used frequently, and are usually no more effective than garden variety vinegar, anyway. Never use anything more abrasive than a stiff-bristled brush or kitchen sponge to scrub your tile floors. Doing so may leave behind small scratches in which dirt and mildew can set up for good.