
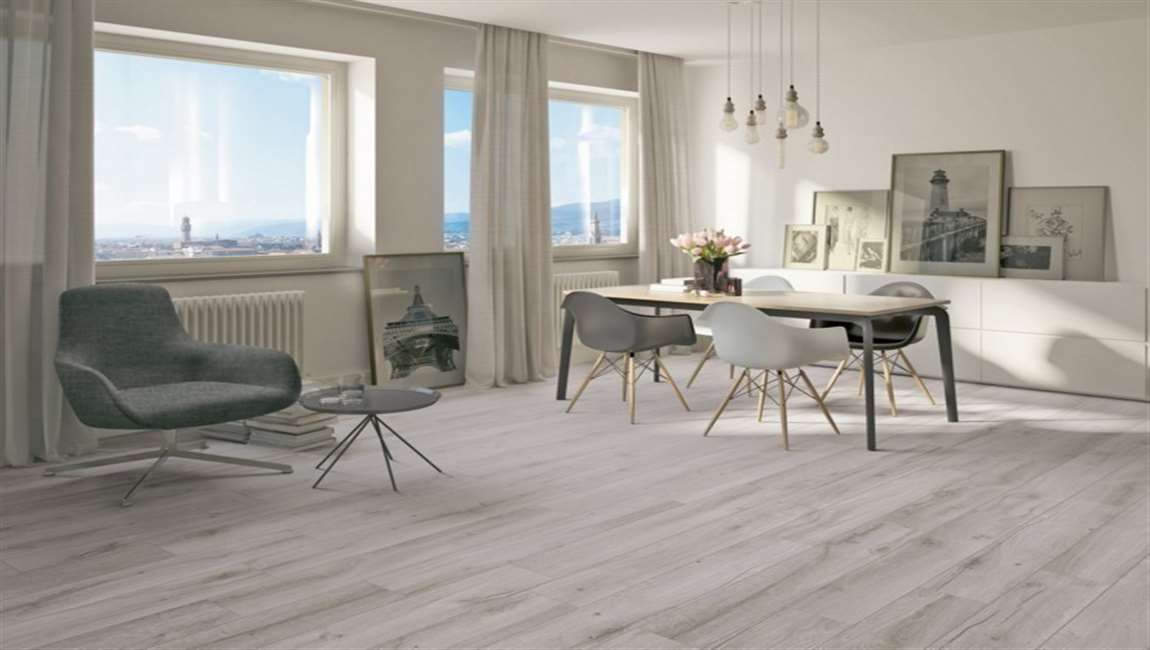
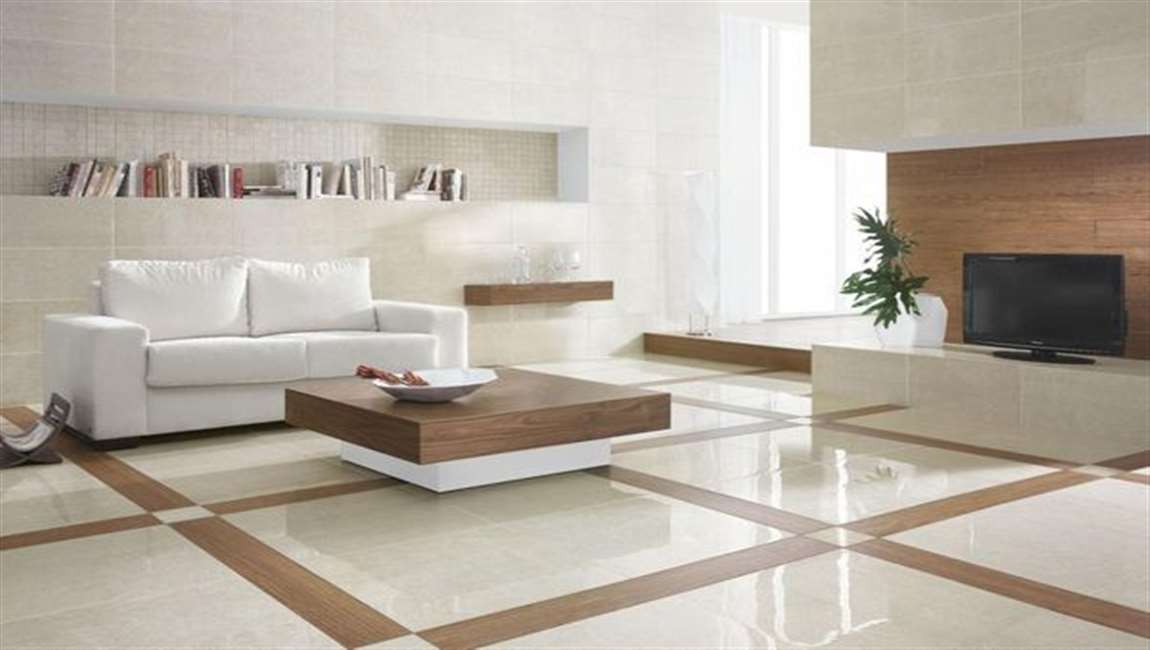
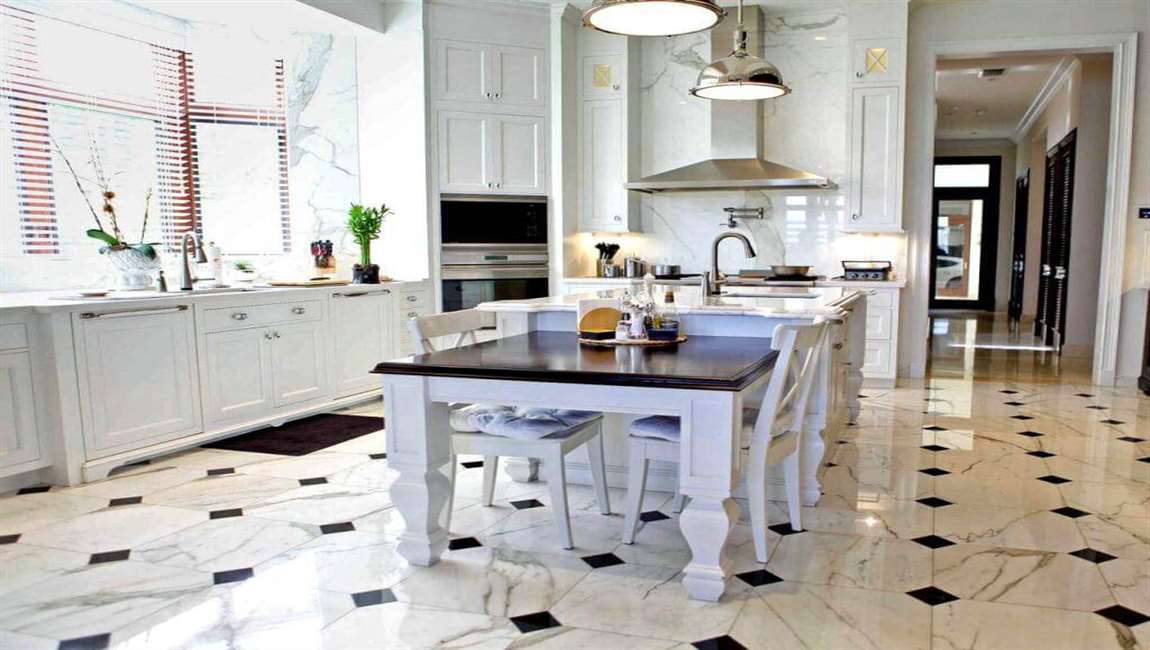
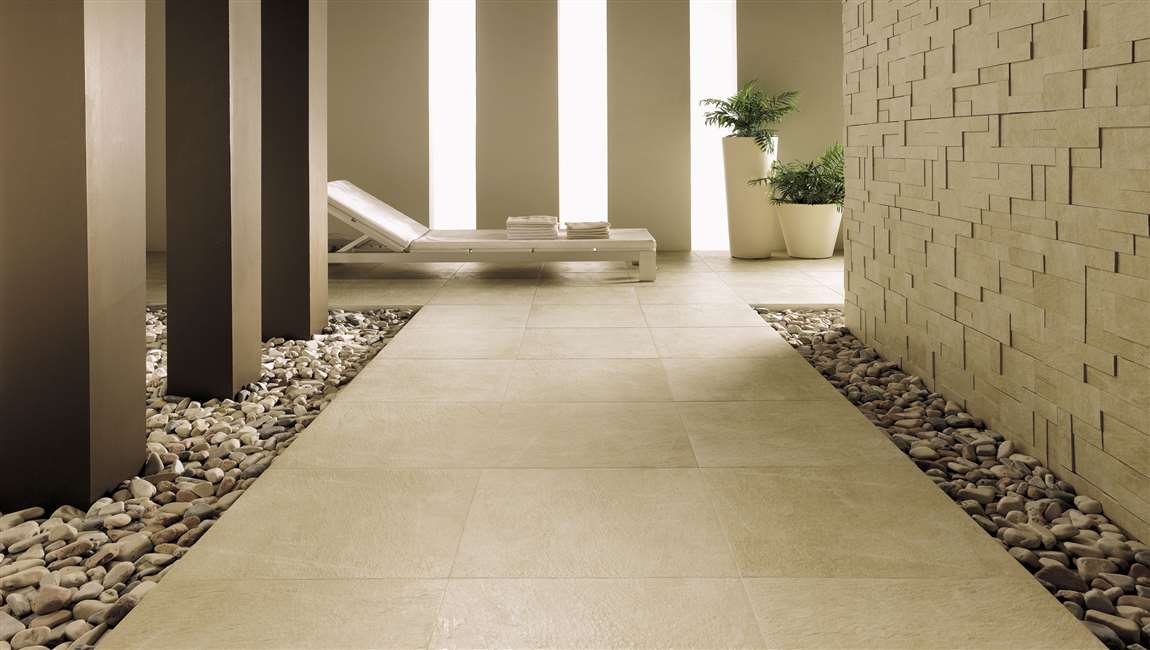
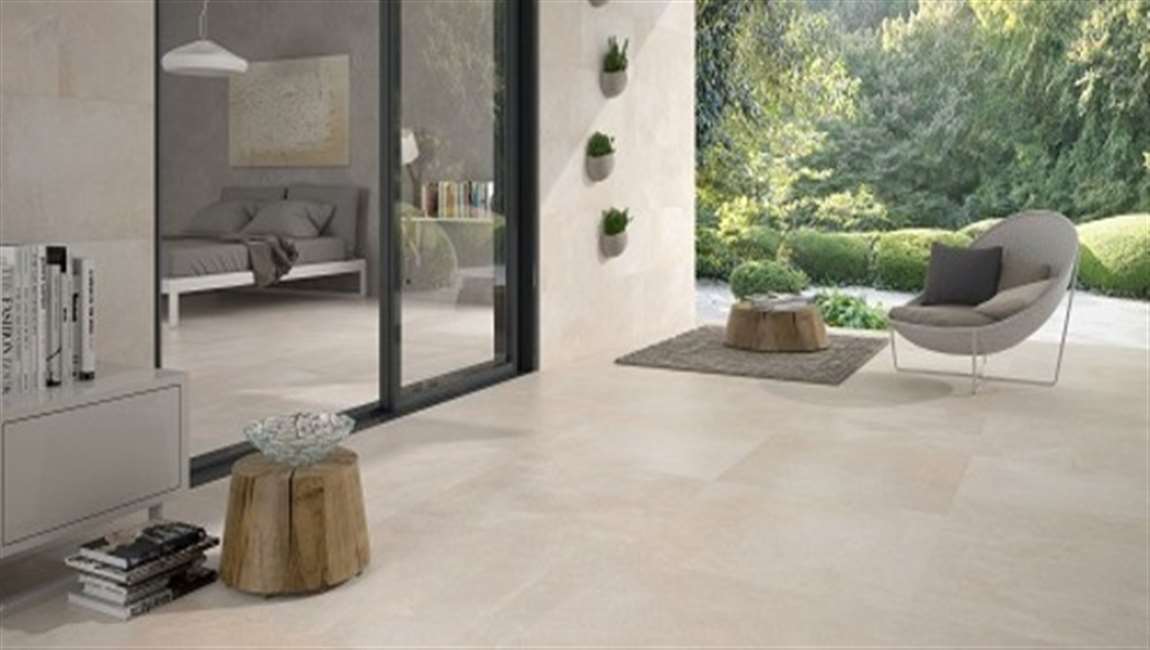
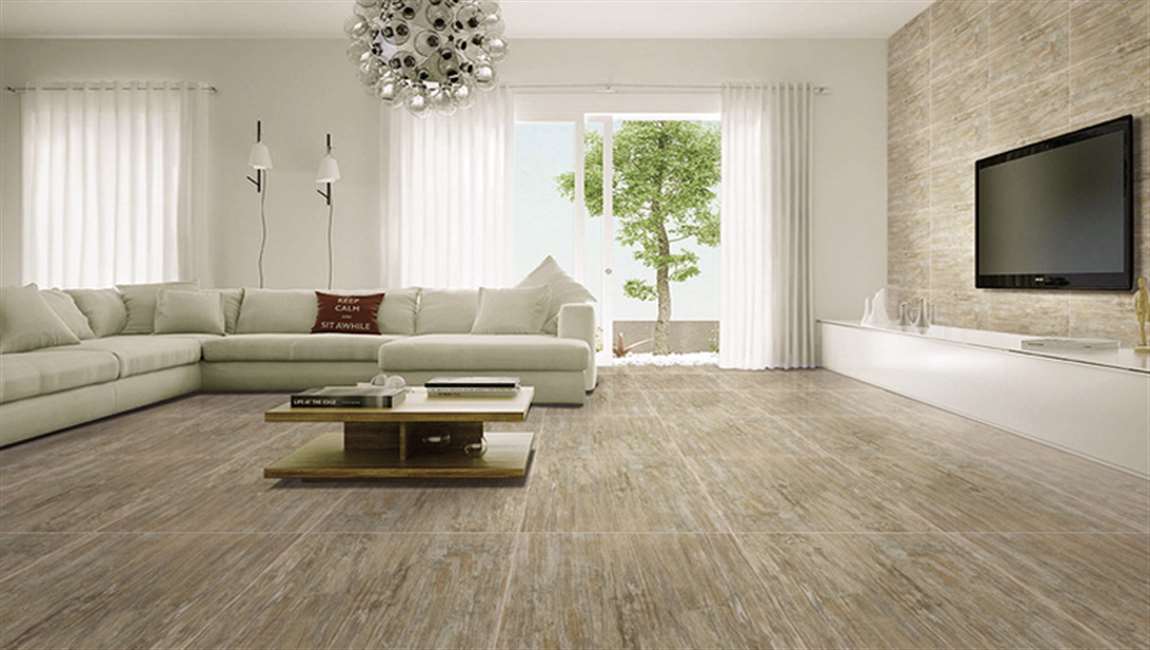
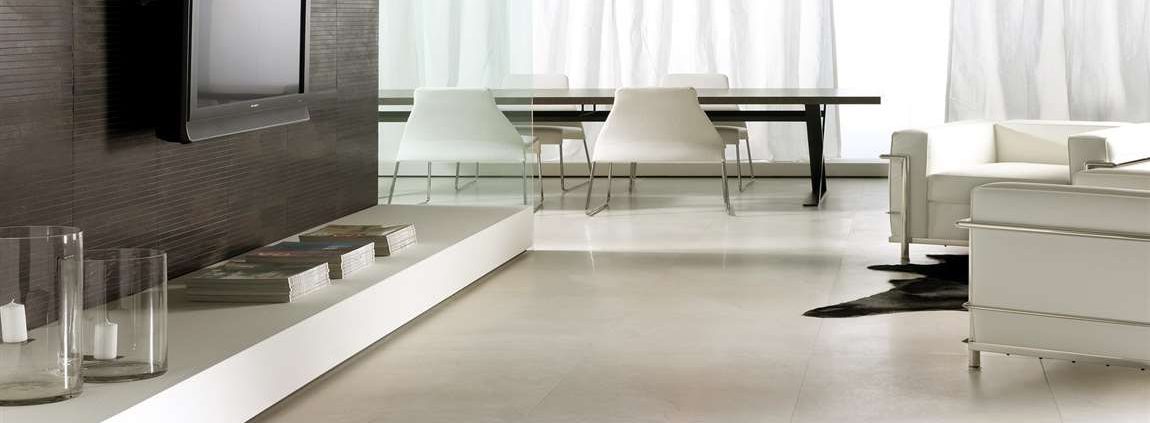
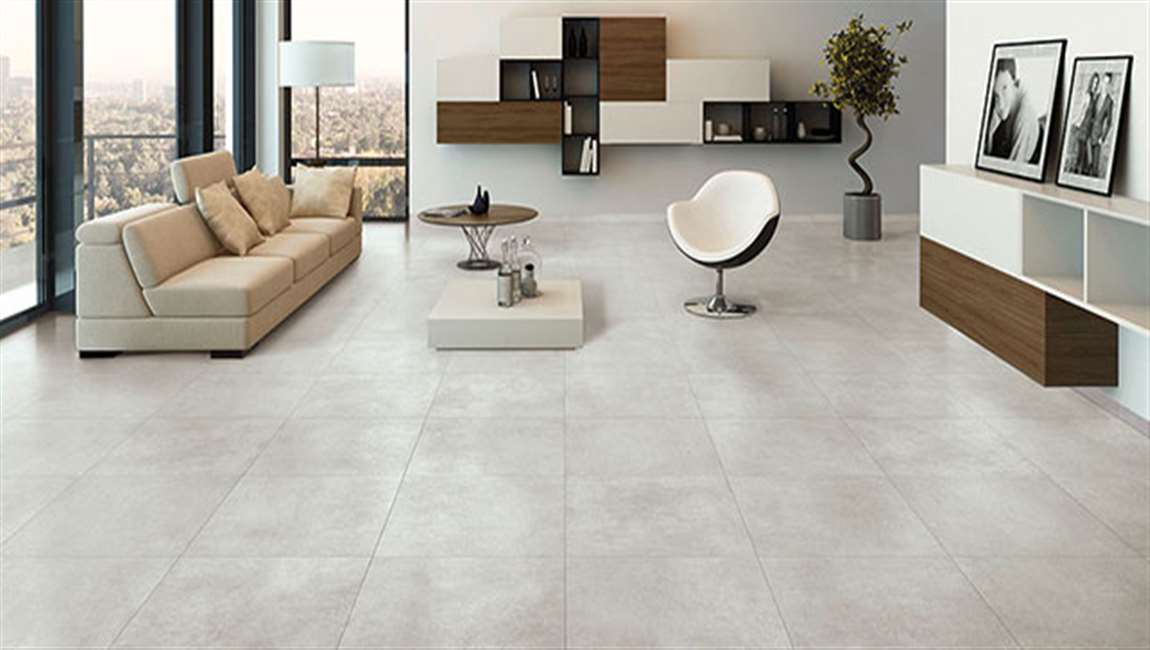
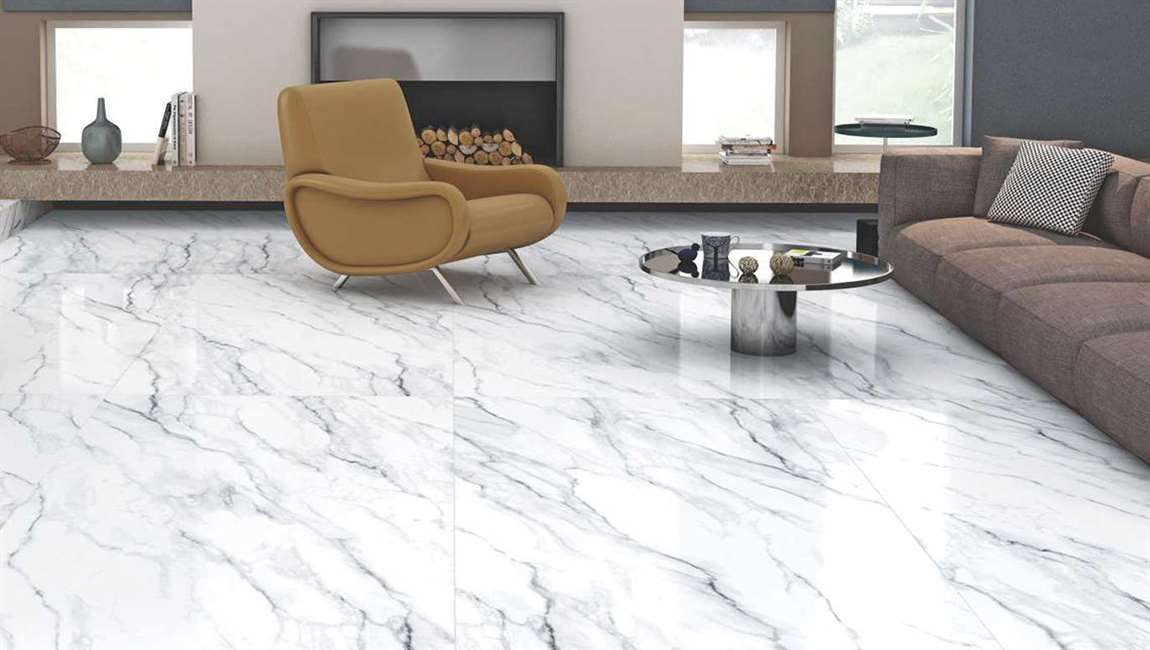
How Installing Your New Tiles?
Comb the thin-set onto the floor. Dip your trowel into the bucket of thin-set and spread it out across the floor. Move your trowel in the same direction, to reduce the possibility of air pockets. If there were low spots in the floor that you marked earlier, you may need to apply extra thin-set to those areas.

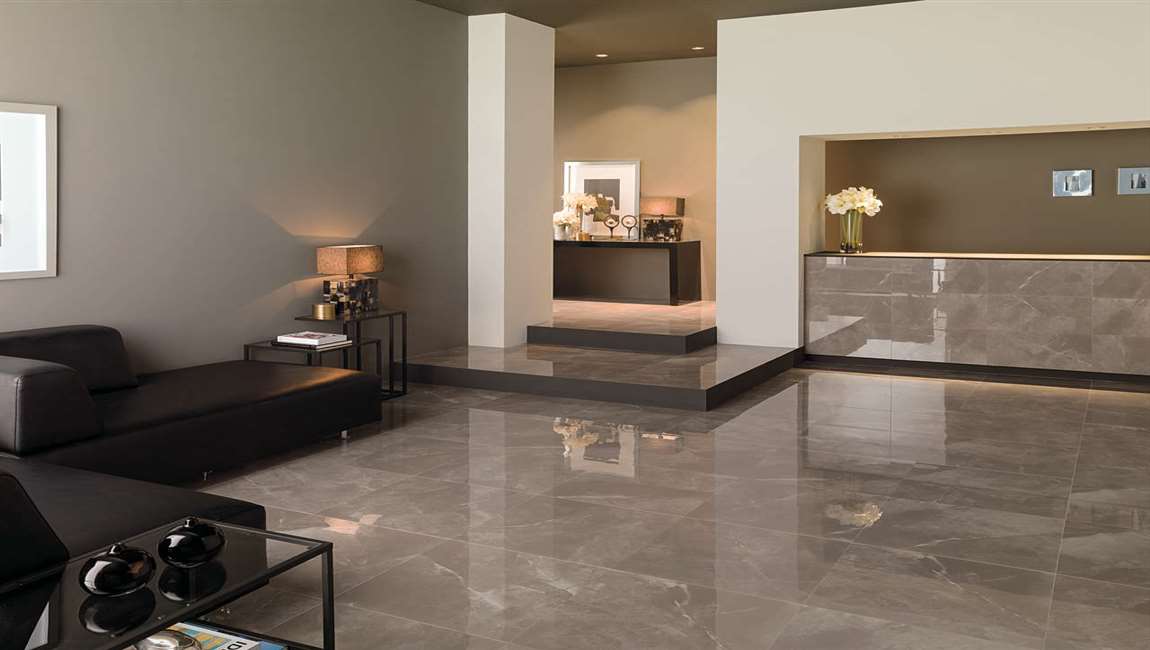
Set each calacata tile down and wiggle it a bit. Hold the new slate tile above its future spot and drop it down gently and slowly. Move it just a bit side-to-side to secure the tile to the floor. Tap the top of the tile with a wooden hammer as well. Place a level on top of the tile to verify that the wood marble tile is level. Continue until all the tiles are placed.
Thin-set starts to dry immediately. If you need to peel up a tile and move it, you’ll need to do so almost immediately or risk having to chisel away hardened thin-set. The thin-set will be totally dry within 24-48 hours.
Use a tile cutter to make smaller tile pieces. You can either rent a cutter or buy a hand-held one from a home improvement store. You’ll likely need to cut crystal tiles to complete the edges of your floor. Hold a full cement tile under the cutter and run the scoring wheel across the top. Next, push down on the cutter’s handle until the tile snaps along the scoring line. Other options for cutting tile include using a wet saw or glass cutting tool.
Inspect each section of black tile before moving on. After you finish four or more tiles, stand up and take a few steps back. Look down to see if the amazon tiles appear in proper alignment. Place a level across the only tiles to make sure it is even. Take this opportunity to clean away any thin-set from the tile’s surface with a damp sponge as well.

Work the grout into the joints. When all of the tiles are placed, mix your grout in a bucket according to the package directions. Use a trowel and grout float to press the grout in between each tile. Wipe away any excess from the tile’s surface before it hardens by using your trowel and a sponge. When you are finished, let the grout dry for two days before walking on it. Don’t add too much water to your grout. It should be similar in texture to cake batter.


 Rule out whether your old floor
  Use the chisel to pry up sections of
  If the underlayment is plywood, use a reciprocating saw and 12 inch (30.5 cm) wood cutting blade to cut through the plywood. Cut the plywood underlayment out and remove it along with the
 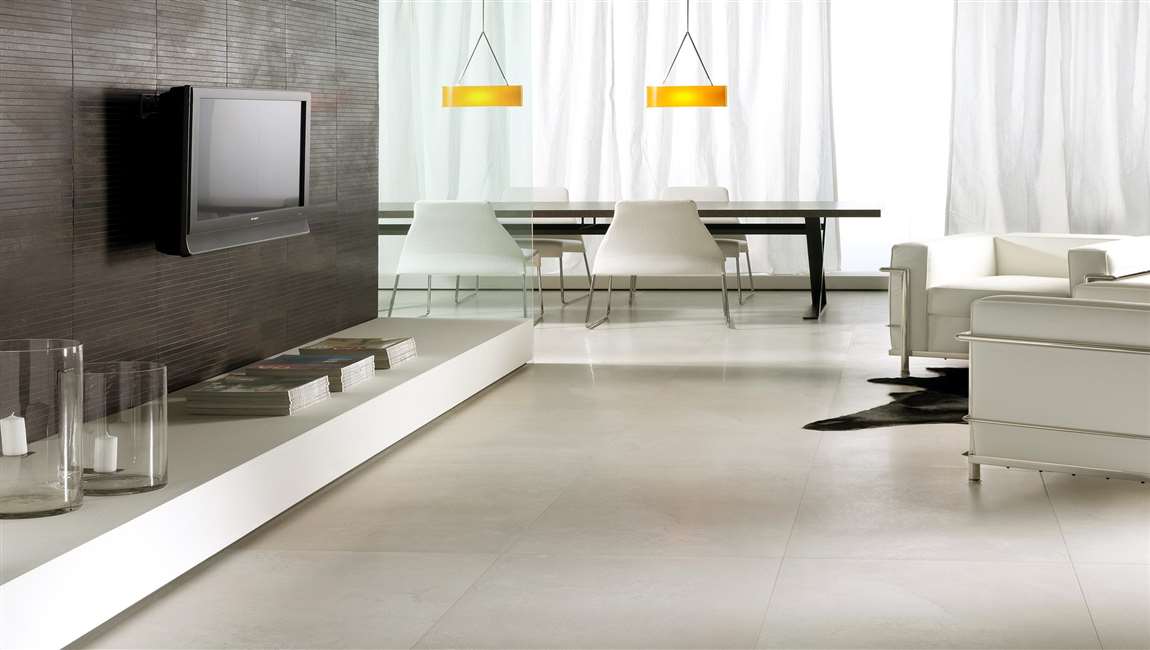 If the underlayment is cement backer board, use a reciprocating saw with a carbide-grit masonry-cutting blade and remove the backer board with the
 Pick the right
 Clean the concrete surface. This is a vital step of the project. Accumulated mud, dirt and other debris must be removed completely to ensure that the
  Perform the concrete repairs and leveling. To lay an even surface, the underlying concrete needs to be uniform and level as well. To achieve this, get rid of any protrusions, bumps or cracks in the surface. Using sandpaper to level the bumps and concrete and other fillers to stop cracks, you should be able to get a smooth surface. Be sure to wash it after this is done and let it dry.
 Plan the layout. After preparing the surface, plan how you intend to lay down the
 Disinfect
  Dissolve
  Wash water-based stains on
  Use a poultice on resistant stains. Stains that do not want to disappear with regular cleaning and stain removal techniques require the use of a poultice. Make a paste out of cleaner and a powder, like talc, powdered chalk or dry kaolin clay. Spread the mixture over stains a 1⁄4 to 1⁄2 inch (0.64 to 1.27 cm) thick, cover with plastic wrap, and let it sit for 24 to 48 hours. Mix a 1⁄2 cup (120 mL) baking soda with 1 tablespoon (15 mL) water for oil stains. Mix a 1⁄2 cup (120 mL) talc with 1 tablespoon (15 mL) acetone for water-based stains.
 Sweep with a soft broom every day. Dirt and crumbs can build up and potentially scratch your
  Mop with a soft sponge or mophead weekly. Keep grime at bay by mopping
 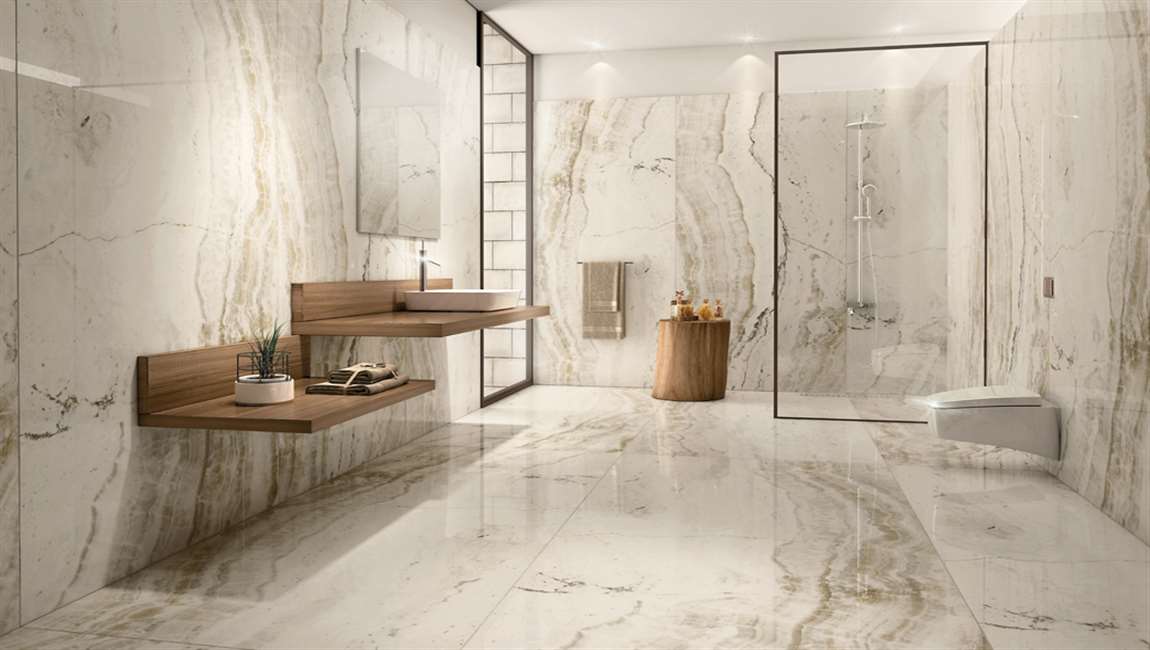 Use a stone cleaner on soft stone. Marble and limestone can scratch easily, so make sure you mop them weekly with a
 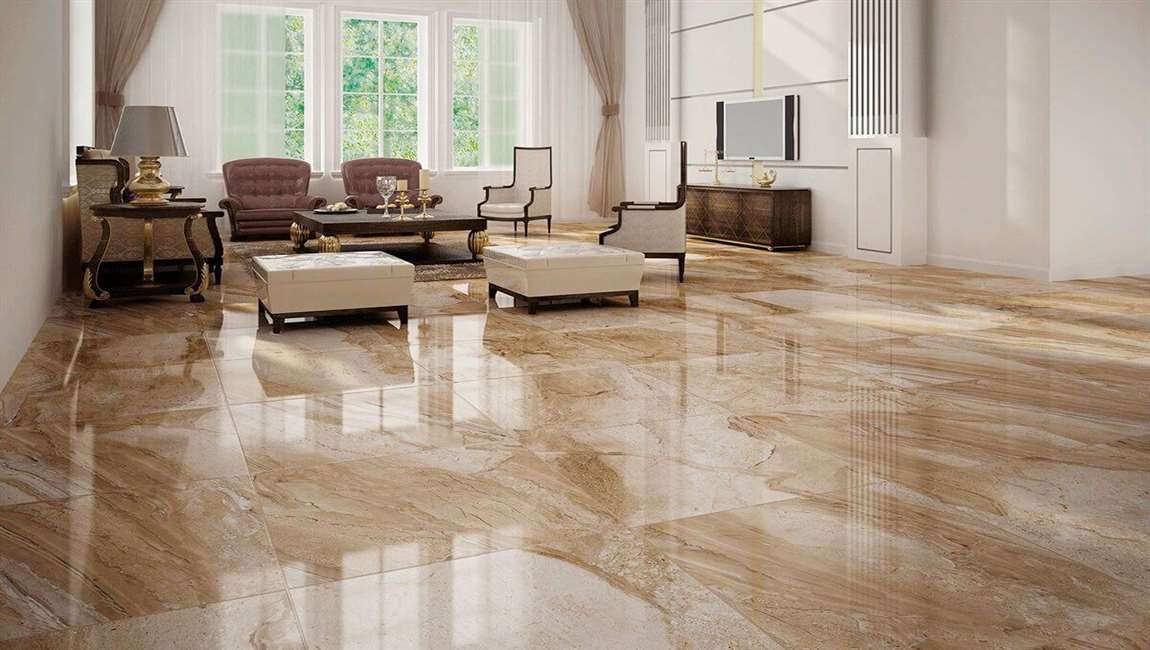 Scrub grout with a soft brush. Use a soft scrub brush to get to spaces between
 If there isn’t a chipped
 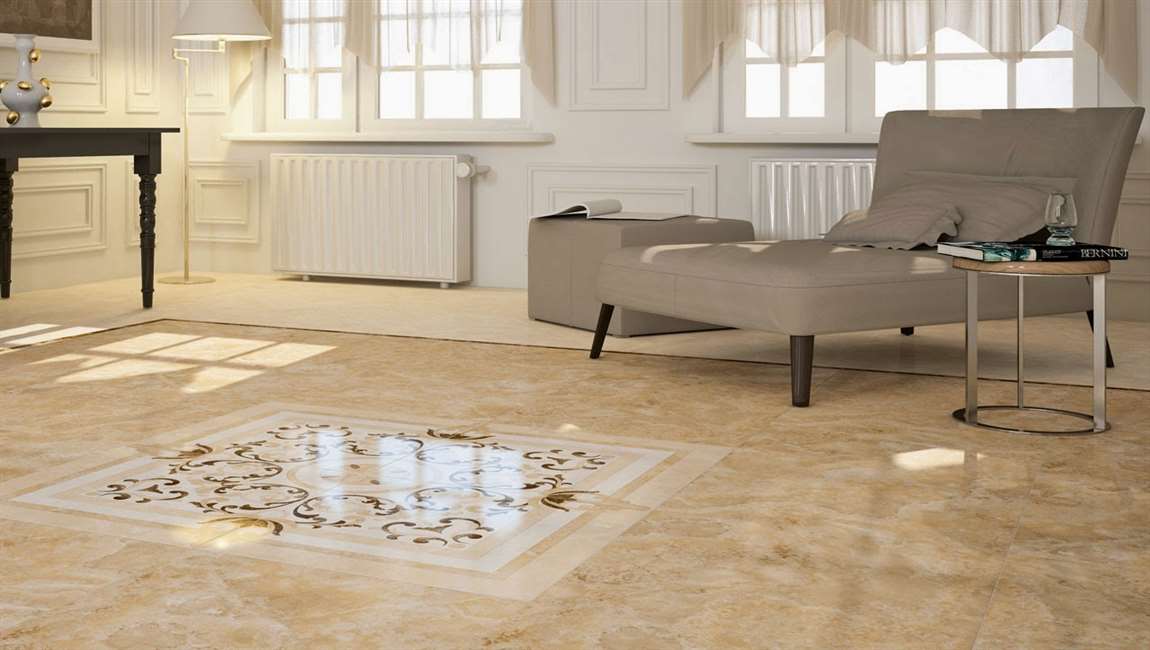 Hit the chisel with a mallet to lift the
  Continue removing the
  Strike the top of the
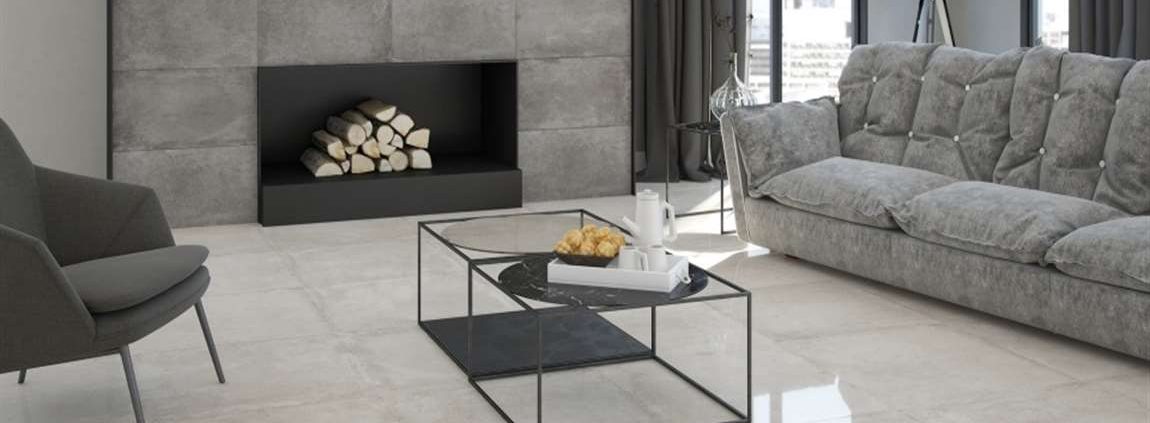
 Hit the
  If your
 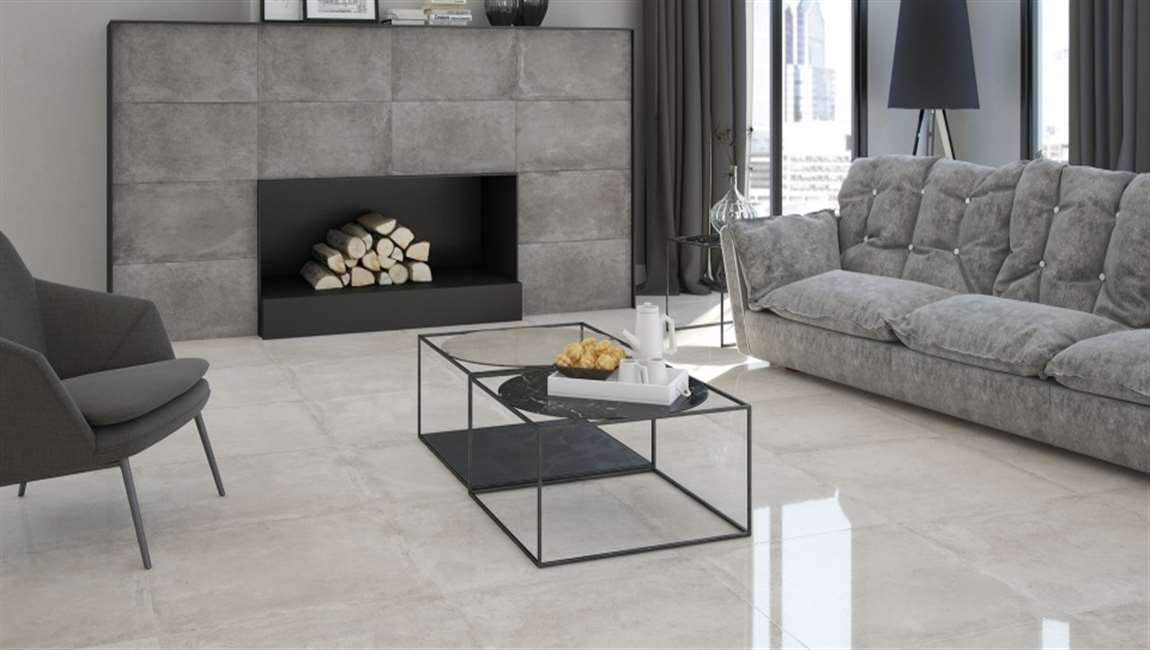 Pry up the edge of the
  Use your chisel to scrape off the mortar. Set the chisel blade on the surface next to the adhesive mortar. Apply a firm amount of pressure to the chisel, working in short back and forth motions to scrape the mortar off. Once you’ve removed it all, use a vacuum to get rid of the residue. Make sure the surface is completely smooth or else you won’t be able to lay another