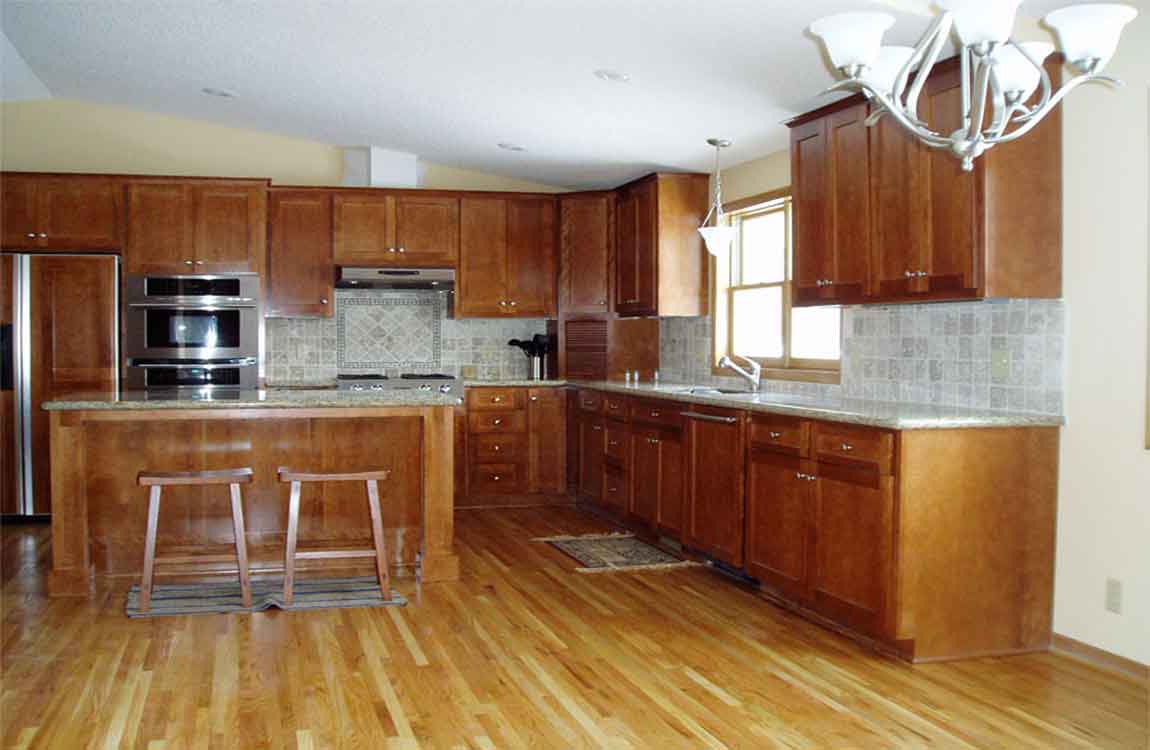
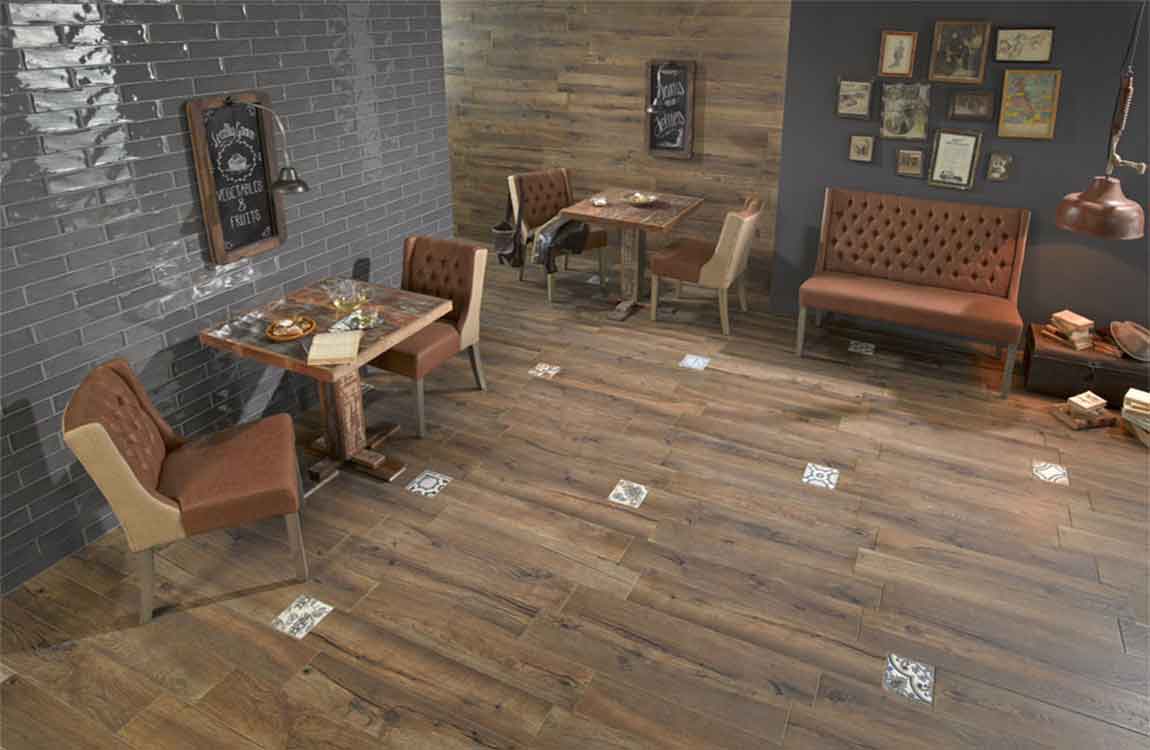
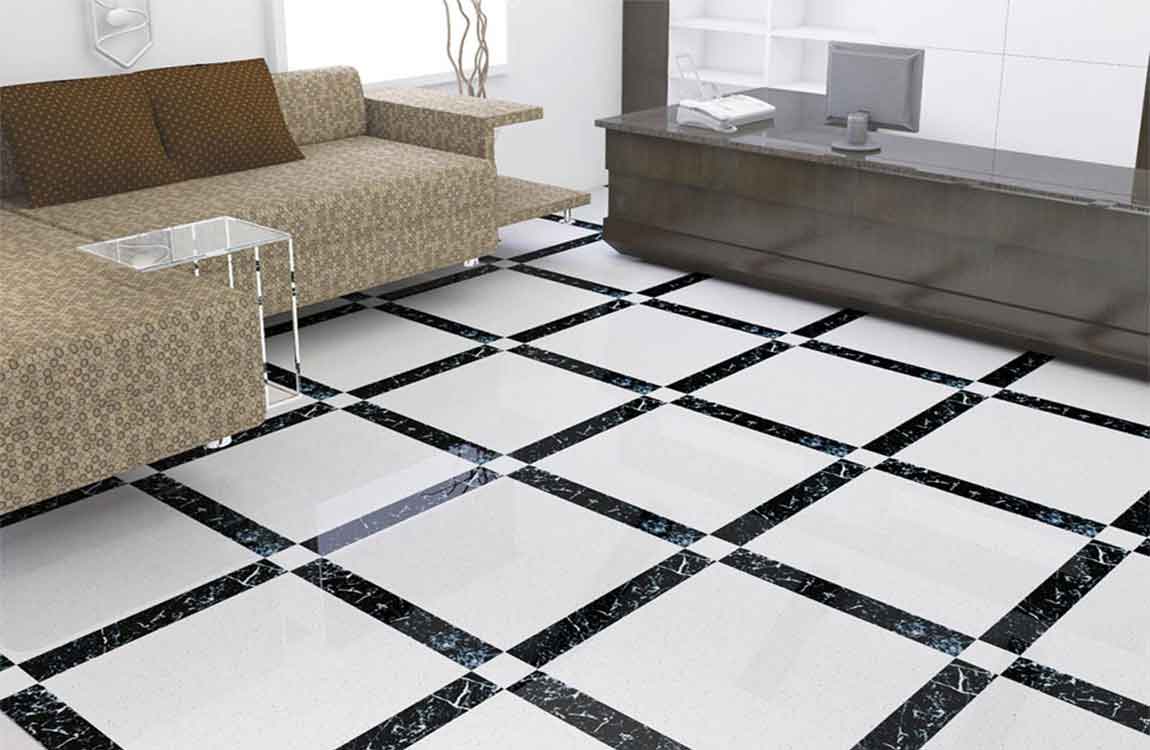
How Stripping the Old Finish?


Buy a floor stripping solution suitable for your floor. Having determined what type of finish is on your floor by following the instructions for Preparing the Floor, buy a stripping solution that will remove that type. Also make sure the stripping solution is safe to use on hardwood, or whichever material your floor is made from.


If you can’t find a product that specifically matches the type of finish previously used on your floor, try out a “universal” floor stripping solution on a small corner of your floor to test it. Either vacuum or sweep your floor with a dust mop or broom. Remove all dust and debris from the area using a dust mop if you have one, or a broom if not. Put on clean footwear afterward to prevent further dust from getting on the floor.


Use safety gear. Chemicals in the solution can be dangerous to the skin or create toxic fumes. Work in a well ventilated area and protect yourself with gloves, long sleeves and pants. Use goggles and a respirator mask for large stripping jobs or poorly ventilated areas. The respirator mask should be labeled as an organic vapor blocker.


Line a bucket with a trash bag and fill with stripping solution. A heavy duty trash bag allows for easy cleanup and lets you use the bucket for other purposes later. Follow the instructions on the floor stripping solution to determine how much you need, and whether to dilute the solution with water. Have a mop ready.


The trash bag is especially essential for mop buckets, since you don’t want to later clean your floor with residual floor stripping solution. A “strip mop” is a specialized mop that will do a more effective job, but any mop will do. Fill a second bucket with clean water and a second mop. You don’t have much time to apply and remove the stripping solution, so it’s important to have a second mop handy for cleaning up. The first mop will be too saturated with stripping solution to use for cleaning purposes.

How Preparing the Wax Floor?

Determine whether the floor has already been treated. You may want to wax a floor that has already been treated, since these surfaces do wear down and get dirty eventually. First, find out which type of product was used: natural ones called wax, or synthetic ones called finish. If the previous owner is unable to tell you, you’ll need to examine the floor yourself:


If the floor is not shiny or glossy, and you can feel the original material with your finger, it has not been treated. Wipe a small section of the floor with a cloth dipped in mineral spirits or paint thinner. If the cloth turns yellow or brown, your floor has been waxed. If the cloth does not pick up any residue, your floor has been finished.


Choose a wax or finish. If your floor has never been treated, you can select any wax or finish product intended for the material your floor is made from. Polyurethane is a popular, glossy option, but each product will appear slightly different, so do your research and determine which look you want. If your floor has already been treated, you’ll need to choose the correct option:


Wax is difficult to fully remove, since it soaks into the wood. This makes the floor unsuitable for a synthetic finish unless you hire a professional to strip the wax fully, but new wax can be applied without difficulty after stripping, or even simply applied on top if the old layer is only scratched, not dirty.


If the floor has been finished, you can go over it with a floor machine with scrubbing pad attachment to remove part of the finish, then apply that same type of finish to improve the appearance. If you can’t figure out what type it is, or if you want to use a different type, you’ll need to strip the old finish off entirely first.

How Applying a Wood Cleaner?

Make a vinegar and oil based cleaner. You can make your own wood cleaner for the wood walls at home using 1 cup (240 ml) water, 1⁄4 cup (59 ml) white or apple cider vinegar, 1⁄2 cup (120 ml) mineral oil, and 20 drops lemon oil. Shake the mixture well. Then, use a clean cloth to apply the cleaner to the wood walls. Work the cleaner into the wood with the grain in smooth, circular motion.


The cleaner will remove surface dirt or dust, leaving a nice warm shine to the wood. It will also give the wood a pleasant lemon scent. Use a commercial wood cleaner. You can buy commercial cleaners made for wood walls online or at your local hardware store. These cleaners contain natural ingredients and oils that are safe for use on wood paneling or wood slats. Follow the manufacturer’s instructions to apply the cleaner correctly to the wood walls.


It may be worthwhile to invest in a commercial wood cleaner and keep it on hand at home. You can then apply it on the walls on a regular basis when it needs a clean, especially if the wood walls are located in high traffic areas like your kitchen or your living room.


Get the wood walls professionally cleaned. If you are unsure of how to best clean your wood walls without damaging them, contact a professional wall cleaner. Look for a professional wall cleaner online or through friends. Get a professional who has worked with wood walls before and has experience cleaning dirt, dust, and grime off of wood.


Clean your floor regularly. Mark when you cleaned your floor. Strive to clean your floor about once a week to keep it looking clean and fresh. If you wipe up minor spills, like splattered food, as they occur, it’s easier to clean your floor during routine mopping.

How Using Wood Wax or Polish?

Apply an oil based polish. Use only mineral oil or lemon oil to polish the wood walls. Do not use food based oils like olive oil or coconut oil, as they will oxidize and start to smell over time. You can get mineral oil and lemon oil at your local hardware store or online. Apply the oil to the wood with a clean, dry cloth to remove dirt and give the wood a nice glow.


You can also buy an oil based polish that is made of only mineral oil online or at your local hardware store. Use a liquid wax. Wood wax is a good option for cleaning dirt and dust off the wood walls. It will also protect the wood and give it a nice sheen. You can buy wood wax in liquid form online or at your local hardware store. Use a clean microfiber pad or cloth to apply one coat of the wax over the wood walls. Apply the wax with the grain of the wood. It should dry quickly.


You can then apply another coat if you want to increase the sheen or glow of the wood. You may want to use a dry cloth to remove surface dirt or dust before you apply the liquid wax to the wood walls. Try a paste wax. Wood wax also comes in a paste, which you can apply directly to the wood walls. Paste waxes provide long lasting protection for wood.


It will leave a hard, shiny finish to the wood to protect it from dust and dirt. Look for paste wax online or at your local hardware store. Apply one coat of the paste wax to the wood walls using a clean, dry cloth. Always apply it with the grain of the wood. Then, apply another coat if you want a shinier finish to the wood.


Let the floor air dry. Stay off the floor until it’s completely dry. Most floors will air dry on their own. You do not need to wipe up liquid with a rag or towel. Some floors, however, should never have water sitting on them. If your floor’s manufacturer’s instructions indicate they should always be free of water, pat these floors dry with paper towels.

How Selecting the Toilet Cleaner?


Look for a toilet cleaner that contains sodium hydroxide. Many toilet cleaners contain sodium hydroxide and sodium hypochlorite. These two ingredients help to remove stains and grime on porcelain or tile surfaces as well as grout. Though they can be toxic in large amounts, they do work to effectively clean grout. You may look for common brands of toilet cleaner at your local hardware store or in the cleaning aisle at your grocery store.


Try an eco-friendly toilet cleaner. To avoid exposing yourself or others to harmful chemicals, you may opt for a toilet cleaner that is eco-friendly. There are several toilet cleaners on the market that do not contain harmful chemicals. However, they may not be as effective for cleaning grout, or your toilet bowl, if they do not contain chemicals like sodium hydroxide or sodium hypochlorite.


Many eco-friendly toilet cleaners are made with plant and mineral based products. They may also be scented with lemon, mint, or pine, a bonus for making your grout smell less wet or dirty. Use toilet cleaner that contains bleach with caution. Though you may opt for toilet cleaner that contains bleach to better clean the grout, using bleach can be toxic to your health and possibly damage the tiling around the grout.


Bleach can also strip the water repellant materials that are in the grout, leading to damaged grout in the future, especially in showers or bathrooms. If you do go for a toilet cleaner that contains bleach, make sure you wear rubber gloves, eye protection like safety goggles, and a respirator mask so you are not at risk of inhaling the bleach. You should also wear clothing that you would not mind throwing out, as bleach can damage your clothing.


Smooth the edges of the cut tile glass with a rubbing stone. The wet saw produces clean and even lines, but it’s still a good idea to smooth the edges of the tile so they are less likely to cut you. Hold the stone at 45 degree angle on the front of the tile and run it over the edge to round it out. Smooth the entire edge of the glass tile.

How to Clean Grout with Vinegar?


If the grout between your tiles has turned from white to brown, it’s ready to be cleaned. Fortunately, there are several homemade grout-cleaning solutions you can make with vinegar. Most of them involve baking soda, a compound which – when mixed with vinegar – creates a bubbly, fizzing reaction that’s perfect for cleaning grout. After applying your vinegar solution, use a scouring pad, a toothbrush, or some other cleaning implement to scrub your grout.


Apply vinegar to the grout. Use a vinegar-soaked cloth or a spray bottle filled with vinegar to coat the grout you wish to get clean. If you are trying to clean grout on a vertical surface, a spray bottle is probably your best bet. nAfter applying the vinegar, wait ten minutes before moving on to the next step. Always use distilled white vinegar or specialized cleaning vinegar to clean grout.


Scrub the grout. Ten minutes after applying the grout, use a toothbrush to scrub the grout. Use firm up-and-down motions to scrub the grout clean. Wipe the grout. Use a dry or damp rag to remove the loosened grout grime. Allow the area to dry, then evaluate it. If the grout still needs cleaning, try a different method.


Wipe the grout. Once you’ve loosened the grime and grit along your grout, it should wipe away with ease. Take a damp rag or paper towel and wipe it along the grout you’ve cleaned. Wipe the area along the edges of the grout, too, to soak up any of the lingering water/vinegar. If you want to give your floor an additional level of shine, mop the whole thing after you’re done


Make a citrus vinegar spray. Mix 3.5 cups (828 milliliters) hot water, ½ cup (170 grams) baking soda, 1/6 cup (40 milliliters) vinegar, and 1/3 cup (80 milliliters) lemon juice in a spray bottle. Aim the nozzle of the spray bottle at the grout you wish to clean. Spray the bottle so that the grout is evenly covered. After one hour, scrub the grout with the scouring side of a sponge to remove the dirt crusted into the grout.

How to Clean Grout with Toilet Cleaner?

Grime and water stains on the grout in your bathroom or your kitchen can be unsightly and hard to clean. You may struggle to clean grout in your home using conventional cleaners and be hesitant to use bleach. Instead, you may try using toilet cleaner to get rid of stains and grime on grout. You should select a toilet cleaner and then clean the grout with the cleaner properly. You should also learn how to maintain the grout in your home so it always looks its best.

Scrub the mildew with a microfiber cloth. Use a microfiber cloth to scrub in between the towels to remove the mildew. It will take some force to scrub out mildew, especially set-in mildew, so scrub the cloth hard in areas where mildew appears. Remember to wear gloves if you’re scrubbing in bleach.

Use a toothbrush for hard-to-reach places. If there is mildew built up in cracks and crevices, use a toothbrush. A toothbrush is a great tool to get into corners and cracks where mildew lingers. Make sure to check cracks where grout is found for mildew. These areas are often neglected during cleaning, which can cause mildew to spread.

Give yourself enough time. There is no secret to removing mildew other than a lot of hard work. Mildew, especially if it’s been built up over long periods of time, can sometimes be difficult to remove. Make sure to give yourself adequate time to fully remove the mildew. For grout that’s heavily infested with mildew, the job may take over an hour to complete.

Use vinegar to remove water stains. Mildew can sometimes cause water deposits to build up on the walls surrounding grout and tiles. If you notice water deposits, saturate a paper towel with white vinegar. Place the towels over the water stains and leave them on for a few hours. Then, remove the paper towels and use a cloth or cleaning brush to scrub out the stains.

How to Clean Walls with Vinegar?

Household cleaners can be both expensive and toxic, causing many people to search for alternative approaches. Vinegar is a great all-purpose cleaner and can also be used to effectively clean walls. You can create a simple cleaning solution with vinegar and water. Even though it’s a natural solution, be sure to perform a spot-test before proceeding. Also be sure to use a white sponge and cloth to avoid the sponge color bleeding onto the wall.

Protect your floors. Lay a dropcloth or towels along the baseboard where you intend to start. Ideally, your sponges shouldn’t be dripping wet when you use them, so feel free to skip that part if you’re confident in your ability to catch the occasional drip that may run down the wall. However: Do keep some towels around just in case your bucket suffers a major spill. Play it extra safe and lay one out to set your bucket on while you work.

Ventilate the room if needed. Depending on how strong your solution is, you may find the smell of vinegar a little overwhelming. If so, open windows and/or set up some fans to improve air circulation. Vinegar fumes aren’t dangerous, but they may tempt you to rush through the job. Avoid doing so, since a rushed job may lead to drips and other water marks that will remain visible after the walls have dried.

Prevent electric shock. Unplug power cords from outlets. If you intend on cleaning outlet covers and/or where they cover the wall, switch off the fuses for those outlets before doing so. Do the same for light switches, telephone cords, and any other fixtures with an electric current.

Remove decor. If you’re cleaning the entire wall as opposed to spot-cleaning, take down anything that’s mounted to them. Ensure a thorough cleaning without any obstructions that might be hiding dirt. This can include any: Photos, posters, or other artwork. Shelves, coat hooks, or other functional items. Electronics, like wall-mounted TVs or speakers.

How Creating a Vinegar Solution?

Start with a mild mixture. Expect a relatively small amount of vinegar mixed with warm water to be sufficient for the job a lot of the time. Simply combine 2 to 3 tablespoons of white distilled vinegar with 1 gallon (3.8 L) of water in a bucket or similar container. However: Keep in mind that you’ll be carrying that bucket around the room with you.


Depending on the size of your bucket, adjust the amounts as needed to keep it only halfway filled to avoid spills. Test-clean a select spot on your wall. Pick an area that is blocked from view by furniture or otherwise hidden. Wet a sponge in your mixture and squeeze it until the excess water has been wrung out. Wipe the area in a circle, using minimal pressure. Repeat with a second sponge and clean water to rinse. Then pat dry with a soft cloth or towel.


Use soft sponges (as opposed to a more abrasive kind meant for scrubbing burnt food), especially if your walls are painted. Using tougher sponges could ruin your paint’s surface. Sponges in bolder colors may leave their color on the wall.


Add more vinegar if necessary. Compare the test-spot with the rest of the wall. If your mixture did the trick, use it as is. If the test-spot still seems dirty, increase the ratio of vinegar to water and repeat. Start by adding ½ cup (118 ml) of vinegar to your gallon of water. If that still seems weak, keep adding ½ cup of vinegar at a time. Extremely dirty walls may require a ratio of 2 parts vinegar to 3 parts water.


Add baking soda if needed. If the dirt on your walls has crusted over and/or built up, you may need something a bit more abrasive than just vinegar and water. Start by adding a ¼ cup (55 g) of baking soda to your solution and test-clean again. If necessary, keep doing so up to 2 to 3 cups (442 to 662 g). However, bear in mind: If your walls are painted, abrasive agents like baking soda may damage the paint, especially if it’s latex-based. If your solution starts ruining your paint job, you may need to apply a fresh coat rather than clean.

How to Clean Mildew from Grout?

Mildew is a common problem in grout found in bathrooms. Regular cleaning should keep mildew mostly away, to the point it only needs to be cleaned with water. However, built up mildew should be targeted with a cleaning solution. There is no special formula to get rid of mildew. It simply takes a lot of scrubbing to get mildew and mold out of the grout between tiles.

Ventilate your shower. A well-ventilated shower is key to preventing mildew to begin with. If your shower has a fan, make sure to turn that on after getting out of the shower. It also helps to crack a window in your bathroom during the day.

Spray down your bathroom after showering. Keep a spray bottle in your bathroom filled with one part vinegar and one part water. Two to three times a week, use this mixture to spray down your shower. This will help prevent mildew from building up on the shower walls.

Clean your bathroom regularly. Mildew is hardest to remove when it’s built up in grout between tiles. The best way to prevent the need for heavy cleaning is to clean your bathroom once a week. If you do a quick, mild cleaning weekly, you’re unlikely to have to deal with heavy mildew removal in the future.