How Wiping Your Walls Clean?

Fill a second bucket with clean water. Again, only fill it halfway so the water doesn’t slosh over the sides as you carry it. Use this for rinsing. Depending on how strong your solution is, and/or how much surface you have to wash, refresh the bucket with clean water periodically, as needed. Additionally, you should use a second sponge for rinsing. As with the rinsing water, replace as needed if it becomes too foul as you move along.

Soak and wring your cleaning sponge. Again, only use a soft, light-colored sponge for this to avoid causing permanent streak marks. Soak it in your solution. Then squeeze it dry over your bucket until no more water drips from it.

Work from the top down. First, break your wall up into columns in your head, each about a foot or two (30 to 60 cm) wide. Start cleaning each column where the wall meets the ceiling, and go down from there before proceeding to the next one over. This way you’re more likely to catch any accidental drips of water that may run downward.

Wipe in soft circles. Remember: if your walls are painted, vigorous scrubbing can damage the coat. Use as little pressure as needed. Wipe in a circle, reversing directions occasionally, to further reduce the risk of damage.

Work on one small section at a time. Ideally, you will be using as little liquid as possible to avoid water stains and marks. Still, if left to air-dry, the liquid you did use may cause permanent eyesores, so don’t try to clean the whole column at once. Instead, only wash a couple square feet (60 cm) at a time. If you’re working on a ladder, you may want to work on even smaller sections since you may be going up and down in between the washing, rinsing, and drying.

How to Clean Wood Walls?

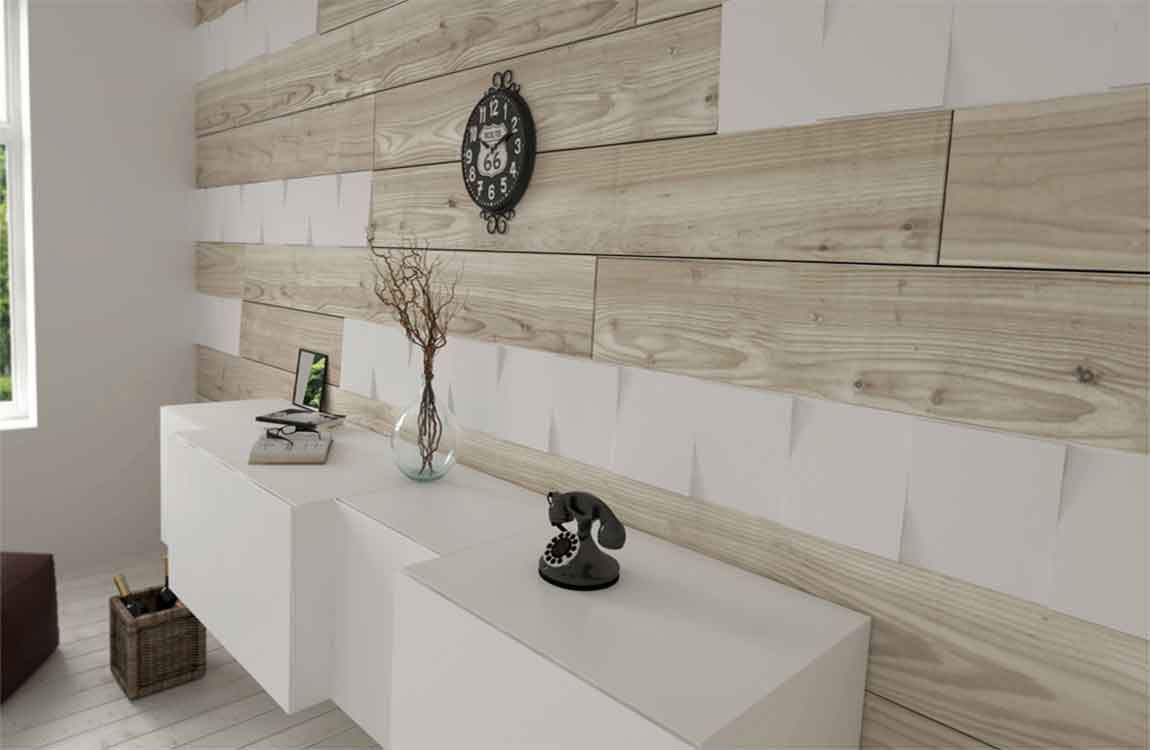
Wood walls can be a challenge to clean, as wood does not do well if it gets wet. You may have wood walls in your home that are dusty or dirty and wonder how you can clean them without damaging them. To clean wood walls, you can try dry dusting them. You can also apply waxes and polishes or a wood cleaner to the walls to get them clean.

Clean the wood walls with a dry cloth. Get a microfiber cloth or a linen cloth to the wipe the wood walls. Do not wet the cloth, as water can damage the wood walls. Follow the grain of the wood, wiping in a circular motion. Fold the cloth over as you wipe the walls down so it picks up any dust, dirt, or grime on the surface of the wood. If you are wiping down a large section of the wood walls, you may need to use more than one dry cloth.

Dampen the cloth with lemon oil. If the wood walls are really coated in stubborn dirty or dust, use a small amount of lemon oil on the dry cloth. The lemon oil will help to catch any dirt or dust and will not damage the wood. Put one to two drops of lemon oil on a clean dry cloth. Then, gently wipe the walls down with the cloth to remove surface dirt or dust.

Use the dusting attachment on your vacuum cleaner. If you have a vacuum cleaner with the dusting attachment, use it on the wood walls. Run the vacuum with the attachment over the walls to pick up any grime or dirt. Make sure the vacuum attachment does not have any sharp edges or sides that can scratch the wood.

If you have a floor sweeper with a dusting pad instead of a vacuum, you can use it to clean the wood walls. Simply run the floor sweeper over the walls with a clean, dry dusting pad. Change the pad as needed to get all the dust or grime off the walls.

How Cleaning the Grout?

Spot test the cleaner on the grout. Before you dive right into cleaning the grout with the toilet cleaner, you should spot test it first on a portion of the grout. Choose a spot that can be covered up or hidden if it gets damaged. Use a small amount of the toilet cleaner on the grout and leave it on for five minutes. If the grout does not appear damaged, you can proceed to use the toilet cleaner on the rest of the grout.

Pour the cleaner on the grout and let it sit. Do this by pouring the cleaner on the area with grout that is furthest from the door. This way, you can clean the grout in small sections, moving towards the door and cleaning each section as you go. If you are cleaning grout along a bathtub or a faucet, you do not have to worry about doing this.

Pour a small amount of the cleaner on the grout. Do not pour too much cleaner on the grout or lay it on too thickly. You want an even amount dispersed on the grout so the cleaner can soak in and remove any dirt or grime. Allow the cleaner to stay on the dirty grout and soak in for five minutes. Do not touch or disturb the cleaner when it is sitting on the grout.

Scrub the grout with a toothbrush. Once you have let the cleaner sit on the grout, take a toothbrush or a grout cleaning brush, and gently run it over the grout. You should not have to scrub the cleaner off the grout very hard to remove any grime or dirt. Often, the grime will come off easy by running the brush over the grout.

Scrub all of the grout that is covered with the cleaner. You should notice the grout appears clean and grime-free once you scrub it with the brush. Rinse and dry the grout well. It is very important that you rinse off the toilet cleaner as soon as you are done scrubbing the grout with the brush. Do not let the cleaner sit on the tile or the grout once you are done scrubbing it, as this can lead to a built up of residue.

How Selecting a Cleaner Based on Floor Type?

Use vinegar for most floor types. The majority of floors can be cleaned with a mixture of vinegar and warm water. Place a quarter cup of white vinegar in a 26 ounce (780 mL) water bottle to clean the following floor types:Cork, Vinyl, Porcelain.

Opt for a neutral pH cleaner for stone, hardwood, or bamboo floors. Hardwood, stone, and bamboo floors need a gentle cleanser. Purchase a mild to neutral pH cleaner at a department store. Apply it to your floor as directed on the bottle. Most pH cleaners are diluted with water. About a quarter cup of a pH cleaner (60 mL) mixed with water should adequately clean a bamboo or hardwood floor.

Do not mop waxed wood or laminate floors. If you have a wax wood or laminate floor, mopping is unnecessary. Such floors only need vacuuming and dry mopping to stay clean.

Use a steam cleaner for a very dirty floor. For the most part, you can wash your floor with detergent, warm water, and a rag, mop, or sponge. However, you can use a steam cleaning mop on some occasions. A steam cleaner is a special type of mop that automatically fills with water and your chosen detergent.

While steam cleaners are pricier, they tend to remove unseen bacteria better than a conventional mop and bucket. They may also remove set-in stains easier. If your floor is very messy, steam clean your floor with your chosen cleaner.

How to Clean Your Kitchen Floor?

Cleaning a kitchen floor is simple with the right supplies. Pick the right cleaner for your floor type. Then, vacuum the floor and apply the cleaner. Let your floor dry and make sure to clean it regularly in the future. Vacuum your floor first. Regardless of your floor type, the first step to cleaning your floor is giving it a good vacuuming.
On a weekly basis, vacuum and then mop your floor. This will remove any dirt, debris, or hair that may get plastered to the floor during the mopping process. Run your vacuum over the floor, using the upholstery attachment to get into nooks and crannies. While vacuuming provides the most thorough cleaning, it’s okay to use a broom and dustpan if you don’t have a vacuum cleaner.

Use a dry mop on laminate or wood floors. You can purchase a dry mop at most department stores. If you have a laminate or waxed wood floor, you should not expose it to liquids. Instead, run your dry mop over the floor once a week to remove dirt and stains.

Apply the cleaning product one section at a time. Dilute your cleaner in a spray bottle or bucket. Use a rag, sponge, or mop to clean your floor one section at a time. Get your cleaning tool wet, wring it out slightly, and run the rag, mop, or sponge across the floor to remove any stains or dirty spots.

The cleaning utensil is mostly a matter of personal preference. However, microfiber cloths tend to work well on most floor types. Never use an abrasive cleaning tool on any type of kitchen floor. Things like steel wool can damage a kitchen floor.

How Staining Grout?

Choose a grout stain. Most often, people resort to dying their grout because it’s lost its previous luster and now appears brown and dingy. Rather than going back to the original hue, find a new color to cover up the wear and tear. Although it may sound strange, grout stains that are close in color to dirt are typically the most successful, because you won’t have to worry about the grout becoming discolored again over time.

Light hued grouts blend in and hide the shape of your tiles, while dark grout makes your tiles stand out and is very bold. When possible, look for grout stains that are also a sealant, so that you can skip the final step of sealing the grout. Clean the tile and grout. Get out your cleaning supplies and grab a little elbow grease, because before you can begin staining your grout you need to give it a thorough cleaning.
Use a bleach-water scrub to kill any mold or mildew that might cause problems. Although it might be uncomfortable, use a damp sponge/scrubbing brush to clean your grout and tile, even if it is on the floor. The grout stain cannot be applied to damp grout, so wait 30 minutes or longer after cleaning to begin the application process.

Apply the grout stain. Some grout staining kits come with a small applicator brush, but if yours didn’t, simply use a very small stiff-bristled brush for application. Dip the brush in the grout stain, and carefully paint it onto only the grout. The stain is permanent and cannot be removed from your tile after it dries, so be careful to paint in the lines and wipe off any stain from the tile.

Add additional coats. Depending on the look you’re going for, you may need to add more than one coat of grout stain. If so, wait at least 24 hours for the first layer to dry, and then carefully paint on the second coat of stain. Again, be careful not to accidentally get any stain on the tiles as it is very difficult to remove.

How Cleaning Your Grout?

Choose a scrubbing solution. Grout, especially between floor tiles, gets especially dingy and dirty over time. Depending on the severity of your grout discoloration, you will need to use a different cleaning solution. For mild discoloration, use a combination of baking soda and hydrogen peroxide to form a paste. For more severe discoloration, use an oxygen bleach to whiten your grout.

Do a preliminary clean. In order to avoid extra work when you really start scrubbing, do a mild clean down of your grout prior to deep-cleaning it. Use a mixture of bleach and water to kill mold and mildew, and wipe off any grime or dirt that might be present on the surface.

Apply your cleaner. Working in small sections of tile/grout (try 1sq. ft. at a time), apply your cleaner to the grout. Leave it to set for 3-5 minutes, as this will make the scrubbing much easier.

Start scrubbing the grout. Use a brand new toothbrush (electric is preferable) to scrub away the dirt and discoloration on the grout. This can be relatively time consuming, so don’t give up if at first you don’t succeed. Use fresh water and a rag to wipe off the cleaning residue, and apply another coat of your cleaner if necessary.

Continue cleaning your grout. Work your way outwards from your starting point, using the aforementioned process. Add cleaner to small sections, let it set, and scrub away until bright, clean, and shiny grout can be seen underneath.

How to Change the Color of Grout?

Grout can easily become discolored and dingy over time – something that is displeasing to many people. Rather than suffering through dealing with unattractive dark lines between your tiles, you can take action to change the color of your grout. Although neither is especially timely, you can choose to stain your grout or to give it a deep-cleaning.
Seal the grout. Some grouts are a combination of grout/sealant, but typically you’ll have to apply a special oil-based sealant to finish up your grout. This is especially important for areas that come into frequent contact with water (such as in a bathroom or near a kitchen sink). Follow the directions that accompany your sealant of choice as you paint over the grout.

Finish up. When you’re happy with your newly cleaned (and colored!) grout, you can do a final wipe down to remove any leftover cleaner. It is good to apply a sealant to your grout once a year, so when applicable apply an oil-based sealant to protect your grout.

Rinse and dry each section immediately. As soon as you’re done washing with your solution, switch sponges. Repeat the same process with fresh water. Pat the area dry with a soft cloth or towel, replenishing them as needed.

Get rid of any set in stains. When you finish cleaning, look for any stains that did not come out with a routine cleaning. Use a butter knife to gently ply any set in gunk off the floor. If any residue is left behind after removing the gunk, wipe it away with your rag and cleaner. Never use anything sharper than a butter knife. Remember, abrasive cleaners can harm your floor.

How Maintaining the Grout?

Squeegee the grout after you shower. Try to get in the habit of using a squeegee to remove water from the surface of the tiles and the grout in your bathroom after you shower. Drying the shower doors and the tiles in the shower helps to prevent a buildup of grime or mineral deposits in your grout. You can attach a squeegee to the inside of your shower with a suction cup so it is right there at the end of your shower. Encourage others in your household to squeegee off the shower once they are done to keep the grout dry and clean.

Use a sealing product on the grout. You can also maintain the grout so it looks its best by using a sealing product on it. Seal the grout once or twice a year so it remains water repellent. This will ensure the grout stays clean and grime-free. You can find sealing products for grout at your local hardware store or online.

Replace the grout if it becomes damaged. If you notice the grout in your bathroom or kitchen is shrivelled, full of mildew, or damaged in any way, try to get it replaced as soon as possible. Replacing the grout will ensure it does not get worse or you do not experience other home repair issues as a result of damaged grout. You may try cleaning the grout before you consider replacing it. If it does not respond well to cleaning, it may be time to switch it out for new grout.

This may also lead to a stain on the tile or the grout. Use a wet mop or a wet cloth to rinse off the cleaner. You should then dry the grout and the tiles well once the cleaner has been rinsed. Use a towel or soft cloth to do this. Do not use cloth that will scratch the surface of the tile or the grout.

Try a salty vinegar mix. Combine ¼ cup (21 grams) salt, ¼ cup (21 grams) baking soda, and ¼ cup vinegar (60 milliliters) in a tall cup or small bowl. Let the solution sit for 20 minutes, then use a small spoon to apply the mixture to the grout. Using a toothbrush or scouring pad, scrub the grout until clean. Once you’re finished, mop the grout or use a damp cloth to wipe the grime away.

How to Clean Grout Using Natural Products?

If inhaling bleach and other harsh chemicals in order to clean grout doesn’t appeal to you, you do have an alternative method that is equally effective. Although you still need to put a little muscle into cleaning your grout you won’t be let down by the cleaning power of Mother Nature.

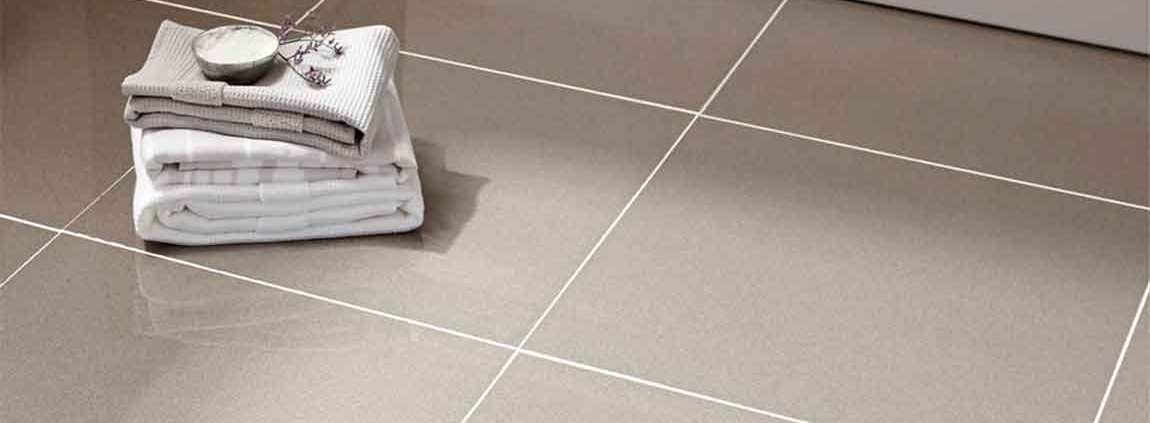
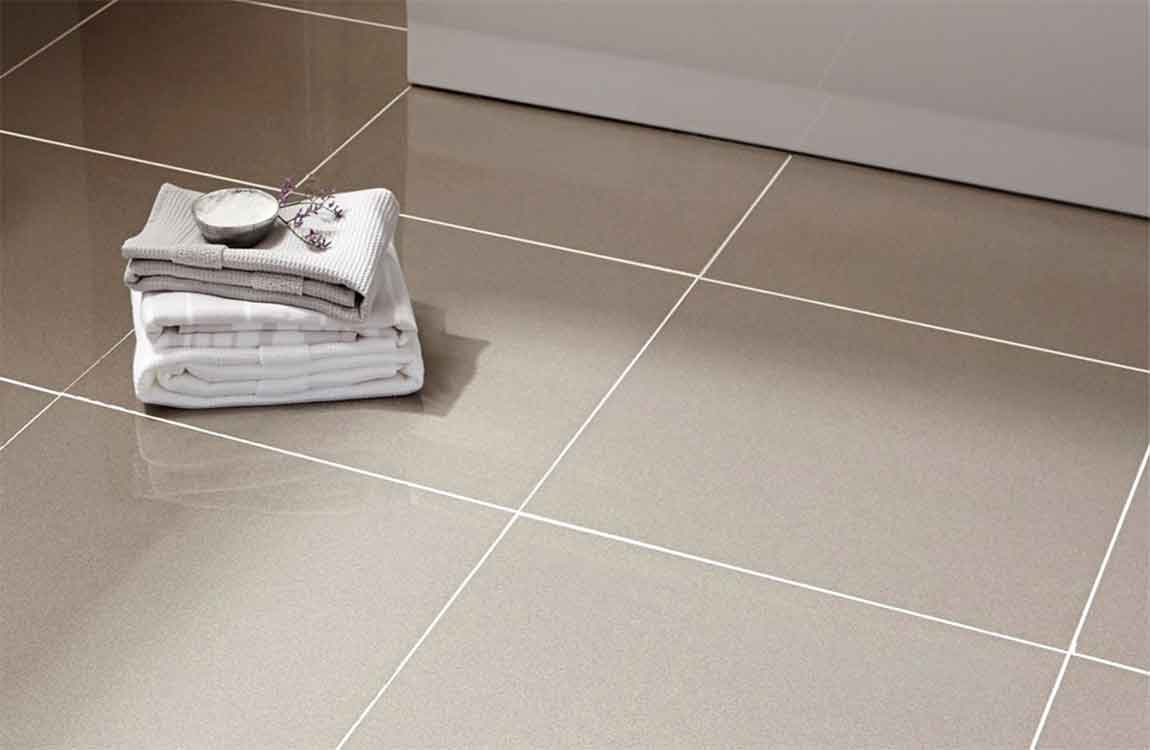
Cleaning the Tiles. Clean the tiled area. Remove any excess debris from the floor or counter area before attacking the grout. Use warm water and mild dish soap when cleaning counters or backsplash areas. Sweep floors and remove excess dirt and debris, concentrating on the grout area.

Cleaning the Grout with Vinegar. Attack the grout using a milder approach. Start with the easiest product first; you may be able to take care of the problem with just a little vinegar and water. Or, consider mixing vinegar with club soda instead of water. Combine half a part of white vinegar with half a part of water (or club soda) in a spray bottle or cup.

Pour or spray directly onto the grout and scrub. Allow the compound to sit before wiping away the vinegar and water. Cleaning the Grout with Baking Soda or Salt Add baking soda or salt to white vinegar/water (or club soda) mixture if stain or grime has not lifted. Add two parts baking soda to the vinegar/water mixture to create a thick paste. Apply the baking soda/white vinegar/water (club soda) compound directly to grout. Allow to sit on the grout for up to 15 minutes.

Scrub well. Wipe away the paste as you work to see if the solution worked. Cleaning the Grout with Oxygen Bleach. This method should work when the other methods aren’t cleaning adequately. Turn to oxygen bleach (Oxy) if all else fails. Create a thick paste using water and/or club soda and apply to grout (the same way you applied it with the banking soda paste). Wait 15 minutes and then scrub. Wipe away with a clean cloth as you work.