How to Install New Baseboard?

Baseboard is the trim that fits along the floor and makes a transition from floor to wall. It can help hold flooring in place. You may want to install baseboard in a new room or remodeled room or replace damaged baseboard. This is a simple job that most people with a few tools can handle.

Remove the old baseboard if it exists. Pry off the old baseboard carefully with a small pry bar so you can use it to mark and cut the new molding. Protect the wall as you pry off old molding so it won’t be damaged. Use a piece of scrap wood between the wall and the pry bar. You may be able to cut off damaged areas of molding and re-use part of the old molding.

Remove any nails that pull through the old molding and are left in the wall. Measure, mark and cut the new molding. Using the old molding to make a template for corner cuts and cuts around outlets or other obstructions is ideal. Make a template out of stiff paper or cardboard for difficult cuts if there is no old molding.

Molding pieces should end at a wall stud. Try to cut pieces so that you join two pieces at a wall stud. Allow for the depth of both pieces of the molding when butting two pieces together at a corner. If you have a miter box you can miter the corners (cut at an angle) so they fit together neatly. Make sure cuts where molding will meet another piece in a line are perfectly straight to avoid gaps between pieces.

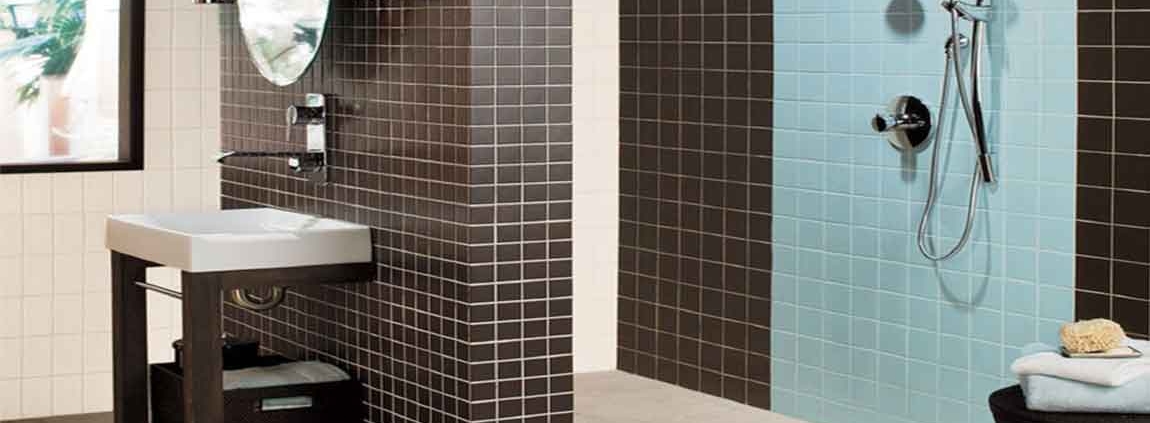
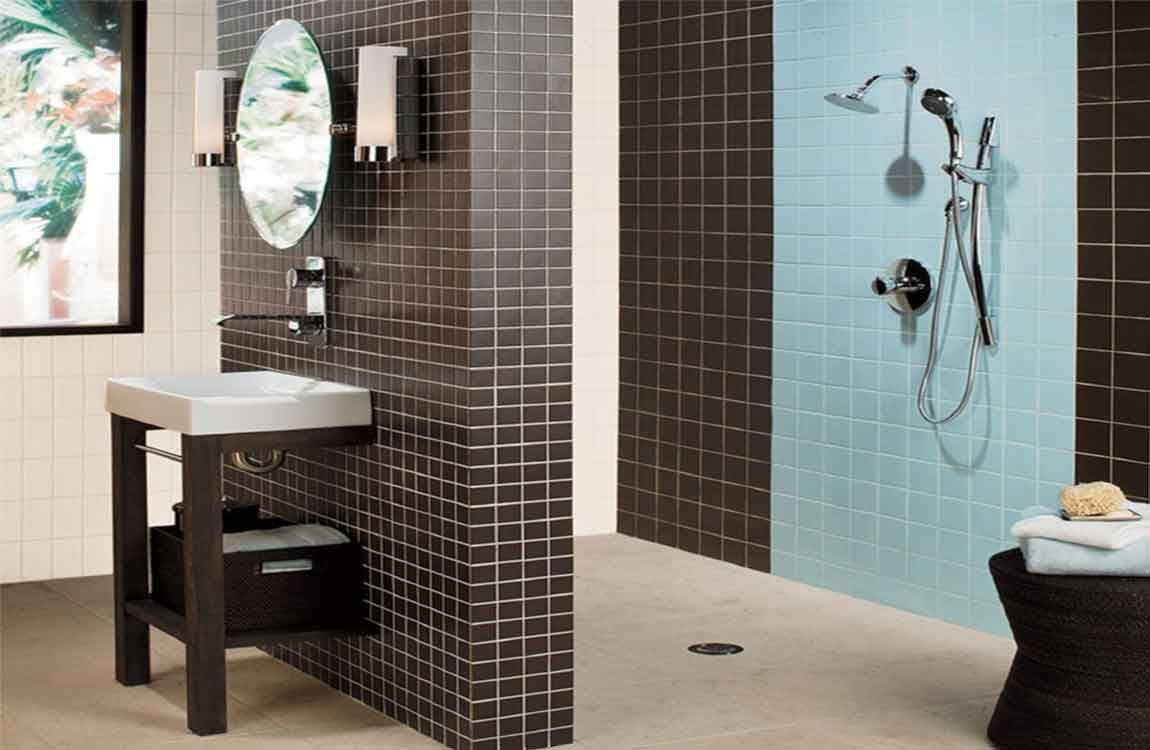
Fit the molding pieces in place and adjust if needed. Make sure any flooring and wall coverings such as wallpaper or paneling are in place and any painting is done before installing the molding. Work with one wall at a time. Start at one corner and fit all the pieces in place.