Posts

How Applying the Grout to a Tile Floor?

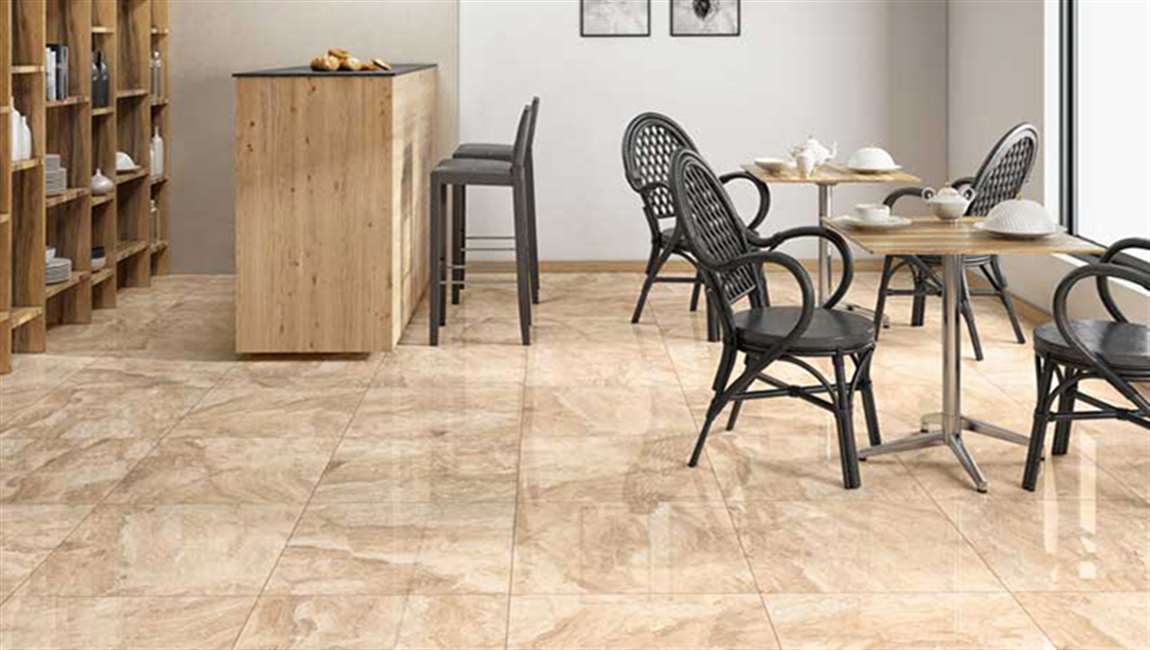
Scoop some grout onto the tile floor with a trowel. Begin in the corner farthest from the doorway and work backwards. Spread the grout over a small joint. Hold a grout float at a 45-degree angle to the floor to press the grout into the joint. Move the grout float at a diagonal angle to the grout lines for a smooth finish. If you wipe parallel to the lines, the edge of the grout float can end up gouging out the grout.

Remove excess grout. Your floor is full of muddy grout, which isn’t a lovely sight. After applying, wait about 15 to 30 minutes for the grout in the joints to set. Then start cleaning: Fill two buckets with the water.

Dip a large grout sponge with rounded corners into the first water bucket and wring it out. Wipe in a circular motion or at a diagonal to the grout lines to remove excess grout from the surface of the bathroom tiles. Rinse the sponge in the second bucket and repeat until all grout is removed from the surface of the wood tile. Wait three hours before repeating the process again. However, don’t wait too long or you have a harder time buffing out the grout haze. Make a final pass along the grout lines with the damp sponge to make sure the grout lines are smooth.

Verify the grout color is what you want. Use a hairdryer to quickly dry this small area of grout, so you see how the color looks against the installed ceramic tile. Now is the time to make a last-minute change, as grout is nearly impossible to remove once it’s dried. Continue with grouting if you are satisfied with the color. Keep working in small areas at a time, so you can remove the excess grout before it has a chance to dry. If you have a helper, one can grout and the other can remove the excess.

Clean up the grout haze once everything is dry. No matter how effectively you cleaned the excess grout from the casstle tiles, you’re likely to have a “grout haze” covering your tiles design after your job is done. To clean up the grout haze: Use a sponge and a bucket of clean water. Rinse the sponge often. Take a dry towel or used rag and wipe at the haze until it begins to cake off. An old sock will work well: you can wear the sock on your hand while you scrub. Brush up the residue with a broom.

Wait for the grout to cure before sealing it. Read the manufacturer’s directions to determine how many days to wait. To seal grout: Crack the windows to get good ventilation in your room. Pour a small amount of sealant on the grout and work it in with a sponge, using small, circular motions. Wipe the sealant off after about 5 to 10 minutes, although the time may vary. Check the sealant label to be sure. Re-seal the grout every six months to a year if possible.

How Choosing and Mixing to Grout a Tile Floor?

Remove the old grout. If you’re re-grouting an old Clunny tile surface, remove the old grout. You can remove the old grouting compound with a grout saw or a grout removal bit in a rotary tool. Make sure this is fully removed before proceeding. Make sure that the joints are free of any dirt, dust, or debris before you start as well.

Pick a color of grout. The color of the grout will affect whether people notice the beauty of the individual Dinosaur Stone tiles, or the overall pattern of the tiles. Light grout tends to accentuate the individual Pure Color tiles by blending in, becoming “invisible,” while dark grout tends to accentuate the pattern of the tiles, their overall structure on the floor.

Choose a color that matches the cement tile if you want the floor to have a continuous appearance. If you installed the tile yourself and the grout lines aren’t perfectly straight, a matching color of grout can help conceal these imperfections.

Choose a color of grout that contrasts the tile color if you want the individual subway tiles to stand out. If you installed polished tiles with an irregular edge, a contrasting color of grout will enhance this feature of the Spots tile. Choose a dark color for high traffic areas. White or light-colored grout will be difficult to keep clean.

Choose between sanded or unsanded grout. Sanded grout is stronger than unsanded grout. Sanded grout is needed when the grout lines are greater than 1/8-inch (3-mm) wide to add strength. Unsanded grout is liable to crack on wider joints. Wait for the thinset mortar to cure. Thinset is used to adhere the tiles to the floor during installation. The exact drying time varies by brand, so read and follow the thinset packaging carefully. You usually have to wait at least a day to grout a tile floor.

Mix the grout according to the package directions. You only want to mix as much as you can apply in about a half hour, as it will begin to dry out. Dump the powder into a large bucket, and add only 3/4 of the recommended water, mixing thoroughly with a trowel. Afterwards, mix in the remaining 1/4 of water and mix again. It should be the consistency of thick batter or slightly looser than smooth peanut butter; too much water will prevent it from spreading and hardening properly.


How Removing Stubborn Stains?

Pre-wet the floor. Use a mop and warm water to wet your tile flooring before using cleaning agents. Tile is porous and will absorb the water to prevent chemicals from penetrating the tile. You can loosen tough dirt before wetting the floor with a broom, or after the floor is wet using a plastic pot scrubber.

Scrub mold or mildew with soap and water. Fill a bucket with warm water and a couple of drops of dish soap. Scrub the floor with a nylon or natural bristle brush. You can leave the cleaning solution on the floor for ten to fifteen minutes, as long as it you don’t let it dry on the wall tiles tile.

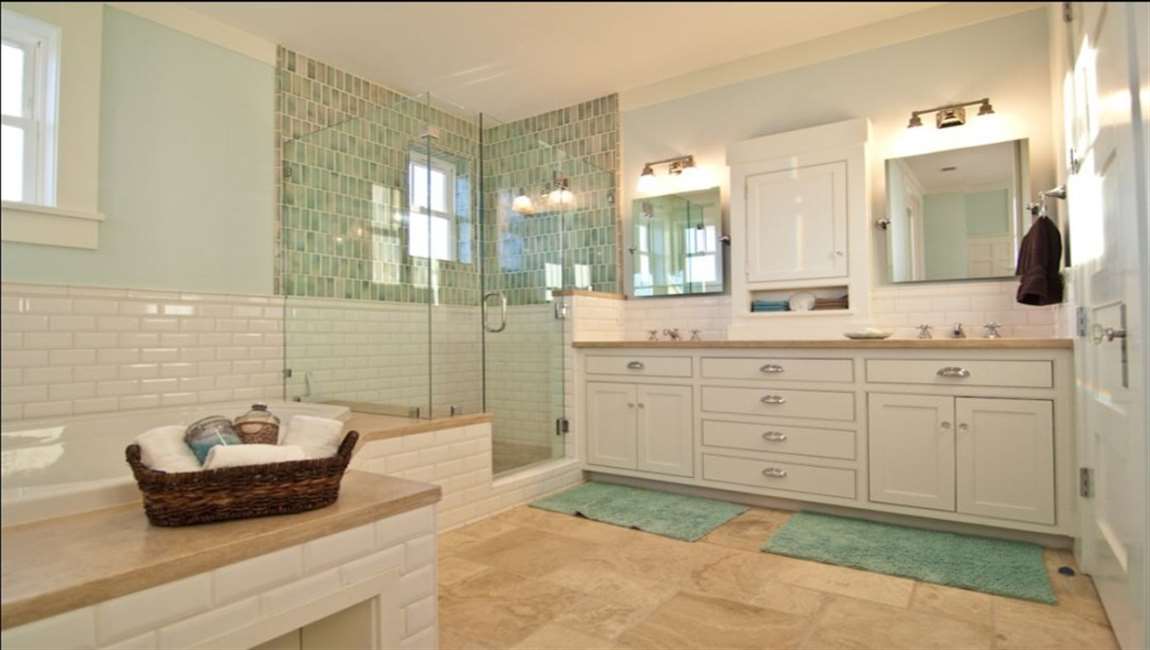
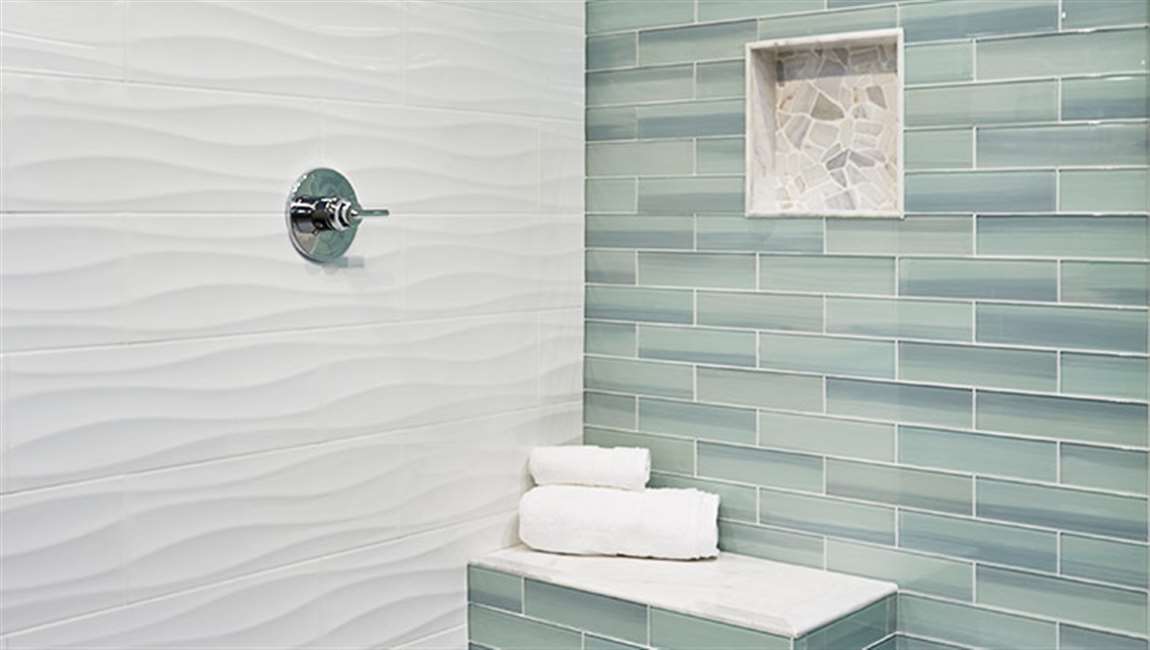
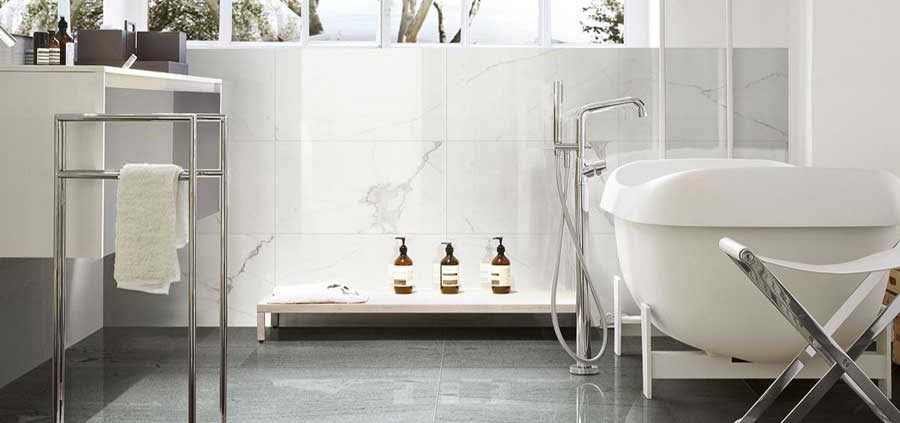
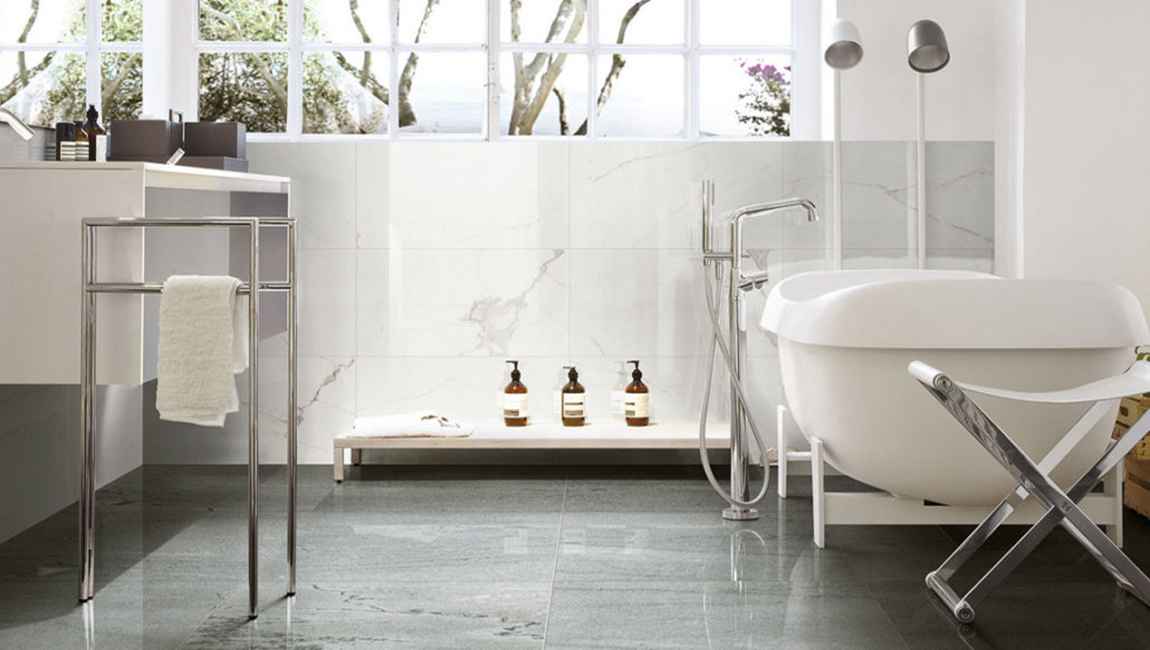
Pure White Modern Tile Bathroom With Shower Travertine Tile White Bathroom Cabinet

Rinse the element tiles. After scrubbing, rinse the flooring – twice, if possible – with plain water. Dry the flooring with terry cloth towels, if needed. If soap and water haven’t worked, try a household or commercial floor cleaner intended for ceramic tile.

Test the floor before using any chemical or acid cleaner. Find an inconspicuous area and make a small test spot with the cleaner. Use acid-based or chemical cleaner with caution, only if necessary and always following the manufacturer’s instructions. Make sure to thoroughly pre-wet the floor first, and completely rinse it afterwards.

Acid-based cleaner may be necessary to remove lime or cement mortar staining. Never use abrasive cleaners like powdered cleansing agents, baking soda or even creams advertised as “mildly” abrasive. These can damage the tile’s surface and design.

Brighten the grout. Fill a bucket with an ounce of Murphy Oil Soap, 1/2 cup white vinegar, and two gallons of warm water. Dip a toothbrush or other narrow brush into the bucket and gently scrub the grout. Avoid the tiling as much as possible. Since some contact with the tile design is inevitable, perform a test first in a small area. Allow the diluted cleaner to air dry on the grout.

How to Install Bathroom Accessories on Ceramic Tile?

Bathroom accessories can be difficult to install on ceramic tile; the spots tile is difficult to fasten to, and choosing a fastener can be tricky. Here are some steps to help you finish this task successfully. Choose the accessories you need to install. These will often include information such as their location, mounting height, and a template for drilling holes to anchor them.

Determine the best method for drilling holes required for mounting your accessory, and the best anchor to secure the device. Use the supplied measurements or template to lay out the location for holes you will need to drill for your installation. Make sure the layout is level and plumb, so the fixture will look pleasing when it is installed.

Drilling through porcelain ceramic tile with a glass bit. Drill the holes you need for mounting the device. Typical drive-in plastic anchors require a 1⁄4 or 5⁄16 inch (0.6 or 0.8 cm) hole, molly anchors, and other expansion anchors may require larger holes to allow them to expand properly. Keep the drill cool while drilling through the cement tile by dipping it into water frequently. This will also decrease the amount of debris that may collect on the drill bit, allowing it to drill more efficiently.

Drill all of the holes needed, then tap an anchor into each hole, driving it flush to the surface. Be careful to strike the anchor cleanly with your hammer, since a miss may crack the wood tile. Hammering softly will decrease the chance the wood marble tile will be vibrated enough to crack the tile’s joints.

Driving the screws will lock the anchors so they won’t spin when installing your accessory. Pre-drive the screws into the anchors so they will be expanded and the anchor will hold securely without slipping when the accessory is mounted.

Hold the accessory in position and fit the screws through their mounting holes, then use a screwdriver or screw gun to tighten them. Check the appearance of the mounted accessory to make sure it looks right, and that it is level/plumb. Clean up dust and debris from the floor and wall. Do this immediately, since this dust can stain surfaces if it becomes damp or wet before it is removed. Remove protective films or coatings when you are satisfied that it looks good.

How Using an Oxygen Bleach to Clean Ceramic Tile Grout?

Wipe down your marble tile. Get rid of all surface dirt and crumbs that might make cleaning your grout more tedious by wiping down your trend rustic tile before getting to the grout cleaning. Follow your regular cleaning regimen by sweeping and mopping floors or using a spray cleaner to wipe down countertops.

Create your solution. Oxygen bleach is a safe bleach compound, which works to dissolve bacteria and grime while whitening grout. Mix equal parts of oxygen bleach with warm water and allow the mixture to dissolve.

Apply your cleaner. Choose your starting area, no larger than 1-2 square feet at a time, and pour on your bleach. Make sure the grout is thoroughly coated with the liquid; you can use a spray bottle if it makes it easier to do so. Leave the solution to work on the grout for 15-20 minutes.

Begin scrubbing. When the bleach has had time to set, you can begin scrubbing at the grout to work out the dirt and stains. Use a small brush, like a toothbrush, to rub the grout. You can add more bleach as you scrub to keep the area moist and expedite the cleaning process.

Mop up the excess liquid. Grab a dry towel and mop up the dirty bleach-water that pools on the tile when you finish scrubbing. If you get enough, wring the towel out between uses. Doing this, will make it easier to finish cleaning in the end.

Continue washing your grout. Repeat the process of applying bleach to the grout and scrubbing it out until you have finished all your kitchen tile area. For particularly tough stains in the grout, you can apply the bleach for an hour or longer. The longer you let it soak, the easier it will be to scrub out the stain. Finish cleaning your tile. Do a final mop-up of your bathroom tile before cleaning it again as you usually would. A final wipe-down will remove any remaining bleach and dirt, and leave your grout shiny and good-as-new.

How to Avoid Common Glass Tile Installation Mistakes?

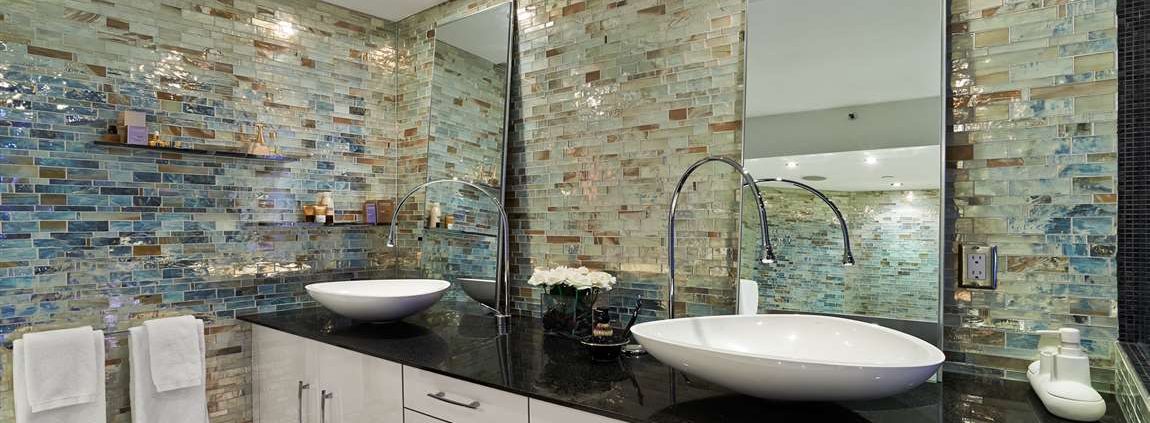
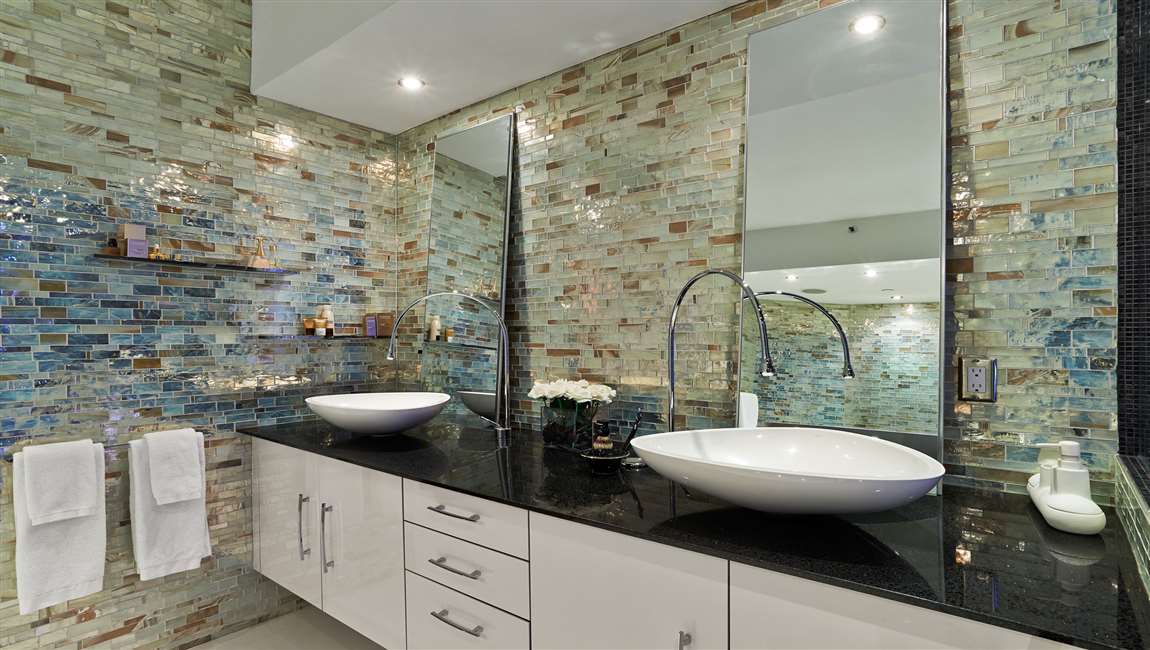
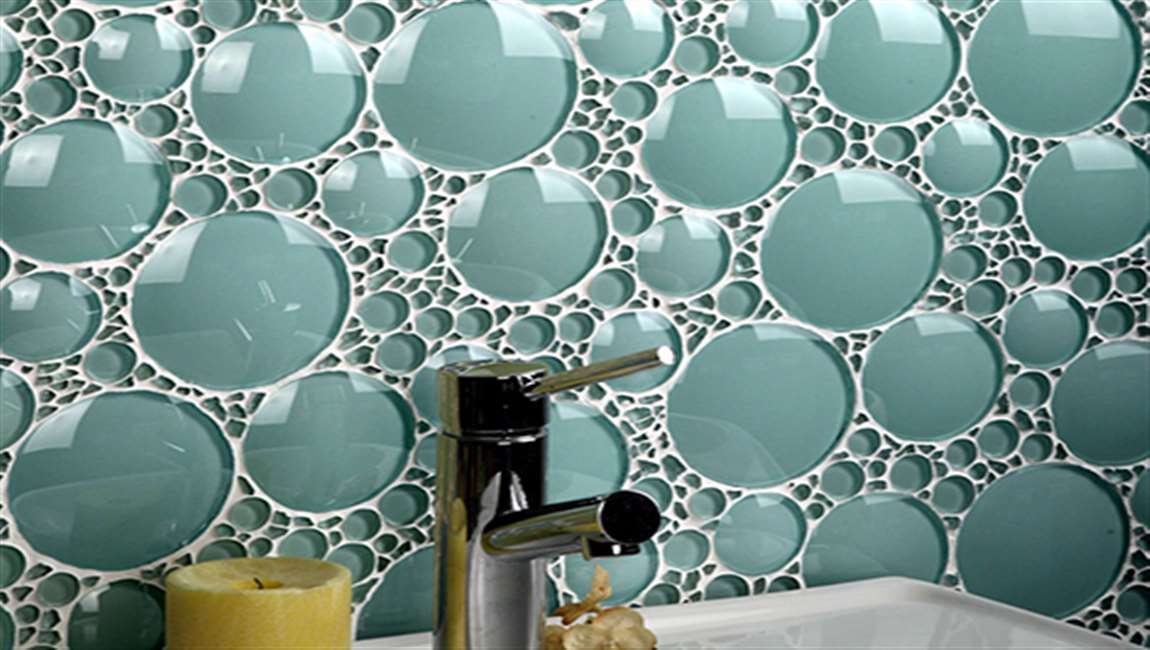
Homeowners and interior design professional who want a fashion-forward, fresh look select glass tile accents more frequently than ever. Glass tile harmonizes with either traditional, transitional or contemporary architecture, adding a splash of style. For years, glass tile was only used for accent and trim pieces, with ceramic tile filling the field; there was not much thought given to the installation materials, which were generally the same as those used for the ceramic tile. Modern design trends continue to push the envelope with glass tile, moving beyond the traditional accent pieces – glass tile is now being used as field tile with sizes 12″ x 12″ or larger, and with these new marble tiles come new challenges.

Ensure color consistency behind glass tile. Since glass can be the sole material in an installation, it is essential to choose a bonding mortar that meets its unique demands. In most cases, the color of the thin-set mortar was not an issue when installing opaque ceramic tile. But with clear and translucent glass, the mortar appears through the tile: if the color varies in the mortar, it will in the glass tile too.

To eliminate variations across a glass tile installation, choose a glass tile mortar with a bright white shade that is controlled to a consistent standard color. The color consistency will ensure a uniform appearance on the face of the glass tile, even in large installations that require multiple batches of mortar. As an added bonus, the bright white shade of the mortar can enhance the color of the clear or translucent glass tile.

Eliminate mortar voids. A typical ceramic tile installation involves spreading a thin-set mortar on the surface with a notched trowel, then pressing the ceramic tile into the mortar to collapse the ridges and improve contact between the tile and mortar. Unfortunately, this practice can leave many voids in the mortar behind the tile. While this would not be a concern with opaque ceramic tile, the randomly distributed air pockets or voids may be visible through clear or translucent glass.

The mortar should still be spread with a notched trowel onto the substrate, but it should also be spread (back-buttered) in an even, thin film onto the back of the glass tile. Now, when the two mortared surfaces are pressed together, the back of the tile is already covered, so any remaining voids from the mortar ridges are hidden and do not show through the glass tile. Keep in mind that standard thin-set mortars can shrink and pull away from the tile, causing voids and air bubbles during the curing process, so make sure that the mortar resists shrinkage too.

How to Clean a Stone Tile Shower?

Caring for the stone tile in your shower will preserve its appearance and maintain its condition. Proper care can keep your stone looking like-new for generations. Clean most kinds of dirtiness from your cement tile with a mild detergent, a soft cloth, and a soft bristle brush. Remove stains from ceramic tile by identifying the kind of stain and using the right kind of treatment, like ammonia for oil based stains. Maintain your element tile by avoiding acidic and abrasive cleaners and by removing excess moisture from the stone after every shower.

For severe stains, you may have to reapply the poultice a few times before it is fully removed. Some stains may take five applications or more. Stain removing poultices can be purchased from your local hardware store or home center. Look for it among stone care products.

Some kinds of poultice are sold as pre-made strips of treated paper. These are generally applied to stains similarly to paste poultices.

Buff out water spots and rings with 0000 steel wool as necessary. Hard water can leave rings, a white film, or scale on your stone. When the stone is dry, buff the surface in a circular motion with a dry piece of 0000 rated steel wool. Wipe the surface with a clean, dry, soft cloth or rag after. Use light to moderate pressure when buffing your countertop. Too much pressure may harm the appearance of your stone.

Hire a professional to deep-clean your spots tile. Professional cleaners have special tools and techniques that can extract dirt or grime that may have impacted the pores of the stone, which causes dullness. Have your rustic tile cleaned by a professional when thorough cleaning fails to restore the stone’s luster.

Persistent stains or blemishes that are difficult to treat may require an expert. Call a stone care professional, installer, or restoration specialist to treat problems like these.

Is the better the whiter quality of tile?

When the family decoration is purchased, many ordinary consumers are entangled in the color and lustre of the brick. Generally, they will choose the brick products with white brick. Although the color and quality of most tiles are not proportional to the quality, the normal quality of the tiles can not be determined by the color and lustre of the bricks, but the undeniable point: White tiles with large size tiles have great competitive advantages in product sales.

In the case of fierce market competition and serious product homogenization, the manufacturer makes a distinction between the quality of the product, and the selection of the white tile material and the iron removal process are more complex. Due to the related marketing, the low degree of quality of tile itself has created the effectiveness of marketing, resulting in general consumers blindly being followed and misled. Some ceramic manufacturers sell their inferior quality and color and lustre ceramic tiles in the market. For a long time, the ceramic tile products with deep color and lustre have left a very bad reputation in the market.

Some ceramic tiles have high requirements for whiteness, such as micro – powder tiles. It is necessary to improve the whiteness of white lines and transparency of transparent materials to improve the sense of the product. There are several ways to increase whiteness: One is to increase the amount of zirconium silicate; The two is to reduce the content of iron oxide in raw materials (white and transparent materials), so as to improve the permeability of products.
The most important factor affecting whiteness of ceramic floor tile is the content of ferric oxide and titanium dioxide in raw material, especially iron oxide content.

The raw materials for producing ceramic bath tile are mainly divided into two parts, feldspar raw materials account for about 80%, and clay materials account for about 20%. Generally, the content of ferric oxide in raw feldspar material is less than 0.2%, and the content of feldspar iron oxide in finishing (such as water mill) is less than 0.08%. The content of iron oxide in clay materials is about 1.2% ~ 1.8%, and the content of iron oxide in washed clay is about 1.2%.
The iron oxide in the green body is mainly carried by clay materials. In order to improve the whiteness of ceramic tile flooring, we must control the content of iron oxide in clay and choose refined clay. For example, the main indicators of ultra white washed clay produced by some manufacturers are: The content of iron oxide is less than 0.5%, generally around 0.4%, and the electric furnace is 90 degrees white, and the firing degree of kiln is 82 degrees. High strength and proper loss of ignition will not cause difficulty in forming or black heart when firing.

The main means to reduce the content of iron oxide is to select high quality mineral resources and two to remove iron from water.
After processing, the composite white iron oxide with low content and high strength meets the needs of tile production. However, it should be noted that some ultra white mud is very harmful to tile production when it is processed to increase whiteness and add a lot of quartz powder. Some of the northern clay with high whiteness and high fixed carbon content and large loss of burning loss is used as raw material. Although the clay whiteness of the synthesized clay is high, it is easy to produce black heart, and its strength is low, and it is not easy to form.

The whiteness of ultra white mud can not be examined solely, but also the brightness of the simulated products.
The general method of detection is: 70% of the billet was mixed with albite and 30% super white mud. After mixing ball milling, the cake was fired and the whiteness was measured in the furnace. The whiteness measured in this way is the whiteness reflected in the actual production. There is also a simple way to soak the burnt white mud cake into the water to see the change of whiteness after soaking. All iron oxide with high content of clay, whiteness of white mud super hard; low iron content, whiteness of generally not more than 10 degrees.

In addition to whiteness, mud mobility and forming strength are also important indicators of ultra white mud. Poor fluidity of mud will cause difficulties in ball milling. When the forming strength of the slurry is low, the product will crack easily.
The core index of ultra white water washing mud is: Low iron oxide content, high forming strength and whiteness after porcelain. Using ultra white mud, the production cost can be reduced and the production cost can be reduced without or less use of zirconium silicate, and the problem of excessive radiation caused by the use of zirconium silicate is also avoided.

Lay tiles for seams, and should be use the cross

Ceramic tile is a ceramic product fired by high temperature. Its physical and chemical properties are quite stable. Why there is no problem when many ceramic tile products are sent to the customer for acceptance? There are various problems after laying. How to ensure that the paving construction is all the same? At that time, the tile cross played its unique role.
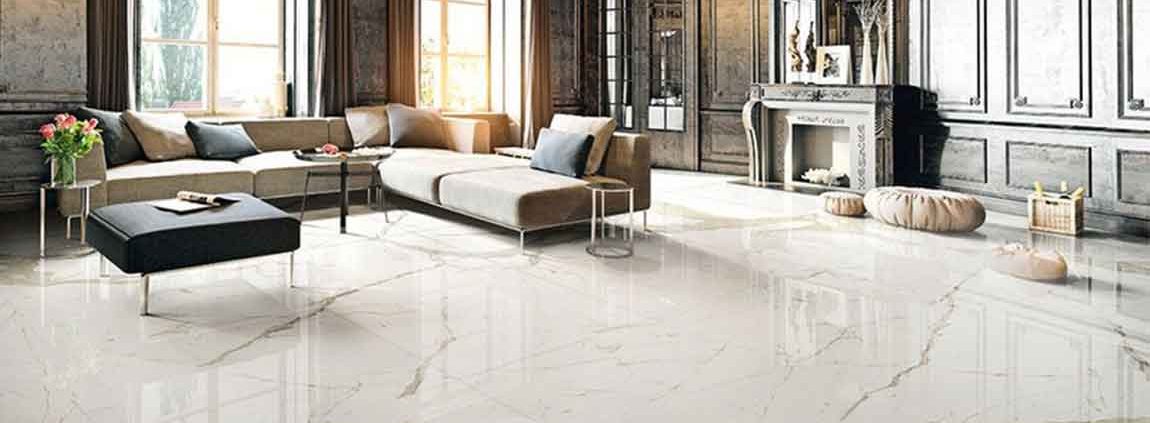
The tile cross is a kind of plastic products used in the construction of ceramic tile, which is used to adjust the size of the seam. The use of the tile cross not only improves the efficiency of the slit, but also improves the precision of the seam and the seam.

The more mature products in the building materials market are HDPE materials, the color is porcelain white, milk white, its advantages are good toughness, good tensile strength, non-toxic and odorless, resistance to impact, moisture resistance, and chemical resistance.
Ceramic floor tile left seam, wall to 1 – 2MM for good, some small tiles, in order to beautiful, to retain the seam but need big; the ground seam, in addition to the ancient glaze tiles generally need to leave a larger gap 2.5 – 5MM, the other varieties of tiles generally 1.5 – 3MM for good.

Under normal circumstances, a piece of tile with one, 5MM tile cross can be taken down if the tiles are almost dry, it can be recycled at least three times, which can save some cost; the tile cross of 3MM and 2MM is not easy to take off, otherwise the tile can be easily taken off, only after the tiles are dry thoroughly can be taken down, so the general is very difficult to reuse, do not want to put down on the inside to fill the seams to see, it is recommended in accordance with a tile with a tile cross of the principle of the purchase.
The cement mortar of ceramic flooring and paste ceramic tile will have heat expansion and shrinkage problem. In the process of temperature or humidity change, the ceramic tile and cement mortar will have some expansion. If no seam is left, it will lead to the drum or crack in the process of the later use.

Although the ceramic tiles are now mechanized production, but in the process of tiles production, there will be a certain size error (the error is too large for the quality of the product). If no seam is left, it is easy to appear the joint unevenness when tile paving, affecting the beauty of ceramic tiles.
Tile paving is a very high proficiency of a construction project, the workers in the whole process of paving, it is impossible to complete the placement of every tile when there is no error, the workers’ mood is not good, daytime and night, and other different conditions of tile, the effect will be different, if no seams, the same, the same It is difficult to ensure the straight seam of ceramic rustic tile, which affects the aesthetics of tiles placement.

What’s the benefit of the seams?
1, sewing can prevent ceramic tile flooring from hollowing, deforming, cracking, jumping or even falling off.
2.Retention of seams can save materials
3.All tiles have errors, and tile joints can reduce the negative effects of errors.
4.Proper retention of seams can enrich the effect of paving
5.Avoid slit more difficult to clean
6.Reduce the uneven joints caused by the construction error
7.It is more convenient to maintain and replace later

Introduce Some Common Knowledge Of Ceramic Tile Maintenance

Method one: use multifunctional decontamination cream

The tile is often greasy, rust, soap scum etc. especially by ceramic tile juncture easier to shelter evil people and countenance evil practices. In order to adhere to the porcelain surface clean and do not damage the porcelain surface light, you can use multi-functional decontamination paste for cleaning. Cracks in the ceramic tile, should first use a toothbrush dipped in a little dirt cream to remove dirt, and then in the crack with a brush brush a waterproof agent can, so as not only impervious water, and can prevent mold development.

Method two: vitreous tile appearance antifouling is the key

After the glazed tile is polished, the hair pores are exposed, and the oil, dust and other easily penetrate. Some manufacturers have dealt with this problem through new skills. But many brands of products did not pass the anti pollution disposal as a pass product sold, consumers do not investigate the situation, the use of pavement does not care, it will attack the situation of stains and stains. Consumers should be clear when buying, do not do anti fouling treatment of glazed tiles in the use of waxing, ordinary floor wax can be. Before paving, in order to prevent damage to the brick surface in construction, the use of woven bags and other things not easy to decolorization, brick cover good.

In order to clean and protect the glazed tile, clean all the dirt on the brick floor thoroughly. If there is glue or sticky dirt, it can be wiped off with neutral detergent and 100% clean cloth. The floor cleaning agent is poured on the floor tiles, and the stains on the tiles are rubbed clean by waxing machine. Then pour the water wax into the clean dry mop and wax it on the floor tile. Let the appearance of wax tiles from the dry, dry after trampling on the top, also available electric assisted drying, ordinary waxing after 8 hours will be completely dry, if there is heavy to move must be can move the wax completely dry, so can protect floor light.

Method three: old ceramic tile with ceramic tile

Old ceramic tile to be innovative, general requirements will tile all shovel clear, labor intensity is very big. If a new ceramic tile is added on the old tile, the cement mortar is difficult to be competent. At this time, the resin type stone binder must be used. It is not afraid of the greasy dirt and stain on the ceramic tile, and has better bonding strength.

Daily protection also needs to grasp the light tile tips, cleaning can be used to clean water and detergent or soap; mixture with soap when washing with a little ammonia and turpentine, can make more polished tiles. If there is tea or its different daily necessities attached to the ceramic tile, it should be cleaned in real time, and clean in response to clean products when necessary. If the brick surface scratches, the toothpaste can be smeared on the scratch, and can be repaired by wiping with dry cloth. The brick and brick cracks can not use dirt cream to remove dirt, and then brush a layer of waterproof agent in the crack to prevent mold development.