How to Remove Bathroom Floor Tile?
Removing ceramic tiles is a time consuming job, especially if you’re trying to preserve them for reuse elsewhere. If your tiles are only chipping off in tiny pieces, you may need to spend more time scraping out grout, or switch to power tools instead of a hand chisel.

Protect fixtures and usable floor with drop cloth. Remove all unnecessary objects from the room. Cover bathtubs, counters, mirrors, and other fixtures with a drop cloth to protect them from flying pieces of tile. Carefully cover any drains with painter’s tape. Lay down drop cloth over any part of the floor you plan to keep as well. For hygienic reasons, clean the bathroom thoroughly before you continue.
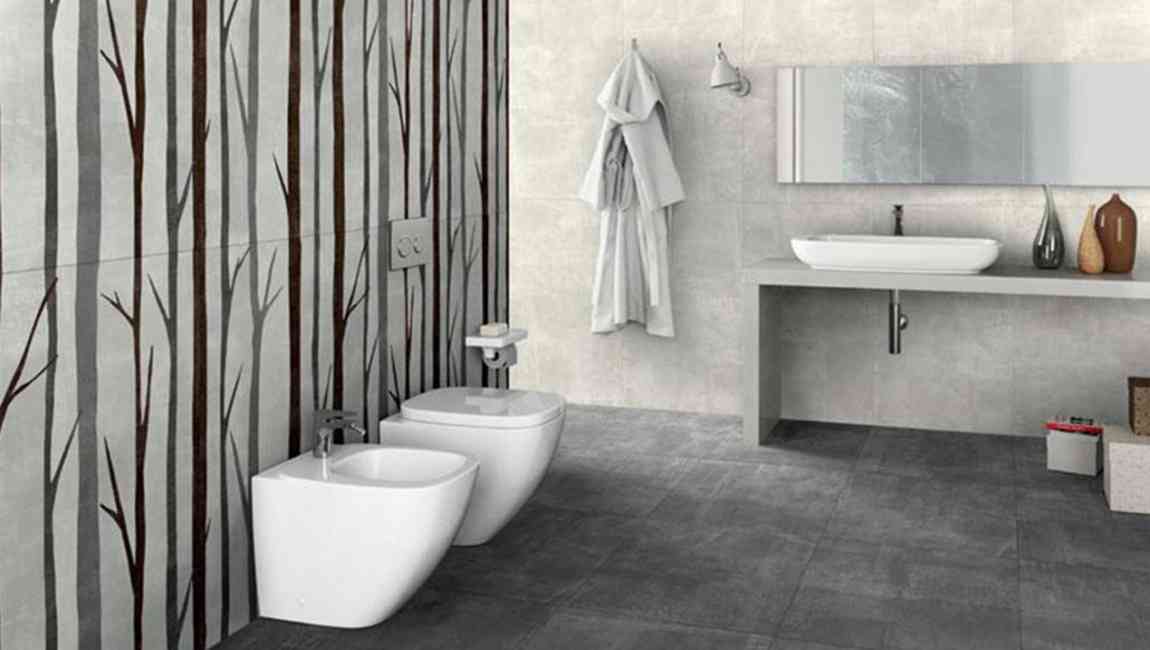
Remove the toilet, if necessary. If the toilet (or a pedestal sink) is covering the tile, turn off the shutoff valve on the water supply line. Flush the toilet until the tank and bowl are both dry, finishing the job with a hand-operated pump, then a sponge. Detach the tank using a wrench. Set the tank and the toilet aside on old towels or other absorbent materials. Leave the tank and bowl attached, and remove both at once.
You may need to rock the toilet back and forth to break the caulk, or cut away the caulk with a utility knife. Carefully remove the wax ring that creates a seal between the base of the toilet and the drainage pipe. You may wish to wear gloves during this process, since the wax ring is very sticky. Clean any remaining wax off the base of the toilet with a rag soaked in mineral spirits. You will need to replace the wax ring with a new one when you re-install the toilet. Consider retrofitting your toilet with a wax ring that comes with an extension to accommodate higher flanges. After removing the toilet, plug the hole with a rag to block sewer gases.

Put on safety equipment. Wear heavy-duty gloves, wraparound safety goggles, and long sleeves to protect yourself from sharp tile pieces. Wear a dust mask to protect against dust from pulverized tile. You should also wear work pants, a hat, and work boots. ceramic tiles and mortar commonly contained asbestos until the 1980s in the US, and the 1990s in some regions. Test old tiles design and mortar for asbestos and, if asbestos is found, hire a professional to remove the small tiles safely.
Even modern cement tiles often use lead glaze, which creates lead dust during removal. One tile removal project is unlikely to cause dangerous exposure, but to be on the safe side, ventilate the bathroom to the outside, and wash skin and clothes after completing the project. Buy a respirator mask rated for lead dust if you expect repeat exposure.
Break through the first tile.Use a cold chisel and sledgehammer to break apart one tile, and deposit the pieces into a bucket. This will give you a look at the subsurface, which can help determine your approach. Read through the rest of this section before you decide how to continue. If you want to preserve as many tiles intact as possible — which is difficult and time-consuming — first cover the center of the tile with masking tape and drill several holes through it with a carbide-tipped drill bit. This will reduce the number of flying pieces that can chip nearby tiles.
")

")
")


