Posts

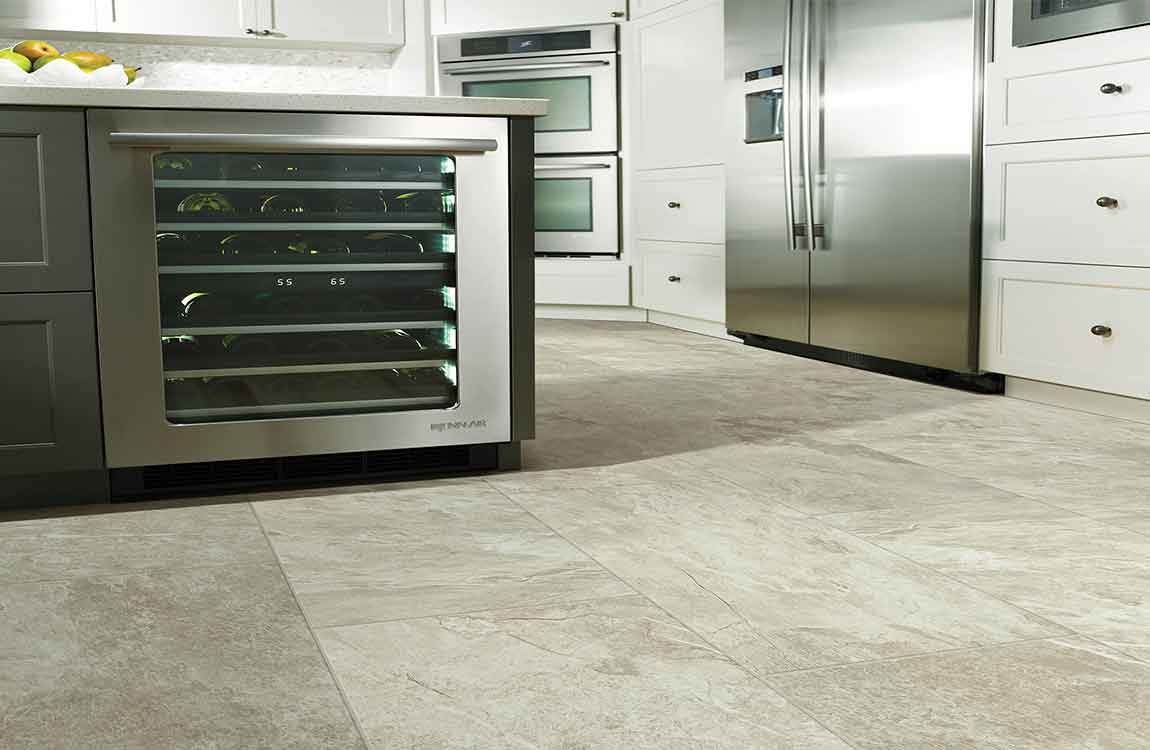
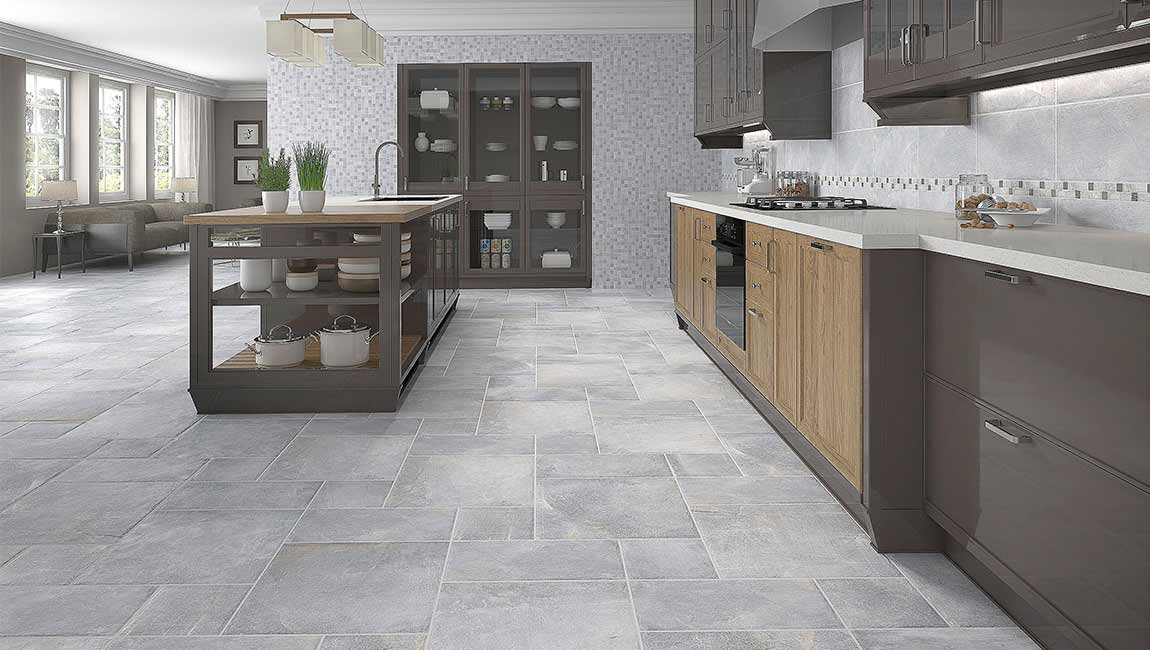
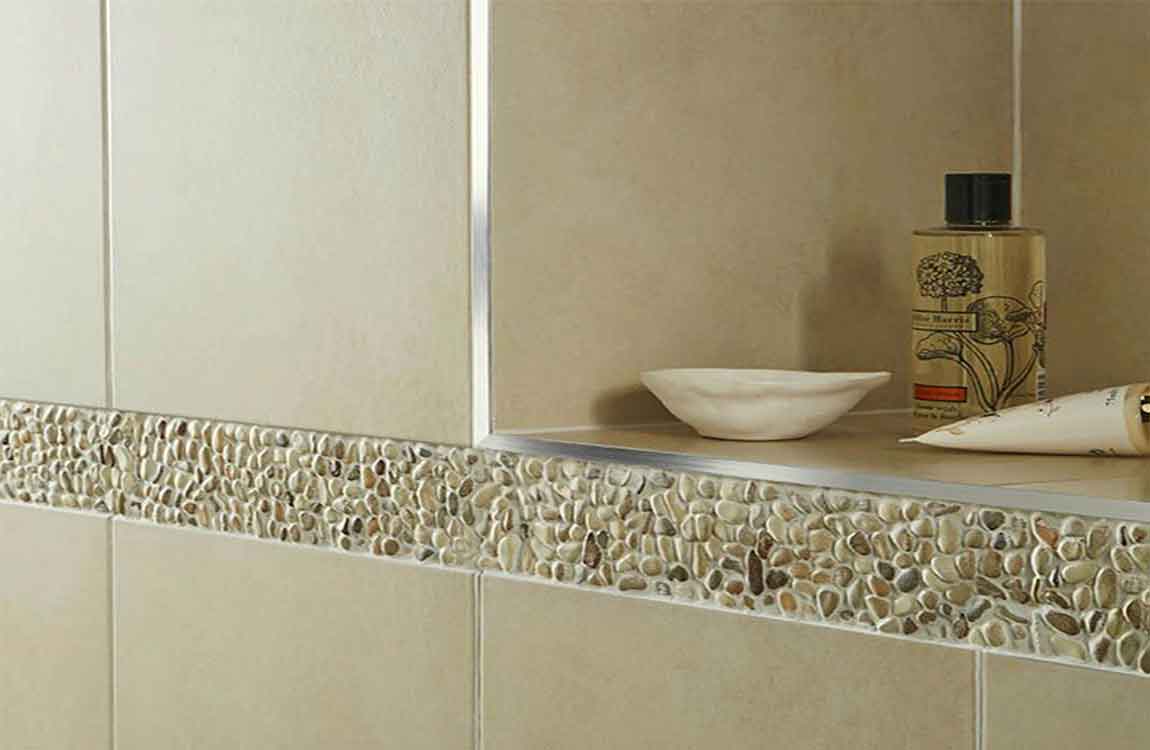
How Using a Wet Saw Cut Tiles?

Choose a wet saw if you need to cut larger or thicker pieces of tile. Large tiles can be difficult to score deep enough to be snapped or nipped, but a wet saw can effectively cut through the thickest glass tile. Wet saws release a steady stream of water as the blade cuts to decrease friction and are more time-effective and have less of a chance of damaging glass tiles.


Wet saws allow you to cut squares out of larger pieces of tile quickly and evenly, but isn’t great for cutting curved or irregular shapes. You can rent wet saws from home improvement stores like Home Depot and Lowe’s for about $50 a day.


Use a glass tile blade on the wet saw to cut your tile. A glass diamond blade will create a smoother cut in the tile and ensure an even edge. Glass tile blades have a finer and softer blade, which means it will take longer to pass through the saw, but will result in a better edge on the glass tile pieces you cut.


Use a straightedge and washable marker to draw cutting guidelines. Washable markers are easy to clean up later, but will still draw clear lines for you to follow with your wet saw. Use a straight edge as a guide and form straight lines with your marker where you want to cut the glass tile. Make sure the lines are straight and even. You can always just wipe the marker away and form the lines again.


Put on rubber gloves for extra grip. Because the wet saw uses water to reduce friction and cool the blade, the glass tile could become slippery to hold with your hands. Use a pair of rubber gloves to increase your grip on the glass. Don’t use leather or fabric gloves because they’ll become soaked in water. Latex gloves work fine, too.

How to Cover Tiles Cheaply?

While tiling is easy to maintain, it can sometimes look outdated or unsightly. Luckily, you can cover tile inexpensively with rugs, decals, or paint to update the room and achieve the look that you want. Whether you’re covering the tile temporarily or permanently, there are a few solutions you can try.

Apply contact paper to countertops for an easily removable update. Measure the countertops to see how much contact paper you’ll need, and purchase large rolls to fit the space and save money. As you’re covering the tile, cut the sheets to be as long as possible, peel off the backing, and overlap the contact paper along the seams to prevent peeling. Smooth the paper with a credit card to remove air bubbles to finish off the project.

Contact paper comes in a variety of different patterns and finishes that are perfect for countertops, including wood grain, glossy marble, and granite. To remove the paper, begin pulling it from the corner of the sheet and work slowly across the countertop. Tip: Make sure the pattern on the contact paper lines up and is oriented in the same direction for a more professional, high-end look.

Resurface countertops with quick-setting cement for an updated look. Sand the existing tile countertops and build a temporary form that attaches to the cabinetry, which will hold the cement as it sets. Then, simply mix and pour self-leveling concrete over the countertops and follow the package instructions to cure it. Paint a sealant over the concrete to protect it from water and debris.

While this is a more labor-intensive option, it can be very inexpensive, depending on the type of concrete you choose. Keep in mind that the concrete will likely crack slightly during the curing process, but you can fill in the cracks with the sealant. If you want to remove the carpet tiles or reposition them, simply pull them up by the corners to reveal the tile underneath.

How to Applying Grout to the Tiles?

Remove the spacers before you apply grout. While the thinset adhesive is still slightly wet, pull the spacers out from between the floor tiles. This should be about 1.5 hours after you applied the adhesive and added the spacers. Make sure you collect all of the spacers before you start the next phase of tiling.

If you leave the spacers in the adhesive for too long, they can become stuck. Adhesive dries and sets quickly compared to grout, so you may only need to wait about an hour, depending on the brand of adhesive you used.

If your marble tiles came with spacers on them, you should still be able to pull them out of the adhesive. However, some of the spacers are permanent and meant to be left on the wall and covered with grout. Check the packaging for the polished tiles to see if you can remove them.

Mix the grout and apply it to sections of the wall. Grout fills in the space between each tile, protecting and securing them onto the wall. Choose a grout that matches your cement tiles and color scheme, and mix it according to the package directions. About 15 minutes after you remove the spacers, use a grout float to spread it over one section of the wall before moving on to the next section.

The grout will cover up the tiles completely, but don’t worry. You’ll wipe away the grout from the surface of the tiles design once it begins to dry. It’s especially important to work in sections if you’re grouting a larger wall. This will prevent the grout from drying too much before you get the chance to wipe it off.

Use a wet sponge to wipe the grout off of the wall tiles after 30 minutes. Set a timer after you finish the first section, and set another after you finish the second section. Once the timer goes off, dip a sponge in water and wring it out, then wipe it over the first section to remove most of the grout from the tiles.

After you finish the first section, wait for the second timer to go off so you can wipe the grout off of that section as well. Try to work with only 2-3 sections at a time to prevent yourself from getting confused.

Go over the tiles with a dry sponge after an hour to remove haze from the grout. Let the grout dry further after you wipe it off of the ceramic tiles. Then, take a dry sponge and rub it over the tile size surface to ensure that each tile is clean and doesn’t have any grout residue on it. If you can still see a film of residue, apply a tile cleaning solution over the tiles after letting it dry for an additional hour.

Apply a sealer to block out moisture. Follow the directions with the sealer to apply it correctly to the wood tiles wall with a brush, sponge, or sprayer. Make sure all of the tiles are coated, including corner and edge tiles. Let it dry for 6-8 hours before getting the tiles wet.

If you want to test that the sealer worked, put a drop of water on a sealed polished porcelain tiles to see if the water beads up. If it does, the sealer worked. If not, make sure the sealer isn’t expired and apply another coat. Let it dry for an additional 6 hours before retesting.

How to Remove Bathroom Floor Tile?

Removing ceramic tiles is a time consuming job, especially if you’re trying to preserve them for reuse elsewhere. If your tiles are only chipping off in tiny pieces, you may need to spend more time scraping out grout, or switch to power tools instead of a hand chisel.

Protect fixtures and usable floor with drop cloth. Remove all unnecessary objects from the room. Cover bathtubs, counters, mirrors, and other fixtures with a drop cloth to protect them from flying pieces of tile. Carefully cover any drains with painter’s tape. Lay down drop cloth over any part of the floor you plan to keep as well. For hygienic reasons, clean the bathroom thoroughly before you continue.

Remove the toilet, if necessary. If the toilet (or a pedestal sink) is covering the tile, turn off the shutoff valve on the water supply line. Flush the toilet until the tank and bowl are both dry, finishing the job with a hand-operated pump, then a sponge. Detach the tank using a wrench. Set the tank and the toilet aside on old towels or other absorbent materials. Leave the tank and bowl attached, and remove both at once.

You may need to rock the toilet back and forth to break the caulk, or cut away the caulk with a utility knife. Carefully remove the wax ring that creates a seal between the base of the toilet and the drainage pipe. You may wish to wear gloves during this process, since the wax ring is very sticky. Clean any remaining wax off the base of the toilet with a rag soaked in mineral spirits. You will need to replace the wax ring with a new one when you re-install the toilet. Consider retrofitting your toilet with a wax ring that comes with an extension to accommodate higher flanges. After removing the toilet, plug the hole with a rag to block sewer gases.

Put on safety equipment. Wear heavy-duty gloves, wraparound safety goggles, and long sleeves to protect yourself from sharp tile pieces. Wear a dust mask to protect against dust from pulverized tile. You should also wear work pants, a hat, and work boots. ceramic tiles and mortar commonly contained asbestos until the 1980s in the US, and the 1990s in some regions. Test old tiles design and mortar for asbestos and, if asbestos is found, hire a professional to remove the small tiles safely.

Even modern cement tiles often use lead glaze, which creates lead dust during removal. One tile removal project is unlikely to cause dangerous exposure, but to be on the safe side, ventilate the bathroom to the outside, and wash skin and clothes after completing the project. Buy a respirator mask rated for lead dust if you expect repeat exposure.

Break through the first tile.Use a cold chisel and sledgehammer to break apart one tile, and deposit the pieces into a bucket. This will give you a look at the subsurface, which can help determine your approach. Read through the rest of this section before you decide how to continue. If you want to preserve as many tiles intact as possible — which is difficult and time-consuming — first cover the center of the tile with masking tape and drill several holes through it with a carbide-tipped drill bit. This will reduce the number of flying pieces that can chip nearby tiles.