Sweep off the surface. Remove any loose debris from the outdoor surface you are cleaning. If you are cleaning off a patio, use a large broom to sweep it off. If you are cleaning a small retaining wall or a monument, use a small broom to sweep the detailed areas. Removing the top layer of dirt and debris this way will help you assess what areas need to be deep cleaned and which just need a light scrubbing.
Wet the surface and allow the water to sit for about 30 minutes. Spray the surface with your hose so that it is all damp. A layer of water will start to loosen anything growing on the surface. Wait for the stone to soak for about 30 minutes before continuing on and your overall cleaning process will be much easier.
Tip: If the temperature is below freezing, wait for it to warm up before putting water on your sandstone tiles. Purposely putting water on sandstone tiles, especially older sandstone tiles that might have tiny cracks in it, can cause the stone to crack if water gets inside of it and freezes.
Scrub the surface with water and a plastic-bristle brush. Use a circular motion while scrubbing to get any organic material off of the stone. This often includes moss, lichen, and mold. Keep scrubbing until you are happy with the color of the stone. Most outdoor scrub brushes will work for fine for this. You can use a hand brush or a brush on a pole.
Just make sure that bristles are medium-firm, meaning that they bend when you push the brush across the surface. Never use a wire brush or extremely firm plastic-bristle brush on sandstone tiles. It will scratch the surface and speed up decay. Use a squirt of dish-washing soap, if necessary.
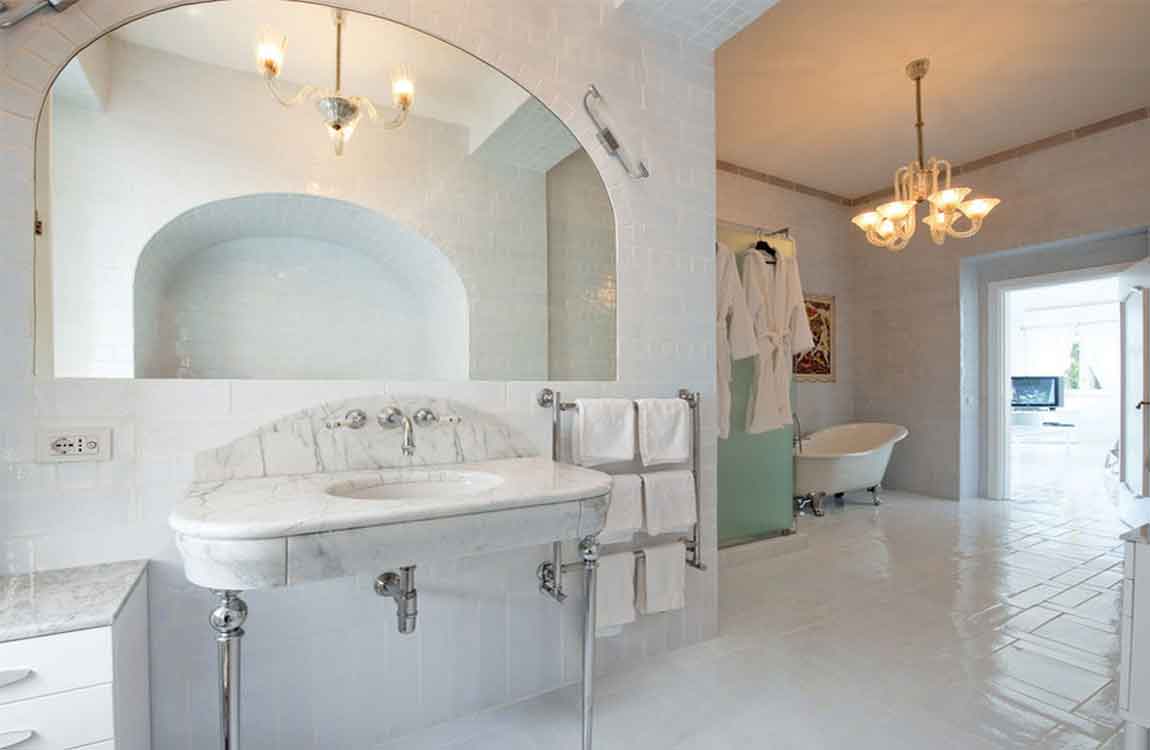
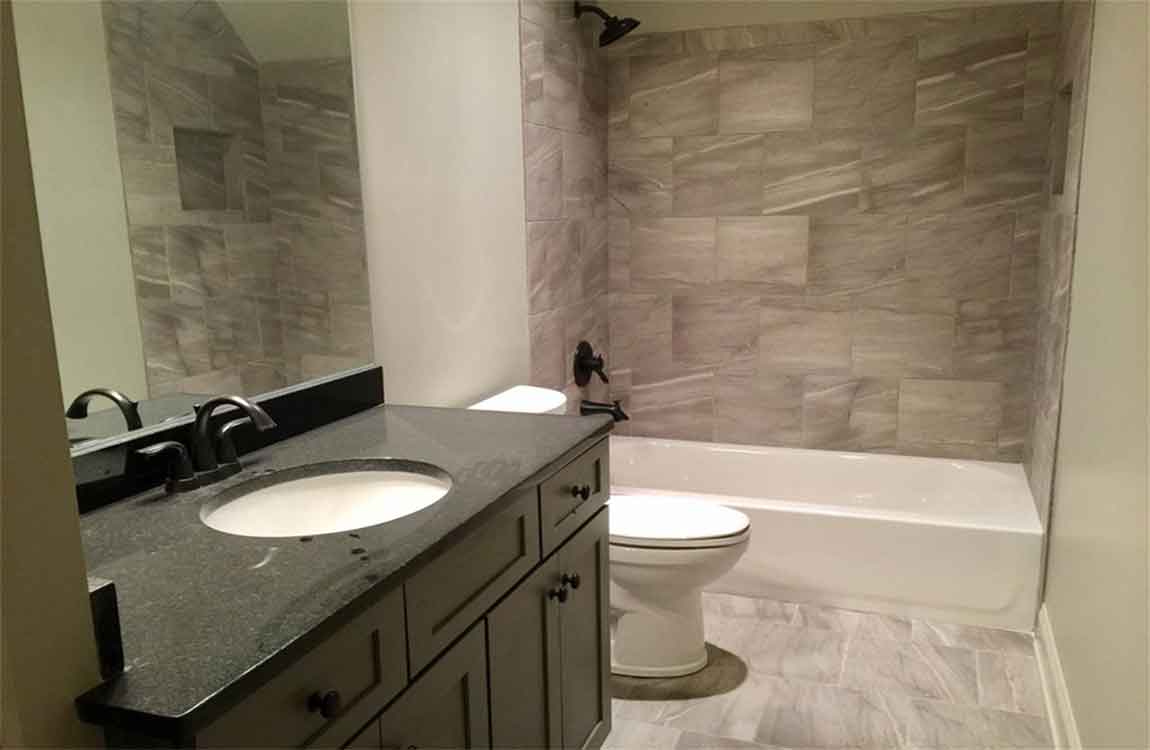
Look for a toilet cleaner that contains sodium hydroxide. Many toilet cleaners contain sodium hydroxide and sodium hypochlorite. These two ingredients help to remove stains and grime on porcelain or tile surfaces as well as grout. Though they can be toxic in large amounts, they do work to effectively clean grout. You may look for common brands of toilet cleaner at your local hardware store or in the cleaning aisle at your grocery store.
Try an eco-friendly toilet cleaner. To avoid exposing yourself or others to harmful chemicals, you may opt for a toilet cleaner that is eco-friendly. There are several toilet cleaners on the market that do not contain harmful chemicals. However, they may not be as effective for cleaning grout, or your toilet bowl, if they do not contain chemicals like sodium hydroxide or sodium hypochlorite.
Many eco-friendly toilet cleaners are made with plant and mineral based products. They may also be scented with lemon, mint, or pine, a bonus for making your grout smell less wet or dirty. Use toilet cleaner that contains bleach with caution. Though you may opt for toilet cleaner that contains bleach to better clean the grout, using bleach can be toxic to your health and possibly damage the tiling around the grout.
Bleach can also strip the water repellant materials that are in the grout, leading to damaged grout in the future, especially in showers or bathrooms. If you do go for a toilet cleaner that contains bleach, make sure you wear rubber gloves, eye protection like safety goggles, and a respirator mask so you are not at risk of inhaling the bleach. You should also wear clothing that you would not mind throwing out, as bleach can damage your clothing.
Smooth the edges of the cut tile glass with a rubbing stone. The wet saw produces clean and even lines, but it’s still a good idea to smooth the edges of the tile so they are less likely to cut you. Hold the stone at 45 degree angle on the front of the tile and run it over the edge to round it out. Smooth the entire edge of the glass tile.
https://baranaceramic.com/wp-content/uploads/2019/10/Selecting-the-Toilet-Cleaner-1.jpg7501150administratorhttps://baranaceramic.com/wp-content/uploads/2025/09/logo.pngadministrator2019-10-15 08:00:242019-10-17 07:59:01How Selecting the Toilet Cleaner?
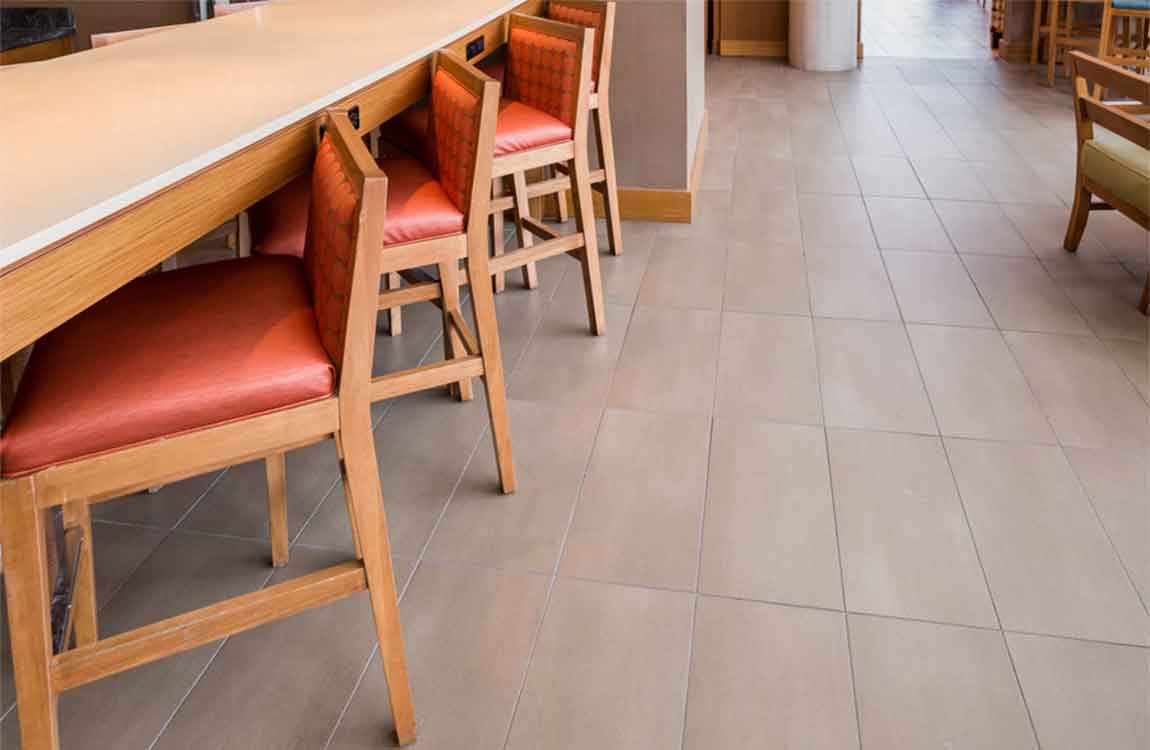
Spot test the cleaner on the grout. Before you dive right into cleaning the grout with the toilet cleaner, you should spot test it first on a portion of the grout. Choose a spot that can be covered up or hidden if it gets damaged. Use a small amount of the toilet cleaner on the grout and leave it on for five minutes. If the grout does not appear damaged, you can proceed to use the toilet cleaner on the rest of the grout.
Pour the cleaner on the grout and let it sit. Do this by pouring the cleaner on the area with grout that is furthest from the door. This way, you can clean the grout in small sections, moving towards the door and cleaning each section as you go. If you are cleaning grout along a bathtub or a faucet, you do not have to worry about doing this.
Pour a small amount of the cleaner on the grout. Do not pour too much cleaner on the grout or lay it on too thickly. You want an even amount dispersed on the grout so the cleaner can soak in and remove any dirt or grime. Allow the cleaner to stay on the dirty grout and soak in for five minutes. Do not touch or disturb the cleaner when it is sitting on the grout.
Scrub the grout with a toothbrush. Once you have let the cleaner sit on the grout, take a toothbrush or a grout cleaning brush, and gently run it over the grout. You should not have to scrub the cleaner off the grout very hard to remove any grime or dirt. Often, the grime will come off easy by running the brush over the grout.
Scrub all of the grout that is covered with the cleaner. You should notice the grout appears clean and grime-free once you scrub it with the brush. Rinse and dry the grout well. It is very important that you rinse off the toilet cleaner as soon as you are done scrubbing the grout with the brush. Do not let the cleaner sit on the tile or the grout once you are done scrubbing it, as this can lead to a built up of residue.
https://baranaceramic.com/wp-content/uploads/2019/10/How-Cleaning-the-Grout-5.jpg7501150administratorhttps://baranaceramic.com/wp-content/uploads/2025/09/logo.pngadministrator2019-10-03 08:00:132019-10-10 09:18:02How Cleaning the Grout?
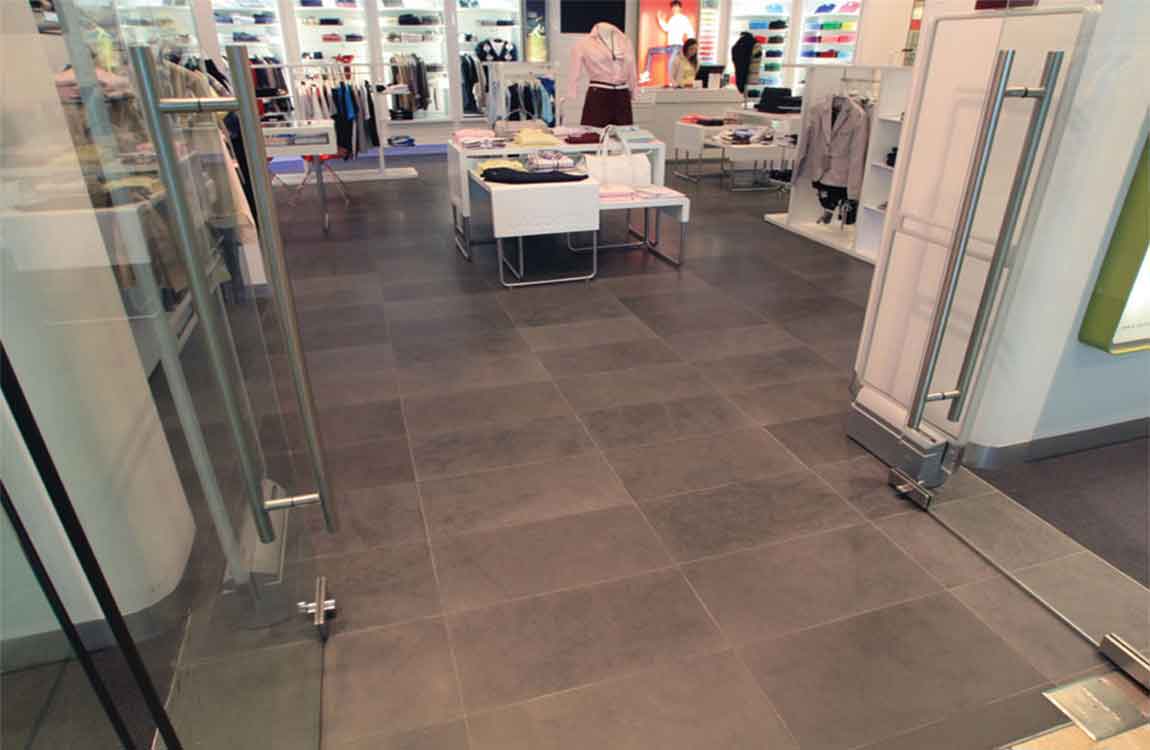
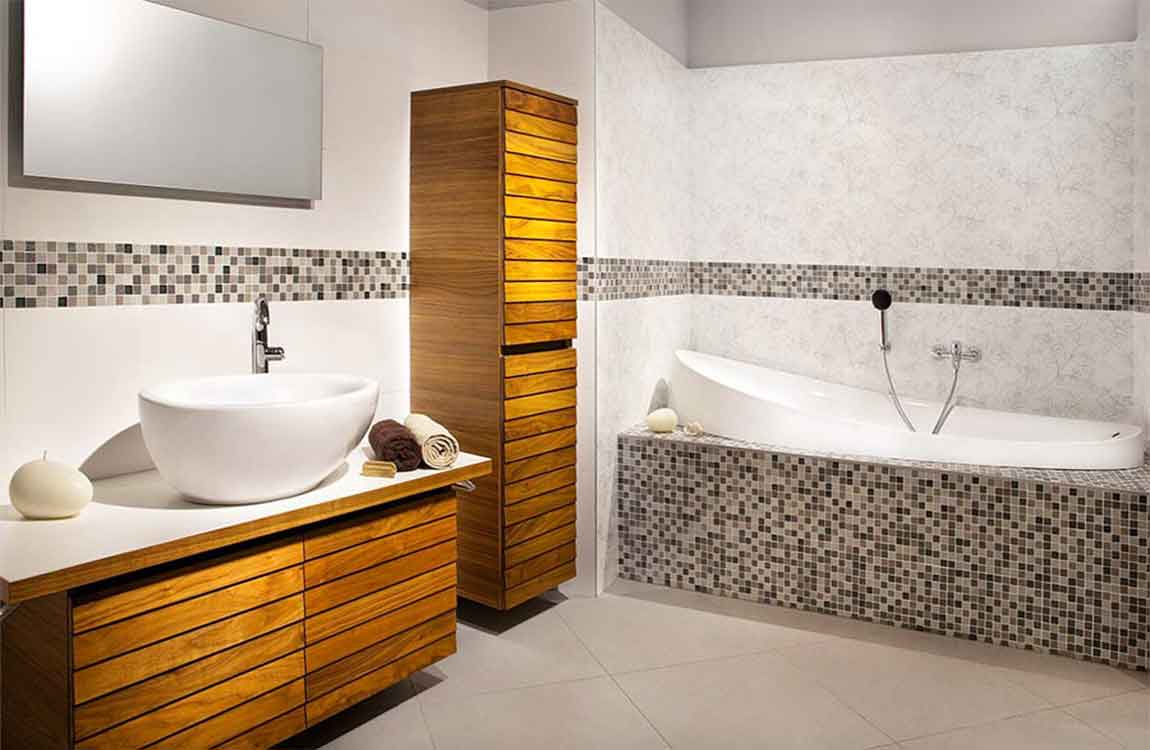
Try oxygen bleach products. This is another name for sodium percarbonate, which is a compound made of hydrogen peroxide and soda crystals.Brand-name products include Clorox, OxiClean, Oxi Magic, and Bio Kleen. Mix the product with water as per the manufacturer’s instructions. Apply to the affected area and let it sit for up to an hour before scrubbing and rinsing.
Be sure to use these products in a well-ventilated area, and avoid contact with your skin. Always wear gloves to use these products. Always spot test commercial products in a small area on your grout to make sure the product won’t discolor, erode, or damage your grout. Don’t use any sort of bleach product on colored grout.
Use a commercial grout cleaner and whitener. There are many cleaners out there that are designed specifically for grout, and most of them can be purchased at hardware stores. Be sure to always follow the manufacturer’s instructions for use, and follow all the safety precautions. Commercial grout cleaners include: Zep, Goo Gone Grout, Outrageous, Tilex Tile and Grout.
Beware of chemical combinations. In case you find one chemical hasn’t worked and you want to try another, be sure to wash the area and wait a couple days before trying something new. Just like hydrogen peroxide and vinegar can combine to form peracetic acid, so too can commercial cleansers mix to form poisonous gasses, caustic liquids, and noxious fumes.
Stain the grout as a last resort. For dirt and stains that just won’t come clean from your grout, there are colorants you can apply to cover the stains and make your grout look like new. The area should be nice and clean, but if not give it a once over with your favorite cleaner and let the area dry overnight.
https://baranaceramic.com/wp-content/uploads/2019/09/Grout-With-Stronger-Products-5.jpg7501150administratorhttps://baranaceramic.com/wp-content/uploads/2025/09/logo.pngadministrator2019-09-17 08:00:212019-09-19 03:34:17How Cleaning Bathroom Grout With Stronger Products?
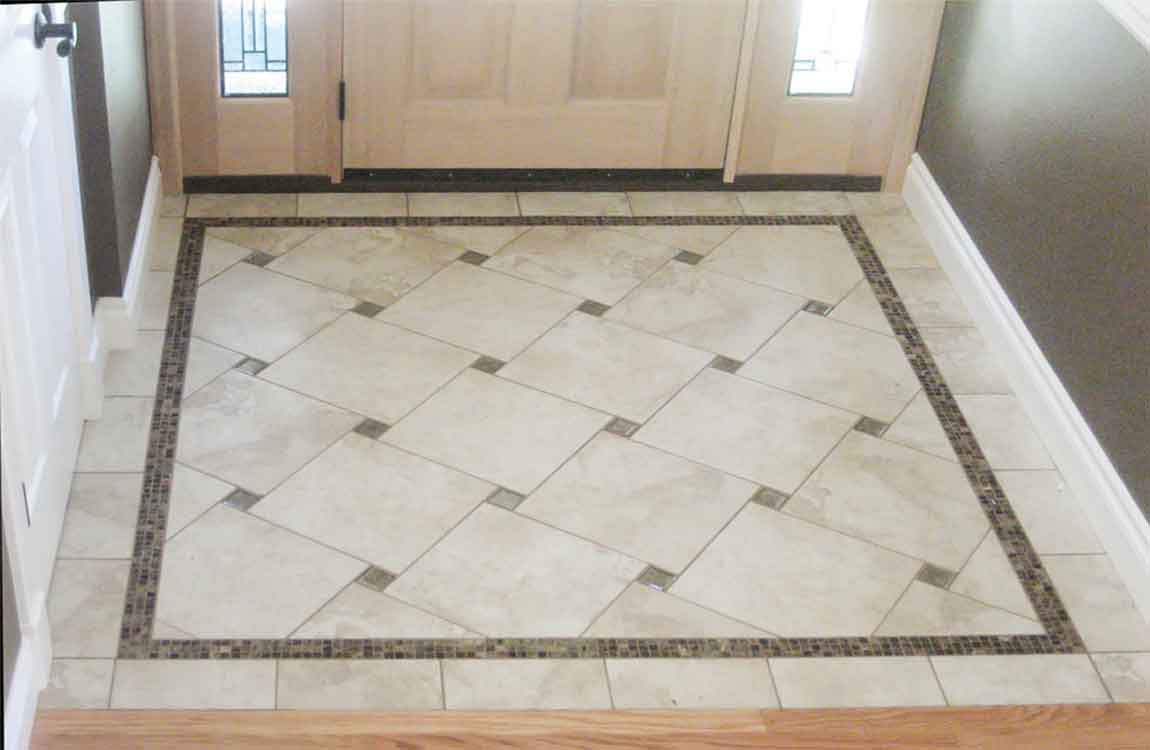
If you’re thinking about installing a tile floor in your home, it’s important to take the time to figure out the best way to arrange the individual tiles. In most rooms, square and rectangular tiles will fit together in a simple grid pattern. First, establish a series of layout lines to serve as a placement guide by finding the midpoint of each wall and drawing a line across to the opposing wall.
From there, you can begin dry-fitting the tiles around the room’s center point, working your way outward in manageable sections to avoid uneven spacing. Mark the midpoint of each wall. Divide the total length of the walls in half, then draw a small notch or dot on the floor at this spot using a carpenter’s pencil.
Aligning the midpoints of each wall will help you find the room’s center. For a wall that’s 16 feet (4.9 m) long, for instance, you would make your mark at 8 feet (2.4 m). If the room you’re measuring is perfectly square, you can go ahead and draw a line straight across to the opposite wall save time.
Draw a line connecting the midpoints of both walls. To ensure that the line is straight, run the tip of your pencil along the edge of a yardstick or straight edge, using a framing square to ensure a precise 90-degree angle. Slide your yardstick down and double-check its orientation every few feet to keep the line from becoming crooked.
You can also use a chalk line tool for greater efficiency and exactness. Simply extend the retractable wire between the 2 walls, then pull up and release the wire quickly to leave behind a perfectly straight line of chalk. Repeat the process on the room’s shorter walls. Measure the length of the remaining pair of walls, then mark the midpoint of each. Draw a line connecting the opposing midpoints through the center of the room.
https://baranaceramic.com/wp-content/uploads/2019/08/How-to-Plan-Tile-Layout-4.jpg7501150administratorhttps://baranaceramic.com/wp-content/uploads/2025/09/logo.pngadministrator2019-08-19 08:00:102019-09-03 05:46:46How to Plan Tile Layout?
Cover your counter and put on a mask and safety goggles. Cover your counter with plastic sheeting to protect it and make cleaning up easier. Put on a pair of safety goggles to protect your eyes against dust. Finally, put on a mask suitable for working with fine particles. Most dust masks and respirator masks come with a description of what they are used for, such as sanding dust, aerosol, etc. Choose the one for dust.
Make the tile where you wish to cut it. A pencil may work just fine on a slate or ceramic tile, but if the tile is glazed, you should switch to a marker. Try to be as precise as possible for this step. Installing a new electrical fixture will require you to get inside the wall. Mounting a towel rack does not.
Cut along the top, bottom, and side edges. If you need to get inside the wall, then you should cut through the dry wall as well. A dremel rotary cutter with a diamond tile blade will work for most tiles. If your blade can’t go around the corners, skip them for now.
Use an oscillating cutter to cut through tight corners. While a dremel rotary tool will work for most lines, it won’t work on tight corners. For that, you should switch to an oscillating cutter instead. You may have to experiment before you find the right one for your type of tile. A multi-surface blade seems to work better than a tile blade, however.
Pull the tile away. Wedge a thin knife or spatula behind the tile and pop it out. If you had to cut through the wall, try not to lose anything inside the wall. Your hole is now complete and ready to finish.
Measure the area of your backsplash. Use a measuring tape to measure the dimensions of your backsplash area. Write these measurements down. Don’t worry about cabinet corners that cut into the backsplash area just yet. Masks are graded based on the size of particle they filter. Purchase one that will filter dust particles.
Transfer the measurements to your tile sheet. The easiest way to do this is with long strips of painter’s tape of masking tape. You can also draw on the back of the tile sheet with a marker. Be sure to mark any outlet and light switch holes. Place the sheet against the wall and mark them, if needed.
Put on some eye and respiratory protection, if needed. A pair of safety goggles is highly recommended because it will protect your eyes against flying pieces of tile. A good respiratory mask is only needed if you will be cutting the tiles with a wet saw or grinder. If you will be using tile nippers, you won’t need a mask.
Cut the tile sheet down to size with a box cutter. Flip the tile sheet over so that you can see the back, then cut through the mesh with a box cutter or utility knife. If the tape runs across a row of tiles, cut through the mesh along the inside edge of the tape. This will make your tile sheet a little smaller than necessary, but that’s okay.
If your tiles are staggered like bricks or a honeycomb, you will need to cut around the tiles. Don’t cut straight through them. Be sure to cut through the outlet and light switch holes. If your tiles are staggered like bricks, the gaps won’t be consistent. You will need to cut some tiles larger, and other tiles smaller.
A tile is a thin object usually square or rectangular in shape. Tile is a manufactured piece of hard-wearing material such as ceramic, stone, metal, baked clay, or even glass, generally used for covering roofs, floors, walls, or other objects such as tabletops. Alternatively, floortile can sometimes refer to similar units made from lightweight materials such as perlite, wood, and mineral wool, typically used for wall and ceiling applications. In another sense, a tile is a construction tile or similar object, such as rectangular counters used in playing games (see tile-based game). The word is derived from the French word tuile, which is, in turn, from the Latin word tegula, meaning a roof tile composed of fired clay.
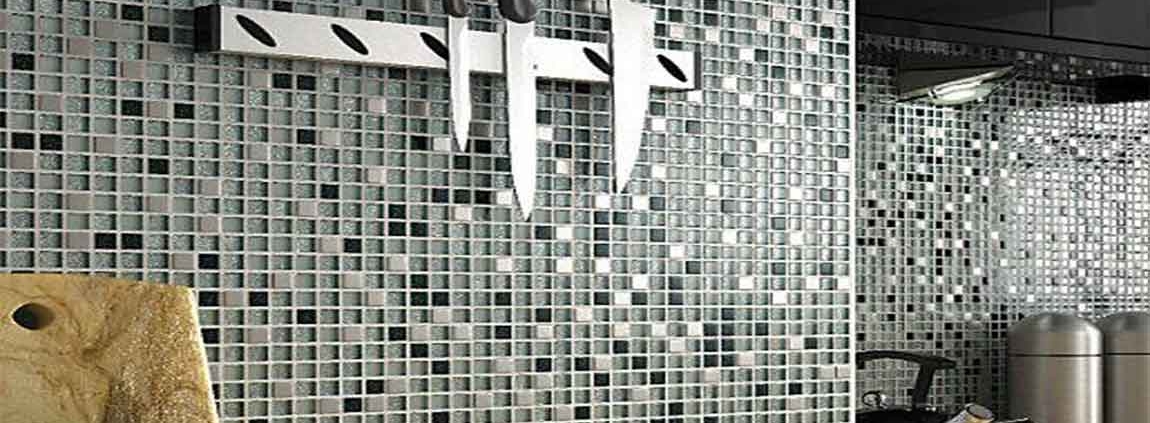
Tiles design are often used to form wall and floor coverings, and can range from simple square tiles to complex or mosaics. Tiles are most often made of ceramic, typically glazed for internal uses and unglazed for roofing, but other materials are also commonly used, such as glass, cork, concrete and other composite materials, and stone. Tiling stone is typically marble, onyx, granite or slate. Thinner tiles can be used on walls than on floors, which require more durable surfaces that will resist impacts.
The earliest evidence of glazed brick is the discovery of glazed bricks in the Elamite Temple at Chogha Zanbil, dated to the 13th century BC. Glazed and colored bricks were used to make low reliefs in Ancient Mesopotamia, most famously the Ishtar Gate of Babylon (ca. 575 BC), now partly reconstructed in Berlin, with sections elsewhere. Mesopotamian craftsmen were imported for the palaces of the Persian Empire such as Persepolis.
The use of sun-dried bricks or adobe was the main method of building in Mesopotamia where river mud was found in abundance along the Tigris and Euphrates. Here the scarcity of stone may have been an incentive to develop the technology of making kiln-fired bricks to use as an alternative. To strengthen walls made from sun-dried bricks, fired bricks began to be used as an outer protective skin for more important buildings like temples, palaces, city walls and gates. Making fired bricks is an advanced pottery technique. Fired bricks are solid masses of clay heated in kilns to temperatures of between 950° and 1,150°C, and a well-made fired brick is an extremely durable object. Like sun-dried bricks they were made in wooden molds but for bricks with relief decorations special molds had to be made.
Medieval encaustic tiles were made of multiple colours of clay, shaped and baked together to form a patternt that, rather than sitting on the surface, ran right through the thickness of the marbletile, and thus would not wear away.
Medieval Europe made considerable use of painted tiles, sometimes producing very elaborate schemes, of which few have survived. Religious and secular stories were depicted. The imaginary cement tiles with Old testament scenes shown on the floor in Jan van Eyck’s 1434 Annunciation in Washington are an example. The 14th century “Tring tiles” in the British Museum show childhood scenes from the Life of Christ, possibly for a wall rather than a floor,[5] while their 13th century “Chertsey Tiles“, though from an abbey, show scenes of Richard the Lionheart battling with Saladin in very high-quality work.[6] Medieval letter walltiles were used to create Christian inscriptions on church floors.
Protect yourself and your surroundings. Wear wraparound safety goggles, work gloves, long sleeves, long work pants, and a dust mask. Lay a canvas drop cloth over the bathtub, shower floor, or any fixtures you want to protect from chipping. Cover any drains with painter’s tape. Consider tearing apart shower walls. Showertiles are usually installed over drywall and/or thin backerboard over drywall. Ripping the entire substrate away is much faster than removing the tiles piece by piece, but will break all your marble tiles. Chip away the rounded bullnose wood tiles from the edge and top of a shower with a hammer and chisel.
Cut through the drywall along the edge of the tiles design with a utility knife. Cut along the edge of the wall studs, if possible. A reciprocating saw is the best tool for this job. Place a pry bar against this line and lever away large sections of the wall. Work it left and right to loosen the nails holding the drywall in. Once the side walls are removed, remove the back wall of ceramic tiles by breaking small tiles in a vertical line with a hammer, then prying the exposed edge.
Chisel away polished tiles instead. This method is slower, but allows you to save some of the wall tiles for reuse. Scrape away some of the grout in a long line using a utility knife, grout saw, or rotary grinder. Place a chisel against the edge of a tile in this line, almost flat against a wall, and tap with a hammer. If all goes well, the tile will pop out. If it doesn’t budge or if a small piece chips off, remove grout from the sides and try again.
This becomes easier once the first tile is removed. An electric chisel can speed this job up. Remove adhesive. After chiseling away kitchen floor tiles, scrape away the adhesive with a putty knife or hand scraper. Try soaking the tiles in water first to soften the mortar.
https://baranaceramic.com/wp-content/uploads/2018/10/How-to-Remove-Bathroom-Wall-Tile-1.jpg600900administratorhttps://baranaceramic.com/wp-content/uploads/2025/09/logo.pngadministrator2018-10-01 03:30:532019-11-26 09:00:01How to Remove Bathroom Wall Tile?
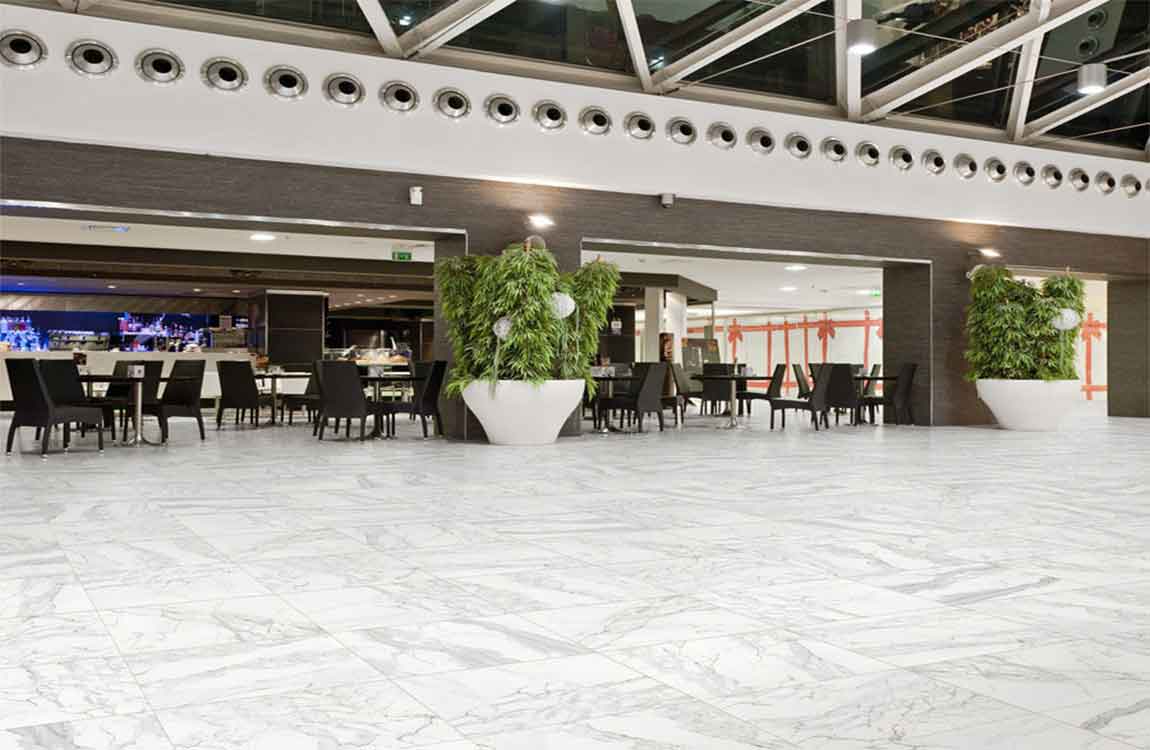
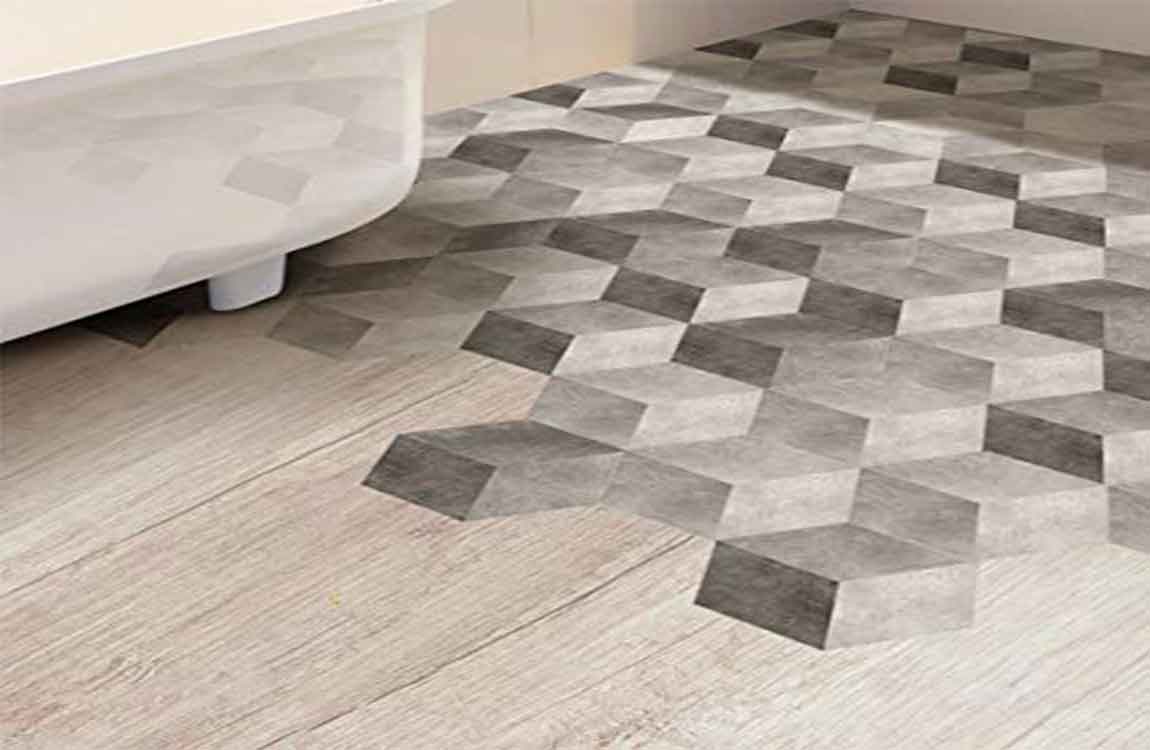
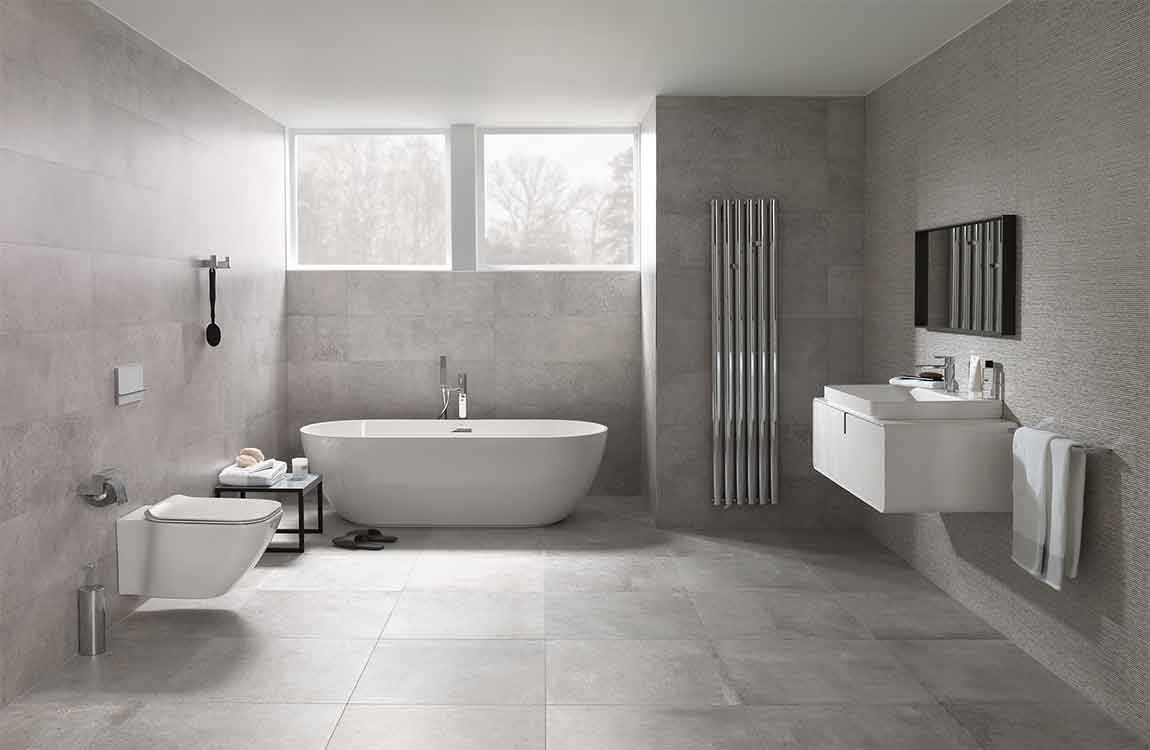
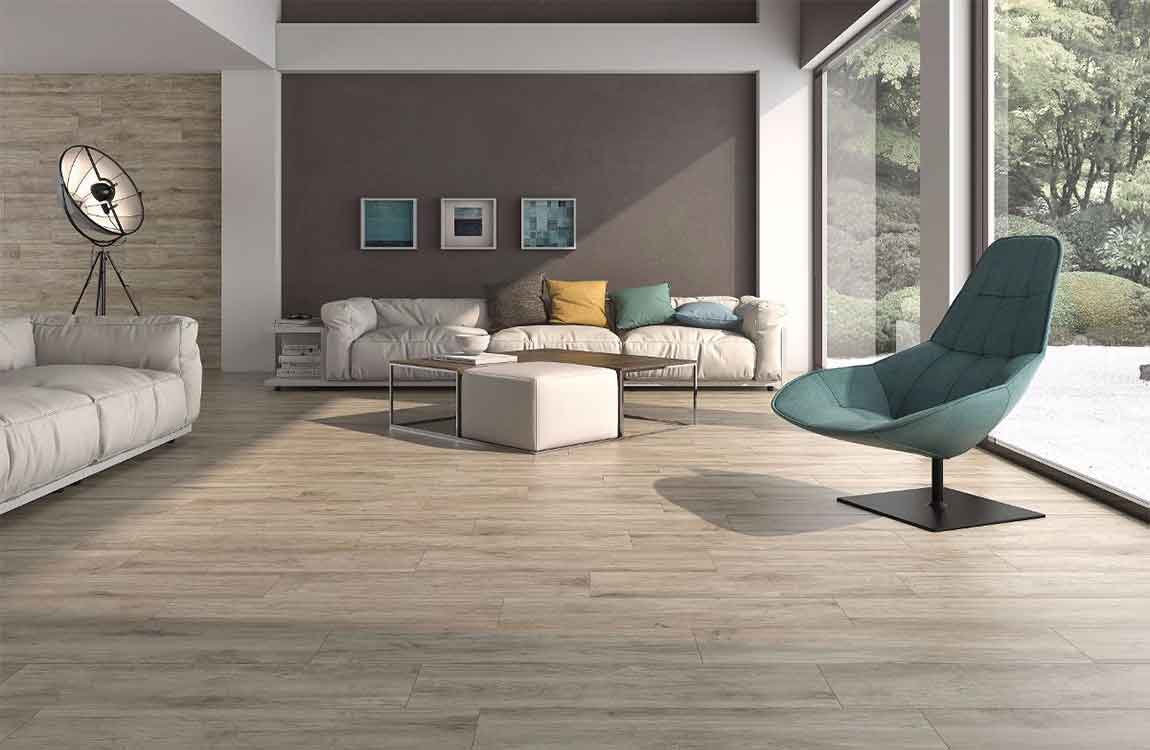
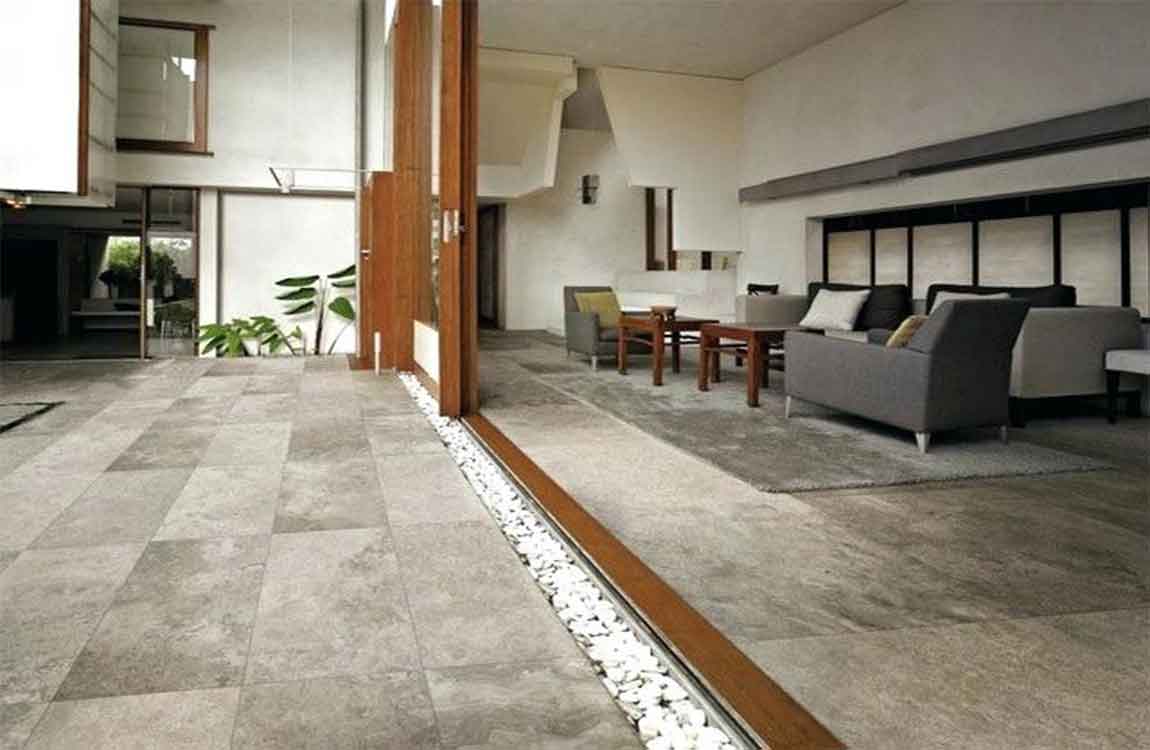
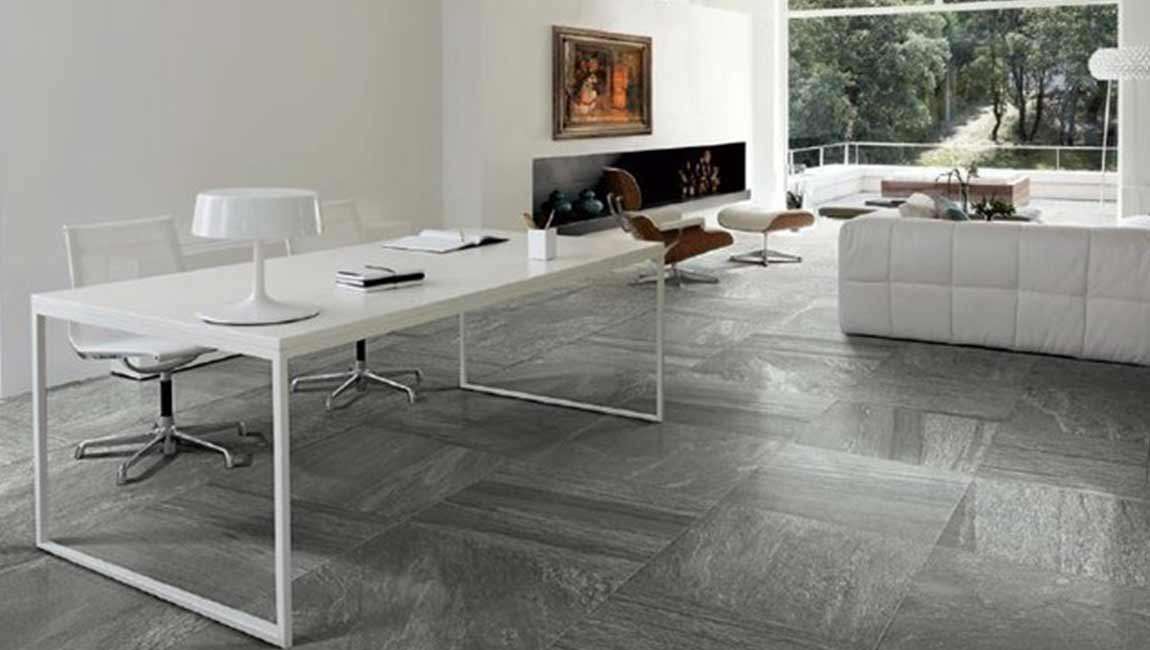
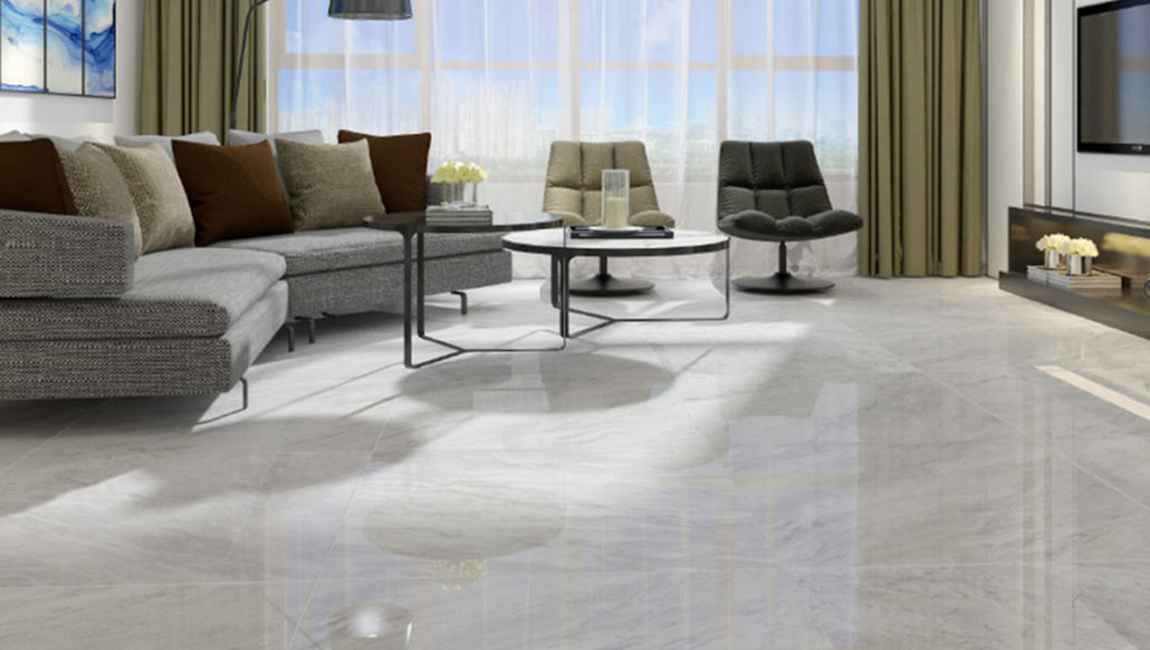
Now there are various types of floor tiles in the building materials market. Polished tiles, glazed tiles, vitrified tiles and microcrystalline stones tiles. These names often make us dizzy and don’t know where to choose. After investigation, it is found that there are many contradictions in the introduction of the characteristics of the same type of tiles even by the shopping guide in the big brand flagship store. I believe that many people also have the same problem.
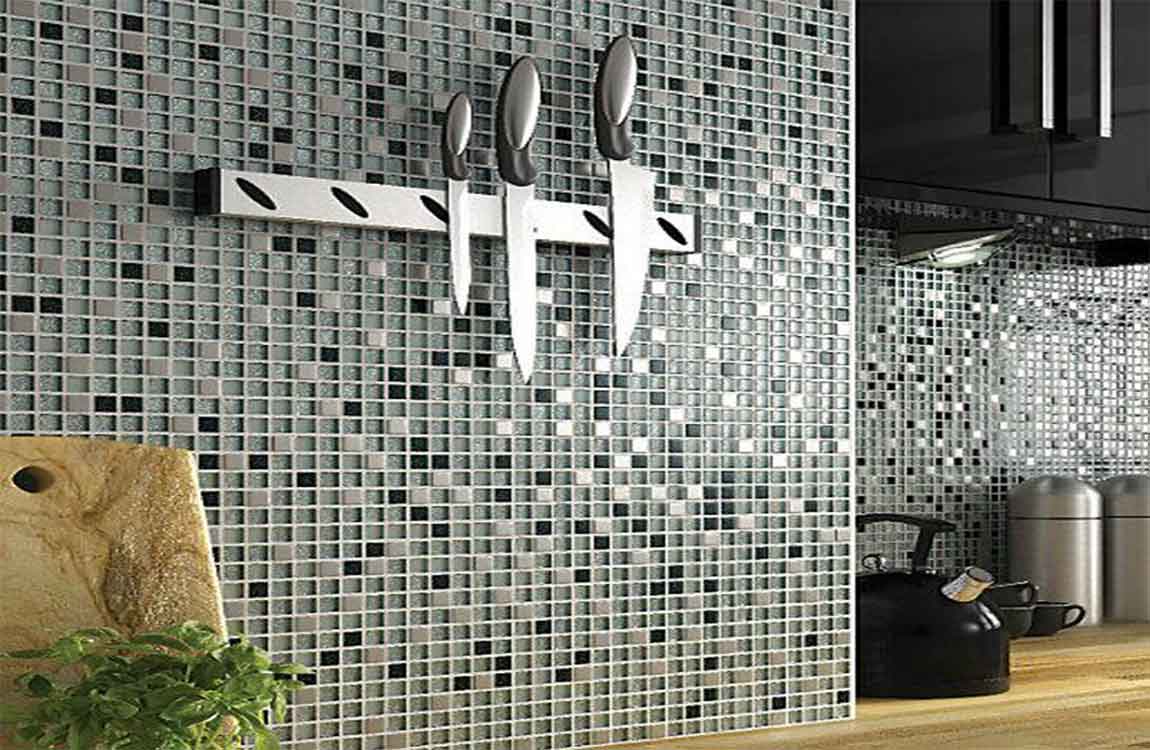
The advantages of polished porcelain tiles: the price is generally the bottom, and the surface is hard, wear-resistant and skid resistant. When the surface is stained with oil, it can be scrubbed directly with general detergent and metal wire for easy maintenance. Disadvantages: all tiles floor are easy to absorb dirt and scratches. After a long period of use, the surface will be black, yellowed and tarnished, and it will easily become old. It is suitable for balcony, terrace, and some open area.
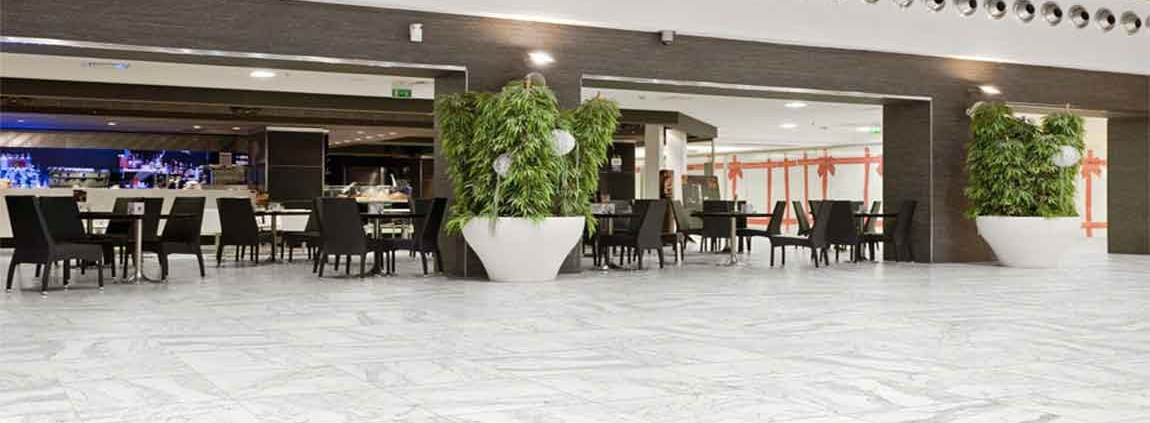
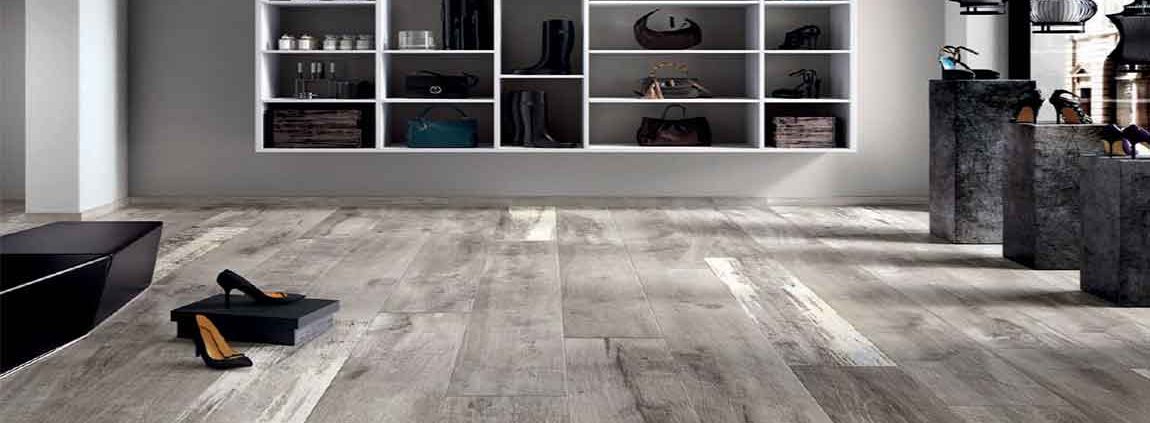
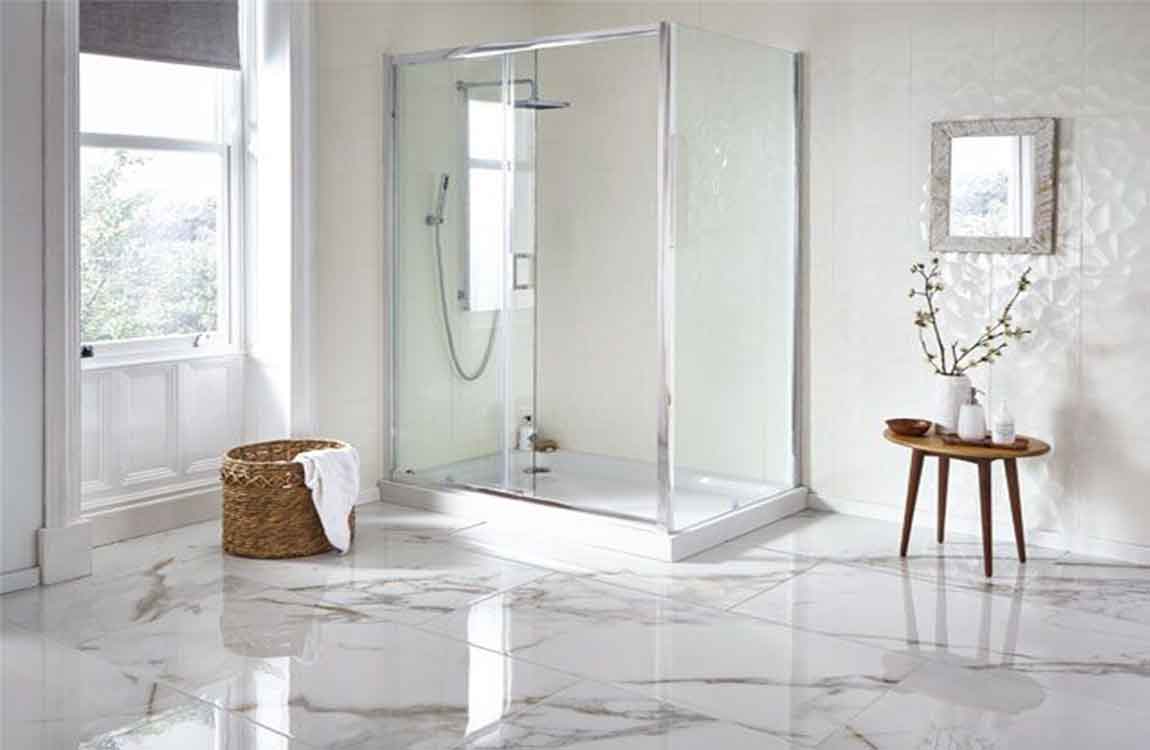
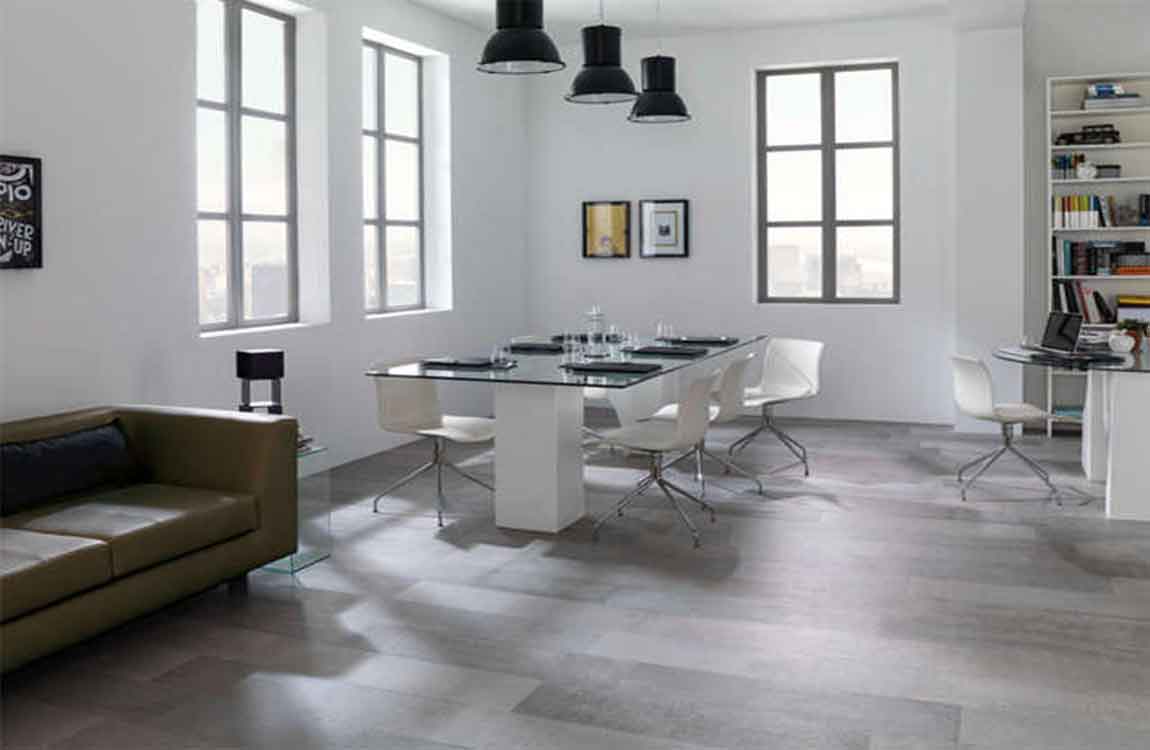
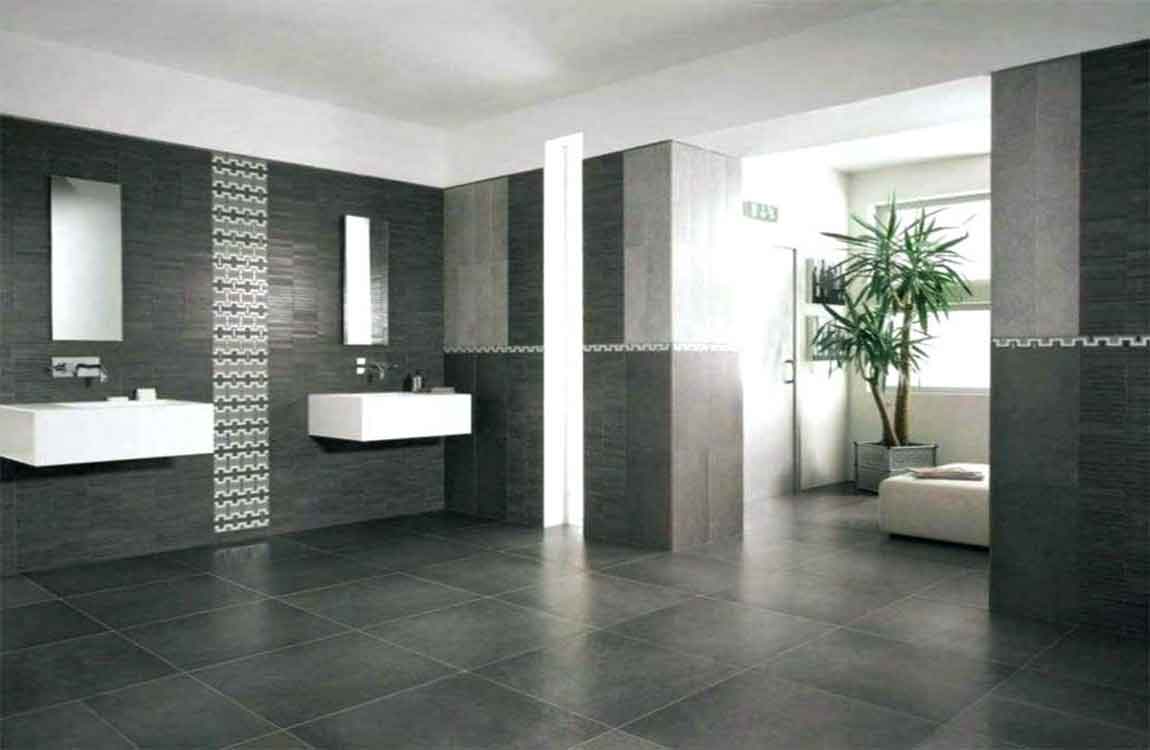
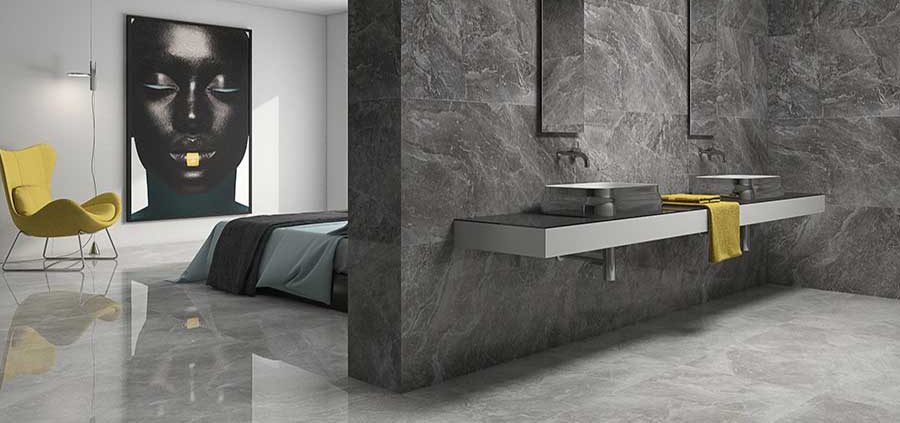
The ceramic tiles are the vitrified tiles that we often hear, it is a kind of marble tiles made of polishing surface of the tiles. It can be understood as the general floor tiles design of the high light plate. As the surface is polished, its skid resistance and wear resistance are slightly inferior to the full body tiles. However, there are also pores on the surface, which are easy to cause discoloration of flooring tiles price, and the color is relatively single, with few choices. Because of the same water absorption on the surface, polishing tiles are not suitable for use in kitchen and bathroom. It is suitable for the living room, the corridor and so on.
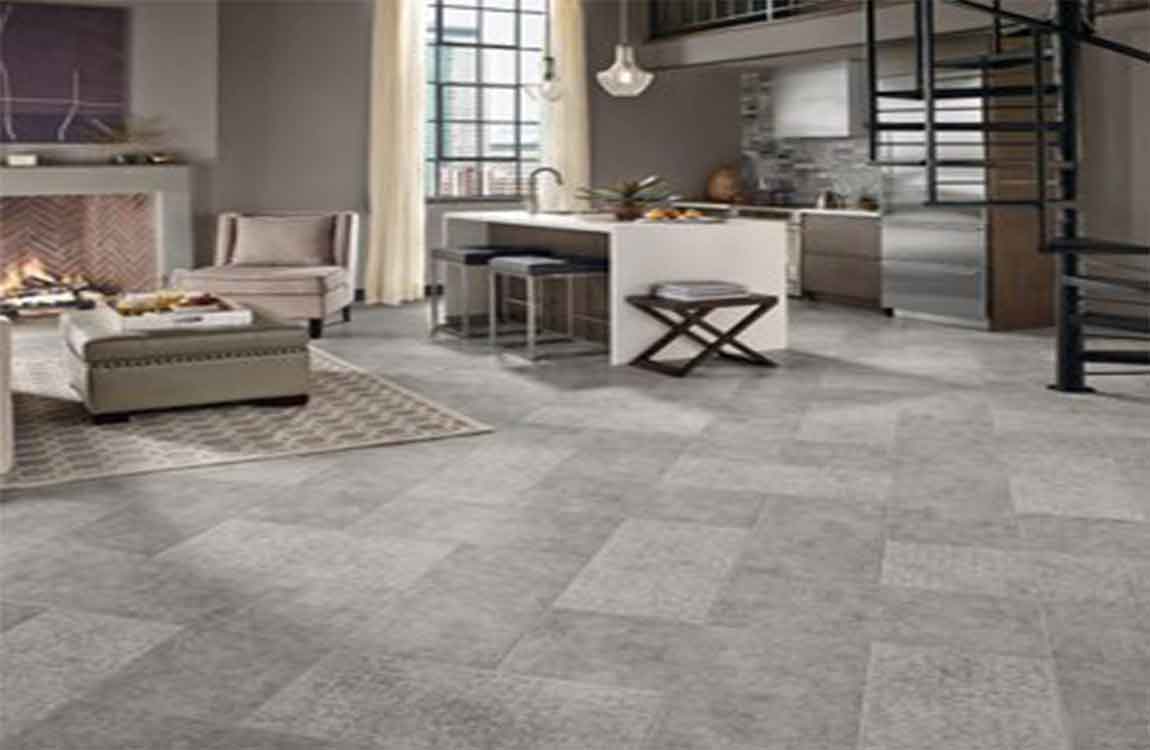
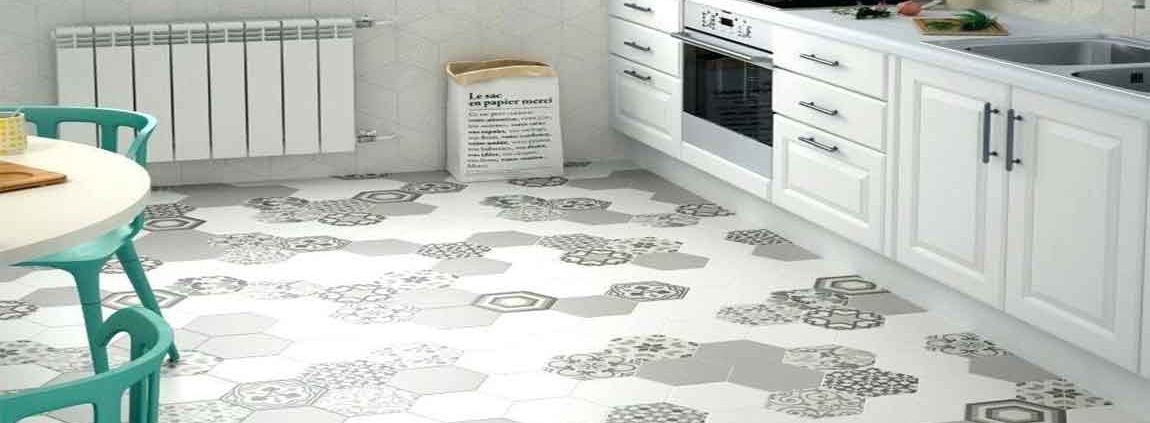
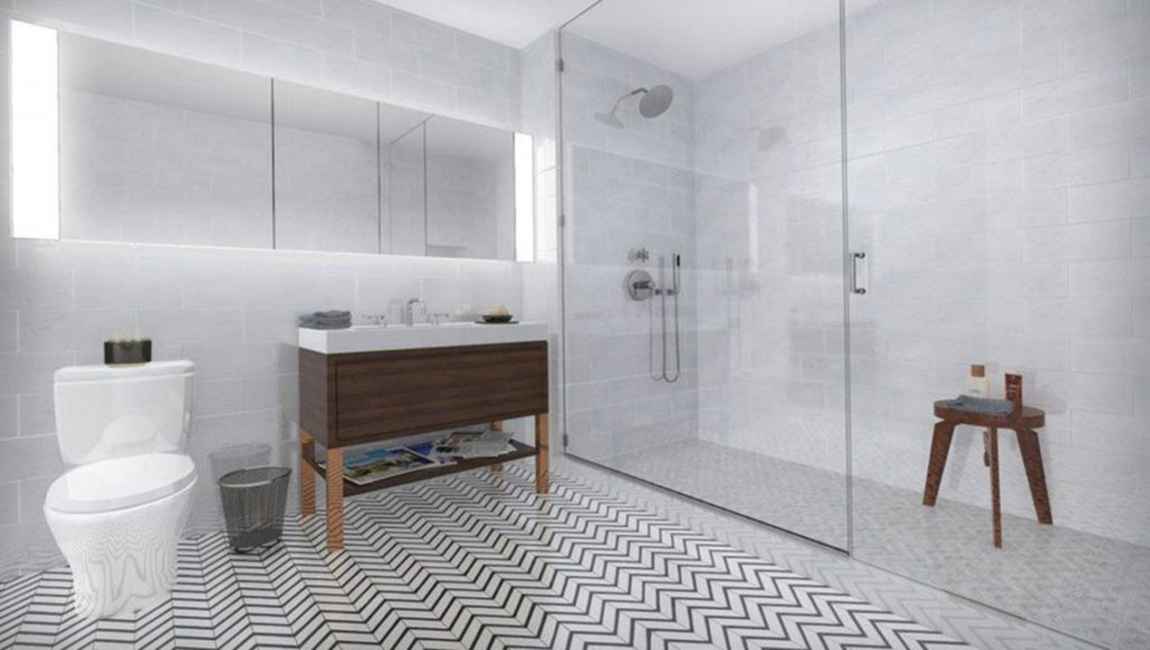
Glazed tiles are made of glaze on the surface of all body tiles. Glazes and colors can also be used to make rustic tiles. Compared with vitrified tiles, glazed tiles have the greatest advantage of good resistance to dirt. Because the glaze seals the pores on the surface of the embryo, it is very difficult for the stains to enter. The anti skid performance of the glazed tiles are also very good, and the surface can burn all kinds of pattern patterns, the optional color is a lot of samples. Because the surface is glaze, the wear resistance is slightly worse than the vitrified tiles, and the surface gloss is also inferior to the vitrified tiles. When the product of the embryo is too loose, it is easy to crack when it meets the heat expansion and contraction. The cement sewage below the cement tiles may return to the surface of the wood tiles. Therefore, the glazed tiles should try to buy the qualified product of the big brand as far as possible. When selecting tiles, we should pay attention to whether the surface is produced by pinholes, cracks, bends, water spots and so on. Suitable for living room floor, kitchen, bathroom wall.
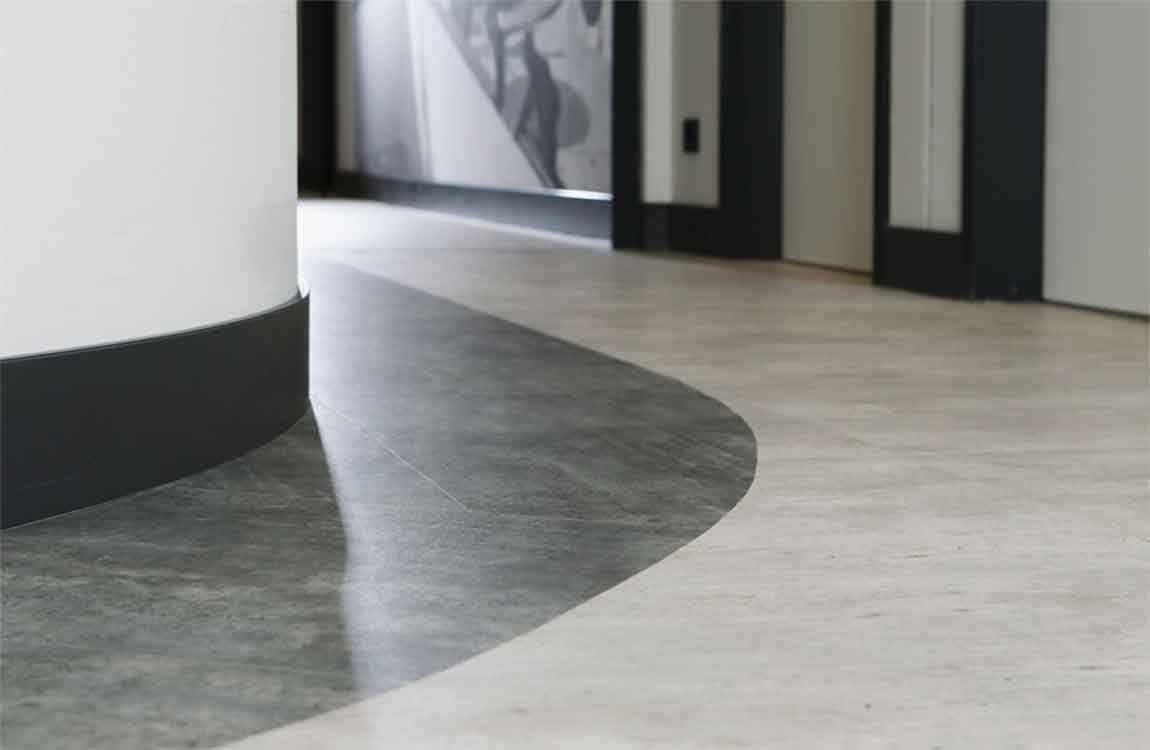
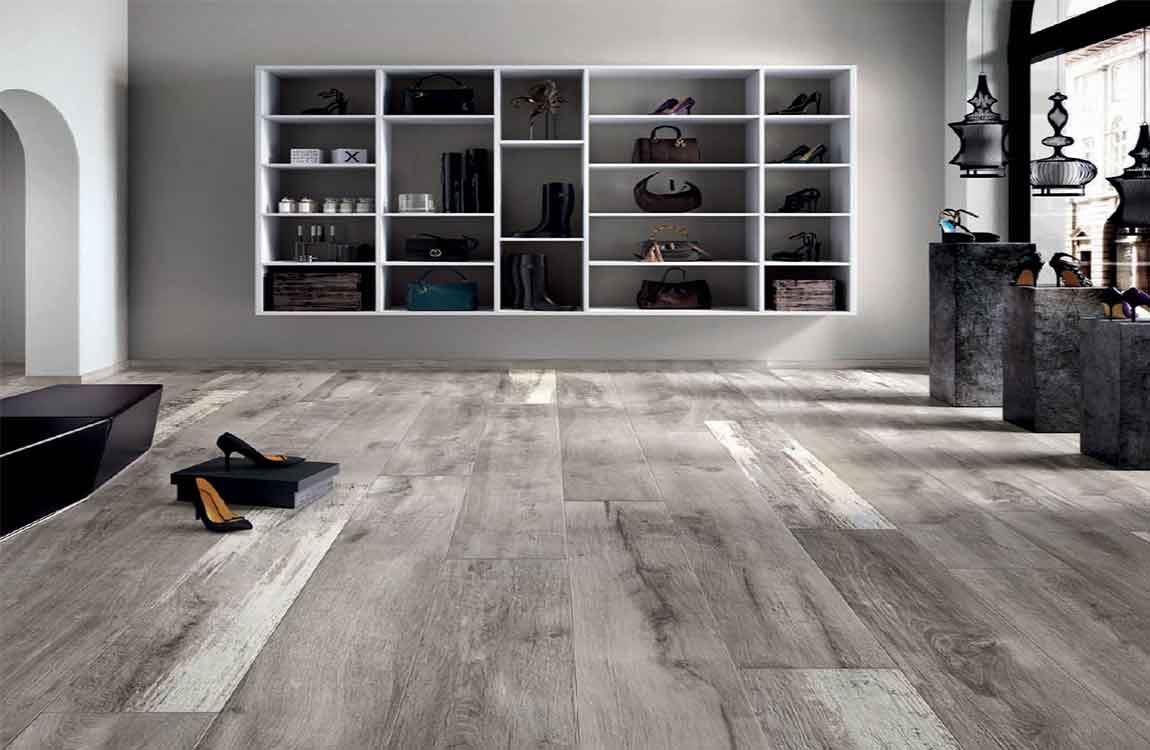
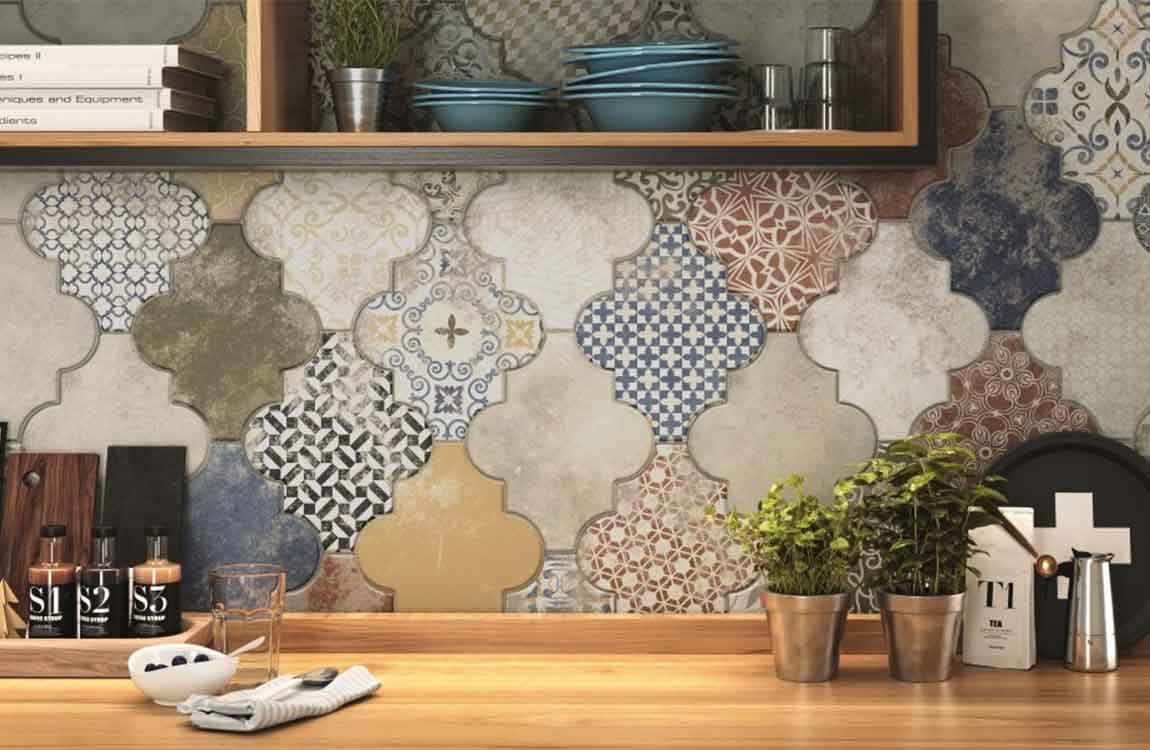
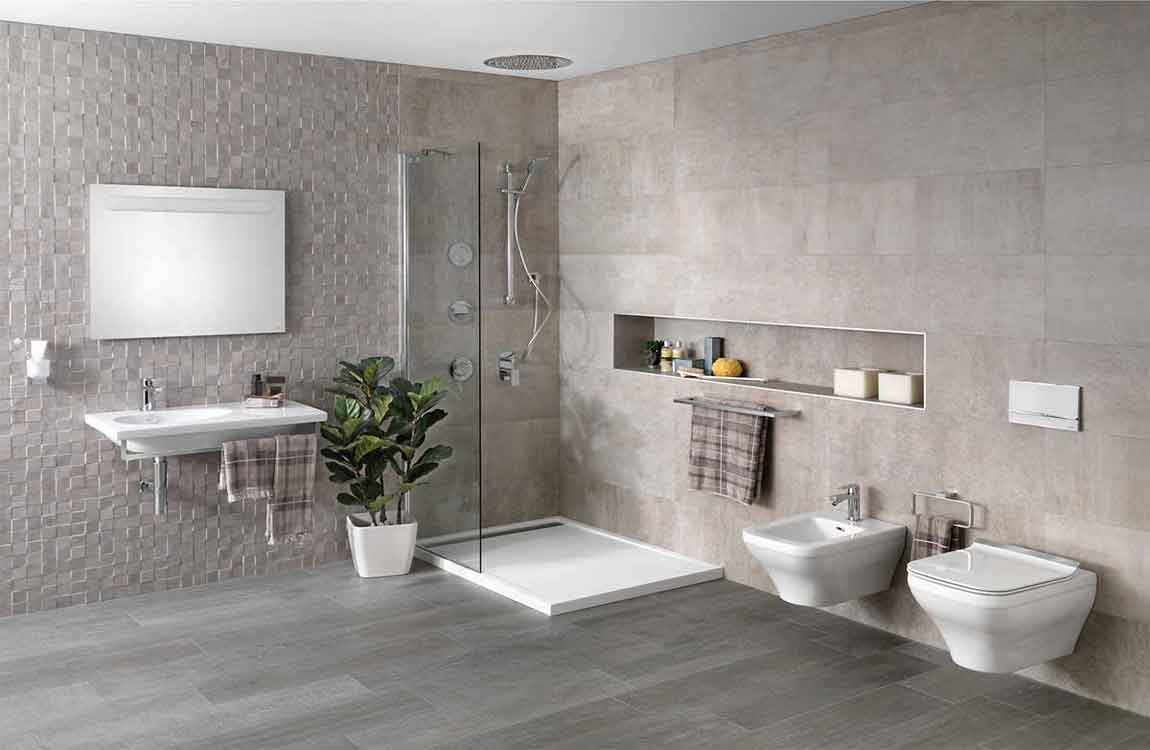
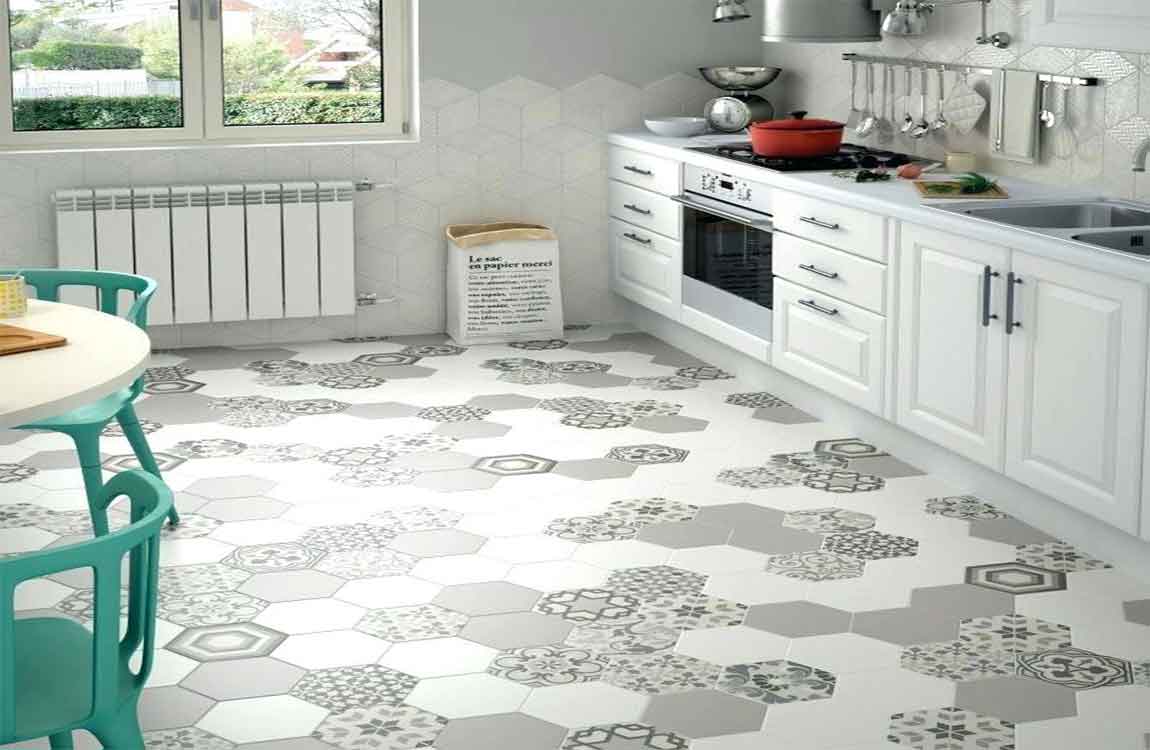
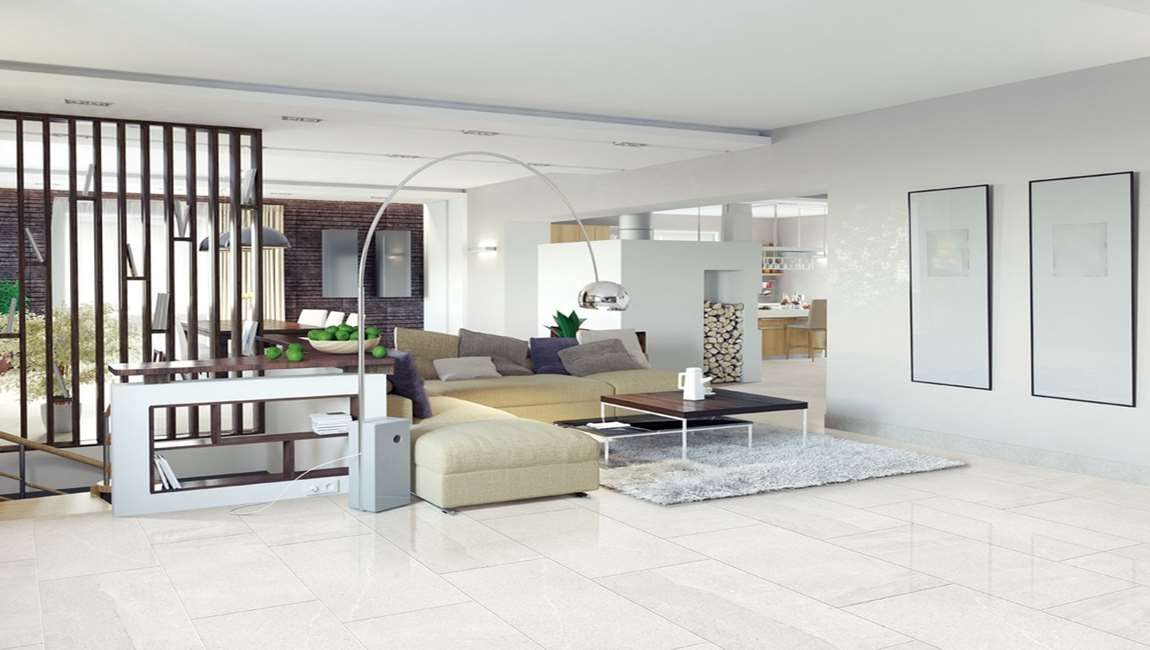
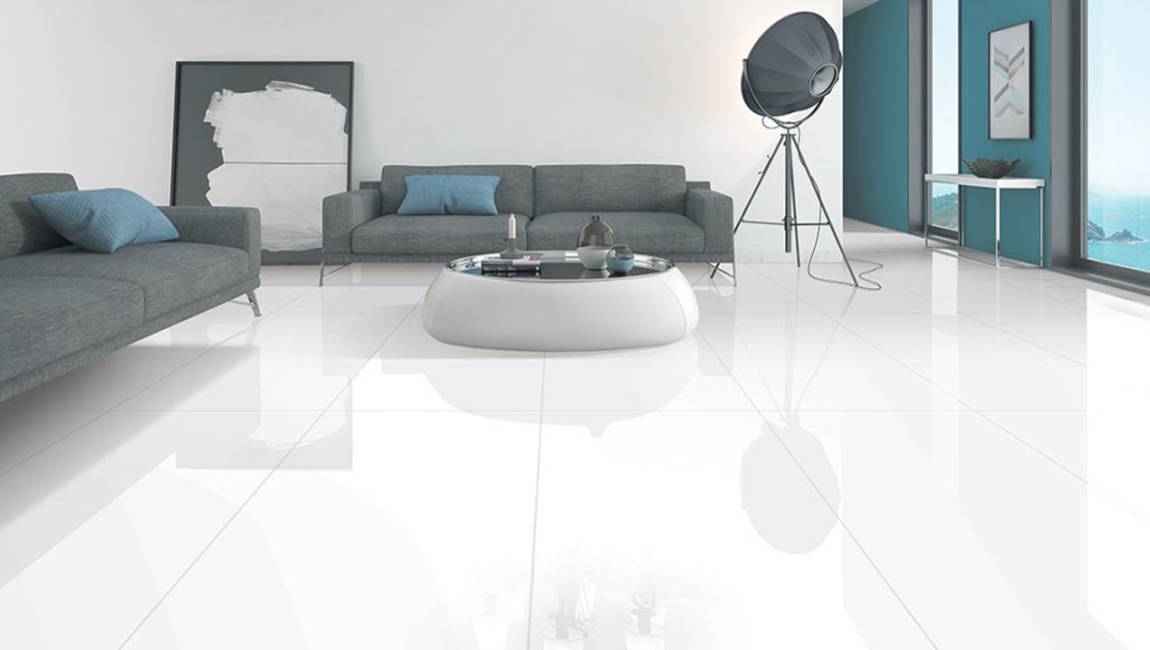
Glaze is a special kind of formula glaze that can be polished on the glaze tiles. It is applied to the last glaze of the glazed tiles, which combines the advantages of the polished and glazed tiles. The glaze is as smooth and clean as the polished tiles. At the same time, the glaze color, such as glazed tiles, is rich in pattern and can be highly selective. The disadvantage is that it is too smooth, and the security of residence has declined. Because of the complex production process, the price is generally higher than the abovetiles. Suitable for large spaces, such as living room, dining room, etc.
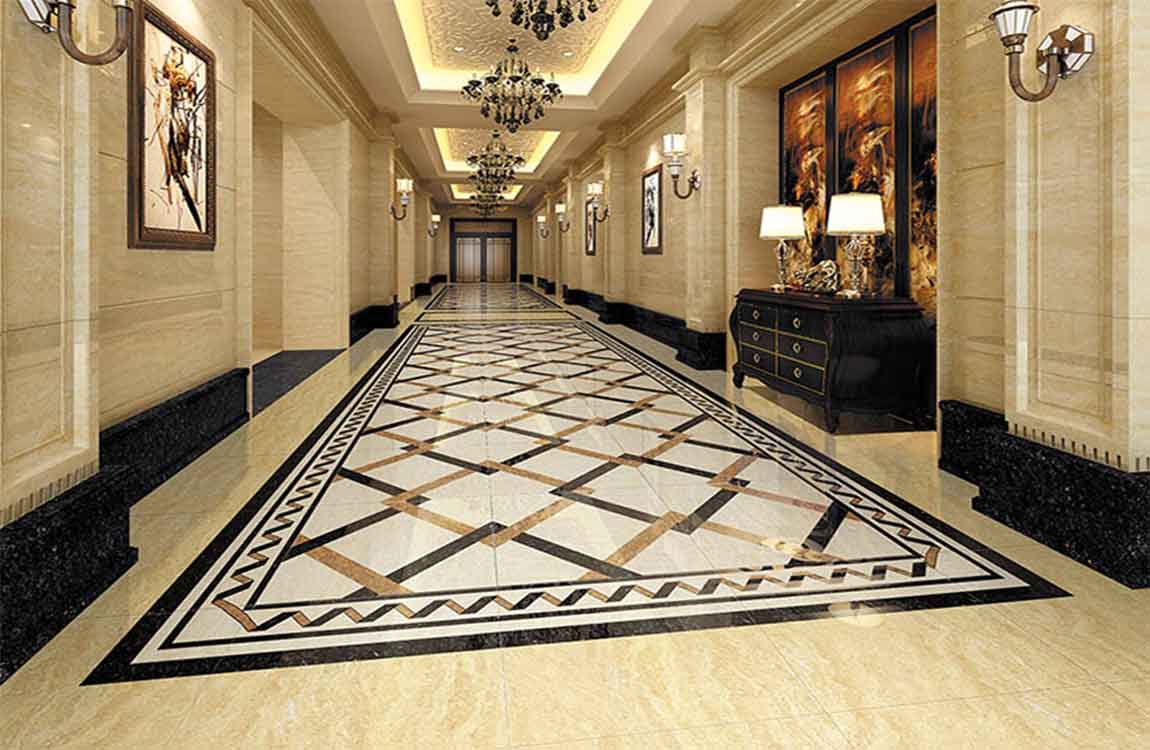
The medallion tiles are fired on the basis of glazed tiles. The glaze tiles are more colorful and can be layered. The stereoscopic feeling is very strong. Its properties are similar to those of glazed tiles, but the appearance is more gorgeous. The medallion tiles have higher cost in firing, glaze usage and operator configuration, so the price is more expensive. It is suitable for the whole living room (optional for the local tyrants), the decoration of the porch, the background wall of the TV, and the ornamentation of flowers in space.
https://baranaceramic.com/wp-content/uploads/2018/07/Floor-tiles-purchasing-skills-BARANA-teach-you-how-to-choose-tiles-classification-1.jpg600900administratorhttps://baranaceramic.com/wp-content/uploads/2025/09/logo.pngadministrator2018-07-03 06:04:262019-11-27 09:49:41Floor tiles purchasing skills: BARANA teach you how to choose tiles classification