Posts

How Removing Stains?


Test cleaners in an inconspicuous area first. No matter what cleaner you’re using, it’s always a good idea to test it first, particularly with stronger cleaners. Put a little cleaner on the stone in a spot that’s out of the way. Leave it on for 5-10 minutes to see if it affects the Bluestone tiles.


If the cleaner causes a change in the stone color (after it dries), you shouldn’t use it on the stone. Be aware, though, that just lifting the grime off the stone can affect the color, so make sure it’s the actual stone that’s changing color. Apply an oxidizing cleaner to mold and mildew. Put on gloves and eye protection. Mix the cleaner into a bucket of water according to the package’s instructions.


Use a scrubbing brush to apply the cleaner to the surface, moving it back and forth to thoroughly cleanse the area. You can apply a lot of pressure to Bluestone tiles, so don’t worry about harming it. Leave the cleaner on for at least 12-15 minutes. When you’re done, make sure to rinse the area thoroughly.


Oxidizers work by adding oxygen to the area, removing stains and grime. Bleach is an oxidizer, but many other cleaners are oxidizers, too, which is actually an oxygen bleach cleaner. Don’t use this cleaner in direct sunlight, as it may evaporate before it can work. Pick a cleaner like Stain Solver for this purpose.


Try ammonia, bleach, or hydrogen peroxide for algae or mildew. Mix 0.5 cups (120 mL) of your chosen cleaner into 1 gallon (3.8 L) of warm water. Apply the cleaner with a scrubbing brush to the soiled area and let it sit for 5-10 minutes. Thoroughly rinse the area when you’re done. Never mix ammonia and bleach, as the solution creates toxic gases!

Deciding on the Select Wood Flooring


Consider staining the wood if you want it to be more eye-catching. This is a great choice if you’re not going for a natural look or you’re not content with the color of your preferred wood species. Wood stain comes in a wide range of shades. Depending on what shade you use, you can either pronounce the original wood color or create a completely new look.


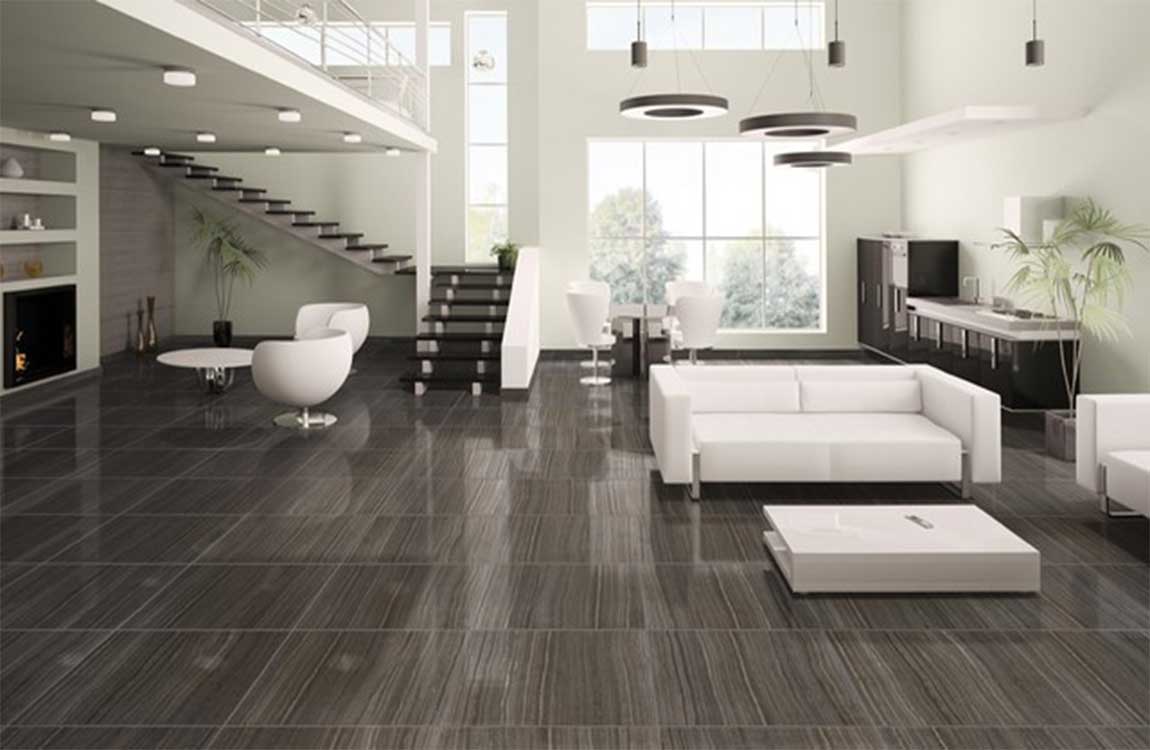
In modern interiors, dark charcoal and similar shades are used to make wood floorings look striking. Choose oil-based finish if you want to cut down on expenses. This type of finish is among the most commonly used. Apart from being affordable, oil-based finish is quite durable as well. It gives an amber glow, no matter the color of the wood itself.


Opt for moisture-cured finish if you want a high level of moisture resistance. Apart from being more resistant to moisture than any other type, this finish is highly durable in general. It comes in a variety of shades, so you can easily adjust it to the wood species of your choice. The shades range from completely clear to amber.


Go with natural oil finish if you want an extra durable top coat. Unlike most other types of finishes, which stay on the surface, natural oil finish penetrates into the wood. By doing that, it creates a protective interior layer. That’s also why it’s among the most durable finishes out there. In general, oil finishes are easily scratched. However, those scratches are a lot less noticeable than the scratches you make on other types of finishes.


Choose sheen level. Unlike the type of finish, sheen only affects the appearance of wood. You can choose from matte, satin, semi-gloss, and gloss finishes. While matte reflects the least light, gloss is the shiniest.

How Buffing Your Floor by Hand?

Start in the far corner of the room. Then, work your way backward toward the entrance to the room. Don’t pass back over areas you’ve already buffed, as they need time to dry. Work in 3 ft (0.91 m) by 3 ft (0.91 m) sections until you finish buffing. Focusing on small sections will help you achieve better results. Plus, it will keep you from getting overwhelmed during the process.


If you don’t like the results of your first few sections, you might decide to stop hand buffing the floor and switch to a machine. Some floors won’t show much improvement from hand buffing. Depending on the size of your room, it can take a while to finish buffing. It’s a good idea to take regular breaks, if necessary.


Spray a buffing solution onto your floor for extra shine. When you’re buffing by hand, spray the solution onto just the area where you’re working so the solution won’t be dry by the time you get across the room. It’s best to use a bottle with a spray nozzle to evenly distribute the solution.


If your solution doesn’t have a spray nozzle, use a clean cloth to wipe it onto the floor. Make sure you choose a buffing solution that’s formulated for your type of flooring material. If you prefer a natural option, create a white vinegar solution by adding 1 cup (240 mL) of white vinegar to 1 gallon (3.8 L) of water. Put the solution into a spray bottle, then spritz it onto your floor.


Use a microfiber cloth to buff the floor using tight, circular motions. Move your cloth slowly from side to side as you work each section. When you complete each pass, start the next one with some overlap with the previous pass. As you buff, apply as much pressure to the cloth as you can.

How Eliminate mortar voids?

A typical ceramic tile installation involves spreading a thin-set mortar on the surface with a notched trowel, then pressing the ceramic tile into the mortar to collapse the ridges and improve contact between the tile and mortar. Unfortunately, this practice can leave many voids in the mortar behind the tile.


While this would not be a concern with opaque ceramic tile, the randomly distributed air pockets or voids may be visible through clear or translucent glass. The mortar should still be spread with a notched trowel onto the substrate, but it should also be spread (back-buttered) in an even, thin film onto the back of the glass tile.


Now, when the two mortared surfaces are pressed together, the back of the tile is already covered, so any remaining voids from the mortar ridges are hidden and do not show through the glass tile. Keep in mind that standard thin-set mortars can shrink and pull away from the tile, causing voids and air bubbles during the curing process, so make sure that the mortar resists shrinkage too.


Tape the sheets to the tiles, then trace and scribe the cut lines. When all the paper templates are just right, tape each one to a tile and use a pencil to transfer the cut pattern. After that, remove the paper and use a tile scribe to score 0.125 in (0.32 cm) deep lines into the tiles, tracing right over top of the pencil lines.


Tile scribes can look like thick pencils or come in other shapes. Look for them at hardware stores or online. Remove the unneeded tile with tile nippers. Slowly and carefully squeeze the handles to snip away small “bites” of tile from the sections that need to be removed. Turn your small “bites” into tiny “nibbles” as you get to the score lines. If you try to snip off too much, you risk breaking the tile and having to start over.

How Cutting a Single Tile before Toilet Installation?

Use an angle grinder to score the circular shape into the tile. Attach a 4 in (10 cm) diamond wheel blade to the grinder, and position it so the circular blade is at roughly a 45-degree angle to the tile. Slowly work your way around the circle traced into the tile, using very light pressure. You only need to score the tile about 0.125 in (0.32 cm) deep on this initial pass


Use caution at all times. Tie back long hair and remove any dangling jewelry, and wear long sleeves and safety glasses. The grinder will kick up a lot of dust, so wear a dust mask and consider buying a vacuum attachment that you can connect to your grinder. Angle grinders are an affordable and useful small power tool you can find at any hardware store.


Diamond blades are more expensive than other blades you can get for the grinder, but they cut through tile much better. Cut sacrificial break notches if the circle is near the tile’s edge. If there is less than about 1.5 in (3.8 cm) of space between your traced circle and an edge of the tile, there’s a good chance the tile will break while cutting it.


If this is the case, use a grinder to cut two or more deep lines from the circumference to the nearest edge of the tile (about half of the tile). Our goal is to have tiles stick to these selected, controlled points, not random ones. Once you put the tiles in place, the straight, short, controllable cracks on the tiles will be almost invisible, especially because the toilet will be placed on them.


Continue grinding around the circle with gentle pressure. Once you’ve finished scoring the tile surface and creating any sacrificial break notches, keep making slow, steady passes with the grinder at a 45-degree angle. If the tile breaks at the sacrificial points, remove that section and keep cutting. Eventually, you’ll grind your way through the tile and have the circular cutout that you need.

How to Plan Tile Layout?

If you’re thinking about installing a tile floor in your home, it’s important to take the time to figure out the best way to arrange the individual tiles. In most rooms, square and rectangular tiles will fit together in a simple grid pattern. First, establish a series of layout lines to serve as a placement guide by finding the midpoint of each wall and drawing a line across to the opposing wall.

From there, you can begin dry-fitting the tiles around the room’s center point, working your way outward in manageable sections to avoid uneven spacing. Mark the midpoint of each wall. Divide the total length of the walls in half, then draw a small notch or dot on the floor at this spot using a carpenter’s pencil.

Aligning the midpoints of each wall will help you find the room’s center. For a wall that’s 16 feet (4.9 m) long, for instance, you would make your mark at 8 feet (2.4 m). If the room you’re measuring is perfectly square, you can go ahead and draw a line straight across to the opposite wall save time.

Draw a line connecting the midpoints of both walls. To ensure that the line is straight, run the tip of your pencil along the edge of a yardstick or straight edge, using a framing square to ensure a precise 90-degree angle. Slide your yardstick down and double-check its orientation every few feet to keep the line from becoming crooked.

You can also use a chalk line tool for greater efficiency and exactness. Simply extend the retractable wire between the 2 walls, then pull up and release the wire quickly to leave behind a perfectly straight line of chalk. Repeat the process on the room’s shorter walls. Measure the length of the remaining pair of walls, then mark the midpoint of each. Draw a line connecting the opposing midpoints through the center of the room.

Grout the Tile


Mix up a batch of grout and let it rest for 5 to 7 minutes. Lightly wet the area you’ll be grouting with a damp sponge and dump a bit of grout onto the area. Use a rubber float to smooth it into the joints, attacking each joint at a diagonal angle.


After 30-40 minutes (check the directions on the bag of grout) you want to wipe the excess grout with a damp sponge and a circular motion. Keep wiping with a clean sponge until the tile is clear. The tiles may look a bit hazy even after wiping, so you may have to buff them with a clean sponge to get rid of this haze.


Let the grout cure for approximately 3 days before sealing. Then, seal the grout. Run a thin bead of liquid grout or aerosol grout sealer onto the grout line and wipe away. Let dry and then test its water resistance by dropping water onto the sealed grout. Correctly sealed grout will cause the water to bead up on top of it.


Caulk any needed areas. Make sure to use a grout caulk to match the colors. As you caulk, remember to pull the caulk gun relatively quickly across the joint. Most amateurs caulk too slow and end up dropping too much caulk down on the joint. Other things to remember:Keep the tip angled as you run the bead along the joint.


Match the speed with which you pull the caulk gun trigger with the rate at which you pull the gun along the joint. You don’t want to be pulling the gun fast but triggering slowly, or vice versa. After applying the bead of caulk, “bed” it by running a damp finger across the bead with light pressure. Make sure that your grout chalk matches the grout. Let the caulk dry and redo it if you are not happy with the results.

Commercial Polishing of Tiles


For really stubborn grout, you can use a toothbrush to scrub it. For stains or darkened grout, sprinkle baking soda over the grout, then spray white vinegar over it. Let the baking soda and vinegar sit for 5 minutes, then scrub the grout with your toothbrush.


Mop the floor with warm water and 1 to 2 drops of dish soap. A little bit of dishwashing soap goes a long way. One to two drops is plenty for 1 gallon (3.8 L) of warm water. Dip your mop into the bucket and slosh it around a bit to get the water nice and sudsy. Then wring the mop into the bucket to remove any excess water.


Start at one part of the room and work your way across the entire floor, mopping in big sweeping motions. It’s best to use as little soap as possible when cleaning your tile because excess soap can leave a residue on the tile. Make sure the bucket is large enough to hold 1 gallon (3.8 L) of water without sloshing over the sides.


The bucket itself should be clean to start with as well. You don’t want to start by adding more dirt to your soapy water! When you are finished mopping, clean your mop by rinsing with clean water so that it doesn’t harden and build up dirt. Allow the tile floor to fully dry. When you have finished mopping the floor, empty the bucket and rinse out any residue to give your floor some time to dry.
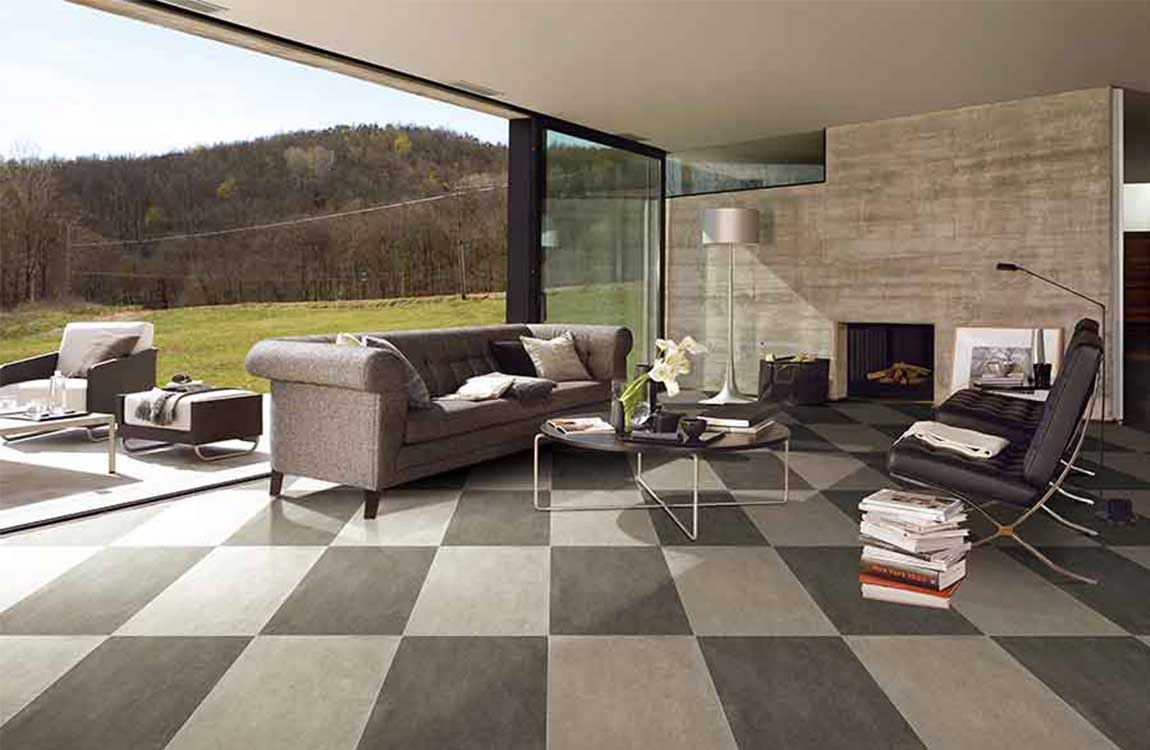

It’s very important to let your tile dry completely before you do anything else to it. Wet tile will make it difficult to add any cleaning solutions or to buff the tile. Wait at least 1 hour to let your floor dry. You can use a fan in the room to help your floor dry quicker.

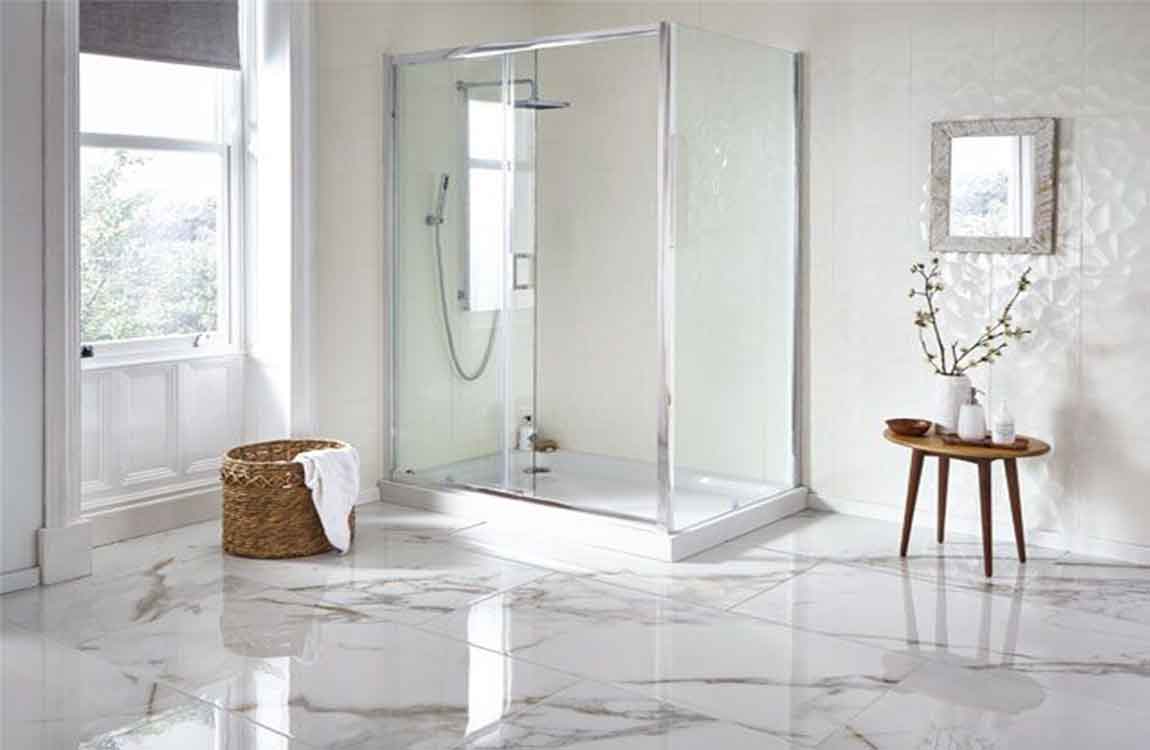
How to Tile a Shower?

A tiled shower adds beauty and durability and value to your home, and you can tile your shower all by yourself. There are several things you need to do to properly prepare a leak-proof shower. If you are tiling a shower for the first time, consult with a general contractor before starting the job.


Use a hole saw with a carbide bit to cut the holes where the shower head and handles would come through. Make the cement board flush with the tile lip of your shower pan by using shims behind the board to bring it out to the desired thickness. Make sure to use composite shims. Use 100% silicone caulk to seal the seams between the panels and then apply the silicone behind the board on the stud. Add some seam tape between the panels as well.


Lay the drywall. If using crown molding near the ceiling, lay down 12 to 18 inches (30.5 to 45.7 cm) of drywall instead of cement board. Nails used to fix the crown molding in place will not travel through the cement backer; you’ll need to use moisture-resistant drywall such as greenboard in order to take the nails and affix the molding.


Feather any edges with seam tape and thin set mortar where the backer board meets the wallboard. If there’s a gap between the backer board and the wallboard, you’ll want to use seam tape and then feather the gap with thin set mortar so that it appears as one continuous back. Remember that the seams must remain tight with gaps 3/16″ or smaller.


Paint a water resistant primer over any areas you intend to tile. After you’ve feathered the edges to remove the gap, apply a high quality water resistant exterior primer over the feathered wallboard and backer.

How to Clean Porcelain Tiles?

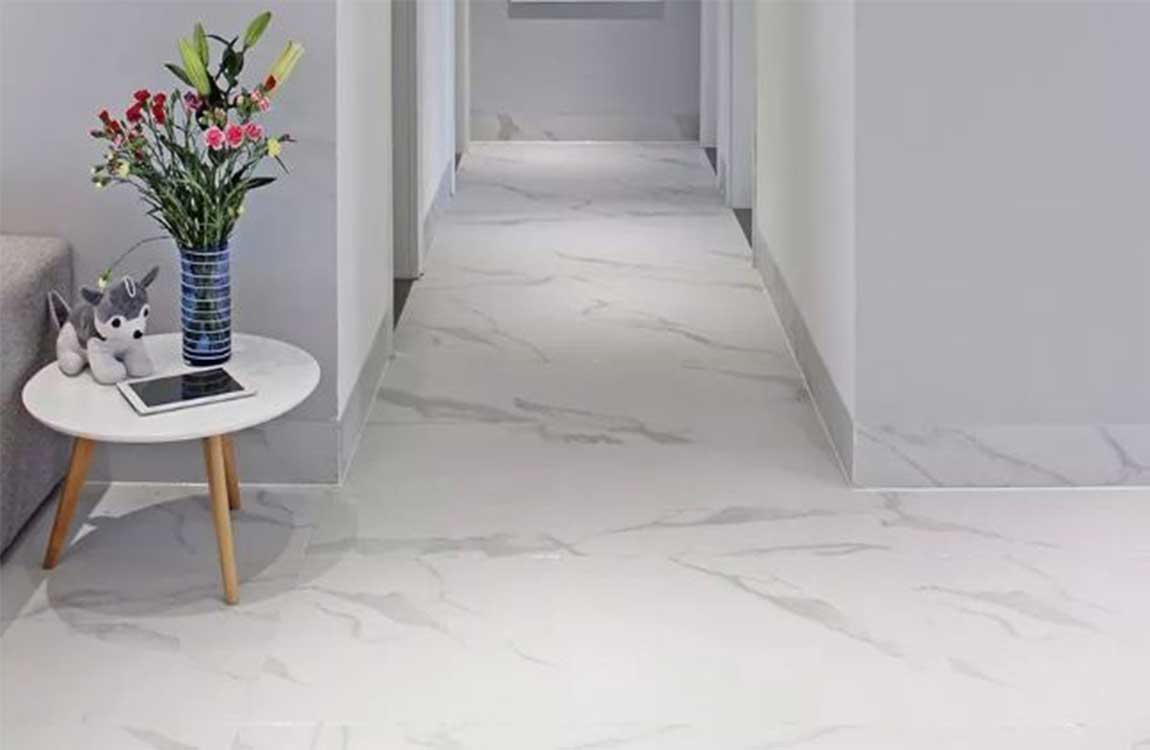
Keep porcelain tiles spotless isn’t difficult, but it can get tricky when the wood tile is stained or hasn’t been protected or sealed property. Thankfully, there are several cleaning options at your disposal to clean the porcelain tiles.

You may have polished or glazed porcelain tiles, unpolished or unglazed porcelain tiles, or textured porcelain tiles. You will need to use different approaches depending on the type of wood tile you are cleaning. With some patience and discipline, you can make sure your wood tiles are clean and stain-free.

Mop the floor. Finish your cleaning by mopping the tiles with a floor cleaner. You should use a mild cleaning solution that is safe for use on glazed or polished porcelain tiles. Make sure you mop the floor one more time with hot water before the cleaner dries on the tiles. This will ensure the cleaner does not stain or damage the tiles.

Dry and buff the floor. Use a microfiber cloth or a clean towel to dry the floor completely. Make sure there are no water spots or puddles of water remaining on the tiles. You can also open a window or set up a fan to dry the floor. Place fans in the room and open any windows to ensure an adequate airflow throughout the room.

Once the floor is dry, you can buff it to a shine with a piece of cheesecloth. Rub the cheesecloth over the tiles in circular motions to buff them. Get in the habit of using coasters on any porcelain tile counters to protect the surface from water rings due to glasses sweating water.