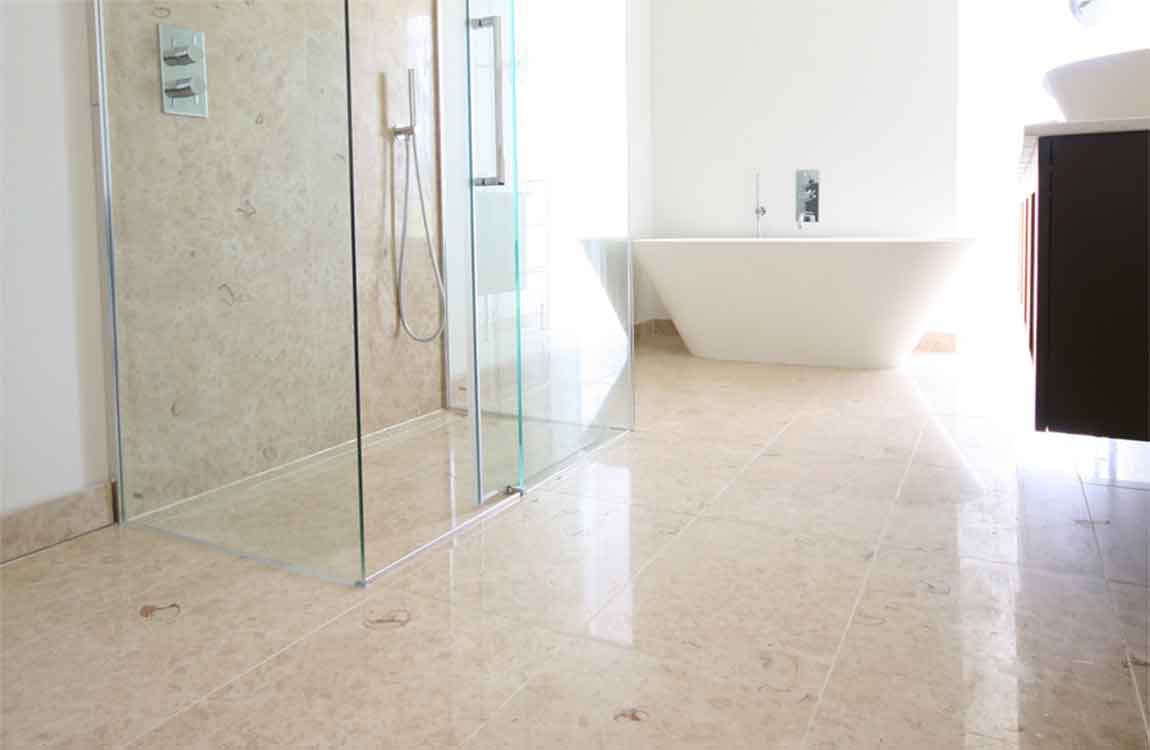
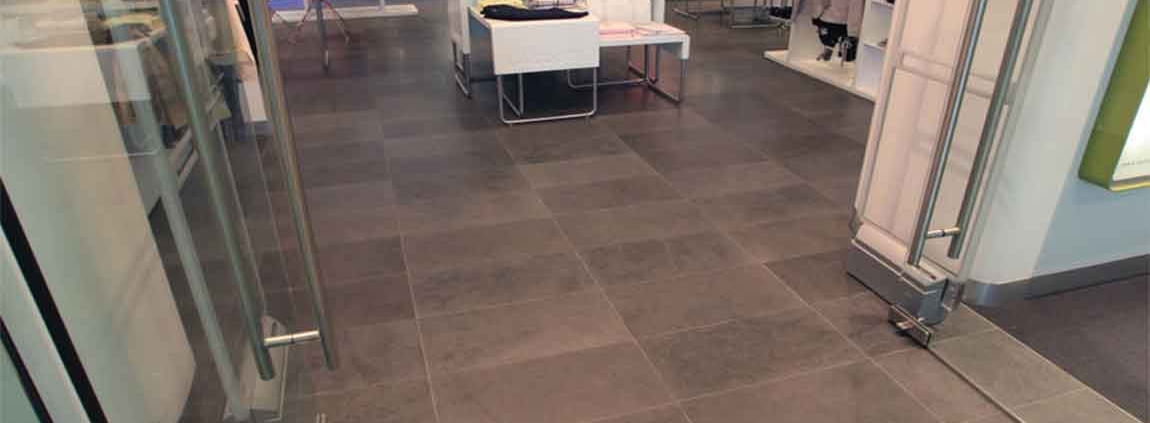
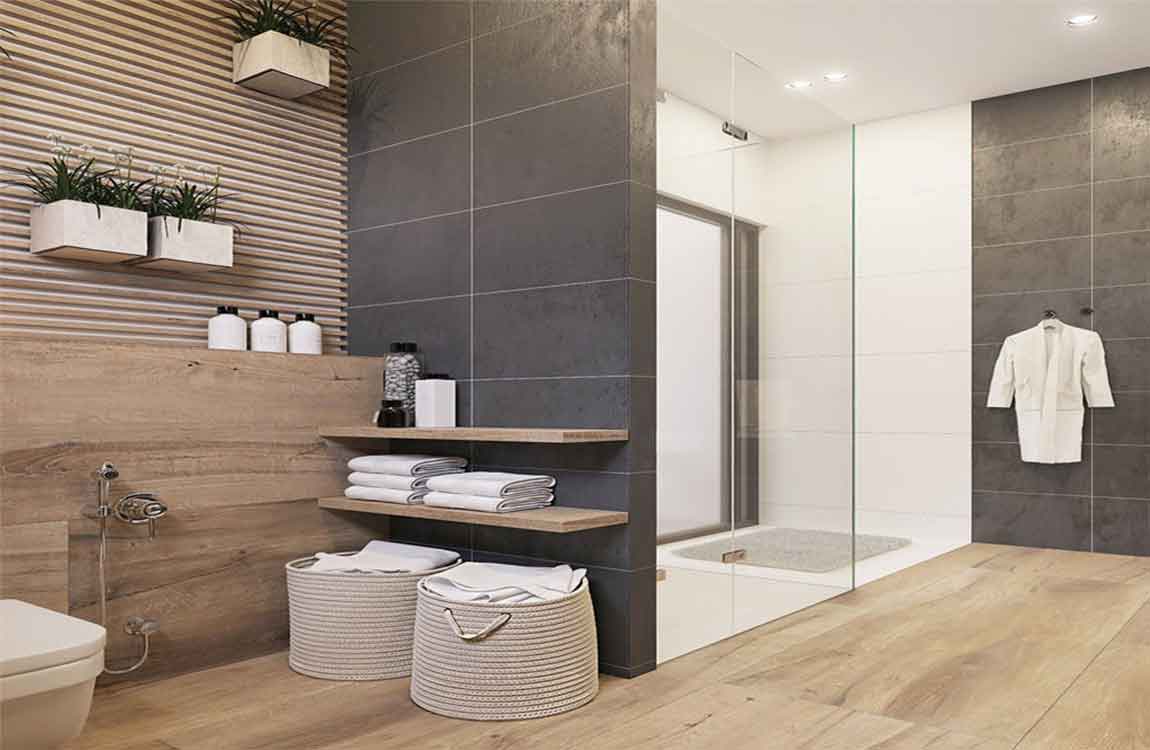
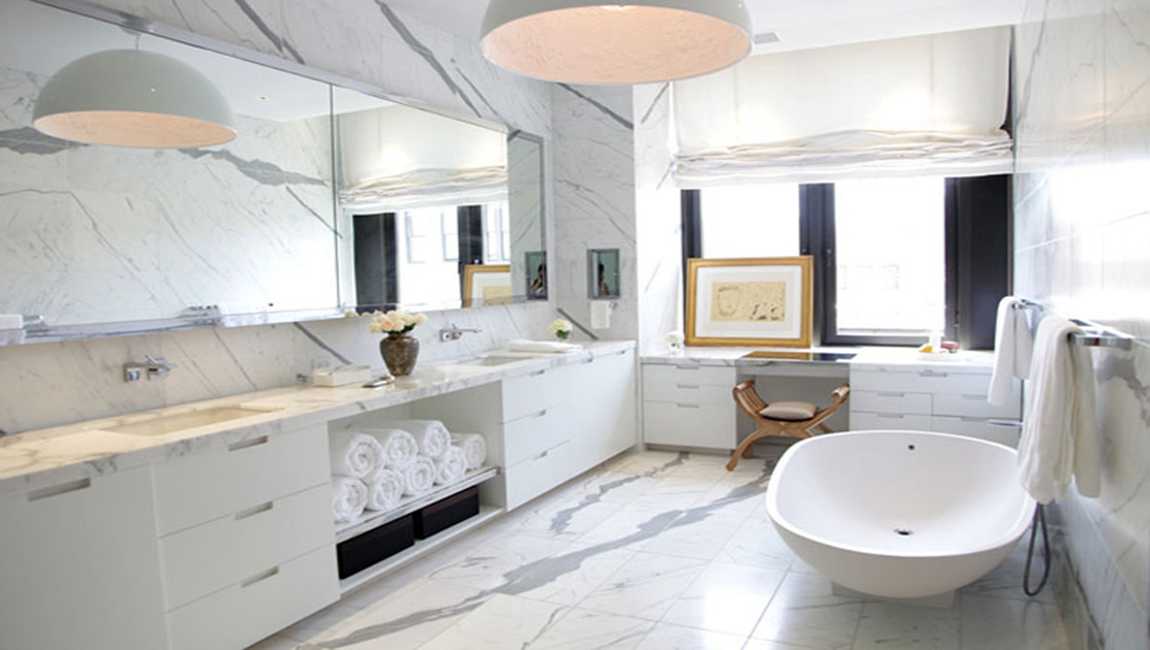
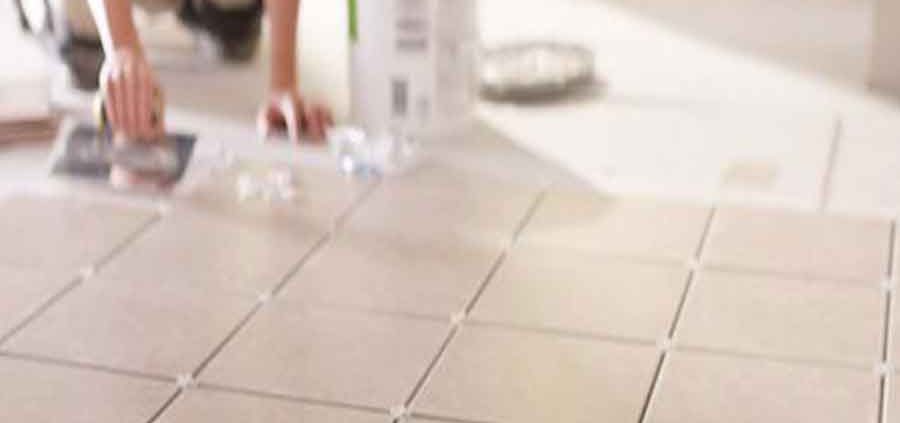
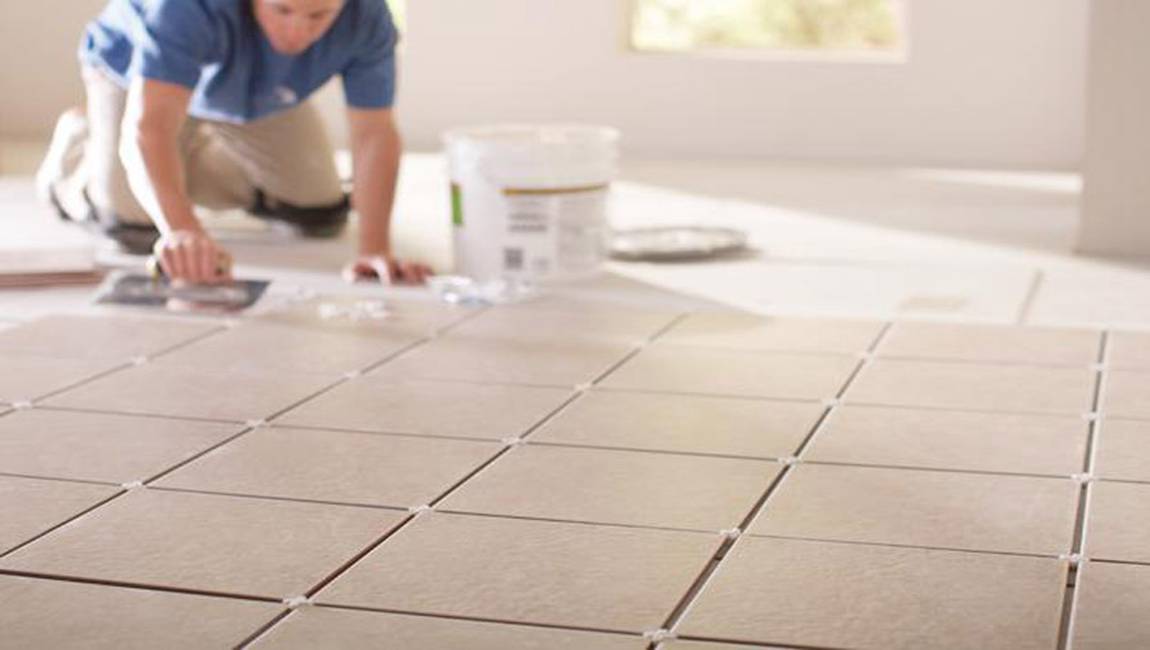
Sweep the floor with a soft broom. Take a soft dust mop or a broom with soft bristles and sweep the floor. Make sure to sweep up as much debris as you can. Pay special attention to areas along walls or doors.
Be careful using a vacuum. If you choose to use a vacuum, you need to be careful not to damage your marble floor. The plastic on the nozzle or wheels of a vacuum can etch or scratch marble. As a result, use caution if you decide to use a vacuum. If you have a central vacuum system in your home, you may be able to use a soft floor attachment on the nozzle. However, you should test the attachment in an inconspicuous area (such as behind a door) before using it.
Use rugs and mats throughout your home. Rugs and mats will help accumulate debris. As a result, sweeping or vacuuming your floor will be easy. In addition, rugs or mats will protect high traffic areas from scratches.
Put down rugs to protect your floors. Area rugs and floor runners can help protect your marble floors, especially in high-traffic areas. Use area rugs in places like the living room and rug runners in hallways to prevent scuffing and scratching. Adding a no-slip pad under your rugs will help further protect your floors and keep your rugs in place.
Apply additional layers the same way. After the previous layer is completely dry, wax the floor again. Remember to do it in sections and plan your route to the door. Your specific floor wax product should include a recommended number of coats. If it doesn’t, apply three or four thin coats. Stop if the wax starts turning yellow.
https://baranaceramic.com/wp-content/uploads/2019/11/Debris-from-the-Floor-3.jpg7501150administratorhttps://baranaceramic.com/wp-content/uploads/2025/09/logo.pngadministrator2019-11-08 08:00:192019-11-08 03:35:26How Removing Debris from the Floor?
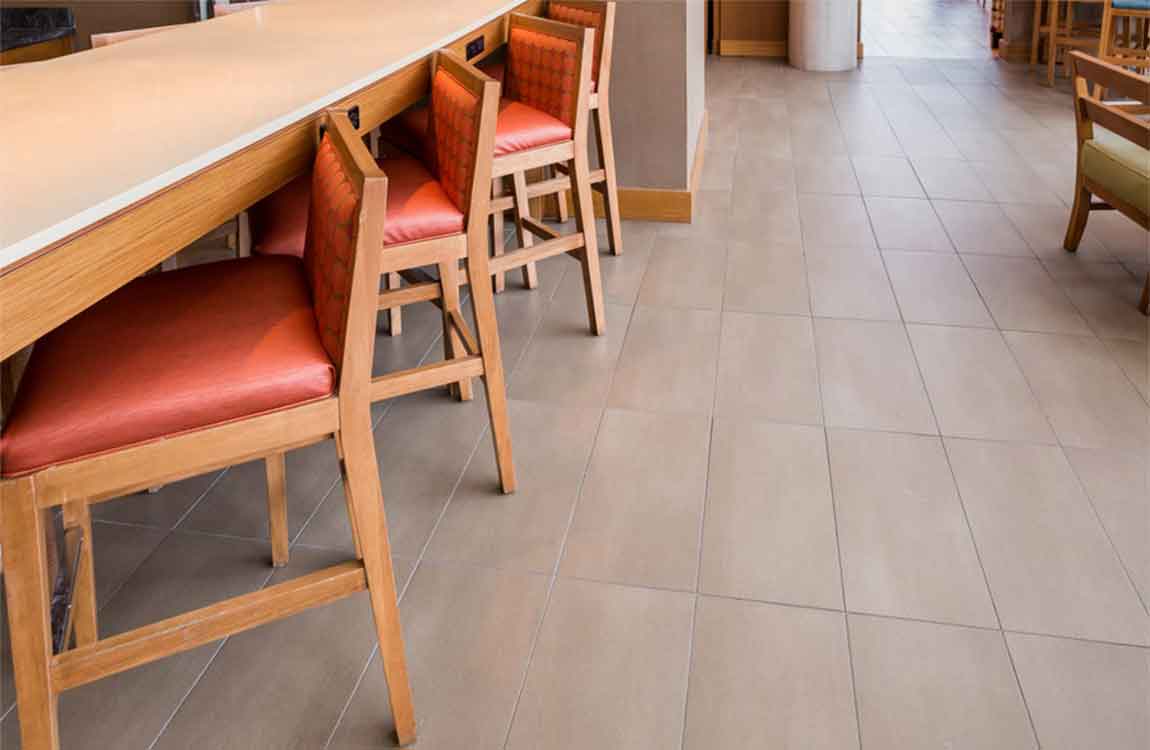
Remove movable items from the floor being buffed. Place these items in a separate room or hallway. Moving these items allows you to buff the area under and around them. Otherwise, it will be very difficult for you to get an even shine. Keep in mind that a buffer is a bulky machine that can easily damage items that it bumps into, and it’ll be harder for you to buff the area around the items in the room if you don’t remove them.
Block off the area to prevent people from slipping on the wet floor. This will also help protect your freshly buffed floor from getting dirty while you’re still working. Tell other people living in your home or those who are in your place of business that the floor will be wet for the next several hours.
If you moved large items from the room, you can always use these as a blockade to help keep people out. Simply position them along the entrance to the room. If you’re cleaning a commercial floor, put up “Caution” or “Wet Floor” signs for added safety.
Place your pets in a safe location if you’re buffing the floor of a home. Pets can get in the way of the buffer and may dirty your floor. You don’t want to accidentally buff pet fur into your floor, as you won’t be able to remove it once it’s buffed into the finish. Put your pets in a separate room and shut the door.
Alternatively, you can place your pets in their kennel if they already use one. Your pets will likely be afraid of the buffer, so keeping them out of the way will save them a lot of stress!
https://baranaceramic.com/wp-content/uploads/2019/11/Securing-the-Buff-Floors-2.jpg7501150administratorhttps://baranaceramic.com/wp-content/uploads/2025/09/logo.pngadministrator2019-11-06 08:00:282019-11-08 03:36:35How Securing the Buff Floors Area?
You can use an auto scrubber or floor machine for this step as well, as long as you change the pad beforehand. Don’t use the same pad you used to apply or wipe up the stripping solution. Wash all tools used. Thoroughly clean any tools used, including the interior of machinery hoses and tanks. If left uncleaned, the stripping solution will dry into a hardened mess and ruin your tools.
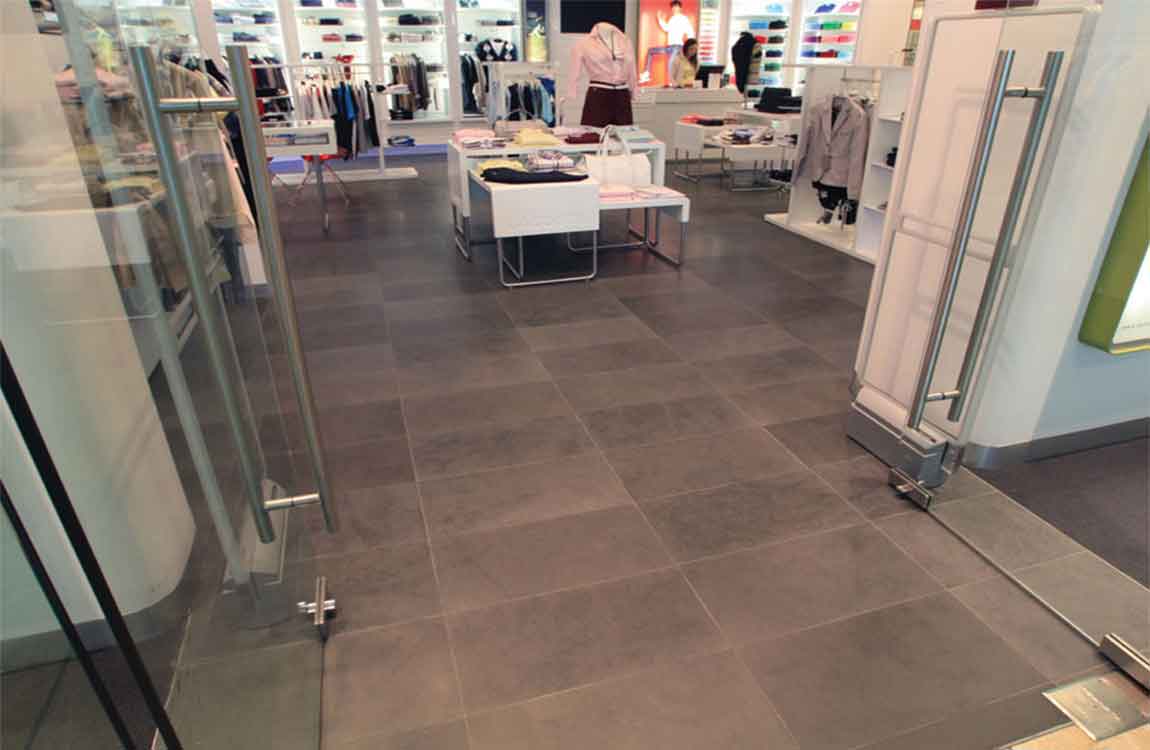
Let your floor dry completely. Don’t move on to waxing your floor until it is completely dry, or the wax may not attach properly. You can put a fan in the room to hasten the drying process. Apply wax to your mop. Immerse a sponge mop into the wax, or pour some wax onto the upper side of a flat wax applicator mop.
If your mop is dripping, you should press it into the wringer portion of the mop bucket or press it against the sides of the bucket. Don’t actually wring your mop; the goal is to make it damp with wax, not dry or dripping. Apply the wax to one small section of floor at a time. Start at the opposite end of the room from the door so you don’t have to cross the waxed portion to leave the room.
If you try to wax too large an area at once, you are more likely to miss spots or apply the wax unevenly. If your first layer is too thick, the whole process could fail to set properly. Be careful not to drip excess wax onto the floor, and only use a damp,not soaked mop. Once the floor in one section is evenly covered, mop over it with broad strokes in the same direction to create an even appearance. Now you can move on to the next section.
Wait for it to dry completely. This should take about half an hour, but could be longer in areas with high humidity. After ten minutes of natural drying, you can point a fan into the room to make it dry faster, but do not point it directly at the waxed floor. This could interfere with the adhesive. Read the label of your floor wax for more accurate estimate of drying time.
https://baranaceramic.com/wp-content/uploads/2019/11/How-Waxing-Your-Floor-2.jpg7501150administratorhttps://baranaceramic.com/wp-content/uploads/2025/09/logo.pngadministrator2019-11-01 08:00:452019-11-08 03:38:31How Waxing Your Floor?
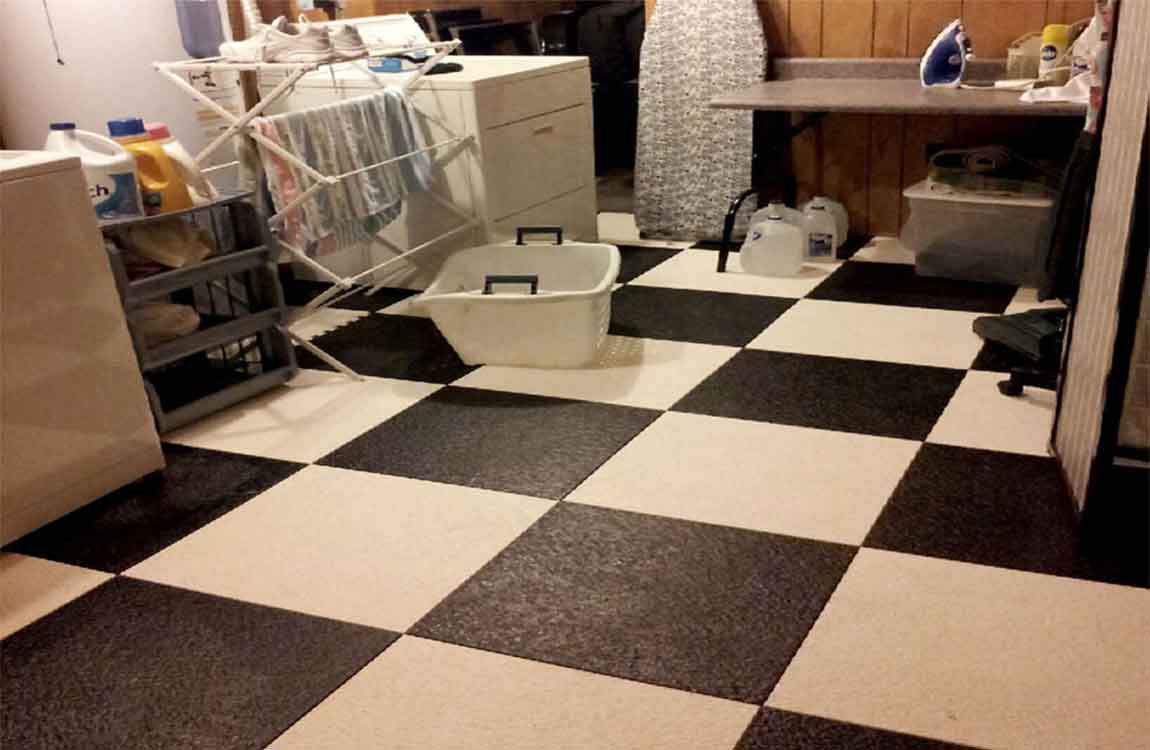
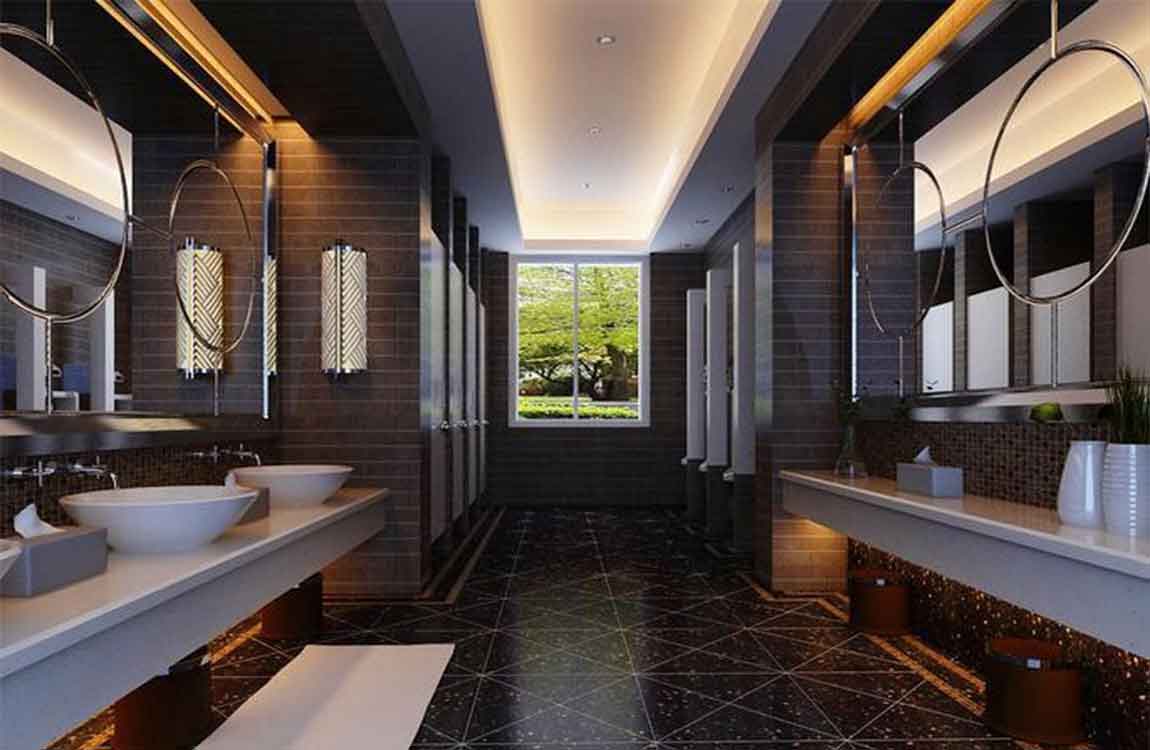
Choose a scrubbing solution. Grout, especially between floor tiles, gets especially dingy and dirty over time. Depending on the severity of your grout discoloration, you will need to use a different cleaning solution. For mild discoloration, use a combination of baking soda and hydrogen peroxide to form a paste. For more severe discoloration, use an oxygen bleach to whiten your grout.
Do a preliminary clean. In order to avoid extra work when you really start scrubbing, do a mild clean down of your grout prior to deep-cleaning it. Use a mixture of bleach and water to kill mold and mildew, and wipe off any grime or dirt that might be present on the surface.
Apply your cleaner. Working in small sections of tile/grout (try 1sq. ft. at a time), apply your cleaner to the grout. Leave it to set for 3-5 minutes, as this will make the scrubbing much easier.
Start scrubbing the grout. Use a brand new toothbrush (electric is preferable) to scrub away the dirt and discoloration on the grout. This can be relatively time consuming, so don’t give up if at first you don’t succeed. Use fresh water and a rag to wipe off the cleaning residue, and apply another coat of your cleaner if necessary.
Continue cleaning your grout. Work your way outwards from your starting point, using the aforementioned process. Add cleaner to small sections, let it set, and scrub away until bright, clean, and shiny grout can be seen underneath.
https://baranaceramic.com/wp-content/uploads/2019/10/Cleaning-Your-Grout-4.jpg7501150administratorhttps://baranaceramic.com/wp-content/uploads/2025/09/logo.pngadministrator2019-09-27 08:00:012019-10-10 09:26:17How Cleaning Your Grout?
Dry-fit the tile over the flange to make sure it fits. Check your work before you attempt to secure the tile in place permanently. So long as your circular cutout is less than 0.5 in (1.3 cm) larger than the toilet flange all the way around, the base of the toilet should cover the cutout. Once you know the tile fits properly, you can secure it to the floor permanently.
Reach across the tile to the edge that’s farthest away from you and set the wheel of the scoring tool on the end of the guideline. If the glass tile is too large for you to reach over to the edge, stand alongside it instead while placing your scoring wheel.
Pull the scoring wheel toward you using the straightedge as a guide. Press firmly down on the glass with the scoring tool as you pull it towards you. It should make a distinctive crackling sound as the tool scratches the surface of the glass tile if you are applying enough pressure. Look to see a faint but definite line cut into the glass.
Grip the section of glass you want to cut with grozing or running pliers. Grozing and running pliers have a flat, serrated jaws that are perfect for gripping and breaking scored glass. Keep the tile face up on the workstation or table and grip the edge of the glass with the pliers positioned parallel to the cut you made with the scoring tool. If your pliers do not have a rubberized grip on the jaws, apply masking tape to get a better grip on the glass.
Snap downward to break off the tile. Position the scored glass tile so the edge of the tile that you want to snap off is hanging over the edge of the table or workbench. This will give you room to snap the piece off. In one swift motion, snap the glass downwards using the pliers to grip it. The glass should break cleanly along the line you scored. Don’t press down slowly or the edge of the glass may break off unevenly.
https://baranaceramic.com/wp-content/uploads/2019/09/Knowledge-of-Cut-Tiles-1.jpg7501150administratorhttps://baranaceramic.com/wp-content/uploads/2025/09/logo.pngadministrator2019-09-12 08:00:052019-09-12 06:48:01The Knowledge of Cut Tiles
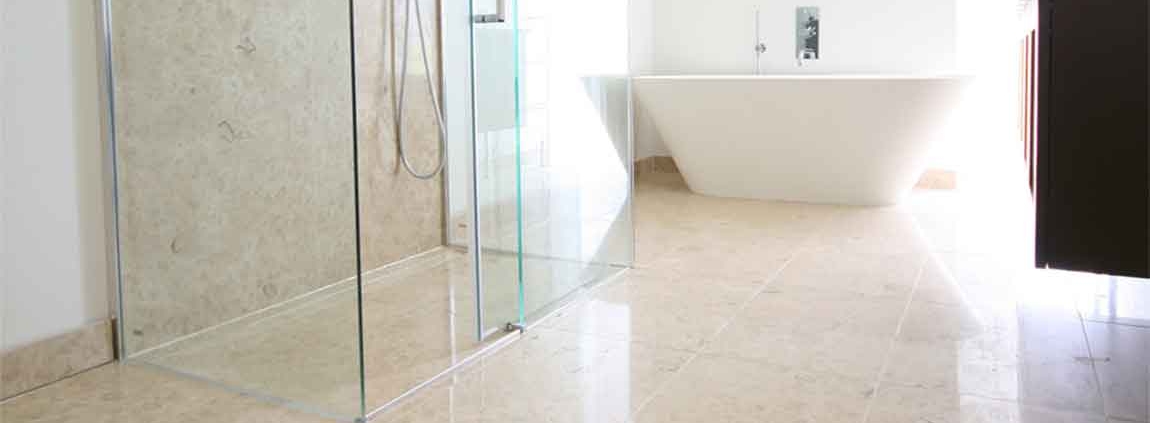
Apply a wax stripping solution to remove any built up wax. If your tile floor has previously been waxed, you’ll want to remove it before polishing. The old wax may be flaking or collecting dirt, and will affect the overall polish. Fill your bucket with a wax stripper and scrub your tile floor clean of any old wax with a scrub brush, then mop the floor with clean water to remove any chemical residue.
Allow the floor to dry at least 1 hour before moving on, but make sure the floor is fully dry. You can find wax stripper at any home improvement or hardware store. Try hydrochloric acid for soap scum and water deposits on tile flooring. Hard water deposits and soap scum stains require heavy duty chemicals to be removed.
Empty the bucket of water completely, then fill it with 4 cups (950 mL) of water and 1⁄2 cup (120 mL) of hydrochloric acid. Apply the mixture directly to the stain and allow it to sit for several minutes. Then scrub the stain clean and allow the area to dry completely. Hydrochloric acid is available for purchase at most hardware stores. It is also often sold at pool supply stores because the acid is commonly used to sanitize swimming pools.
Hydrochloric acid is a harsh chemical and can burn your eyes and throat, so mix it in the bucket outside or a well-ventilated area. Be sure not to get any of the chemical on your skin as it can cause chemical burns. Use an electric floor buffer to buff the tile floor quickly. A floor buffer is a great option for a quick and consistent buffing. Consider renting or borrowing one for the day if you do not own one.
They are often as easy to use as a standard vacuum cleaner. Turn the buffer on and move it across the tile floor using small, sweeping side-to-side movements for an even finish. You can rent electric floor buffers from home improvement stores like Home Depot for around $30 a day.
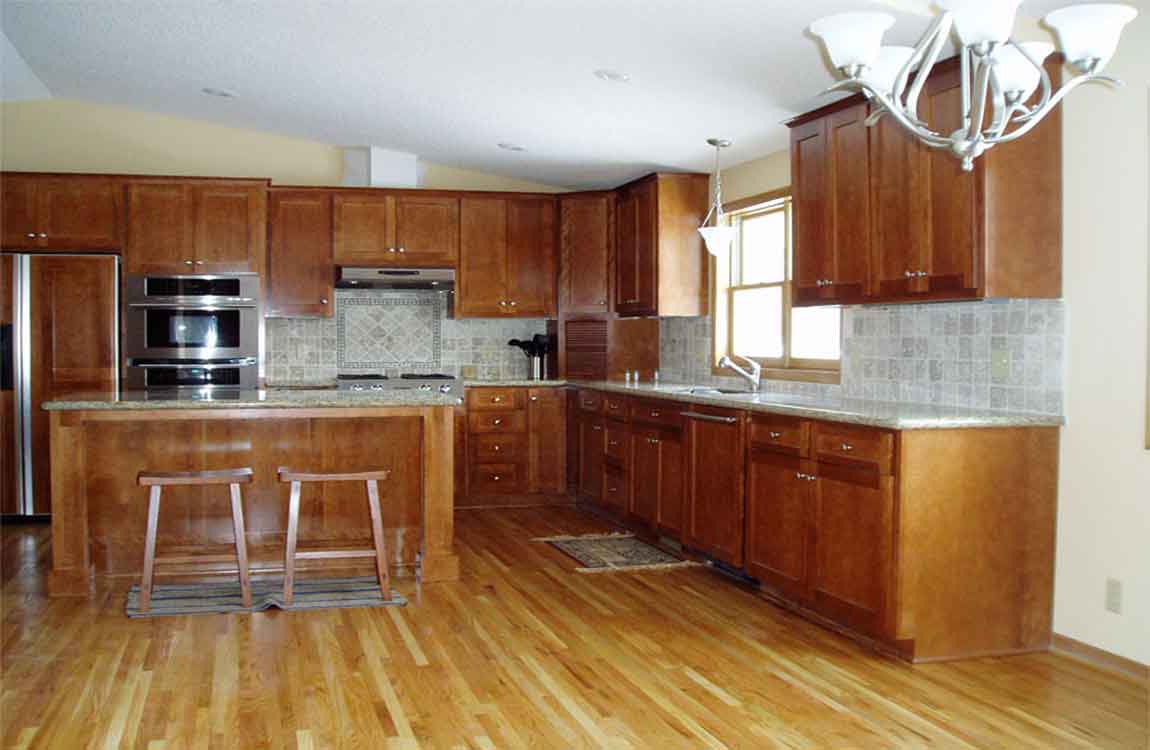
Clear the tile floor of furniture and obstructions. Before you start, be sure to move any furniture that can get in the way of polishing your tile floor. Remove chairs and tables as well as rugs and mats that may be in the way. If you have tile you’d like to polish that is underneath or adjacent to appliances, you’ll need to remove them as well.
Use a baby gate or close the door to the room to keep out any pets that could walk over the tile floor while you’re cleaning it. If you have tile flooring underneath cabinets or in a pantry or closet, make sure you clear out anything that could get in the way of cleaning and polishing.
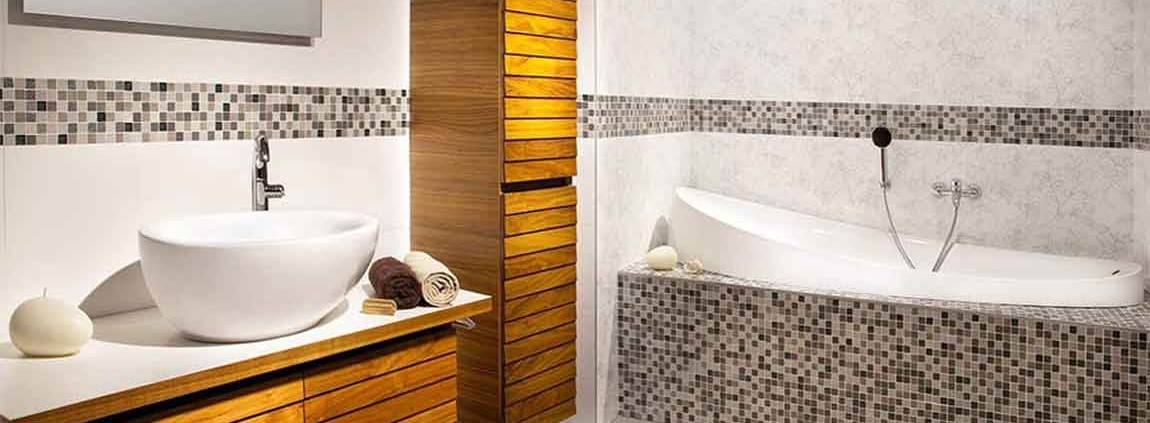
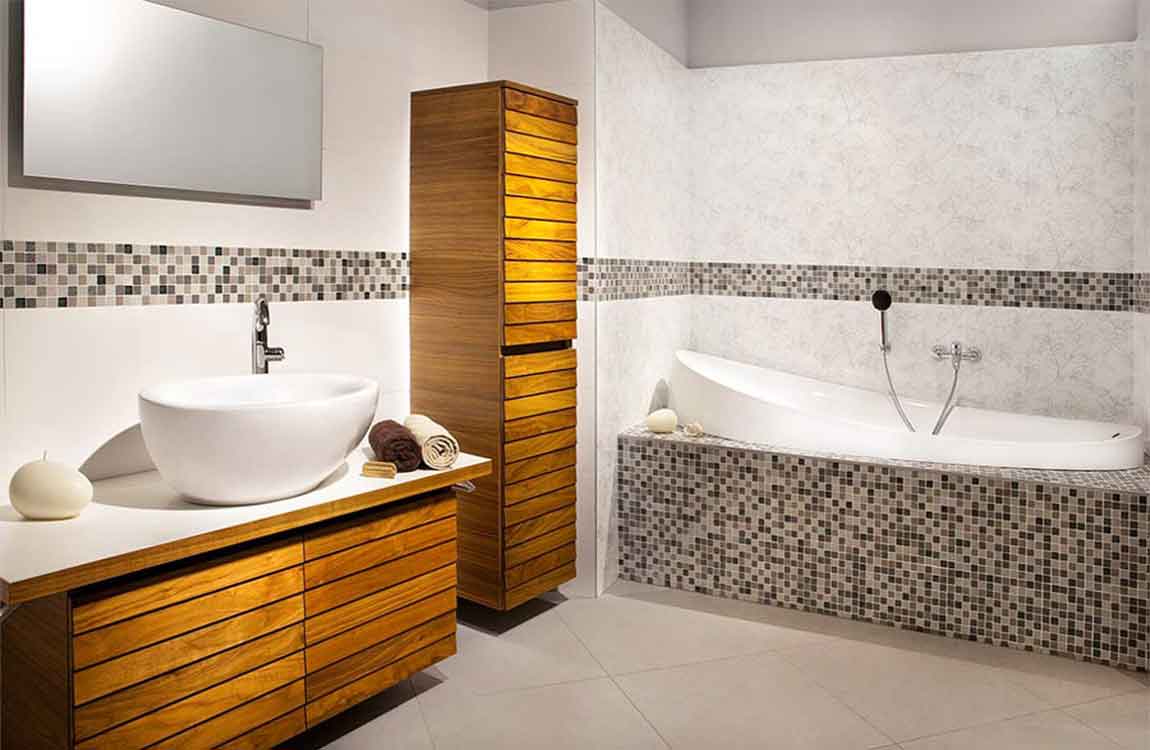
Mix 1 gallon (3.8 L) of warm water and 1⁄4 cup (59 mL) of white vinegar. Vinegar is an age old cleaning product that is much less harsh on the environment than industrial cleaning chemicals. Vinegar is also safe to use on tile and will not stain or discolor your tile flooring. Fill your bucket with warm water because warm water will help the vinegar mix and form a natural cleaning solution.
Use this vinegar solution to scrub, mop, or clean your tile floor. Sweep the tile floor to remove dirt and dust on the surface. Once the room is clear of obstructions, use a broom to sweep the floor free of large dirt particles to make it easier to polish. Mopping a dirty floor can just move the dirt around and make your tile look dingy. A good sweep before you mop is always a good idea for a clean floor.
Don’t neglect sweeping the corners of the room or beneath any cabinets. A Swiffer or dry mop works great to pick up dirt. Scrub the grout between the tile with a stiff brush or toothbrush. Focus on the grout in-between the tiles before you clean the whole floor.
https://baranaceramic.com/wp-content/uploads/2019/07/How-Using-Natural-Products-on-Tile-Flooring-4.jpg7501150administratorhttps://baranaceramic.com/wp-content/uploads/2025/09/logo.pngadministrator2019-08-01 08:00:232019-07-30 08:17:47How Using Natural Products on Tile Flooring?
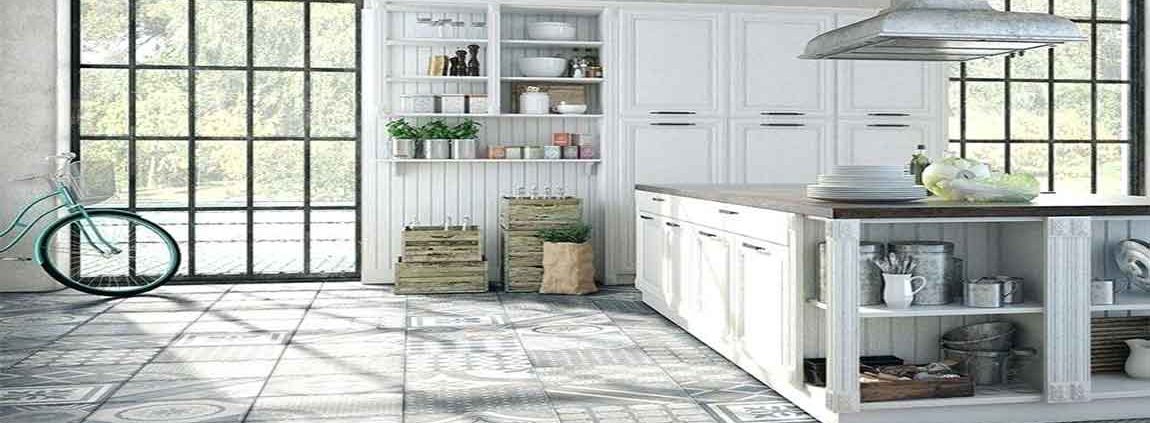
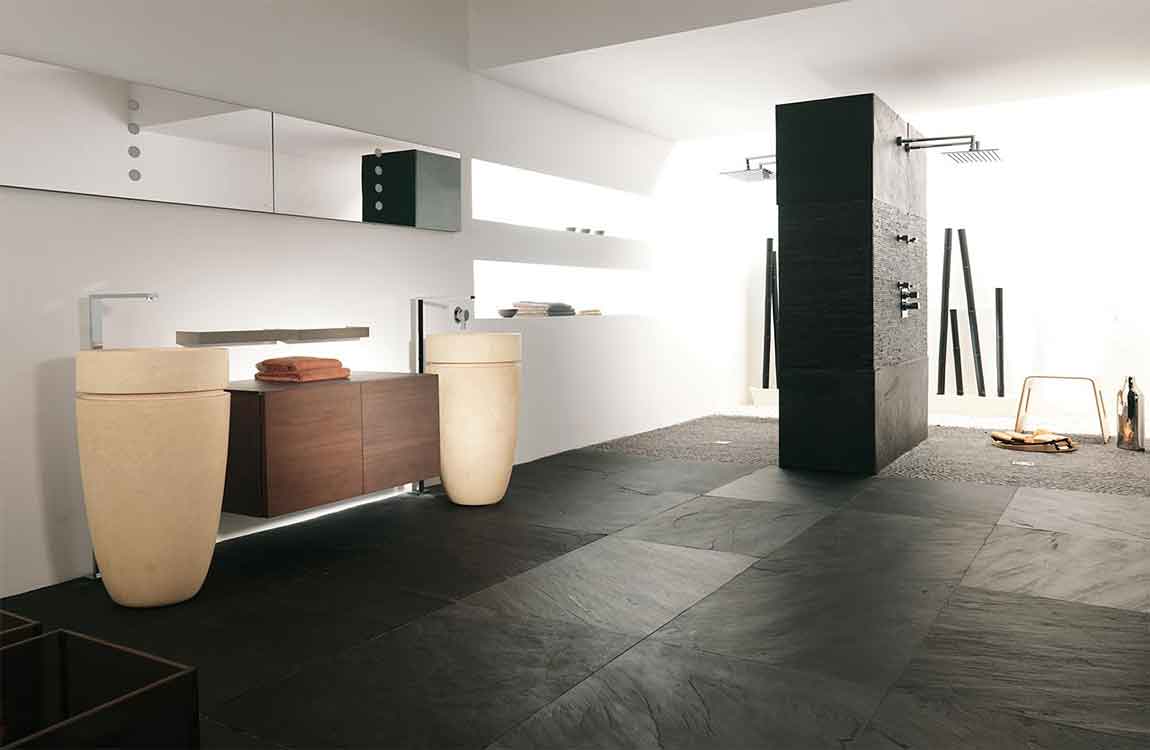
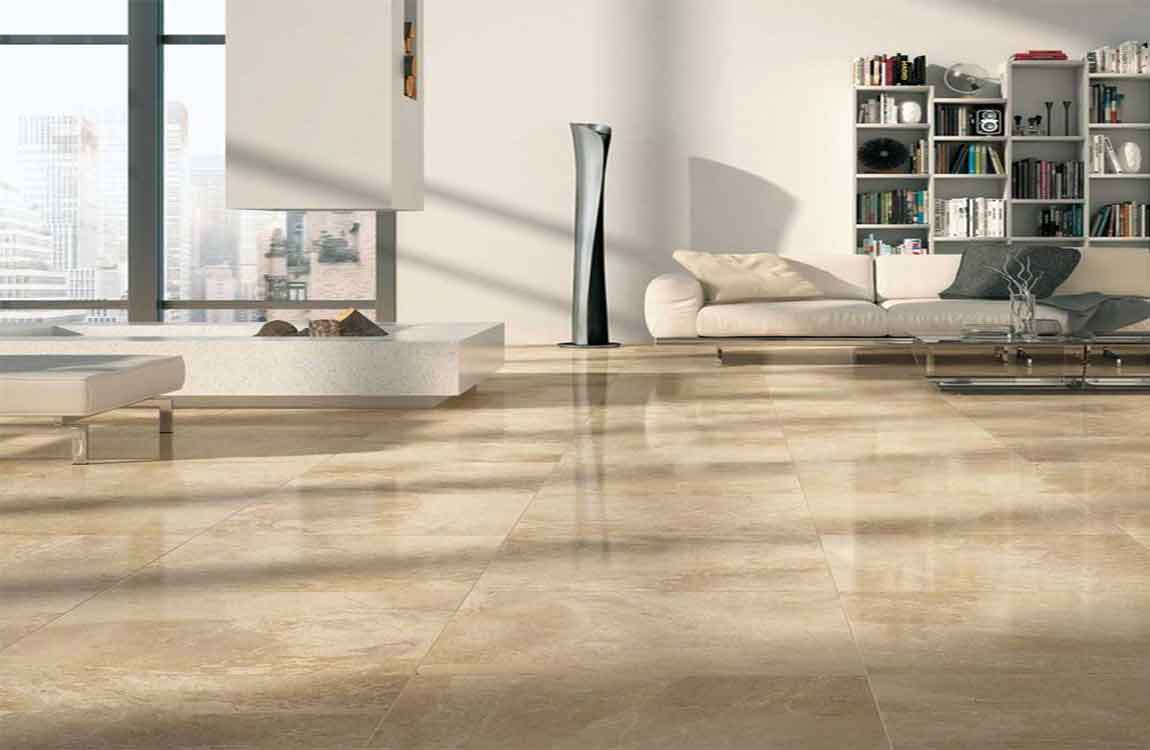
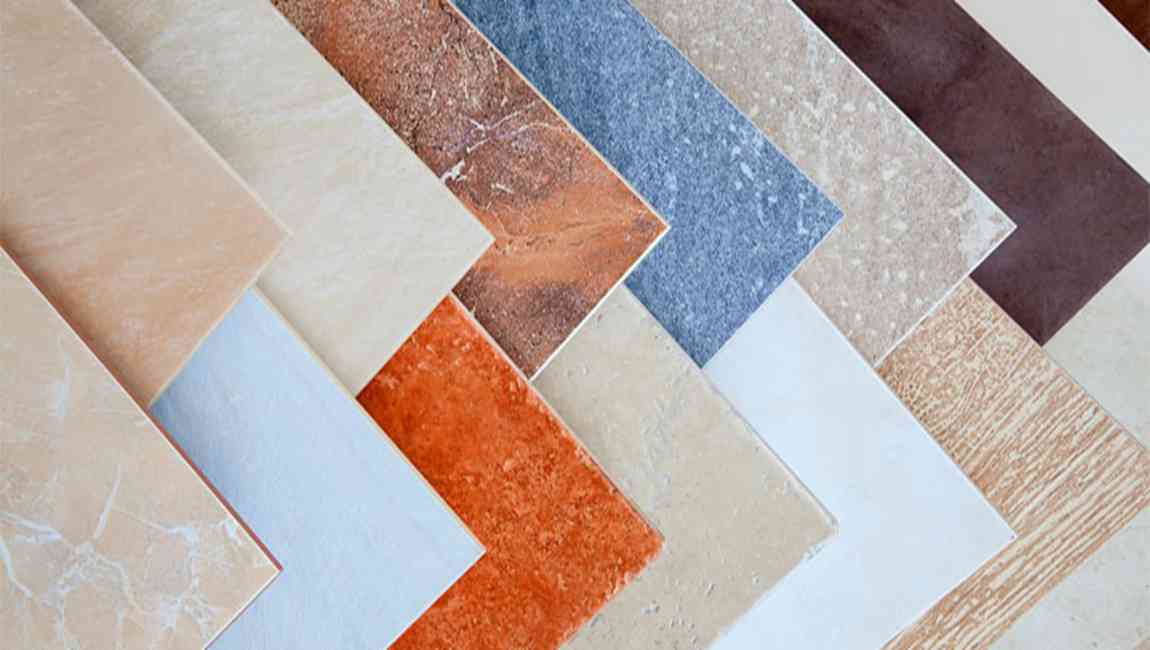
The similar appearance, the superior performance of ceramic tile, marble together makes this different quality marble tiles become popular with users of the popular building materials, but in the face of a variety of marble tile brands on the market, with only a bibulous rate, the basic testing factors such as stiffness is not enough to help us distinguish good marble tile,The first marble tile quality evaluation standard of the industry “marble ceramic tile 7 star standard” came into being, let’s look at how simple and specifically choose marble ceramic tile.
1.Fidelity
In terms of its nature of ceramic tile, marble tile ceramic tile is a kind of imitation wood, imitate the texture adornment effect is its important value, so the fidelity is selected the first parameter to the ceramic tile, marble to emphasize its fidelity: stone should ≧ 99.9% reduction degrees, will be in comparison with natural marble, ceramic tile on the premise of removing impurities, higher similarity is preferred, stone should ≧ 99.9% reduction degrees.
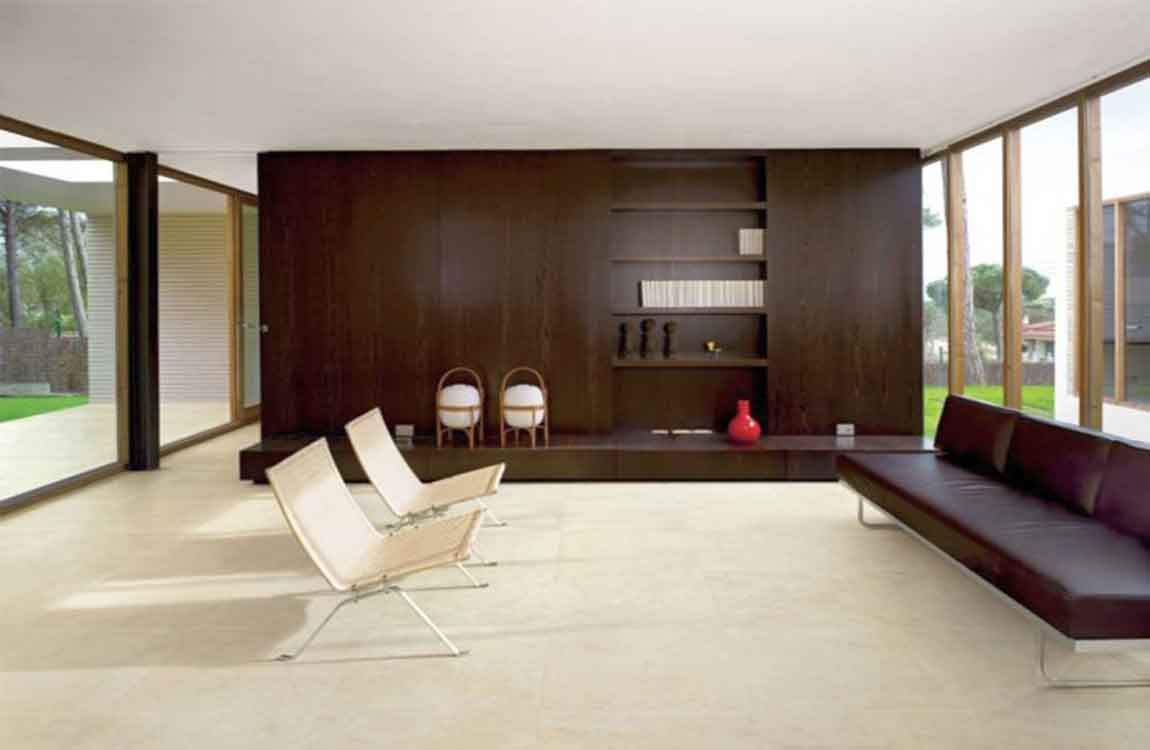
2.The duplication
Stone attractive appreciation of a play feature lies in its unique natural, to condemn the change of grain, and used in ceramic tile decoration, in order to avoid duplication of texture bring stiff feeling of the space, so the ceramic tile on the stone should try not to appear to repeat: stone texture should not repeat area ≧ 5 square metre, extract a case of tile ceramic tile on the floor, to see if the pattern repeat, repeat degree is lower, the better decorative effect.
3.Accurate printing degrees
Inkjet technology is nowadays the main technology of high-quality marble tile surface color layers of permeable brick should be of high quality marble, perfect reduction natural color of natural stone material, real and solid: picture for at least 360 dpi precision of 0 grid and high precision spray printing, the scene to identify pattern is clear, the place of ceramic tile 10 cm distance to the naked eye can not see the grid.
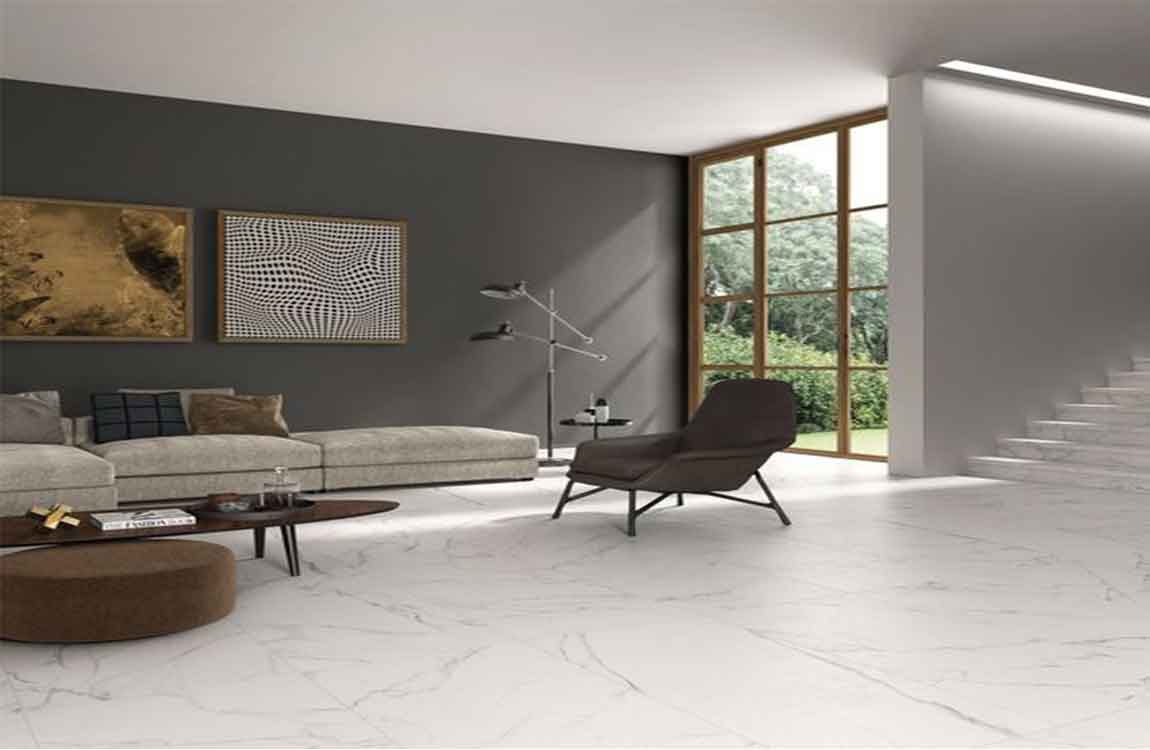
4.Bo changes degree
In essence, the water absorption rate is the criterion, the low water absorption rate is not easy to absorb dirt, the quality is better. Good marble tiles should be very low water absorption, the higher the degree of vitrified, bricky system stronger, more not easy ooze water: water absorption should be ≦ 0.05%, the water droplets on the back of ceramic tile, slow water infiltration or not bibulous, the greater the density of ceramic tile, the better the quality.
5.Stiffness
As ceramic tile, everyday use in the family in general can’t avoid all sorts of friction or collision, so the stiffness is also one of the most important elements of ceramic tile, marble in order to avoid the ceramic tile is easily damaged, durable marble tile should have higher hardness: thematic mohs hardness ≧ 6, the scene with blades and other hard iron swiping in ceramic tile surface, no scratches on the top grade.
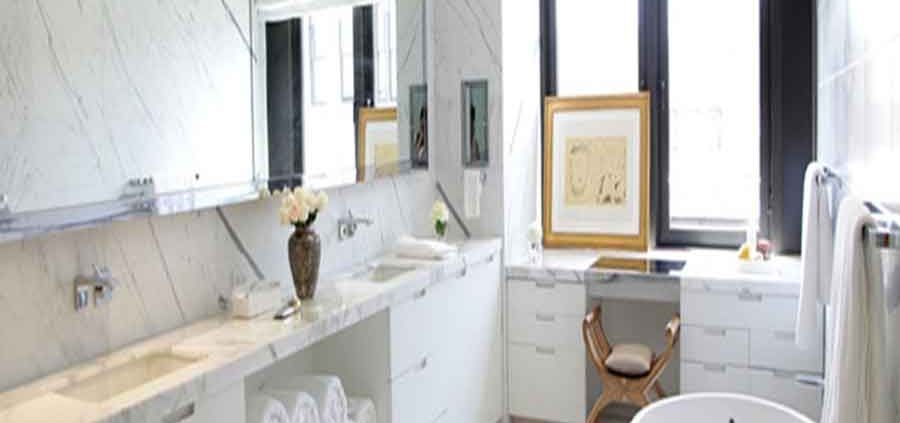
6.Self-cleaning degrees
Once decided to use ceramic tile, decorate is generally the use of large area, if the higher the degree of self-cleaning ceramic tile, is that much more convenient to do when using, starting from the users the best experience, marble tiles need good self-cleaning ability, can withstand the daily life of the stain liquid such as: the anti pollution coefficient must be ≧ 5, ink, soy sauce, vinegar, etc of drop in ceramic tile surface, after a short waiting to wipe clean, no residue after taste.
7.Mass density
Mass density is closely related to ceramic tile weight, in the case of equal size, weight of ceramic tile ceramic tile quality means that the greater the more thick, material, density higher and higher, bricky system has stronger: ceramic tile should ≧ weight 25 kg per square meter, compare different marble tile cutting into the same specifications weighing, the person that weigh is preferred.
https://baranaceramic.com/wp-content/uploads/2017/09/Simple-and-Practical-Marble-Ceramic-Tile-To-Buy-Seven-Standard-1.jpg600900administratorhttps://baranaceramic.com/wp-content/uploads/2025/09/logo.pngadministrator2017-09-12 08:58:002019-07-30 08:15:55Simple and Practical Marble Ceramic Tile To Buy Seven Standard
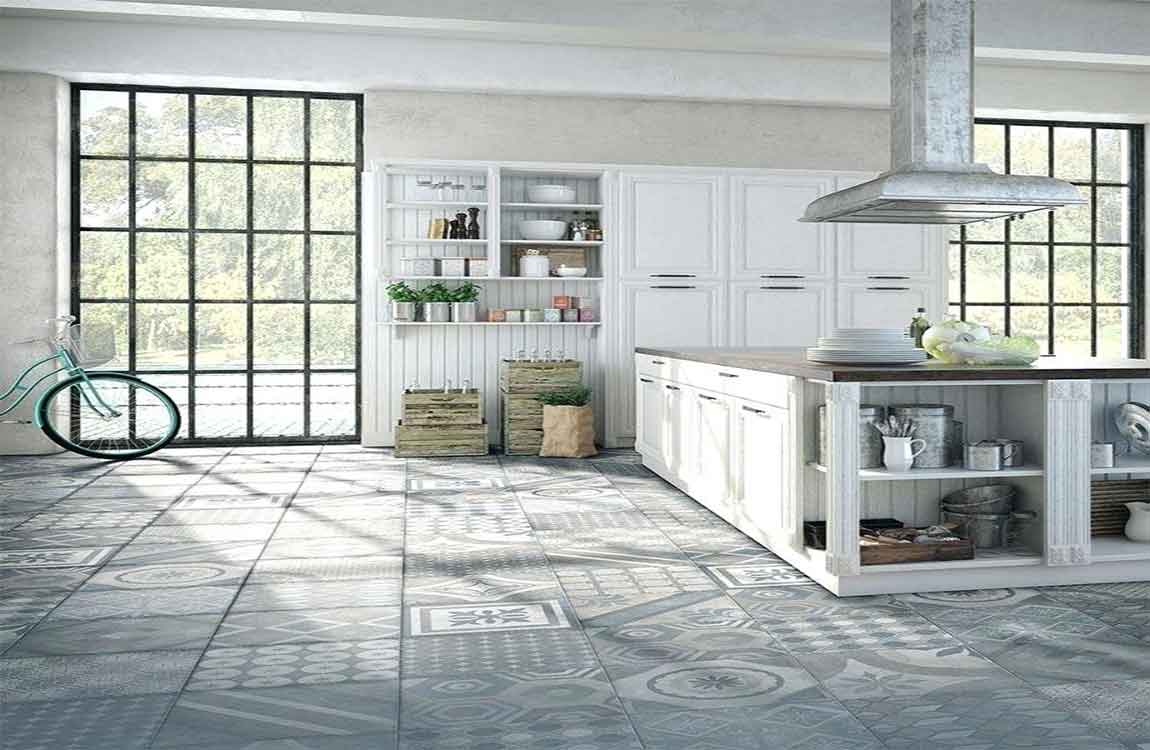
What can you do to get on the ground for a dozen hours every day? Super long working time is very testing the quality of floor tile, how to choose quality floor tile has ensured ground to use sex and beautiful degree? Let me tell you.
1.Look at the appearance
Floor tile color, color should be uniform and complete, surface smooth and smooth, no particulate matter raised, ground brick edge rules. Can take a few pieces from a box of floor tile to see whether the defect such as chromatic aberration, deformation, damage.
2.Listen to the voice
The quality of floor tiles can be distinguished by listening to sound. Use hard objects to tap the floor tile, the more the sound is clear and the porcelain degree is higher, the quality is better; The more cloudy the sound, the worse the quality.
3.Drop beads
Drop a few drops of water on the back of the tile to see how fast the water is absorbed. Slow water absorption indicates that the tile density is close and the quality is excellent. Water absorption quickly indicates that the tile density is sparse and the quality is poor.
4.Amount of side length
The edge length accuracy of floor tile is higher, the shop post effect is better. Measuring the length, size and thickness of each tile with a tape measure, the accuracy is high quality, easy to construct, and save time and accessories.
5.Observe the hardness
The better the floor tile is, the longer it will be used. Good hardness, strong toughness, easy to break is the top grade. Use two pieces of broken tile edge to touch each other, see the fragment fracture place leaves is the scratch or the powder can judge ground brick hardness, leave the hardness of the scratch high, scattering powder hardness is low.
https://baranaceramic.com/wp-content/uploads/2017/09/Listen-To-The-Sound-To-Choose-High-Quality-Tiles-1.jpg600900administratorhttps://baranaceramic.com/wp-content/uploads/2025/09/logo.pngadministrator2017-09-07 03:29:582019-09-03 06:12:02Listen To The Sound To Choose High Quality Tiles
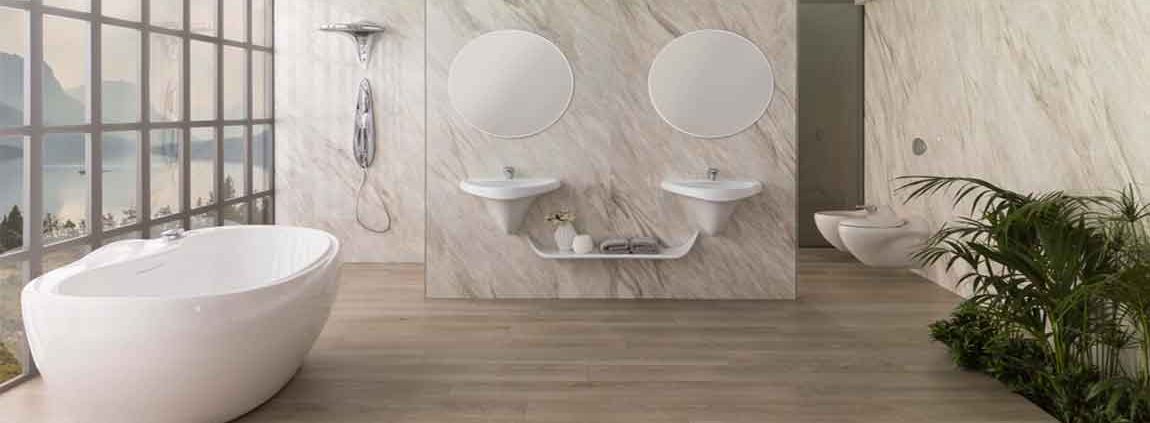
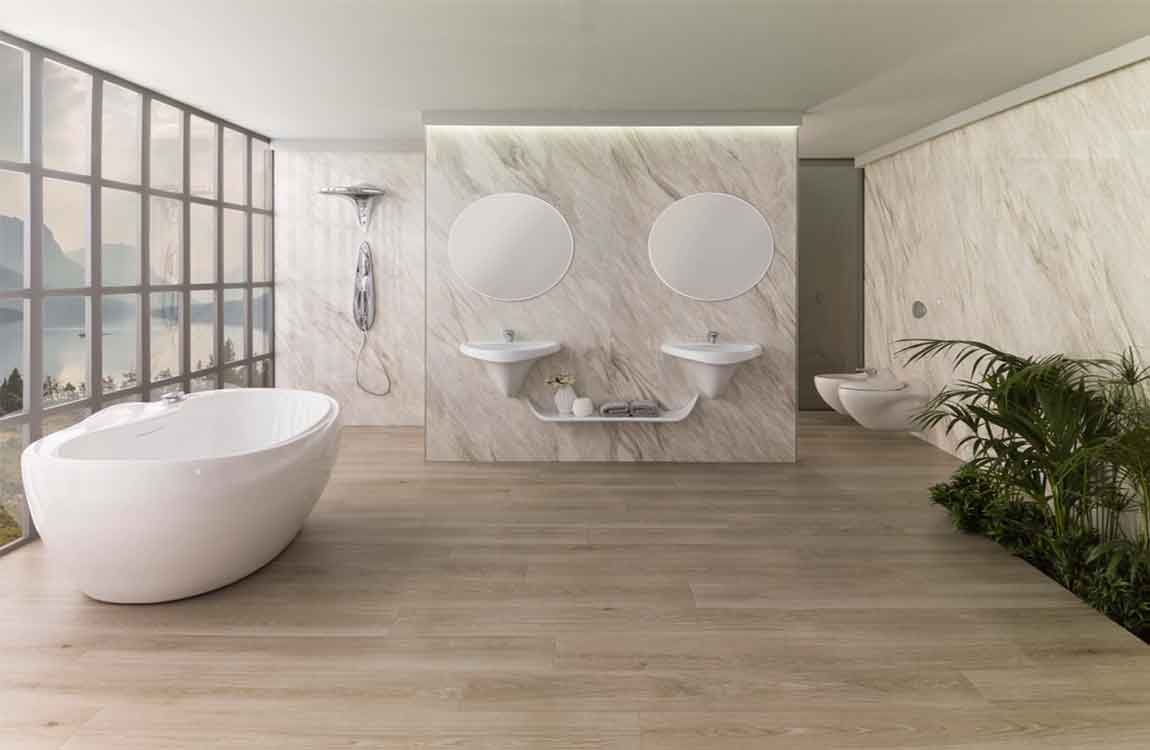
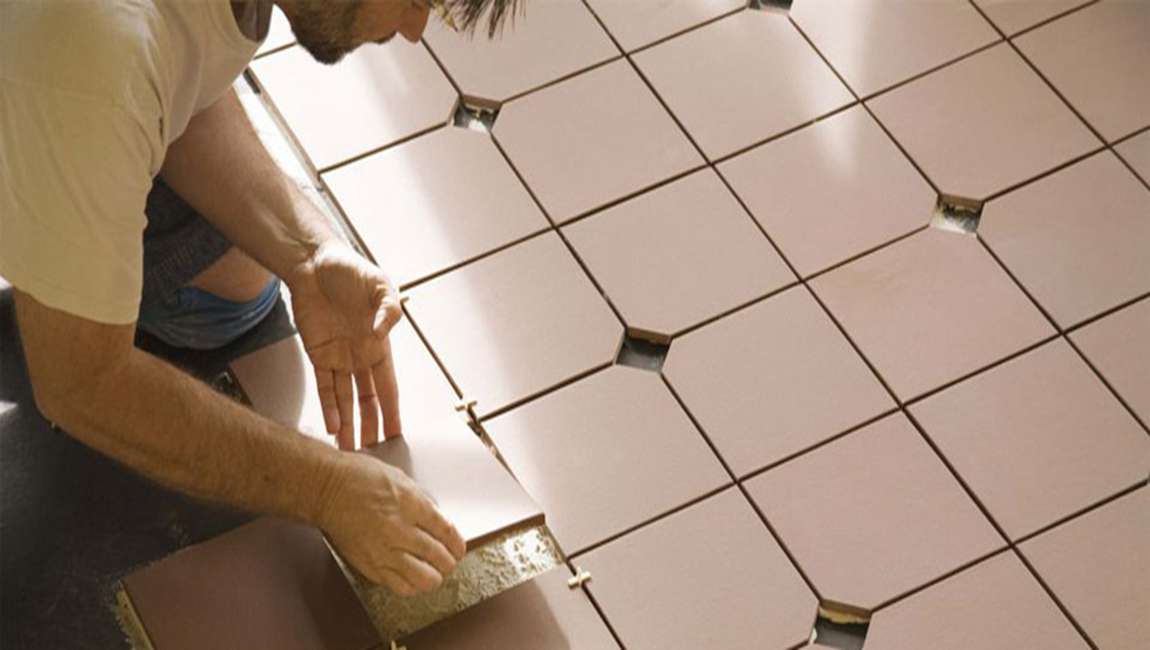
As is known to all, decorate choose ceramic tile is very important, but if you buy a good ceramic tile, post didn’t pay attention to the shop is very damaged engineering of one thing, the small make up today is to teach people, must pay attention to the 5 items in the shop sticks ceramic tile.
1.The ceramic tile should be soaked thoroughly Ceramic tile are through full immersion in front of the shop is stuck, it is to give the pore to absorb moisture, ceramic tile in the shop is stuck not easy to appear the phenomenon of empty drum, fall off, if not immerse directly to the wall ceramic tile, is likely to be sucked through the moisture in the cement directly to the ceramic tile, reach a certain amount of time, ceramic tile can appear even crack, this will cause a lot of waste ceramic tile, and the quality of the shop is stuck is bad.
2.Choose high-quality cement sand Ceramic tile should want to have good spread quality, must choose high quality cement sand, such ceramic tile can stick tight solid; The main point of selecting cement is to check whether it has QS certification, and to see if it has a shelf life. If it is past its expiration date, it is better not to choose. Sand had better choose river sand, river sand contain water is bigger, paste effect will be better.
3.Three, cut ceramic tile had better put in the position of corner
Cutting ceramic tile seems always seem to be some uneven, so the location of the best cutting ceramic tile is in the corner, this position at the end can use sealant to seal, does not affect the housing decoration effect. If you put it in a prominent place like a window, it will affect the beauty of the house.
4.The first brick should be selected
The first brick in the seat position to the full range wall ceramic tile, so the location of the first piece of ceramic tile must be chosen, if there is an error in the location of the first piece of ceramic tile, the ceramic tile of the entire wall will be warped.
5.Five, must achieve wall pressure ground
Wall pressure is above the floor tile of wall brick wanted, the advantage is not water, the water will flow down the wall brick in the wall and floor tile surface, easy to clean, because the more troublesome, so some bricklayer’s looking for a variety of reasons not willing to do, this is decorated must supervise bricklayer’s owner, let them do the project well.
https://baranaceramic.com/wp-content/uploads/2017/09/There-Are-Five-Problems-To-Pay-Attention-To-Tile-1.jpg600900administratorhttps://baranaceramic.com/wp-content/uploads/2025/09/logo.pngadministrator2017-09-05 04:13:352019-09-03 06:12:32There Are Five Problems To Pay Attention To Tile