Posts

Brazil Green Building Materials Market 2026: COP30 Host Drives Demand for Tiles, Sintered Stone, WPC Decking & More

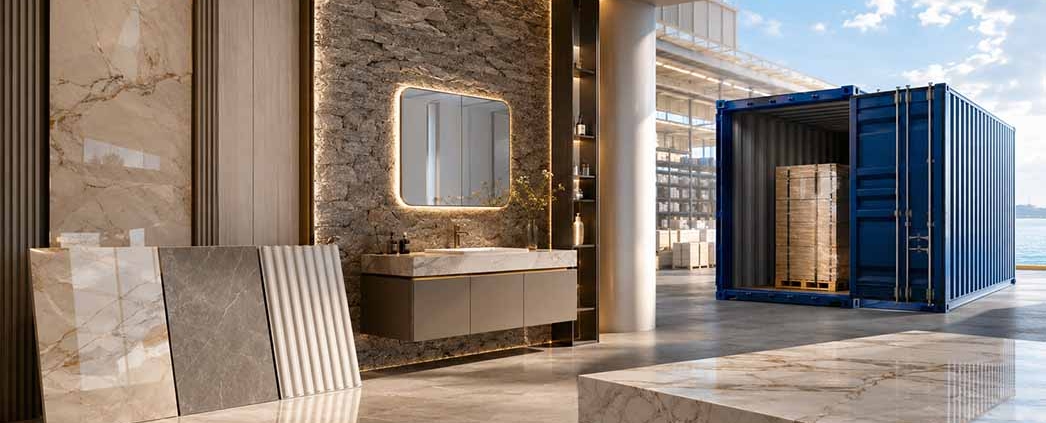
As host of COP30 in 2025, Brazil has set a global benchmark in green building. São Paulo now ranks 12th worldwide for sustainability‑certified buildings, with 71% of luxury developments holding a green seal – surpassing Miami (66%), Los Angeles (65%), and New York (61%). Brazil’s green building practices are reshaping procurement standards across the entire Latin American building materials market, creating unprecedented opportunities for suppliers of ceramic tiles, porcelain tiles, floor tiles, bathroom vanities, sintered stone, flexible stone veneer, WPC decking, and waterproof wall panels.

Brazil’s Green Building Policy Framework

Brazil has built a comprehensive regulatory system to drive sustainable construction. The ABNT NBR 15575 standard defines performance requirements for safety, durability, and thermal efficiency, while NBR 15220 and NBR 16401 regulate building thermal performance and HVAC systems. From 2027, all federal government buildings must achieve the highest ENCE energy efficiency rating (level A), spurring demand for insulation, high‑performance glazing, and efficient fixtures.
The country leads Latin America with over 1,000 LEED‑certified projects, alongside widespread adoption of AQUA‑HQE and EDGE certifications. In a bold move, Rio de Janeiro’s INEA Resolution No. 318/2025 allows companies adopting ESG standards to receive up to six‑year extensions on environmental licenses – a powerful financial incentive that accelerates green material adoption across all construction segments.

Market Opportunities for Green Building Materials

Demand for sustainable materials is expanding rapidly from public works into commercial and residential construction, creating substantial opportunities across multiple product categories.
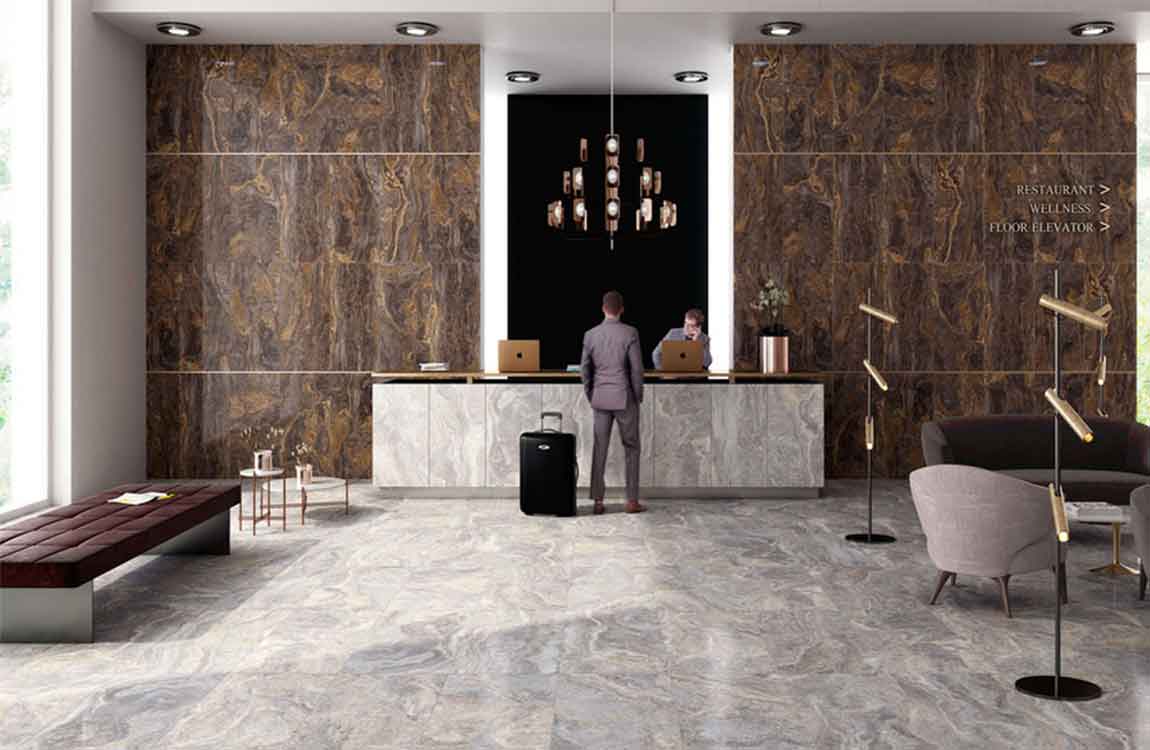
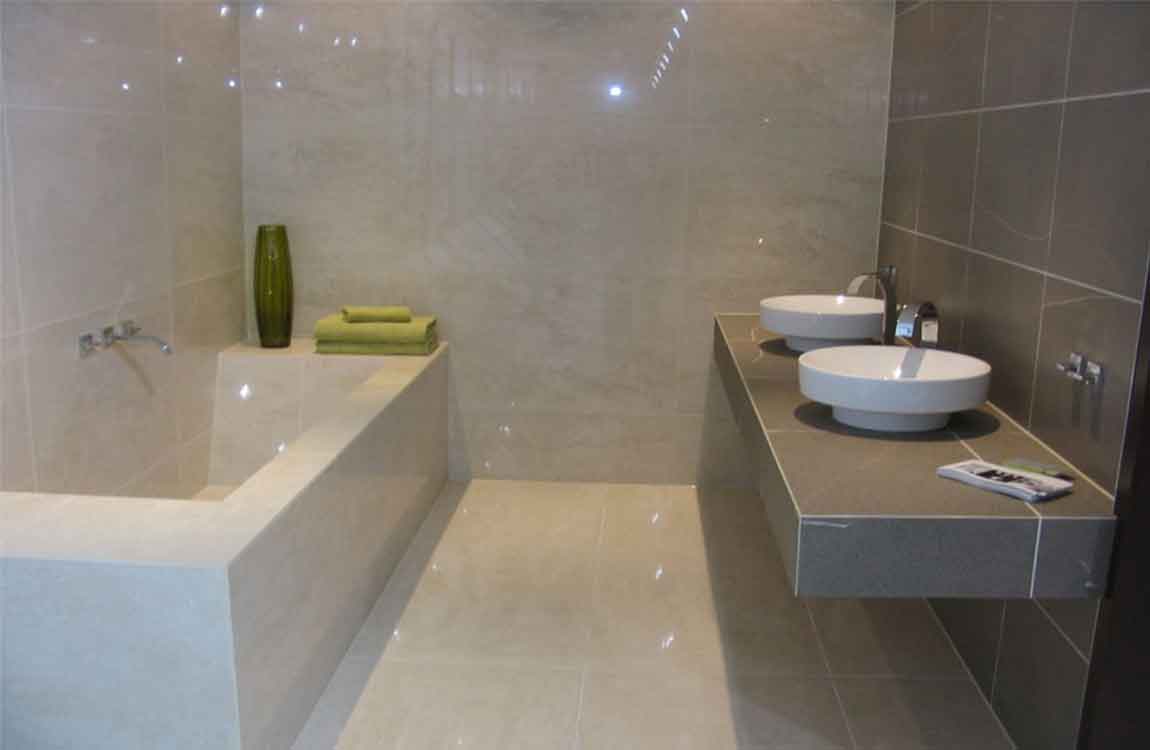
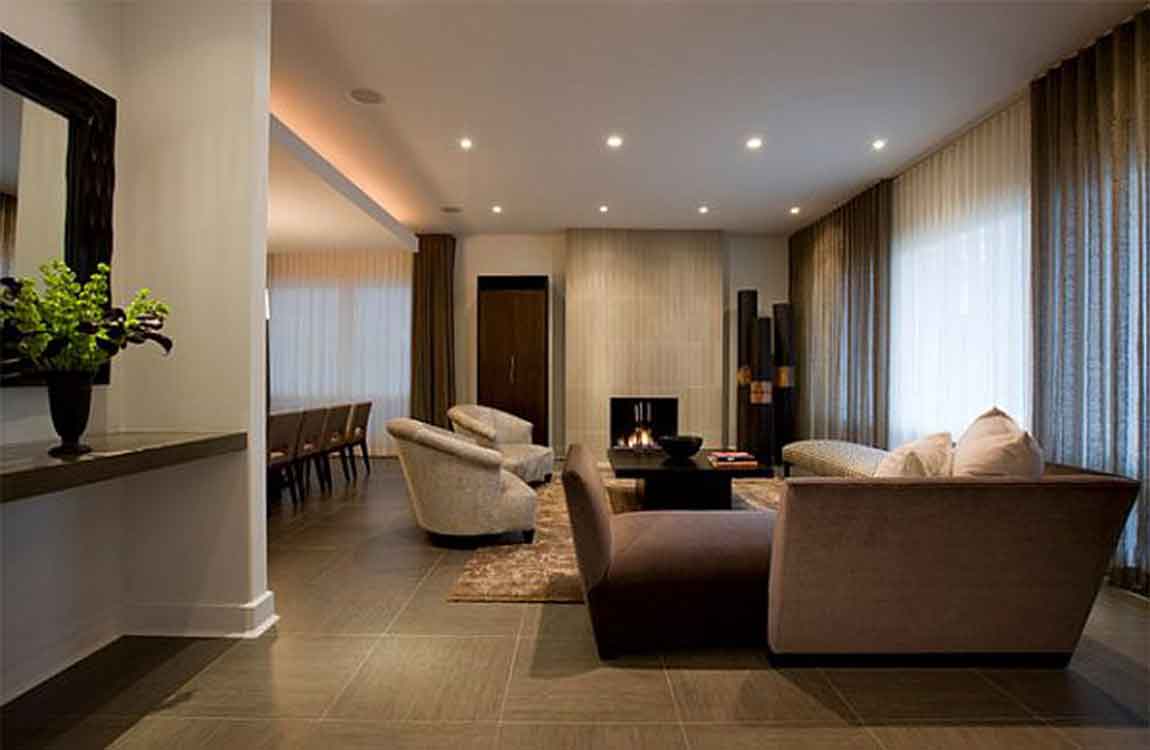
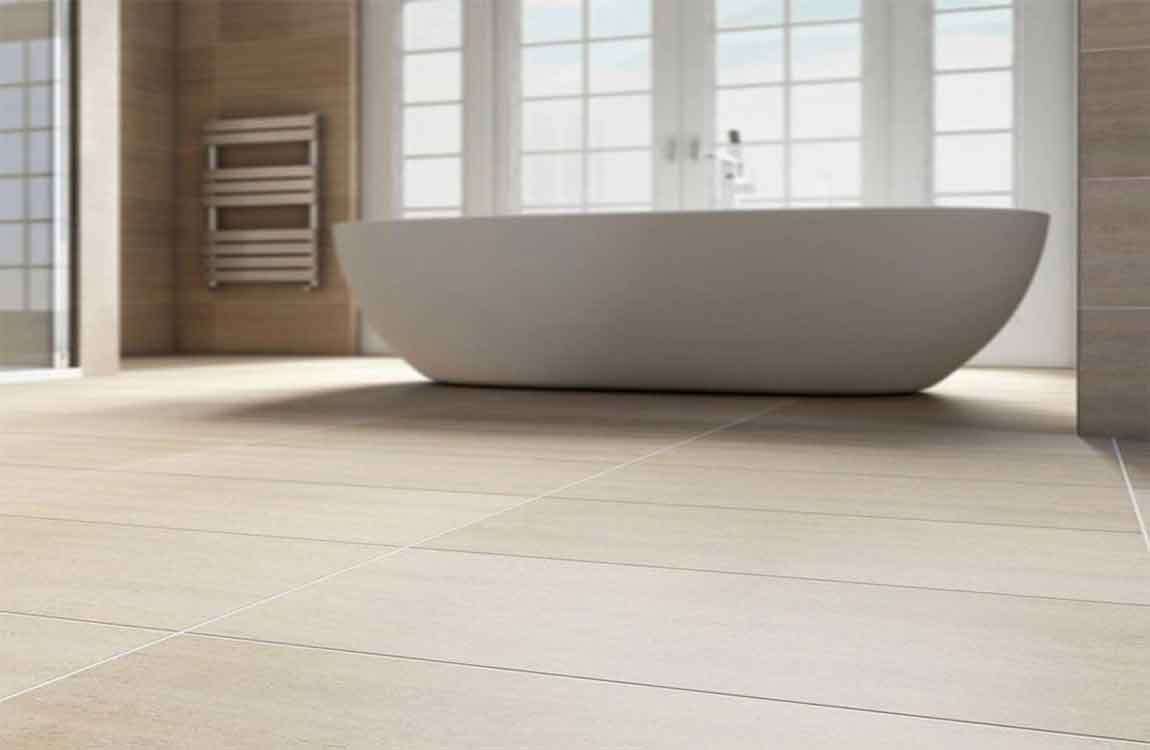
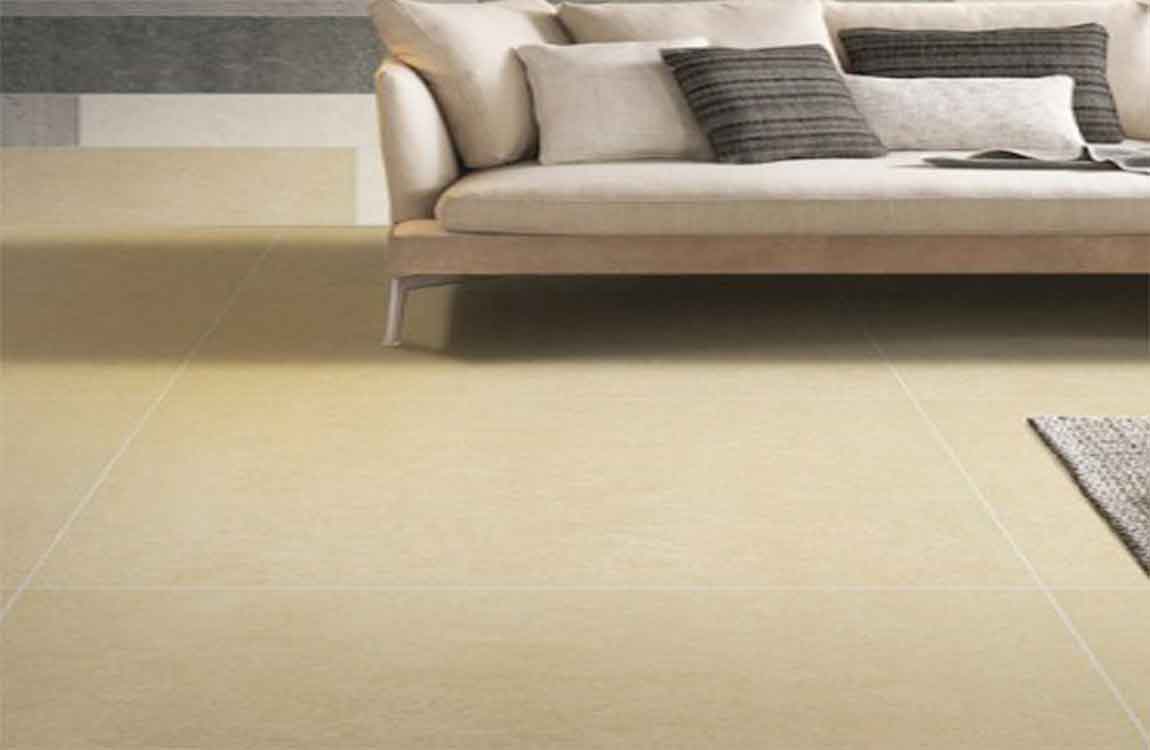
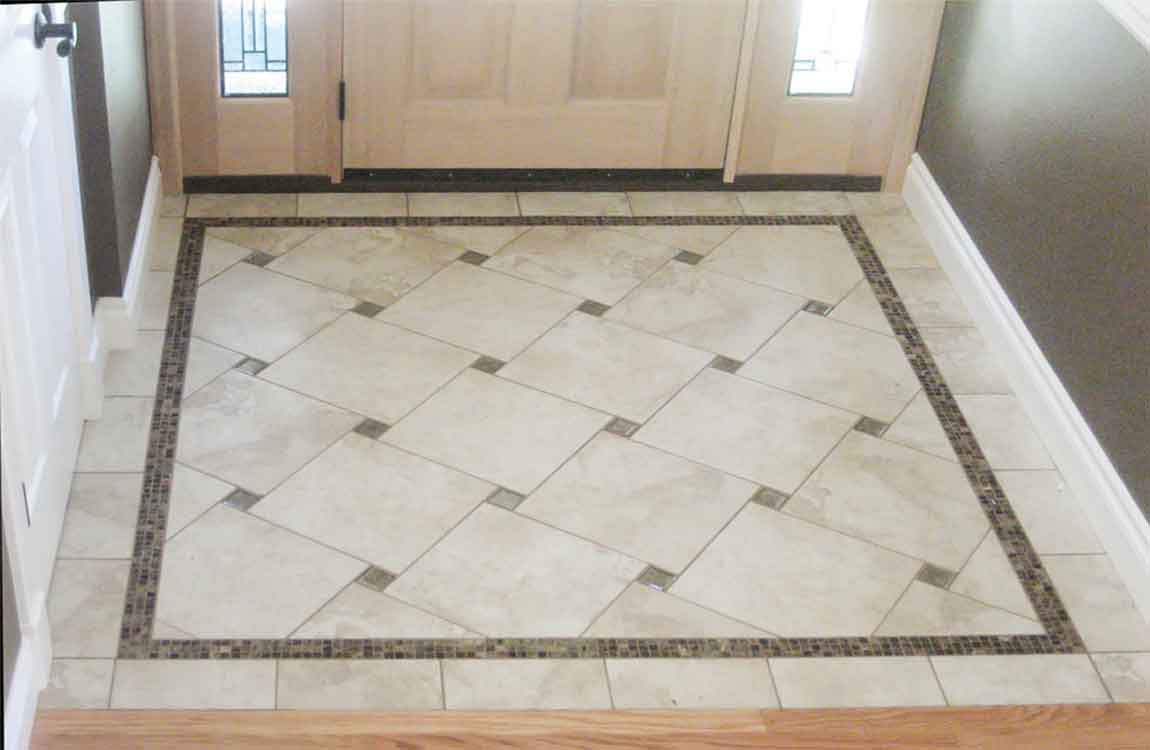
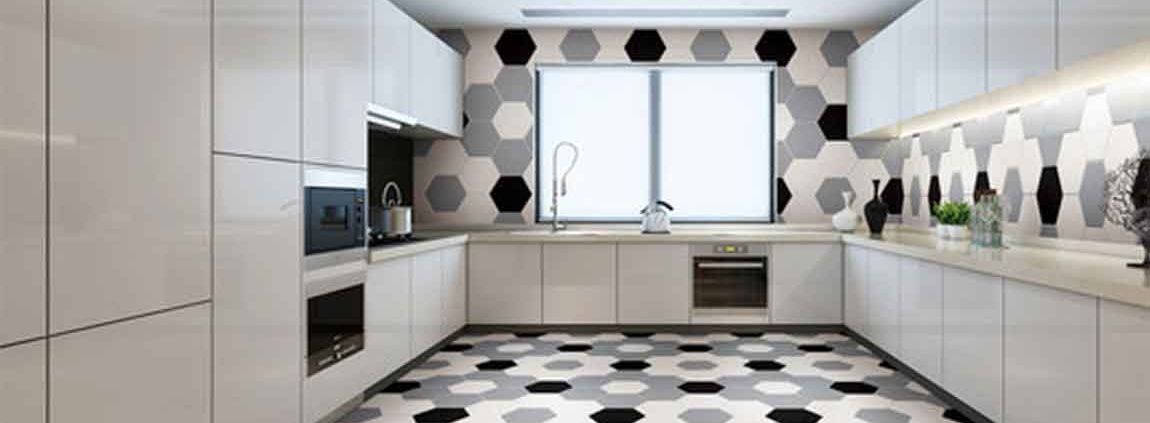
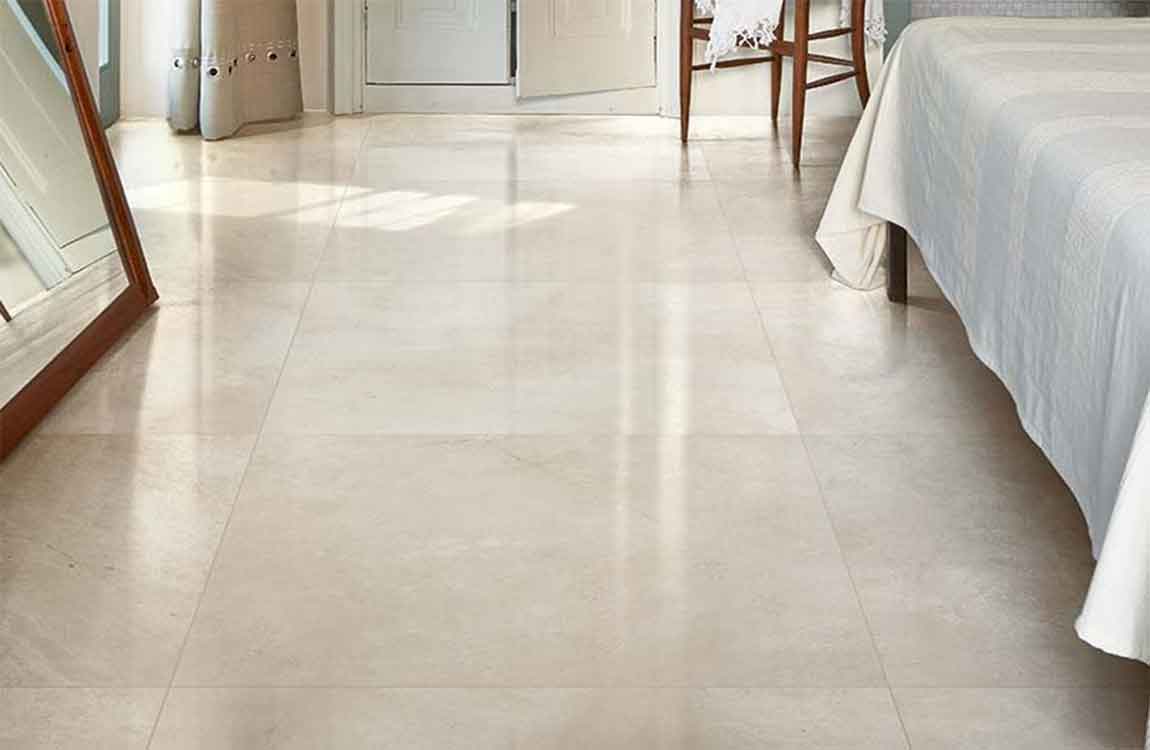
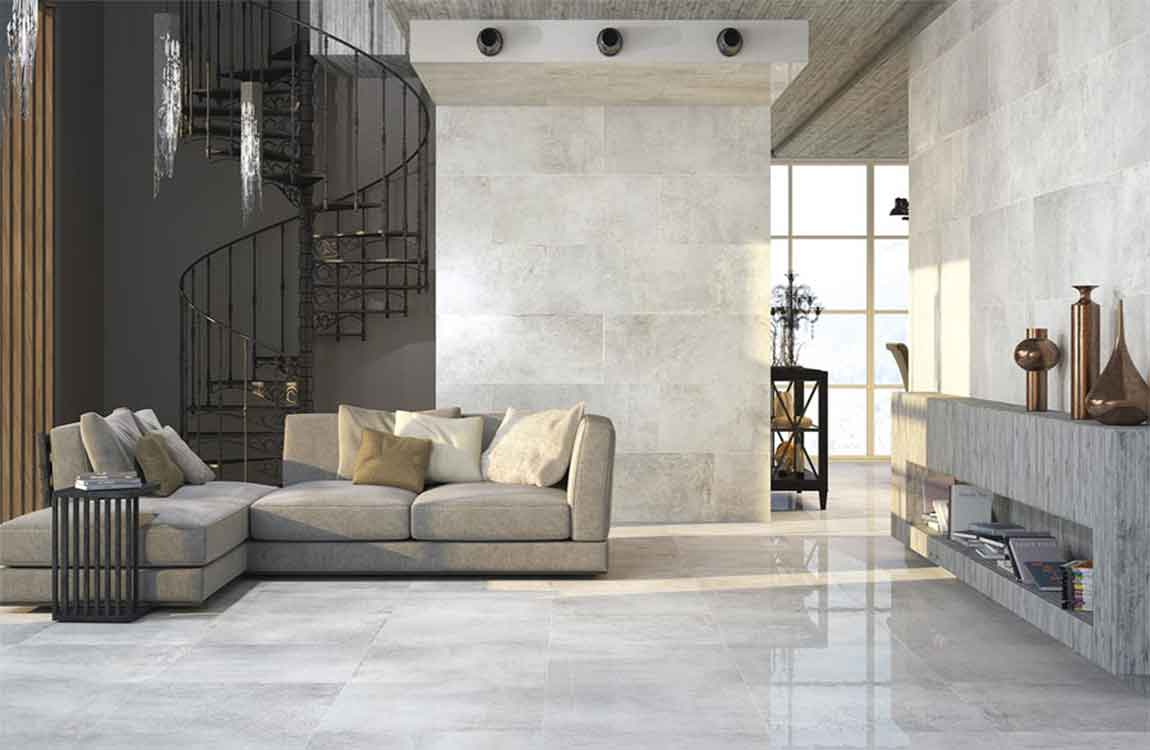
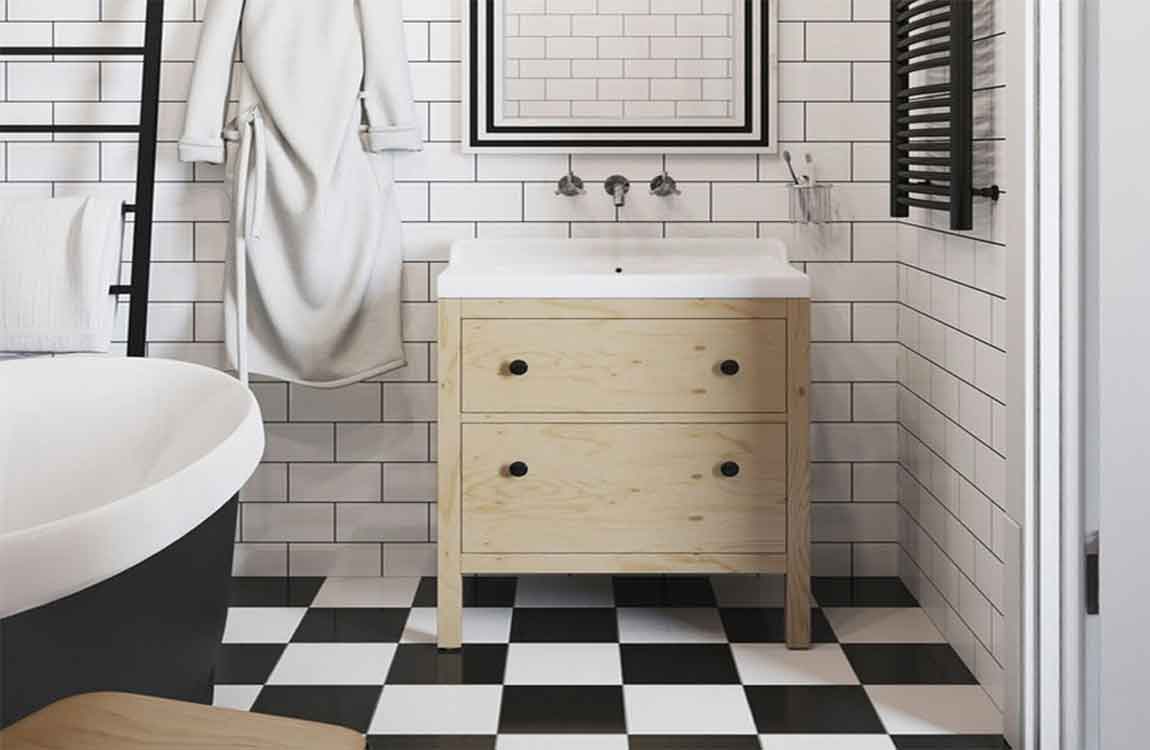
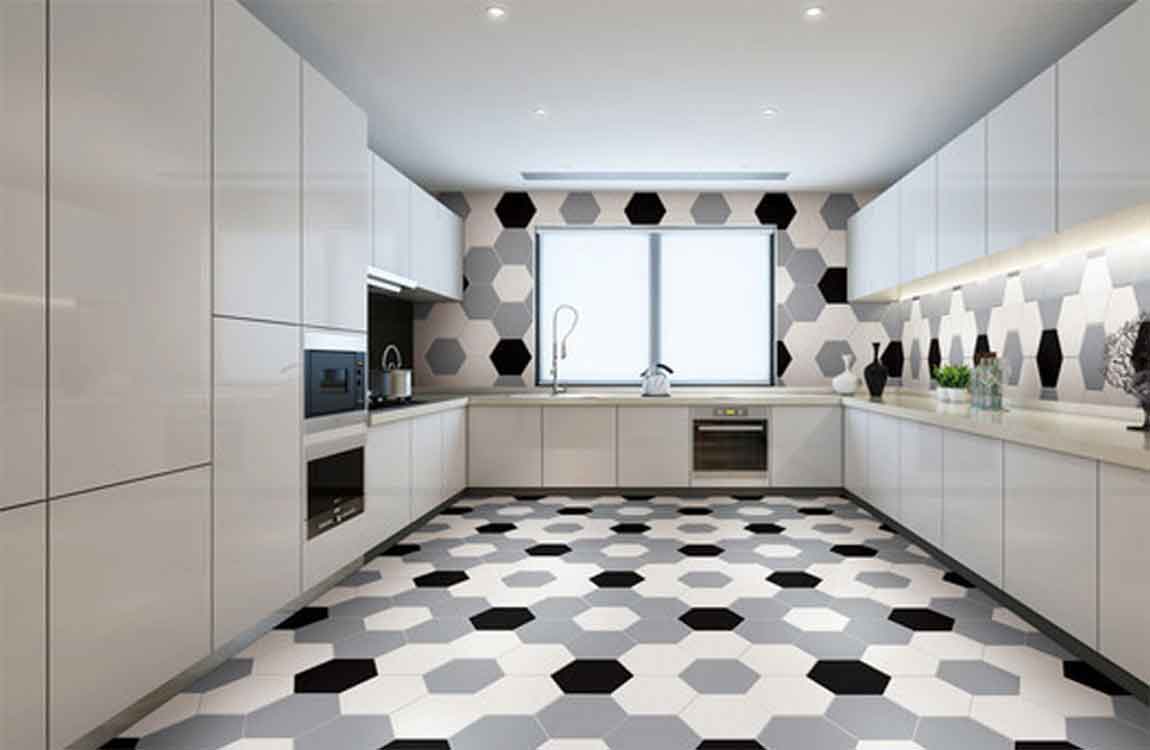
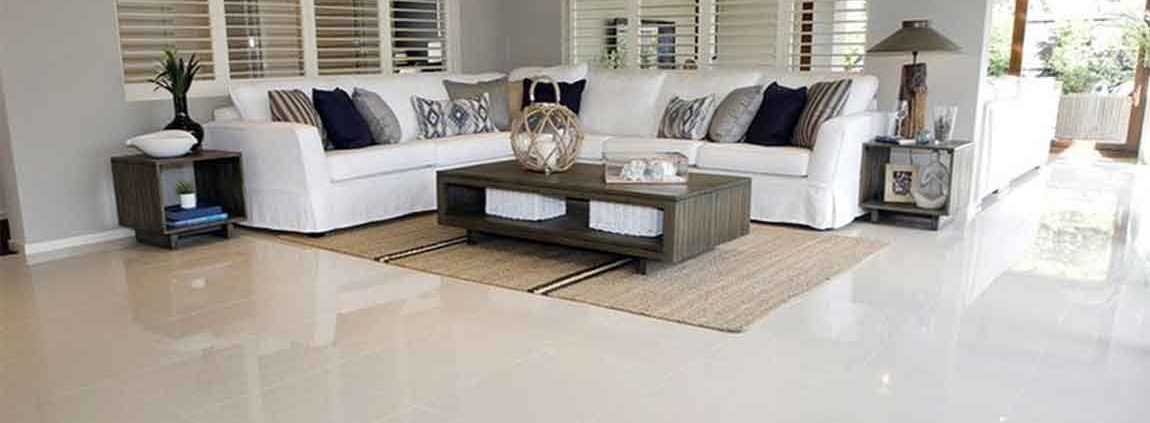
Ceramic and porcelain tiles are experiencing strong demand, driven by Brazil’s booming residential and hospitality sectors. As a leading floor tiles supplier to Latin America, companies that offer eco‑friendly production processes and recycled content are well‑positioned to capture market share. The shift toward larger‑format porcelain tiles aligns with contemporary architectural trends favoring seamless, minimalist interiors.
Sintered stone is gaining significant traction for kitchen countertops and large‑format wall cladding. Architects and developers are increasingly specifying sintered stone slabs for their durability, heat resistance, and low maintenance – qualities that make them ideal for both residential kitchens and high‑traffic commercial spaces. As a sintered stone supplier to Brazil, manufacturers offering large slab countertops in varied finishes are seeing growing order volumes.
Flexible stone veneer and bendable stone products are emerging as preferred solutions for curved facades and complex architectural surfaces. As green building certifications reward design innovation, the demand for flexible stone panels is rising across Brazil’s high‑end commercial and institutional projects.
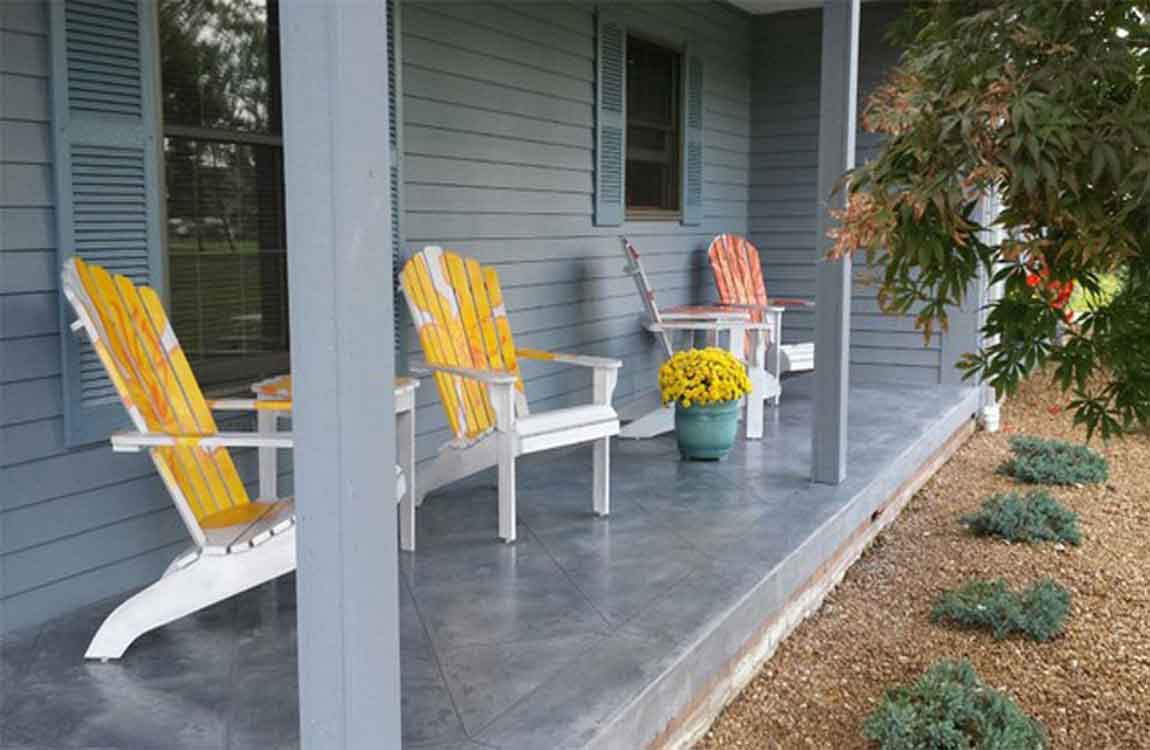
The outdoor living trend is fueling demand for WPC decking, WPC doors, and other wood‑plastic composite products. As a WPC decking supplier to Latin America, manufacturers offering weather‑resistant, low‑maintenance outdoor flooring solutions are finding strong uptake in resort developments, residential projects, and hospitality spaces.
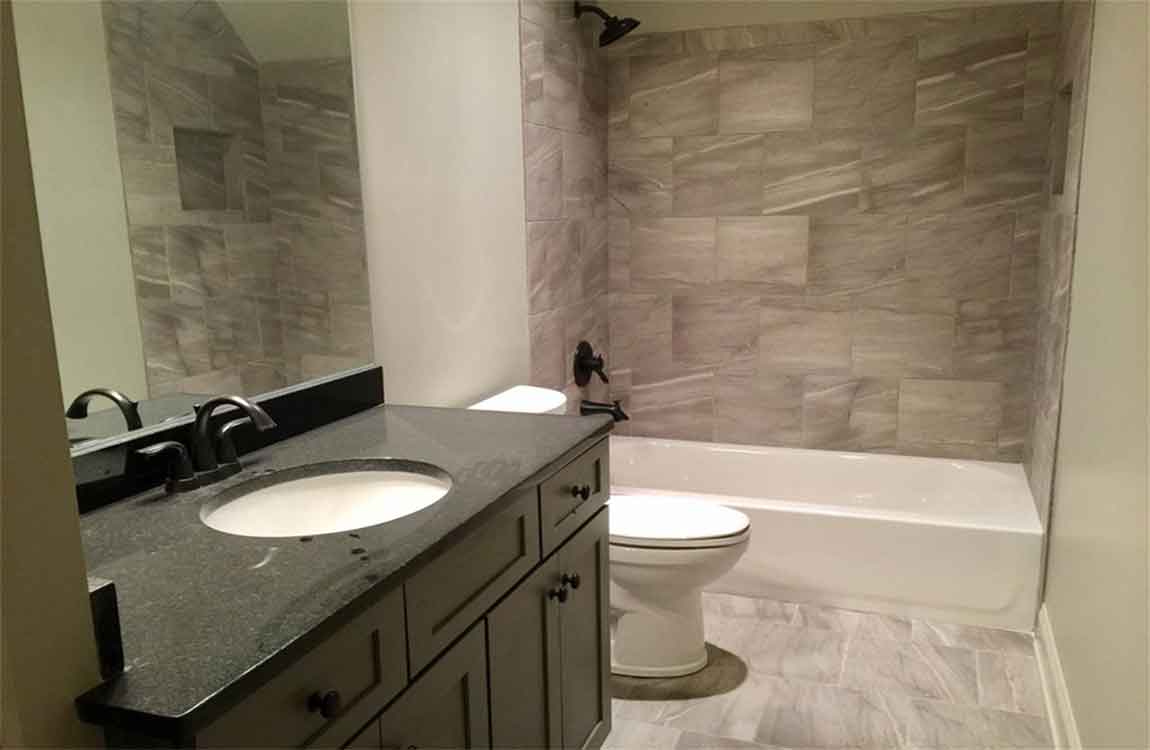
Bathroom vanities, one‑piece toilets, and LED mirrors are in high demand as Brazilian consumers increasingly prioritize design, water efficiency, and smart features. The growing middle class and rising standards in residential construction are creating a vibrant market for stylish, water‑saving bathroom solutions.
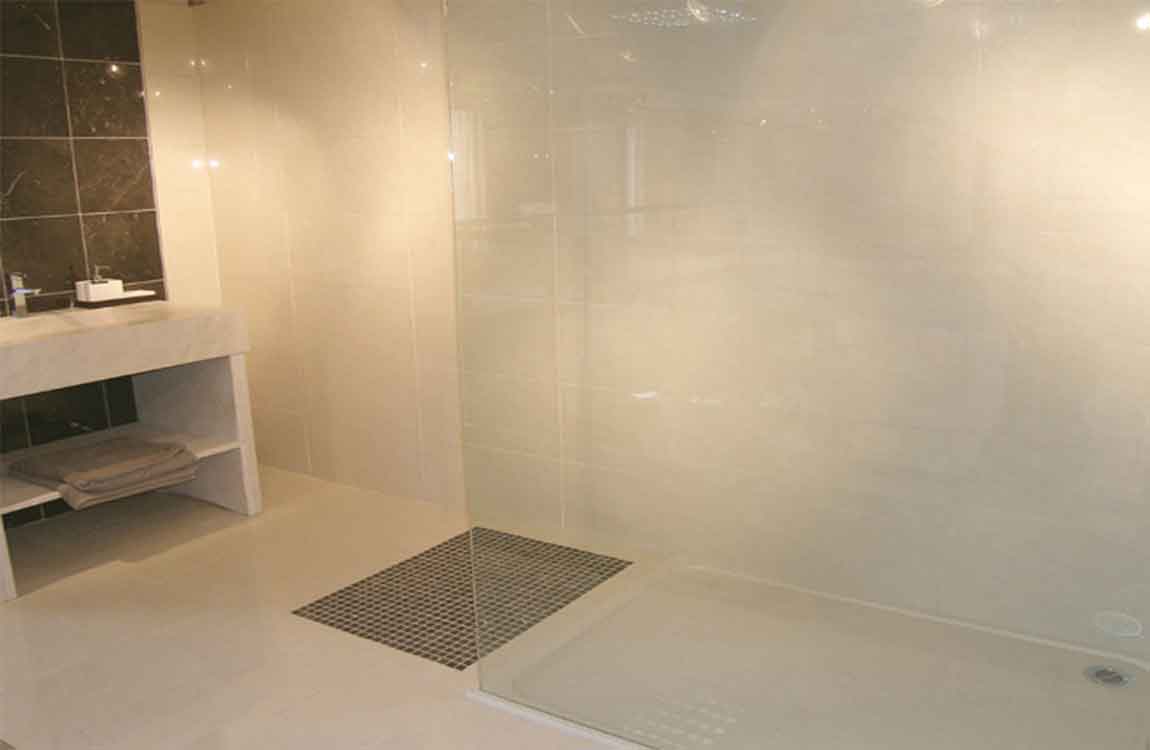
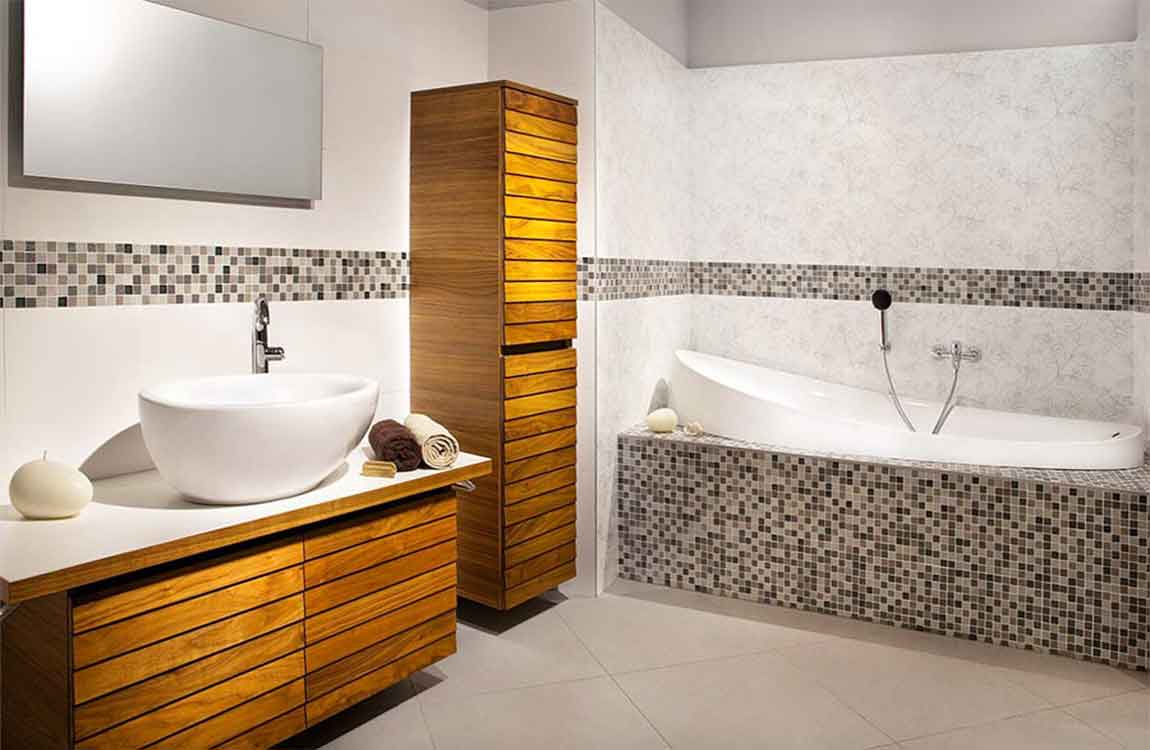
PVC wall panels and waterproof wall panels are rapidly replacing traditional materials in wet areas such as bathrooms, kitchens, and laundry rooms. As a green panels supplier to South America, companies offering moisture‑resistant, easy‑to‑install, and low‑VOC wall cladding solutions are gaining ground in both residential and commercial segments.
Across all these segments, the shift from voluntary preference to mandatory compliance is opening substantial import substitution and market expansion opportunities.

What This Means for Building Material Suppliers

To succeed in Brazil’s largest economy, compliance capability is the new competitive edge. Suppliers must first document alignment with ABNT performance standards and understand how their products contribute to LEED, AQUA‑HQE, or EDGE certification credits. Second, they need to stay ahead of evolving energy and environmental regulations. Finally, building localized technical support – including Portuguese‑language documentation and responsive customer service – is critical for earning trust with Brazilian developers and contractors.
For suppliers of ceramic tiles, porcelain tiles, floor tiles, bathroom vanities, sintered stone, flexible stone, WPC decking, PVC wall panels, and waterproof wall panels, the Brazilian market offers a rare convergence of regulatory tailwinds and consumer demand. Those who invest in product innovation, green certification, and local partnerships will capture significant share in this dynamic and fast‑growing market.
As COP30 puts Brazil’s sustainability efforts in the global spotlight, the green building materials market is entering a decade of structural growth. From porcelain tiles and sintered stone countertops to flexible stone veneer and WPC outdoor flooring, every product category presents substantial opportunities for forward‑thinking suppliers. Companies that invest in regulatory compliance, product innovation, and local presence will capture significant share in this dynamic and fast‑growing market.

How to Clean sandstone tiles?

sandstone tiles is a natural stone that can be used inside and outside of your home for floor tiles, wall surfaces, monuments, and fireplaces. It is a particularly porous stone, so it can soak up liquids and get stained quickly if it’s not cleaned properly. In order to clean your sandstone tiles, you just need some common cleaning products and the proper technique.


With these things and a little bit of elbow grease your sandstone tiles can remain beautiful or look good as new. Acidic cleaners can etch the surface of the stone, which will potentially change the texture and the color of the stone permanently. Use dish soap if plain water doesn’t clean the surface enough.


In most cases, cleaning sandstone tiles with plain water works perfectly well. However, if you feel that you need some cleanser, use a very small amount of plain dish soap. Put a small squirt of soap on your damp cloth and rub it over the surface. Wipe the surface with a clean area of your cloth afterwords to clean the soap off of the surface.


Dry the surface off with a towel. You should not leave standing water on the surface of sandstone tiles, as it will gradually absorb it. Instead, once you are done cleaning, wipe off the surface until it is dry. Use a soft, clean, and dry rag to wipe down the surface so that it stays clean and doesn’t doesn’t get scratched.


After you think you’ve gotten the stain out, wipe the mixture off of the stone. Allow the area to dry to determine if the stain is gone. If it is, use a clean area on the cloth to remove any baking soda residue that remains. If the stain remains, apply the paste again and allow it to sit longer than 15 minutes before scrubbing it a second time.

How Waxing the Floor?


Follow manufacturer’s instructions if you are using a finish instead of a wax. Floor wax is a natural product that works into the pores of the wood. If you are trying to create a similar result using a synthetic finish, which bonds over the wood, you will need to follow the specific instructions that came with your product.


Polyurethane, the most common modern finish, should be stirred, then applied as quickly as possible and in one back and forth layer across the room, overlapping the previous stroke so you keep a wet edge. You should wear an organic vapor respirator mask and keep a fan blowing out a window while you work.


Sweep and mop your floor until it’s as clean as you can make it. Use a dust mop to pick up as much dust and as many small particles as possible. Anything you don’t get off the floor is likely to get caught in the wax, where it will stay until someone strips off the wax.


Use a new sponge mop or flat wax applier mop. Never use a used mop, even if it doesn’t look dirty. Sponge mops that have also been used for cleaning the floor are likely to introduce dirt into the wax, ruining the look.


Line the mop bucket with a garbage bag and fill with floor wax. The trash bag prevents the wax from caking onto the mop bucket and ruining it for future uses. If you are using a flat wax applicator mop, you can skip this step. Those mops are designed to have the wax poured directly onto the mesh backing on the upper side.

How to Clean Wood Walls?

Wood walls can be a challenge to clean, as wood does not do well if it gets wet. You may have wood walls in your home that are dusty or dirty and wonder how you can clean them without damaging them. To clean wood walls, you can try dry dusting them. You can also apply waxes and polishes or a wood cleaner to the walls to get them clean.

Clean the wood walls with a dry cloth. Get a microfiber cloth or a linen cloth to the wipe the wood walls. Do not wet the cloth, as water can damage the wood walls. Follow the grain of the wood, wiping in a circular motion. Fold the cloth over as you wipe the walls down so it picks up any dust, dirt, or grime on the surface of the wood. If you are wiping down a large section of the wood walls, you may need to use more than one dry cloth.

Dampen the cloth with lemon oil. If the wood walls are really coated in stubborn dirty or dust, use a small amount of lemon oil on the dry cloth. The lemon oil will help to catch any dirt or dust and will not damage the wood. Put one to two drops of lemon oil on a clean dry cloth. Then, gently wipe the walls down with the cloth to remove surface dirt or dust.

Use the dusting attachment on your vacuum cleaner. If you have a vacuum cleaner with the dusting attachment, use it on the wood walls. Run the vacuum with the attachment over the walls to pick up any grime or dirt. Make sure the vacuum attachment does not have any sharp edges or sides that can scratch the wood.

If you have a floor sweeper with a dusting pad instead of a vacuum, you can use it to clean the wood walls. Simply run the floor sweeper over the walls with a clean, dry dusting pad. Change the pad as needed to get all the dust or grime off the walls.

How Cleaning the Grout?

Spot test the cleaner on the grout. Before you dive right into cleaning the grout with the toilet cleaner, you should spot test it first on a portion of the grout. Choose a spot that can be covered up or hidden if it gets damaged. Use a small amount of the toilet cleaner on the grout and leave it on for five minutes. If the grout does not appear damaged, you can proceed to use the toilet cleaner on the rest of the grout.

Pour the cleaner on the grout and let it sit. Do this by pouring the cleaner on the area with grout that is furthest from the door. This way, you can clean the grout in small sections, moving towards the door and cleaning each section as you go. If you are cleaning grout along a bathtub or a faucet, you do not have to worry about doing this.

Pour a small amount of the cleaner on the grout. Do not pour too much cleaner on the grout or lay it on too thickly. You want an even amount dispersed on the grout so the cleaner can soak in and remove any dirt or grime. Allow the cleaner to stay on the dirty grout and soak in for five minutes. Do not touch or disturb the cleaner when it is sitting on the grout.

Scrub the grout with a toothbrush. Once you have let the cleaner sit on the grout, take a toothbrush or a grout cleaning brush, and gently run it over the grout. You should not have to scrub the cleaner off the grout very hard to remove any grime or dirt. Often, the grime will come off easy by running the brush over the grout.

Scrub all of the grout that is covered with the cleaner. You should notice the grout appears clean and grime-free once you scrub it with the brush. Rinse and dry the grout well. It is very important that you rinse off the toilet cleaner as soon as you are done scrubbing the grout with the brush. Do not let the cleaner sit on the tile or the grout once you are done scrubbing it, as this can lead to a built up of residue.

How Using Baking Soda Paste Clean Grout

Make a baking soda paste. Combine about two tablespoons of baking soda with about one tablespoon (15 milliliters) of water. The mixture should not be too thin. If it sloshes about in the bowl you mixed it in, add some more baking soda to help it achieve a more paste-like texture. It also shouldn’t be too thick. If the mixture is thick and dry, and doesn’t adhere well to the fork or spoon you use to mix it, add some water to thin it out.


The more grout you have to clean, the more paste you’ll need. Apply the paste to the grout. The easiest way to apply the paste to the grout is with your finger. Simply scoop a little dollop of the paste onto your finger tip and smear it in an even layer across the grout you wish to clean.


Mix water and vinegar. In a spray bottle, combine water and vinegar in a one-to-one ratio. For instance, you might combine 1.5 cups (354 milliliters) vinegar with 1.5 cups (354 milliliters) water. To prevent grout from accumulating grime in the shower, just spray this mixture onto the shower grout two or three times weekly after getting out of the shower.


Spray the mixture onto the paste. Point the nozzle of the spray bottle toward the baking soda paste you’ve smeared along the grout. Squeeze the handle of the bottle. Repeat as necessary until all of the paste has bubbled up somewhat. You may have to wait about five minutes for the vinegar and baking soda to react.


Scrub the grout. Once the paste has become fizzy with the application of the vinegar mixture, use a stiff-bristled toothbrush to scrub the grout clean. Use a toothbrush you aren’t planning on using again for anything but detail cleaning.

How Nipping the Glass Tiles?

Use mosaic nippers to cut small pieces from thin glass tiles. Mosaic nippers are a great tool to use if you want your mosaic to consist of small, irregularly shaped pieces of glass tile. They look like pliers with a sharp clamp tip. For glass tiles, use nippers that have carbide wheels attached to the ends– these allow you to apply enough pressure to cut the glass without cracking or damaging it.


Use nippers on glass tiles 1⁄8 inch (3.2 mm) thick. Anything thicker may be too difficult to cut through. Nippers can be purchased from home improvement stores or online for around $15. Draw guidelines using a straightedge and a washable marker.


Even though nippers aren’t as precise as other glass cutting methods, you still want to give yourself some guidelines that you can follow as you nip pieces off of the larger tile. Use a straightedge to guide your washable marker to form an even and straight line on the glass tile. Use washable marker so you can wipe the markings away easily when you’re done cutting.


Put on safety goggles and clear your workspace of pets and people. Nipping glass tile can send sharp pieces of glass flying through the air, so before you work, you’ll need to put on well-fitting safety goggles. It’s also important to clear the area of other people so they aren’t at risk for getting hit with a glass shard. That includes pets, too! You don’t want a furry friend to get hit with a piece of glass either.


Hold the nippers like you would hold a pair of pliers. You will need to apply a fair amount of force to get the nippers to cut through the glass tile, so you’ll want to have a strong grip on the handles of the nippers. Use your dominant hand to grip the handles just like you would grip the handles of a pair of pliers, with the top handle in the middle of your palm and the bottom handle cradled by your fingers. Tip: You can wear a pair of thick gloves to make your grip more comfortable.

How to Avoid Common Glass Tile Installation Mistakes?


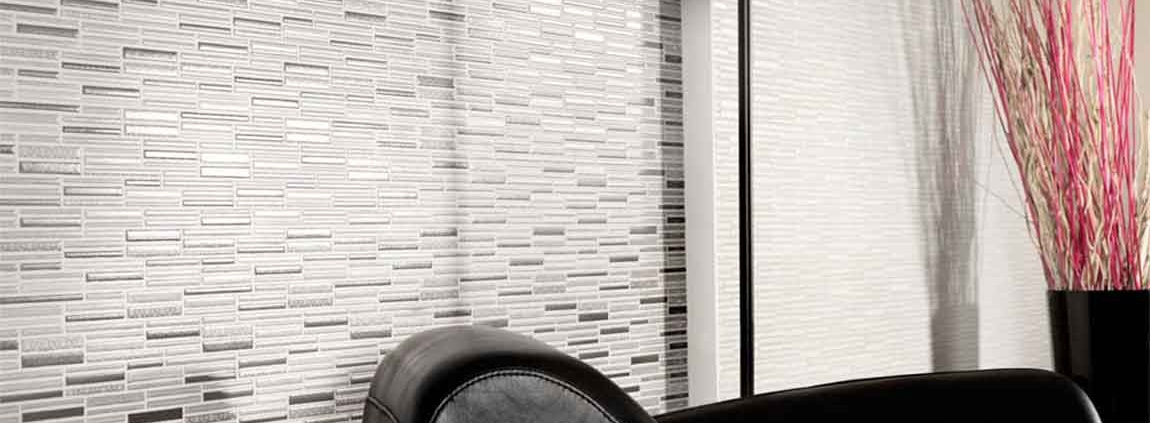
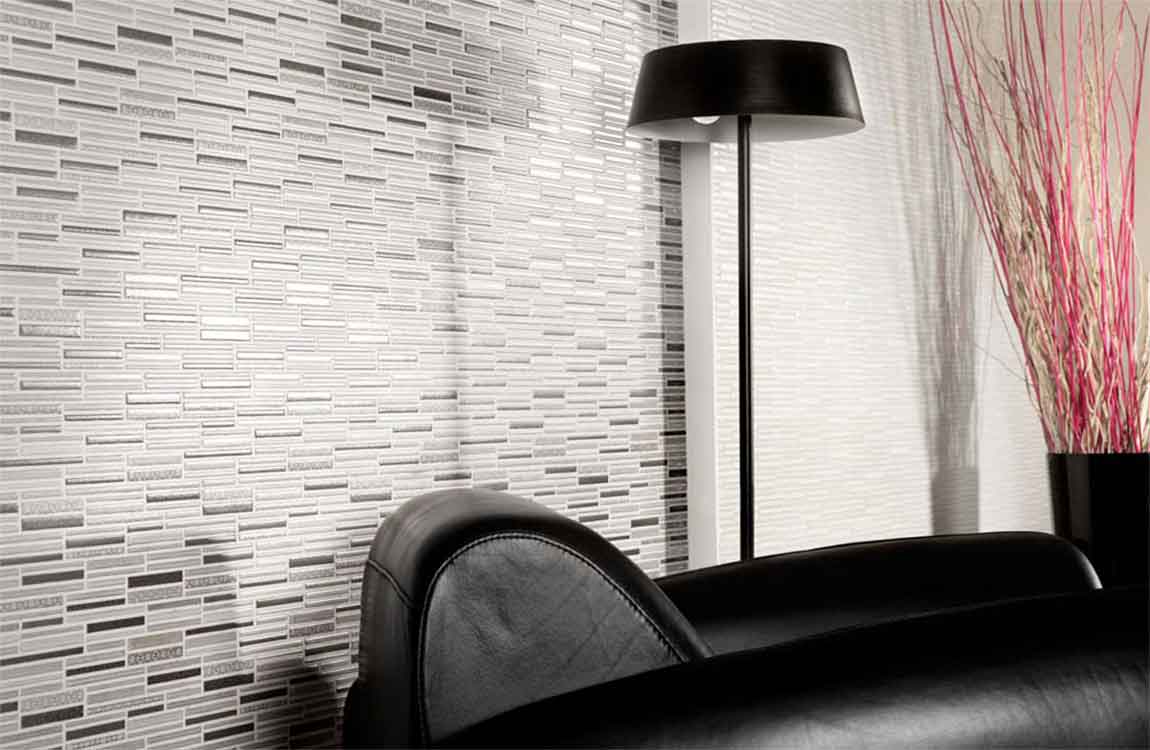
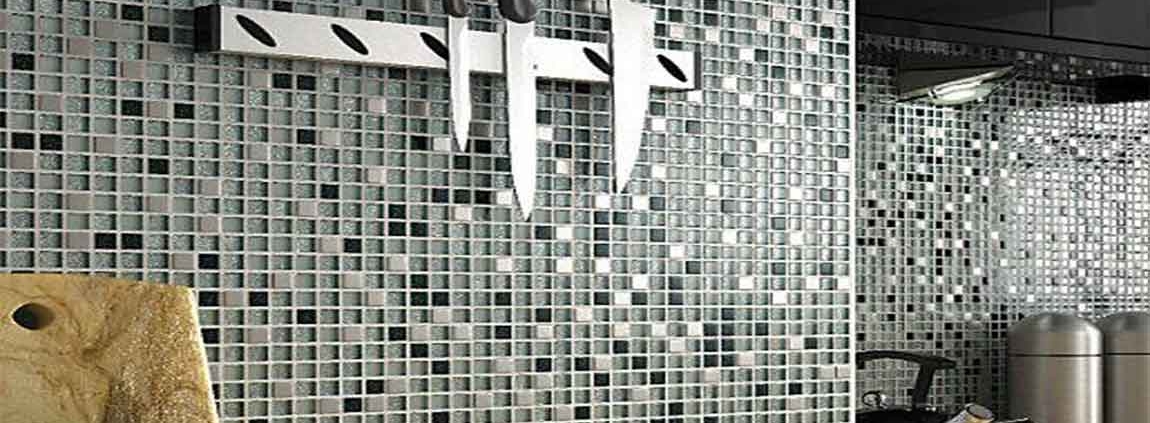
Homeowners and interior design professional who want a fashion-forward, fresh look select glass tile accents more frequently than ever. Glass tile harmonizes with either traditional, transitional or contemporary architecture, adding a splash of style. For years, glass tile was only used for accent and trim pieces, with ceramic tile filling the field.


there was not much thought given to the installation materials, which were generally the same as those used for the ceramic tile. Modern design trends continue to push the envelope with glass tile, moving beyond the traditional accent pieces – glass tile is now being used as field tile with sizes 12″ x 12″ or larger, and with these new tiles come new challenges.


Ensure color consistency behind glass tile. Since glass can be the sole material in an installation, it is essential to choose a bonding mortar that meets its unique demands. In most cases, the color of the thin-set mortar was not an issue when installing opaque ceramic tile.
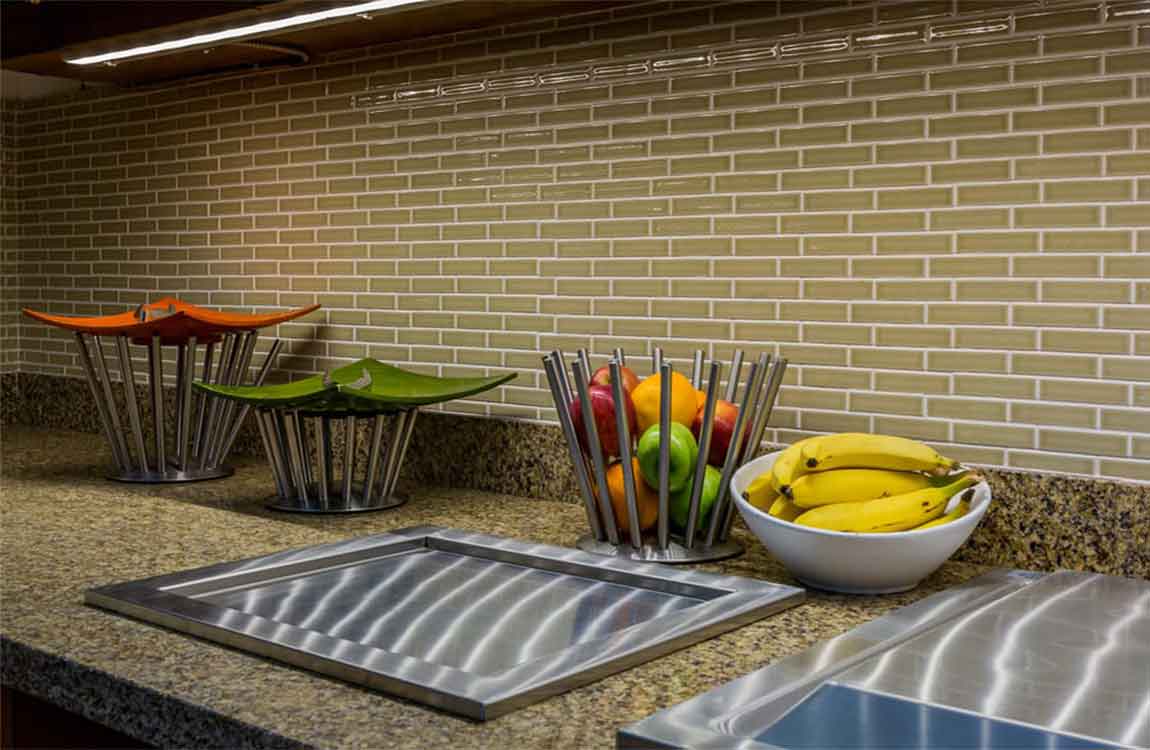

But with clear and translucent glass, the mortar appears through the tile: if the color varies in the mortar, it will in the glass tile too.To eliminate variations across a glass tile installation, choose a glass tile mortar with a bright white shade that is controlled to a consistent standard color.


The color consistency will ensure a uniform appearance on the face of the glass tile, even in large installations that require multiple batches of mortar. As an added bonus, the bright white shade of the mortar can enhance the color of the clear or translucent glass tile.

How Cutting a Single Tile before Toilet Installation?

Use an angle grinder to score the circular shape into the tile. Attach a 4 in (10 cm) diamond wheel blade to the grinder, and position it so the circular blade is at roughly a 45-degree angle to the tile. Slowly work your way around the circle traced into the tile, using very light pressure. You only need to score the tile about 0.125 in (0.32 cm) deep on this initial pass


Use caution at all times. Tie back long hair and remove any dangling jewelry, and wear long sleeves and safety glasses. The grinder will kick up a lot of dust, so wear a dust mask and consider buying a vacuum attachment that you can connect to your grinder. Angle grinders are an affordable and useful small power tool you can find at any hardware store.

Diamond blades are more expensive than other blades you can get for the grinder, but they cut through tile much better. Cut sacrificial break notches if the circle is near the tile’s edge. If there is less than about 1.5 in (3.8 cm) of space between your traced circle and an edge of the tile, there’s a good chance the tile will break while cutting it.


If this is the case, use a grinder to cut two or more deep lines from the circumference to the nearest edge of the tile (about half of the tile). Our goal is to have tiles stick to these selected, controlled points, not random ones. Once you put the tiles in place, the straight, short, controllable cracks on the tiles will be almost invisible, especially because the toilet will be placed on them.


Continue grinding around the circle with gentle pressure. Once you’ve finished scoring the tile surface and creating any sacrificial break notches, keep making slow, steady passes with the grinder at a 45-degree angle. If the tile breaks at the sacrificial points, remove that section and keep cutting. Eventually, you’ll grind your way through the tile and have the circular cutout that you need.

How Adding a Temporary Covering?

Lay down a large area rug to cover unsightly tile flooring. Measure the area that you want to cover, and find a large rug that will cover most of the flooring. Try to get as close as possible to the correct dimensions for the room to ensure that the tile is mostly covered. If you’re having trouble finding inexpensive rugs, shop at thrift stores, or purchase a variety of smaller rugs to layer them and cover the floor.

Remember to place a sticky mat under the rugs, since the fabric can sometimes slide over the tiles. You can find inexpensive sticky mats at most home improvement stores and supermarkets. If you like the original color of the tiles and want to give them a quick update, you can add decals that let the color of the tiles show through.

Stick vinyl decals over flooring or a backsplash for a fresh look. Purchase a large sheet of vinyl decals to add character to tile flooring or a backsplash. Make sure you measure the area that you want to cover, and be sure to buy enough decals to completely cover the area. When you’re ready to apply the decals, simply trim them to size, peel the backing off, stick them to the tiles, and smooth them with a credit card to remove air bubbles.

This is a great way to add a pattern to plain tiling without painting, and it’s easily removable when you want to change it up. All you have to do is peel off the decals to start over. Some decals have more “traditional” tile patterns, like mosaics or Tuscan tiles, while others are simple solid colors.

Use adhesive carpet tiles to conceal large areas of tiled floor. Measure the area that you want to cover, and visit a home improvement or flooring store to see what kind of carpeting they have in stock. Keep in mind that most carpet tiles cost about $1 for 1 foot (0.30 m) squared, so you can plan your budget accordingly. When you’re ready, peel off the backing and stick them to the tile.