Posts

How Cutting a Single Tile before Toilet Installation?

Use an angle grinder to score the circular shape into the tile. Attach a 4 in (10 cm) diamond wheel blade to the grinder, and position it so the circular blade is at roughly a 45-degree angle to the tile. Slowly work your way around the circle traced into the tile, using very light pressure. You only need to score the tile about 0.125 in (0.32 cm) deep on this initial pass

Use caution at all times. Tie back long hair and remove any dangling jewelry, and wear long sleeves and safety glasses. The grinder will kick up a lot of dust, so wear a dust mask and consider buying a vacuum attachment that you can connect to your grinder. Angle grinders are an affordable and useful small power tool you can find at any hardware store.


Diamond blades are more expensive than other blades you can get for the grinder, but they cut through tile much better. Cut sacrificial break notches if the circle is near the tile’s edge. If there is less than about 1.5 in (3.8 cm) of space between your traced circle and an edge of the tile, there’s a good chance the tile will break while cutting it.


If this is the case, use a grinder to cut two or more deep lines from the circumference to the nearest edge of the tile (about half of the tile). Our goal is to have tiles stick to these selected, controlled points, not random ones. Once you put the tiles in place, the straight, short, controllable cracks on the tiles will be almost invisible, especially because the toilet will be placed on them.


Continue grinding around the circle with gentle pressure. Once you’ve finished scoring the tile surface and creating any sacrificial break notches, keep making slow, steady passes with the grinder at a 45-degree angle. If the tile breaks at the sacrificial points, remove that section and keep cutting. Eventually, you’ll grind your way through the tile and have the circular cutout that you need.

How Adding a Temporary Covering?

Lay down a large area rug to cover unsightly tile flooring. Measure the area that you want to cover, and find a large rug that will cover most of the flooring. Try to get as close as possible to the correct dimensions for the room to ensure that the tile is mostly covered. If you’re having trouble finding inexpensive rugs, shop at thrift stores, or purchase a variety of smaller rugs to layer them and cover the floor.

Remember to place a sticky mat under the rugs, since the fabric can sometimes slide over the tiles. You can find inexpensive sticky mats at most home improvement stores and supermarkets. If you like the original color of the tiles and want to give them a quick update, you can add decals that let the color of the tiles show through.

Stick vinyl decals over flooring or a backsplash for a fresh look. Purchase a large sheet of vinyl decals to add character to tile flooring or a backsplash. Make sure you measure the area that you want to cover, and be sure to buy enough decals to completely cover the area. When you’re ready to apply the decals, simply trim them to size, peel the backing off, stick them to the tiles, and smooth them with a credit card to remove air bubbles.

This is a great way to add a pattern to plain tiling without painting, and it’s easily removable when you want to change it up. All you have to do is peel off the decals to start over. Some decals have more “traditional” tile patterns, like mosaics or Tuscan tiles, while others are simple solid colors.

Use adhesive carpet tiles to conceal large areas of tiled floor. Measure the area that you want to cover, and visit a home improvement or flooring store to see what kind of carpeting they have in stock. Keep in mind that most carpet tiles cost about $1 for 1 foot (0.30 m) squared, so you can plan your budget accordingly. When you’re ready, peel off the backing and stick them to the tile.
How to Cut Tile Backsplash?

Installing a tile backsplash yourself is a great way to save money while getting the exact look you want. There is more to installing backsplashes than just arranging tiles, however; you have to measure and cut the tiles so that they fit properly. If the backsplash is already installed, you may still be able to cut holes into it for new fixtures, as long as you use the proper tools.

Use tile nippers for small tiles. Tiles that are smaller than 1 or 2 inches (2.5 or 5.1 cm) may be difficult to cut on a score-and-snap tile cutter. Not only could you hurt yourself, but you could break the tile. Instead, use a pair of tile nippers to pinch the tile where you need to break it. You can use tile nippers on larger tiles to “cut” curves.
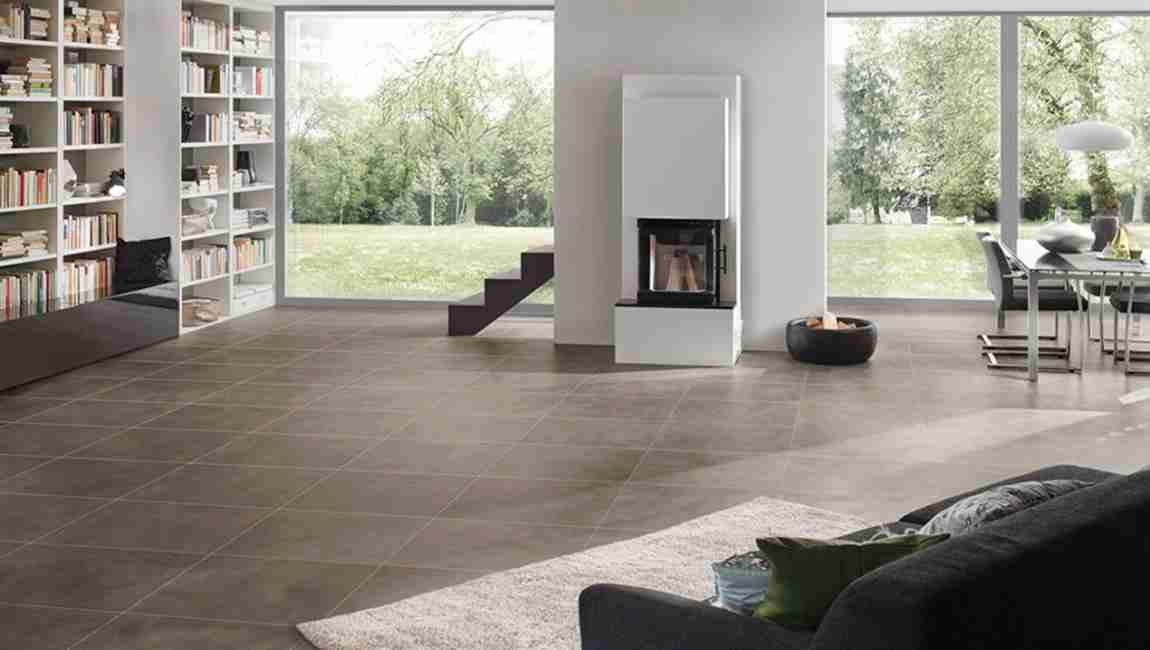
Use a wet saw to notch tiles, if needed. Sometimes, the corner of a cabinet or outlet cover will extend into your backsplash tiles. Measure the corner, then trace it onto the tile with a pencil or marker. Place the tile onto the sliding table of the wet saw. Gently guide the tile into the saw to make the first cut. Pull the tile back, then create the second cut. Use a tile nipper to break off the piece between the 2 cuts.

Install the tile sheet using your preferred tile cement. Spread the tile cement across the backsplash area, then press the tile sheet into place. If you cut your tile sheet smaller, arrange it so that the gaps caused by the size difference are along the top edge, where the cabinets are. If there is a gap along 1 of the side edges, position the sheet so that the gap is in a corner.
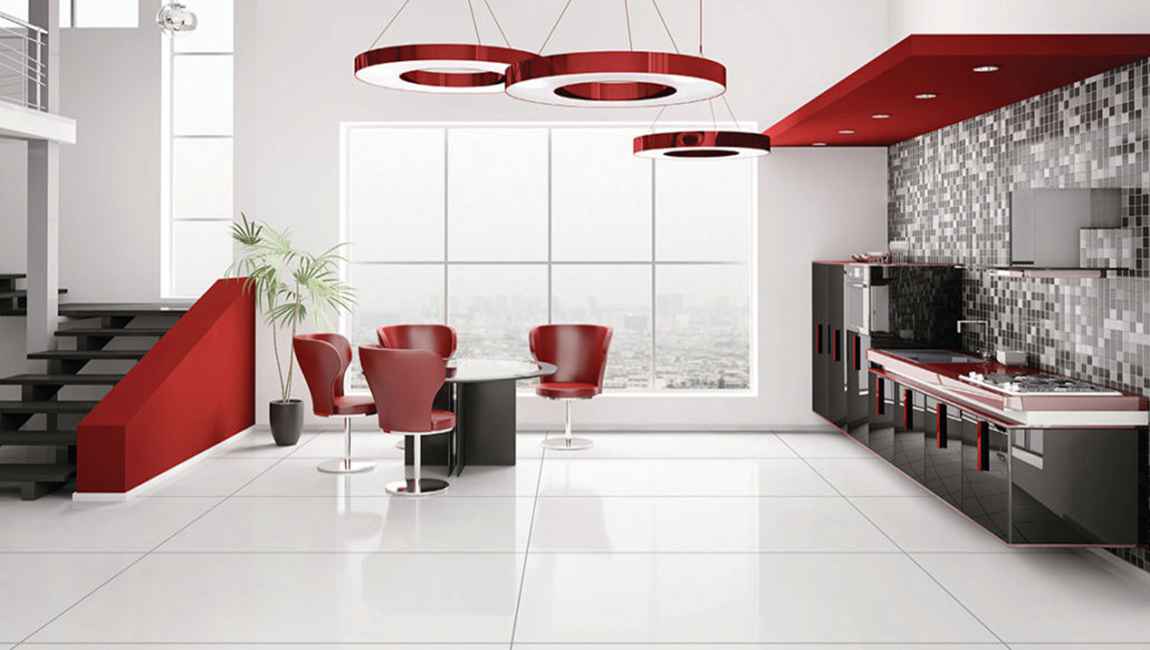
Measure the excess tiles against the gaps. You should still have some tile sheeting left over from when you cut the tile sheet down. Take these excess tiles, and measure them against the gaps. If you need to, mark the back of each time with a pencil or marker to figure out how much you need to trim.

What Should We Do Before Remove Wall Tiles?

Protect yourself and your surroundings. Wear wrap-around safety goggles, a long sleeved shirt, pants, and work gloves to protect yourself from sharp bara tile fragments, even if you plan to avoid breaking them. Clear the surrounding area and lay down cloth or tarp to protect fragile surfaces and make cleanup easier. Protect ceramic shower pans and bathtubs from falling Poly Crystal tiles by covering them with cardboard. Cover any drains as well, such as by putting tape over them.

Decide where to remove the grout. The rest of this section is dedicated to removing grout, which somewhat reduces the chance of breaking the tiles, and makes them much easier to remove. While removing more grout will always help, most people save time and only remove it in the most important areas:

When removing a single stone tile, remove the grout on all sides of it to avoid damaging the others around it. If you are removing an entire wall of Sahara tiles, just make sure to remove grout next to the ceiling and floor. Heat the grout (optional). Wall grout is typically easy to remove, but a heat gun or blow dryer can soften hard grout if necessary. If you’re only managing to scrape away tiny amounts a time, spend thirty seconds warming up the grout line and try again.


Scrape the grout away with a utility knife. This method takes a while, but comes with a low risk of damaging the surrounding floor tiles. Fit your utility knife in a sturdy holder if you have one, and run it carefully and repeatedly around the wood tile or tiles you plan to remove. An ordinary grout saw typically does not work for wall tiles, because of lug spacers that connect adjacent tiles underneath the grout.

Try a rotary grinder instead. A dremel or other small rotary grinder can remove grout faster than a knife, but can break tiles much more easily if your hand slips. Set the tool to the lowest setting and move it slowly along the grout line. If you have firm control over the tool and the Super White tiles don’t crack when you nick them, you can consider increasing the speed of the rotor. You may need to purchase an extra-small head attachment in order to fit between the Color tiles.

Remove grout until the spacer lugs are visible. You don’t need to remove every speck of grout, but get rid of most of it to make tile removal feasible. At minimum, scrape away grout until the metal spacer lugs are visible.

How to Caulk Around Ceramic Tiles?

Caulk is a waterproof joint filler used to finish off the edges of floor tiles installations, and help make transitions between two surfaces like a marble tile wall and a bathtub. Most caulks come in color and texture similar to the grout used with the rest of the floor tiles; when applied properly the caulk will blend right into the rest of the installation.

Wipe down the edges of the ceramic tiles with a clean cloth. Remove any dust, debris or construction materials that may prevent the caulk from forming a good seal around the tiles. If the design tiles or surrounding area is wet, allow it to dry completely.

Cut the tip of the caulk tube off at a 45 degree angle. Make this cut only as large as the grout joints that surround the polished porcelain tiles; this will provide the right amount of caulk for the space.

Insert the tip of the caulk tube into the caulking gun. Push in the plunger on the back of the caulking gun and tighten down the gun so minimal pressure will release the caulk. Start at the top right of the installation and work down and to the left.

Squeeze a thin bead of caulk in a continuous line around the wood tiles to be caulked. Try to keep the caulk in the center of the joint. Wet your index finger and use it to smooth the caulk into place in the joint. Lightly press down on the caulk and drag your finger along the edges of the floor tiles. Let the caulk dry for 24 hours before using the wall tiles space again.

What are the matters needing attention in the balcony tiles paving?

Balcony as a place of leisure and contact with the outside world, decoration or not will directly affect the degree of beauty and comfort of the room, so when decorating the balcony wood tiles, not only to consider the beautiful design should also pay attention to practical and comfortable.

The selection of balcony cement tiles must be moderate. The decoration of the balcony is different from the decoration of other space in the room, because the space of the balcony itself is relatively small, and the style of the balcony seems to be more compact, so if you also like decoration bedroom living room to choose some large specifications of small tiles, it may not have a very good decoration effect.

Balcony tiles design selection should pay attention to, it is best to choose some small and medium-sized tiles price, so that the overall style of decoration will be more beautiful, and will look more compact, will not have a narrow feeling, this must be noted.

The color of balcony marble tiles should be carefully when you chosen them. Balcony floor tiles color selection will directly affect the style of balcony decoration molding, so the choice of polished tiles color are also very important, so must not be careless in color selection. Balcony tiles color selection must be in line with the choice of the external wall style, and the choice of balcony tiles are not suitable for some too gorgeous color. Some light and elegant colors look better overall, this point in the selection of balcony tiles must pay attention.

Balcony tiles decoration layout should be compact. Balcony tiles installation is also a very detailed requirement, must be installed very compact, can not be arbitrary. Before decoration, the whole balcony should be carefully measured where tiles are needed, and the number of tiles to be installed should be accurately measured, and careful layout and design should be carried out beforehand, then attention should be paid to the installation according to the predetermined design situation, so that the finished product will be better.

The choice of balcony tiles is the most basic work of balcony decoration, and the installation of balcony tiles is the most critical part of the whole balcony decoration, the two complement each other. In the decoration of the balcony, from the above aspects to do a good choice of balcony tiles and collocation, the decoration of the balcony whether the overall image or style is sure to withstand inspection and appreciation.

The knowledge of tiles crevice what you don’t know

In the process of decoration, wall tiles, floor tiles laying and pasting links are essential, but after the exquisite tiles laying, you will always find many ugly cracks. Why do these gaps exist? What are the requirements for them, how should they be handled and how to clean them?

It is necessary for tiles design to leave gaps, but many people only know one thing. Why do we need to leave gaps in the process of laying tiles price? First of all, marble tiles heat transfer effect is good, then there is a more prominent problem of thermal expansion and cold shrinkage. In most parts of China, the temperature varies greatly in four seasons, so the wood tiles seam can prevent the later cracking, bulging and other phenomena. Secondly, there are certain differences in the production process of polished tiles. Gaps can be adjusted at any time. Finally, workers will also have errors in the construction process, and can also be adjusted at any time during the process of sewing.

Because the heat transfer effect of different types of tiles are different, as well as the local temperature and climate varies greatly, mostly with the size of wood marble tiles gap has no unified standard. The size of the gap should be determined according to the degree of thermal expansion and shrinkage of cement tiles and the temperature and climate differences between indoor and outdoor environments. In general, the kitchen and bathroom wall tiles gap are about 1-1.5 mm, the gap between flooring tiles is generally between 1.5-2 mm. Depending on the situation.

Commonly used caulking materials are white cement, beauty sealant, sealant and so on. Each material has its own characteristics. According to the different quality of tiles and personal preferences, choose the appropriate sealant material. It is important to pay attention to the effect of the white cement and putty powder in the traditional filling material, but it is easy to blacken and mouldy for a long time, and it is difficult to clean and maintain later. Special treatment in special places, such as bathroom and kitchen where water is often used, requires the use of waterproof sealants. After laying the tiles for 24 hours, the filling steps are started.

After sealant treatment, all the materials are dry, and then wipe the tiles surface with soft materials like sponge and rag. At ordinary times, we should also pay more attention to keeping indoor air relatively dry. During the cleaning process, detergent such as cleanser and soap can be properly selected to make tiles and crevice more luster.

Tiles clean trick: make the home tiles clean as mirror

After being used for a long time, there will always be some stains on the tiles, especially the white tiles. It needs to be cleaned at this time. There are a lot of tips on the cleaning of floor tiles.

There are many detergents for daily cleaning of floor tiles, such as cleaning, soap and so on. These detergents also have acid-base properties, and different stains need different detergents. Acidic cleaning agents can remove tiles surface cement marks, stubborn stains, scale and so on. Alkaline cleanser can remove dirty oil and wax on the surface of home tiles. If they are not used, they may not only achieve the purpose of cleanliness, but also damage the tiles design.

Cleaning stains and dirt on floor tiles, such as tea stains, soy sauce, ice cream and so on, we suggest that you choose bleach to clean up. You can soak the rag in the bleach for a while and then wash the tiles. Clean floor tiles surface oil pollution, paint can be cleaned with alkaline detergent, when used, it needs to wipe more than a few times, because some stains stay for a long time, it is difficult to remove.

Clean the wall tiles surface of mildew, such as ink, can also use bleach, only smear at the stain, wipe after a few minutes, you can remove mildew. If scratches are found on the bathroom tiles, toothpaste can be applied to scratches, and then dry cloth can be used to wipe them out. If the mosaic tile time has been yellow for a long time, it can be scrubbed with toilet cleaner. The ground can be sold in supermarkets because of removing the offset printing on the tiles on the ground.

At home with polished tiles to decorate the wall or the balcony, the living room ground, to keep the polished marble  tiles surface gloss, can be regularly waxed, four or five times a year can be. The floor tiles clearance to often brush waterproof agent to prevent the growth of mold.

While cleaning the wall tiles, we should also pay attention to protecting our hands, because the acid and alkali can not only remove stains from floor tiles, but also burn the skin. Read the instructions before reading the acid-base, use the gloves before the bleach, and bleach should be fully dissolved in the proper temperature water before they can be used.

What needs to be done after finishing paving tiles?

In the process of home decoration and tiles construction, the floor tiles are cleaned up with cotton and other objects after completion. The marble floor tiles are clean, with clear pattern, uniform color, uniform seams, straight edges, smooth and smooth joints, and no cracks, falling corners and missing edges.

Flooring tiles after 24 hours after the clearance of seams, before seams should first clean the gaps in the floor tiles design, use special sealant seams; this is almost finished bathroom from near the wall tiles like a whole tile, almost can not see it is a lot of tiles design together.

After the wall tiles are completed, all kinds of dirt on the wall should be cleaned and watered in advance a day. When the base is a new wall, when the cement mortar is 70% dry, the cement tiles, the line and the marble wall tiles should be carried out. When encountering pipelines, switch of lamps and lanterns, and supporting parts of toilet equipment, etc., it is necessary to use the whole tiles price to cut and match. Kitchen and bathroom should have sloping water and do not accumulate water. During construction, the original waterproof layer must be treated with waterproofing. There is no leakage for 12 hours.

After laying the glazed floor tiles, cover the wood tiles surface with cardboard and so on. At least 24 hours later, they can walk on the ceramic surface. After 1 hours of paving tiles, the cement, filling agent or other sticky objects should be cleaned in time, because it is difficult to clean the tiles after four hours.

After laying tiles for 12 hours, the tiles surface should be knocked for inspection. If the drum sounds are found of tiles, it should be laid again. After paving tiles for 24 hours, the completion of the tiles paving, scrub thoroughly, clean tiles with water, and thoroughly clean the tiles.

The kitchen tiles are mainly fumes and dirt. Most Chinese food is fried, and the spilled oil stars are hard to clear. There are also some food attachments on weekdays, such as coffee stains and tea stains, which are not cleaned up in time, and are hard to remove in tiles. Washing detergent can be used in daily cleaning. There are tea, coffee, grease and other pollutants on tiles surface, if necessary, use bleach, small area use, soak for 20-30 minutes, wipe with cloth. Some stains that penetrate into the tiles for a longer time may take several hours to soak.

For the most easy to stick to oil tiles, can do a preventive work, gently smear the candle at the tiles joint, first the longitudinal coating, and then the transverse coating. So the seam of the tiles can be evenly spread, and the thickness of the candle and the thickness of the tiles can be flat. When the oil is contaminated on it, it is clean as long as the detergent is gently rubbed.

What kind of tiles is the good tiles?

Tiles design are the building material that every decorated family must use. However, tile is still a product of low attention. It is not easy to distinguish the good or bad decoration owners of tiles price. So, how to choose tiles? How can I buy a good ceramic tiles? This has become a headache for many decoration owners.

Floor tiles are refractory metal oxides and semi metal oxides, and their raw materials are mostly mixed with clay and quartz sand. In fact, there is no absolute unified statement about the quality of floor tiles design. Some people think that flooring tiles can be tested by national quality standards as good marble tiles, and some feel that the porcelain tiles they look like are good marble porcelain tiles.

So, what kind of cement tiles is the good rustic tiles? Look at the back of the glazed tiles, that is, the tiles body. General, good tiles in the burning of the raw material in addition to the raw material, except for the exception, but also with a high magnetic field bar to remove the iron, so removing impurities and iron removal is the key step of the tiles.

Cheaper floor tiles: the back is darker, the color is uneven, and there are uneven black spots because impurities are removed and iron is not removed. Very white and cheap tiles should be wary, because it is possible to add chemical auxiliary materials, zirconium silicate, and high purity zirconium silicate without radioactive and expensive. If ordinary manufacturers add high purity zirconium silicate as raw materials, the price of tiles produced will certainly not be cheap. There are also many manufacturers with cheap or very low purity zirconium silicate as auxiliary materials, low purity zirconium silicate containing monazite, monazite is often radioactive.

Polished floor tiles are made of high temperature, the higher the temperature is, the more intense the chemical reaction and physical change, the higher the density of floor tiles; of course, the density of floor tiles is closely related to the raw material formula except that the temperature is related to the burning temperature. In addition to determining the density of floor tiles, there is a very important property that is the ability to resist pollution. The lower the water absorption, the better the ability to resist pollution. On the other hand, the higher the water absorption capacity of the floor tiles is relatively poor.

The two tiles should be neatly combined face to face and four sides. Then the gap between the two sides should be observed. The length of the two diagonal sides of the tiles are measured with reference material, and the two measurement results are compared to see how much deviation. The effect of Flatness: if the level of tiles are not good, then the tiles will appear unequal after construction, which shows the phenomenon that people walk on the tiles surface.

Test the hardness of floor tiles price, you can use coins on the surface of the tiles slightly with a little bit of strength, if there are obvious scratches, indicating that the hardness of the floor tiles is poor; otherwise, if there is no obvious scratch, the hardness of floor tiles is excellent.