You may need to apply some pressure to reach into all of the stone’s imperfections. It may take up to 24 hours for the stone to fully dry. A dry mop pad (or more than one) can be used if you are cleaning a lannon stone floor.
If you are cleaning in an enclosed space, it may speed up the drying process if you open up a few windows or turn on a fan. Test the stone with a damp meter. It’s important to ensure that you get all of the moisture off of the stone to prevent the growth of mold.
You can apply a device called a damp meter to the surface of the stone and it will tell you if any moisture remains. If you get a reading showing a high moisture percentage, continue to dry out the stone with a fan or additional towels.
Use a buffing machine to make floors shiny. You can rent these from a hardware store or buy a handheld version. Put a fresh burnishing cloth on the machine and go over the stone in small circles.
Generally, the only fluid that you’ll need is a small squirt of water to help the pad slide over the stone’s surface. However, make sure to keep the PSI (water pressure) on the lowest setting or you could chip away or etch the stone.
https://baranaceramic.com/wp-content/uploads/2019/08/Cut-Lines-before-Toilet-Installation-1.jpg7501150administratorhttps://baranaceramic.com/wp-content/uploads/2025/09/logo.pngadministrator2020-03-06 08:00:442020-02-28 10:03:27The Important Things After Clear Tiles
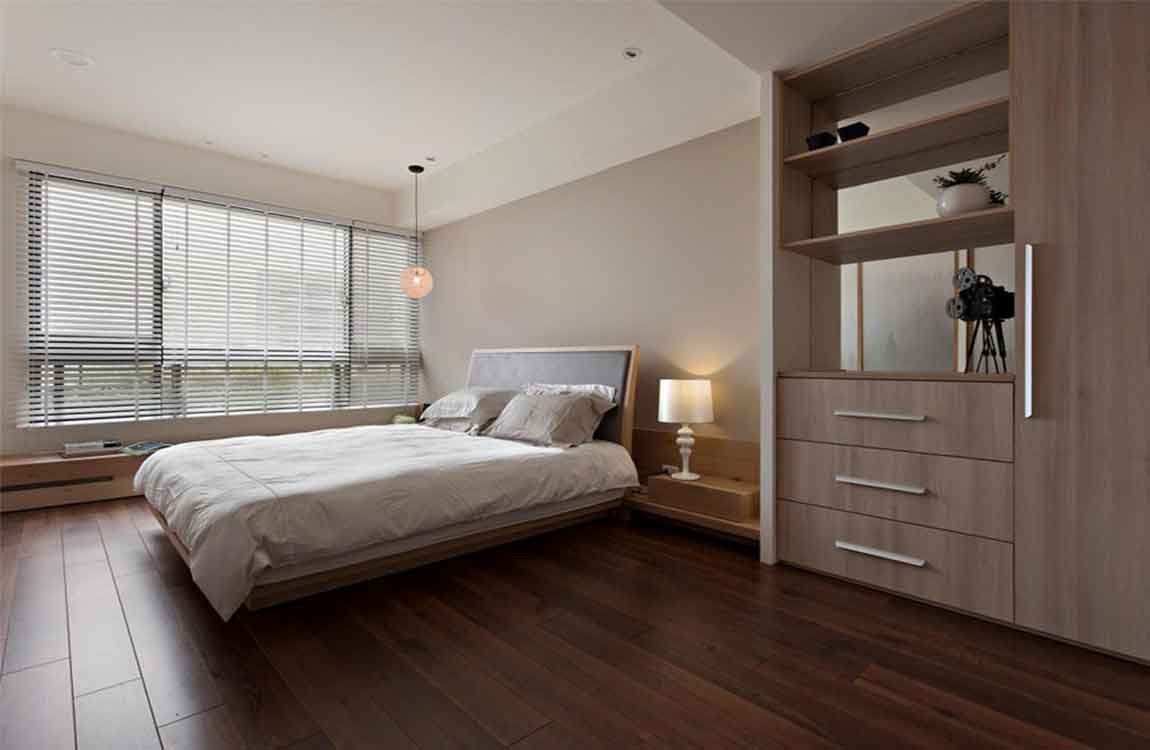
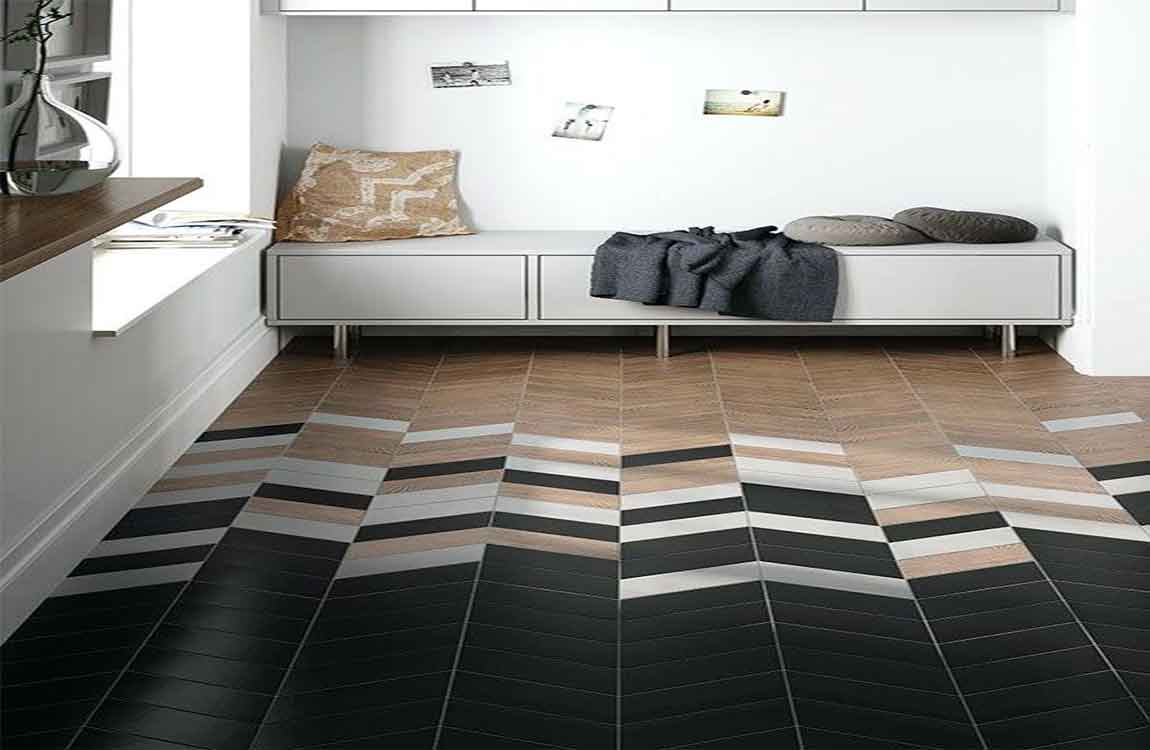
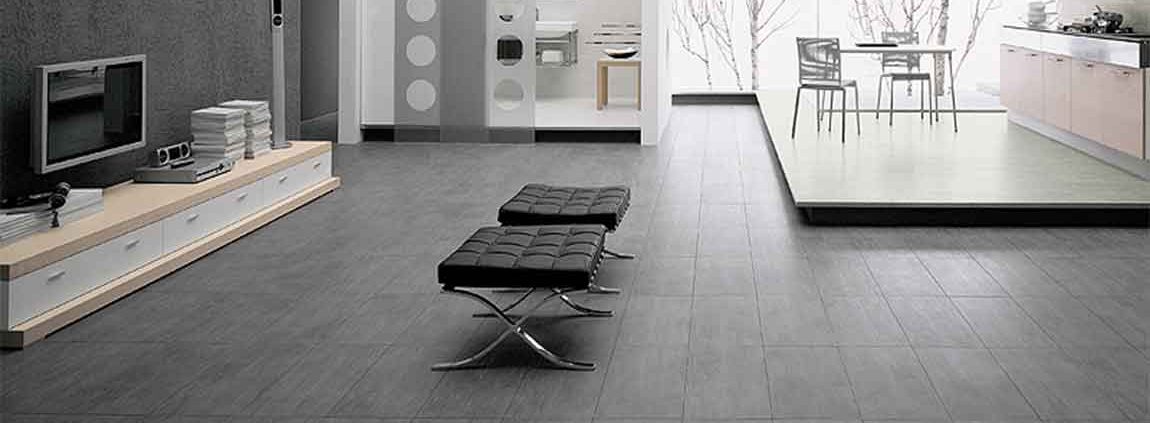
Clean the active floor with a vacuum cleaner at least 3 times a week. The floors of the kitchen and living room need to be vacuumed regularly, and as the number of people living in the house increases, so does the floor. The area floor with less activity, such as bedroom floor, should be cleaned once a week.
According to general experience, the number of times a week that an area is vacuumed is the same as the number of people using the space. For example, one person’s bedroom floor can be cleaned once a week. However, a living area with four people should be cleaned four times a week.
If your pet is depilated or your child is allergic, you need to vacuum the floor frequently. Move all the small furniture out of the room once a month, so you can vacuum the floor under the room. Move all the big furniture out of the room and vacuum the floor once or twice a year.
Clean the floor first. The high efficiency air filter in the modern vacuum cleaner can prevent small pieces from being discharged from the vacuum cleaner, which means you don’t need to dust the floor again. Wipe objects, surfaces, and furniture with microfiber cloth.
You shake the curtains off when you dust them. Leave the curtain dust on the floor for a few minutes before vacuuming. Remove the big toys and pet bed from the floor. At this point, anything touching the floor should be moved. So you can vacuum the floor of the room thoroughly.
https://baranaceramic.com/wp-content/uploads/2019/08/dry-fitting-tiles-2.jpg7501150administratorhttps://baranaceramic.com/wp-content/uploads/2025/09/logo.pngadministrator2020-02-27 08:00:382020-02-28 10:03:59Vacuum Cleaning Floor Before Clean the Tile Floor
marble tiles is a sensitive surface that can easily be marked by spills and spots. If your marble tiles is white, it’ll be especially easy to stain. However, there are steps you can take to maintain your marble tiles’s spotless shine. Beyond this, you’ll need to clean the marble tiles regularly and know how to remove stains if they do happen.
Now, apply a silicone adhesive (or whatever the manufacturer recommends) into the joints. Be sure to fill it completely and give it time to dry—at least a few hours to overnight. Check the manufacturer’s instructions for drying time. Take off the painter’s tape before the sealant dries.
Avoid applying poultice to the same spot more than two or three times. This could permanently damage the marble tiles. Consult a professional if a repeat application of poultice does not remove a stain. If you are not making much progress with plain water, you can use a mild soap to loosen dirt and debris on the surface.
Simply put a small squirt of soap on your scrub brush and continue scrubbing the surface. Use a power washer only if the sandstone tiles is new. If you have a new patio or wall that needs to be cleaned, set your power washer to a low pressure setting and move the nozzle side-to-side as you spray the surface. Holding the sprayer at a 45 degree angle will take dirt and grime off of the surface well.
Power washers can be too strong for sandstone tiles that is old and has delicate designs, like the detailing on old tombstones. Only use a power washer on new sandstone tiles and use a low setting, if possible, as the pressure of the power washer can force water into the stone.
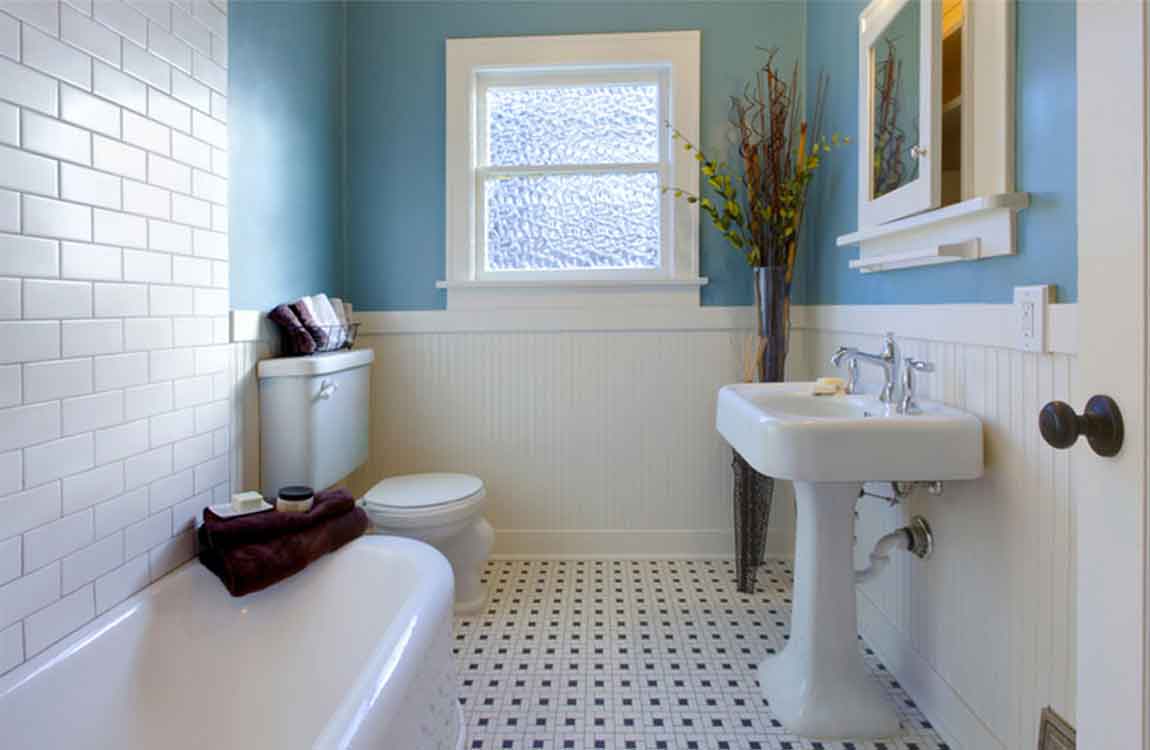
https://baranaceramic.com/wp-content/uploads/2020/01/Clean-White-marble-tiles-3.jpg7501150administratorhttps://baranaceramic.com/wp-content/uploads/2025/09/logo.pngadministrator2020-01-28 08:00:222020-01-16 01:58:12How to Clean White marble tiles?
Mix paper towel pieces, ammonia, and hydrogen peroxide in a bowl. Rip up a couple sheets of paper towels and place them in a bowl. Note that the amount of paper towel you use depends on the size of the stain you’re trying to remove. Pour a few drops of ammonia in the bowl, and enough hydrogen peroxide to completely soak the paper towel chunks.
When handling ammonia, you should wear gloves to avoid skin irritation and burns. If the stain you’re trying to remove is quite large, you may want to fold up a paper towel instead. Attempt this method if you’re dealing with old or tenacious stains that can’t be removed with more conventional means.
Place the paper towel poultice over the stain. Pick the saturated chunks out of the bowl and place them over the stain. Be careful not to apply too much pressure, or the hydrogen peroxide and ammonia might leak out over your marble tiles. If you’re dealing with a vertical surface, the paper towel chunks should be wet enough to just stick on.
Seal the poultice with plastic wrap. Stretch a length of plastic wrap over the poultice and stain. Apply pressure to its sides, so that it completely seals the poultice, then use clear adhesive tape to secure the plastic wrap. Use a toothpick to poke a couple of holes in the plastic wrap to allow airflow. Let the poultice sit for two to three days.
Remove the plastic wrap and wash the area with warm water. You should be able to lift the plastic wrap easily with just your fingers. Pick the paper towel poultice off of your surface and throw the chunks away. Then, dampen a cloth with warm water and wipe the area clean. After washing the marble tiles, use a dry cloth or paper towel to dry the area.
https://baranaceramic.com/wp-content/uploads/2020/01/Removing-Stains-with-a-Poultice-3.jpg7501150administratorhttps://baranaceramic.com/wp-content/uploads/2025/09/logo.pngadministrator2020-01-15 08:00:342020-01-07 06:36:04How Removing Stains with a Poultice?
Use an auto scrubber or floor machine to work in the stripping solution (optional). For large jobs, an auto scrubber or rotary machine is recommended, as it will do a thorough job pulling up all the finish. If using an auto scrubber, scrub the area leaving the squeegee tool up (not in use).
If using a floor machine or burnishing machine, use the stripping pad attachment. Large jobs may require multiple stripping pads. Scrape wax from the edges and corners of the floor. You can use a doodle pad for this or a long handled razor blade tool such as a poll scraper. If you don’t want to buy a specialized tool, any sharp flat blade such as a putty knife will do the job.
Without stepping on the slippery floor stripping solution, use the blade to work the wax away from edges, where the stripping solution and mop have difficulty pulling off the finish. You may need to scrub the baseboard as well, if it has picked up wax residue. You can purchase a special baseboard stripping pad if you are using a floor machine.
Remove the stripping solution and finish with a wet vacuum or auto scrubber. Do this after the finish has been worked off but before the solution has dried. If you worked in the stripping solution with an auto scrubber, simply lower the squeegee attachment and pick it up again. Otherwise, you’ll need a wet vacuum to remove the solution. If a section begins to dry out, pour a little water from your clean water bucket to keep it wet.
Wash your floor using the clean mop and water bucket. Rinse several times to ensure all stripping solution is removed. You can add a stripping neutralizer to your water to ensure the next wax will adhere properly. If you don’t want to buy one, simply wash it thoroughly several times.
https://baranaceramic.com/wp-content/uploads/2019/10/Knowledge-of-Wax-a-Floor-3.jpg7501150administratorhttps://baranaceramic.com/wp-content/uploads/2025/09/logo.pngadministrator2019-10-25 08:00:122019-10-24 07:47:18The Knowledge of Wax a Floor
Install the full tiles surrounding the toilet first. Take your time planning out your tile pattern and creating grid lines on the subfloor so that you need to make as few angular/circular tile cuts as possible. When you’re tiling around an already-installed toilet, plan out your pattern so that at there is at least 2 in (5.1 cm) of space between the base of the toilet and the edges of any of the tiles you’ll be laying around it.
You’ll usually save time (due to a greater margin for error with your tile cuts) if you remove the toilet, tile the floor, and then reinstall or replace the toilet. However, tiling around an existing toilet may be preferable in some cases. Tiling around an installed toilet is easier if the base rests flush against the wall behind the toilet.
If you have to tile all the way around the base, including the small space between it and the wall, strongly consider removing the toilet, tiling around the toilet flange, and reinstalling the toilet. Create sheets of paper that are the same size as a whole tile. Simply cut the paper to match the size of the tile—for instance, 16 by 16 in (41 by 41 cm).
Cut one sheet for each tile you’ll need to lay around the base of the toilet. Estimate your tile cuts and cut parallel slits in the paper in these areas. Visualize how each tile will fit around the toilet base, and estimate which parts of each tile will need to be cut away.
Transfer these estimates to the corresponding sheets of paper, and use scissors to cut parallel slits that are about 0.25 in (0.64 cm) apart in the areas that will need to be removed. When doing so, it’s better to overestimate the area that will need to be removed than to underestimate.
https://baranaceramic.com/wp-content/uploads/2019/08/Cutting-Tiles-Around-an-Installed-Toilet-5.jpg7501150administratorhttps://baranaceramic.com/wp-content/uploads/2025/09/logo.pngadministrator2019-08-23 08:00:562019-09-03 05:43:52How Tracing and Cutting Tiles Around an Installed Toilet?
Arrange the tiles outward from the center of the room. To get started, place a tile at each of the 4 corners where the wall lines intersect. Beginning at the center of the room rather than at the walls will prevent you from ending up with gaps or unsightly narrow tiles around the outer perimeter of the room. Symmetrical central tiles will also serve as an attractive focal point for the room.
Use spacers to separate each tile. After you lay down a tile, place a tile spacer at either end before putting down the next tile in the row. The spacers will ensure that your layout remains neat and even and that no 2 tiles are set too close together. Spacers also serve to show the minimum distance you’ll need to leave between each tile for your grout lines.
Tile spacers come in many different sizes. The amount of space you leave between tiles will depend on the look you’re trying to achieve, but 1⁄8 in (0.32 cm) spacers are standard for most flooring projects. Work your way toward the wall. Starting from the 4 central tiles, lay out the remaining tiles in a straight line until you reach the wall. Then, return to the center and work your way toward the opposite wall to form a single row.
Lay your tile in 2–3 ft (0.61–0.91 m) sections. The optimum size of each section will vary based on the dimensions of your tile. If you’re working with 12 in (30 cm) square tiles, your section groupings might be comprised of 2-3 tiles in each direction (for a total of 4-6 tiles per section).
If you need a visual aid to help you keep track of your sections, snap a series of chalk lines to clearly mark where each next group of tiles should go. Dry-fitting your tile in sections usually results in straighter, more precise grout lines. Be sure to complete 1 row before moving on to the next.
https://baranaceramic.com/wp-content/uploads/2019/08/dry-fitting-tiles-3.jpg7501150administratorhttps://baranaceramic.com/wp-content/uploads/2025/09/logo.pngadministrator2019-08-12 08:00:402019-08-07 03:29:00How Dry-Fitting the Tiles?
Use small shims or other spacers to allow a small amount of space between the bottom of the tile and the lip of the shower pan. Small pieces of cardboard work great as makeshift shims. After the mortar is set, you can simply remove these shims and caulk between the lip of the pan and the bottom of the tile.
Continue laying the tile, making sure to use spacers in between tiles. Spacers will leave you identifiable grout lines between tiles. Small 1/16″ or 1/8″ spacers (or even bigger) can be placed at several places on the x- and y-axis of the tile to leave adequate space for an even grout line.
Repeat the procedure, setting each row of tile on top of the last row of tile. Continue until you reach the top of the shower stall. Measure up from top of the last row. Mark the line with a level as a guide for your next row. Spread thin-set onto your tiles with v-notched trowel and place the tile just below the marked line. Use spacers all around.
Make sure to measure every third or fourth row to ensure that you have an even grout line. Let the tile set for 48 hours. This will make sure that the mortar has adhered properly to both the tile backing and the cement board backer. Do not use tile nippers made from slate. You can use them on ceramic tiles, however. You can also use a wet saw to make basic cuts on most tiles.
Cut the tiles while they are still on the mesh. Using your sketched line as a guide, cut the tiles down to the right size. A wet saw should do the trick for most tiles. If the tiles are smaller than 1 or 2 inches (2.5 or 5.1 cm), a pair of tile nippers may work better. The tiles should fall away from their mesh backing as you cut them. If they don’t. cut them away with your box cutter.
Most bathroom tiles host mildew growth if there’s a lack of air supplied to the bathtub/shower area. Here are some steps that should help restore it to showroom condition. Clean the woodtile surface with a recommended cleaning product. Scrub with an abrasive rag, or rig a nylon bristle drill attachment. Pay extra attention to the bottom section, because that is usually the area with the most mildew. Rinse well.
Rake the joints. Cover the drain. Carefully rake each joint with a diamond carbide rake. Be careful not to slip, or it will leave irreparable scratch marks. The surface should be wet during this part of the process. If the grout is too solid to rake, hot water usually helps. Remove caulking with a plastic scraper. Avoid using metal scrapers and steel wool, because they will scratch the enamel on the tub. Rinse the surface, and towel dry. Mix the grout thoroughly until it comes to a creamy consistency.
Using a rubber float, apply the grout in several directions. Work in small sections so that the grout remains pliable. Make sure that the grout is packed in well. Allow twenty minutes to an hour for the grout to dry completely. Sponge the surface. Sponge the surface of the tiles until the joints are neat, and the elementtile surface is clean. Soak and rinse the sponge repeatedly to avoid dragging, and over saturation. Allow twenty minutes to an hour to dry. Rubber gloves should be worn for this.
Dry dust the surface. When the surface is dry, it should look hazy. Polish the casstletiles with a fine rag, or an old t-shirt. Be careful not to apply pressure on the joints. If there are any stubborn spots on the cementtiles, they can easily be scraped off with a plastic scraper. Gloves and a dust mask should be worn for this.
Apply the caulking. Prepare the surface by thoroughly cleaning and drying. Most caulking won’t adhere to a surface that is oily or wet. Apply silicone, or vinyl caulking to tub/tile edge to keep this area watertight. Caulk around the faucet handles, tub spout, and overflow as needed. Apply a sealant. When the grout has cured, (three to seven days), apply a Ceramictile sealant according to the manufacturer’s instructions.
https://baranaceramic.com/wp-content/uploads/2019/03/How-to-Clean-and-Re-Grout-Bathroom-Tile-2.jpg6501150administratorhttps://baranaceramic.com/wp-content/uploads/2025/09/logo.pngadministrator2019-03-25 09:44:162019-07-30 09:04:08How to Clean and Re Grout Bathroom Tile?
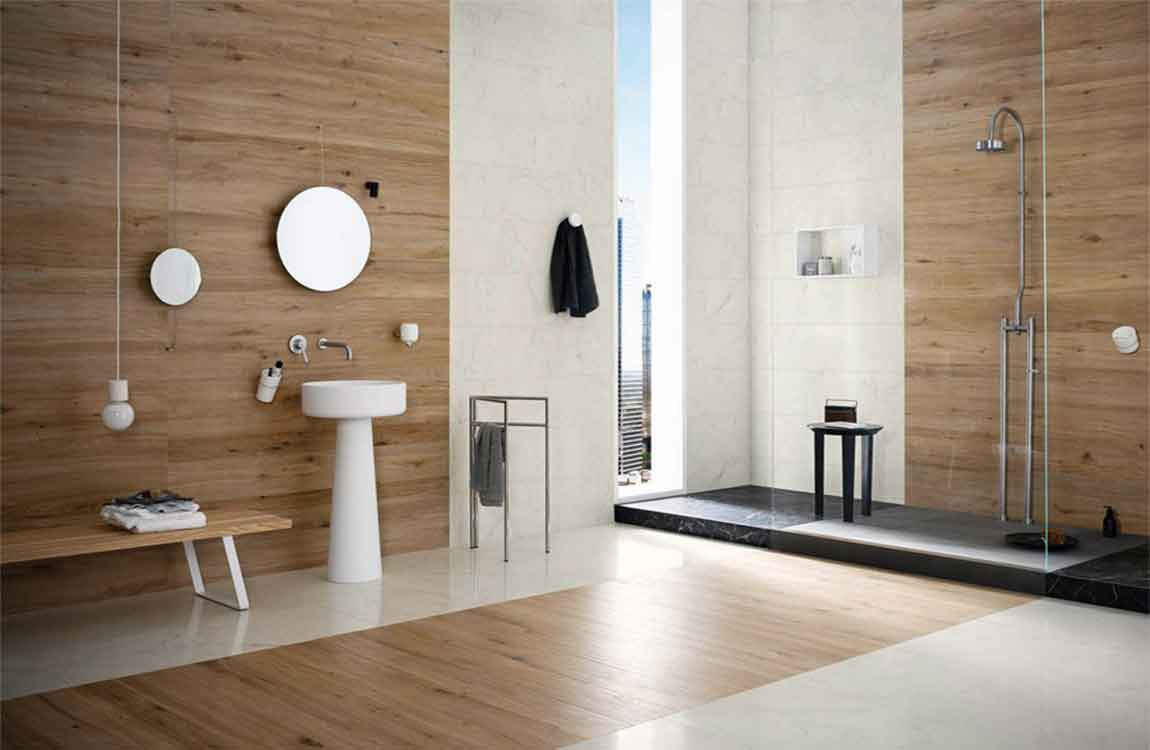
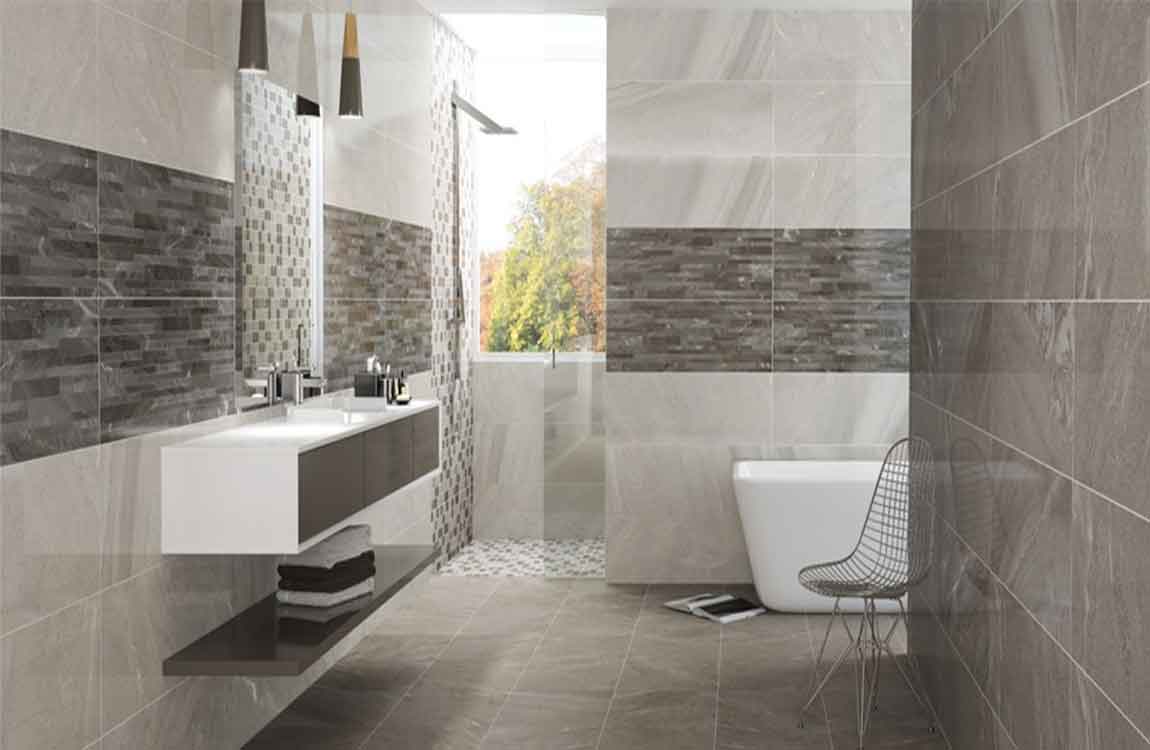
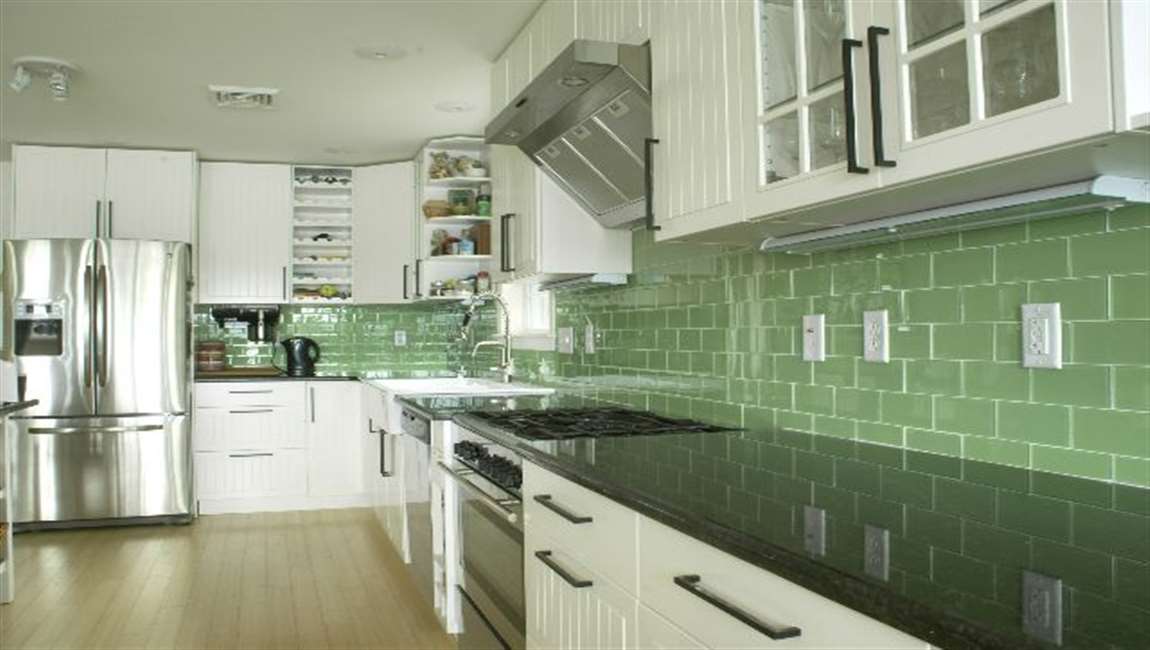
Wall tiles are indispensable part of the material when decorating at home, kitchen and bathroom walls will use marble wall tiles, and some living room television background wall will choose to paste wood wall tiles as decoration, which is enough to illustrate the universality and importance of Wall tiles. Most people make mistakes when choosing wall tiles.
Think that bright tiles can enhance indoor lighting. Most families and office buildings tend to use brighter tiles for decoration, because bright tiles not only make the room look rich and bright, but also to some extent make up for the lack of daylighting. Bright polished tiles and some rustic tiles have a light reflection coefficient of up to 90%, while ordinary white walls have a light reflection coefficient of about 70% and a mirror glass of about 80%. If long-term living in a room with a smooth floor tiles environment, light reflection will make the eyes very tired, and even lead to visual function decline, so domestic tiles not recommended to use too bright tiles.
Do not blindly match the waist line. In daily household decoration, the edge of the wall is often decorated with waist line tiles. It can add a sense of hierarchy to the space visually, and reflects the owner’s personality, taste and interest in life. It is quite popular with the public. However, it should be noted that although the personality is very beautiful, but the waistline tiles are not always applicable.
There are two common cases that are not suitable for paving the waist line: first, the height of the bathroom is not enough, paving the waist line will make the overall space is divided, the original not high bathroom appears even lower. Second, the kitchen area is small, or the use of the entire bathroom cabinet family, cabinet height and waist line height are almost 80-90 cm, waist line just appeared on the top of the bathroom cabinet counter not only no decorative effect but also messy.
Thick small tiles are better than thin marble tiles. Many home decoration tiles are thicker and better quality, so consumers tend to form an inherent idea that thicker things are more realistic, in fact, the market of thick floor tile than thin bathroom tiles are more attractive, and the specifications of the larger floor tiles thicker, and the same specifications of floor tiles than wall tiles thicker. As far as the use value is concerned, the greatest value of bathroom tiles or decorative effect, as long as the carrying capacity and anti-destruction ability to meet the standards, too thick floor tiles are not actually environmentally friendly.
The styles of tiles are too mixed. Whether it is avant-garde or national style, too chaotic wood tiles are not suitable for a daily living environment, with more patterns and colors as the standard to purchase tiles. Finally, it is easy to decorate a pot of chaotic stew of the home, colorful, beautiful design is not the same as suitable for your home, but will cause a sense of living discomfort.
https://baranaceramic.com/wp-content/uploads/2018/08/What-should-I-pay-attention-when-choosing-wall-tiles-1.jpg600900administratorhttps://baranaceramic.com/wp-content/uploads/2025/09/logo.pngadministrator2018-08-20 10:31:212019-11-26 09:11:21What should I pay attention when choosing wall tiles?


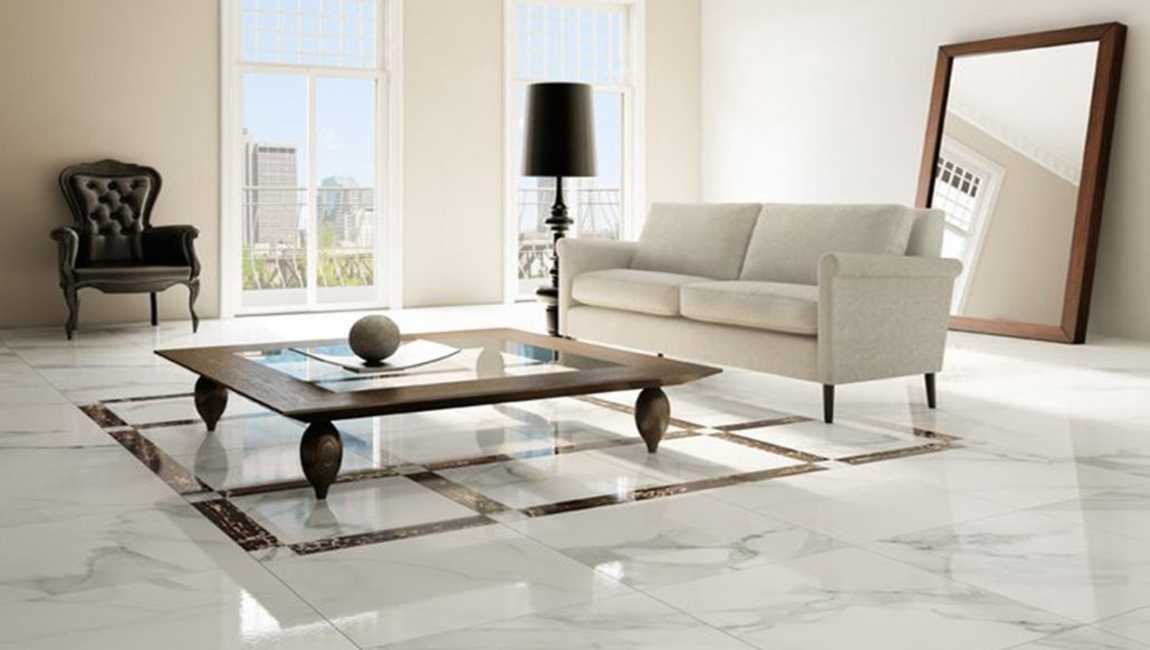
 Clean the active floor with a vacuum cleaner at least 3 times a week. The floors of the kitchen and living room need to be vacuumed regularly, and as the number of people living in the house increases, so does the floor. The area floor with less activity, such as bedroom floor, should be cleaned once a week.