
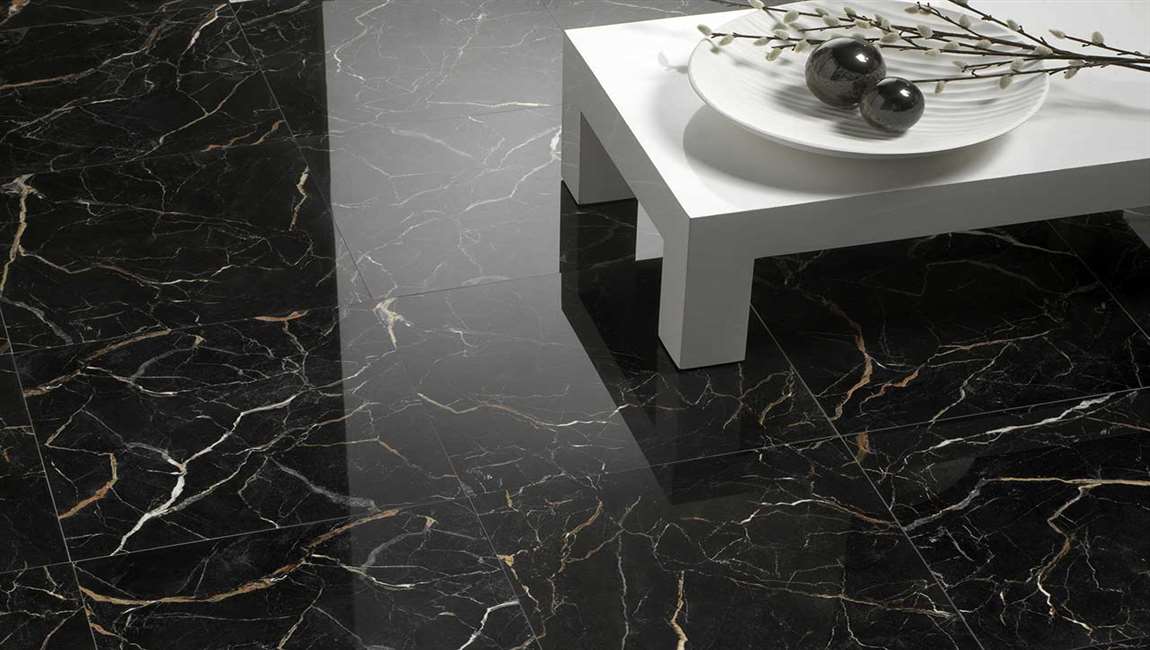
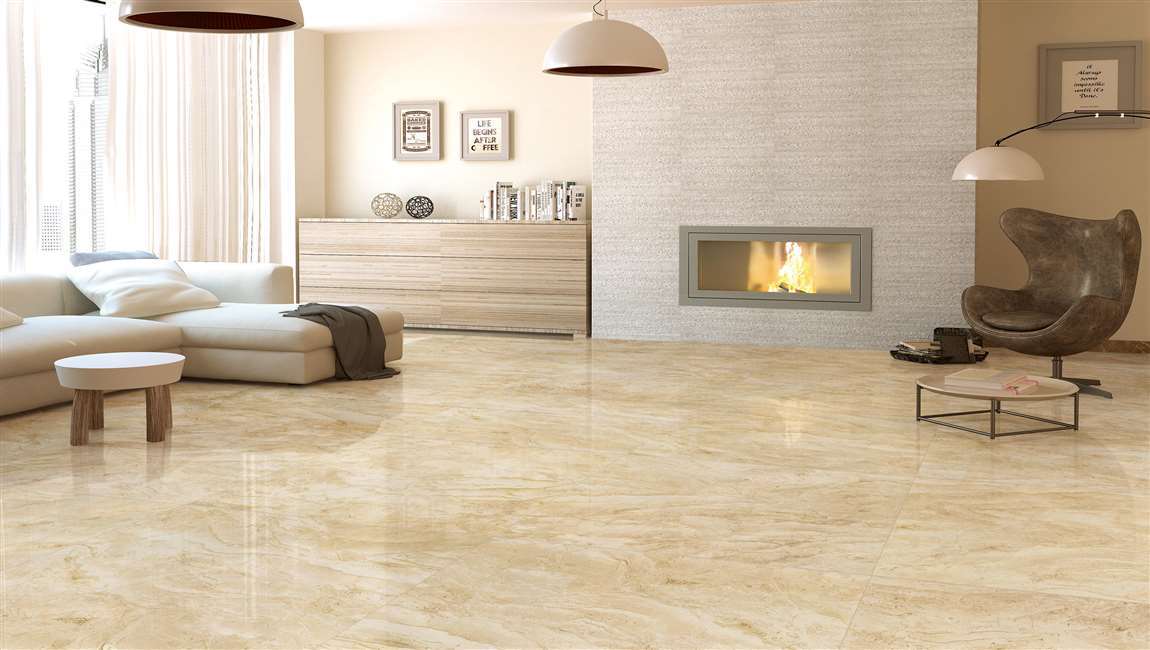
How to Remove Floor Tile?
Whether you’re doing a complete renovation or just need to replace a single tile, removing floor tiles is a relatively easy task to do yourself. If you have a smaller project, you can take out your tiles by hand. For larger projects, consider renting an electric chisel hammer to finish the job quickly. Once you remove all of your ceramic and its adhesive, you’ll have a clear and clean surface to start fresh!
 Removing tile from your floor can be done with a few tools and dedicated time. By positioning a chisel under a tile, you’ll be able to loosen each one and remove the floor. Taking your time with this project will ensure you finish with a beautiful, tile-free floor. Don’t forget to wear leather gloves, a dust mask, protective glasses, and clothing that covers your arms and legs to prevent injuries.
 Remove the grout around the floor tile with a grout saw. Grout saws resemble utility knives and are used to remove grout surrounding tiles. Hold your grout saw firmly in your dominant hand and work around the tile you want to remove. Use long strokes as you apply firm pressure to cut into the grout so the tile comes up easier. Grout saws can be purchased at any hardware or home improvement store.
 Hit the tile with a hammer to loosen it. Set the hammerhead directly in the center of the tile. Lift the hammer up and bring it back down in the middle of the tile with a firm amount of pressure. This helps loosen the tile more and break apart some of the adhesive on the bottom. For larger tiles, use a 3–5 lb (1.4–2.3 kg) sledgehammer.


")


