How Doing General Cleaning and Polishing?

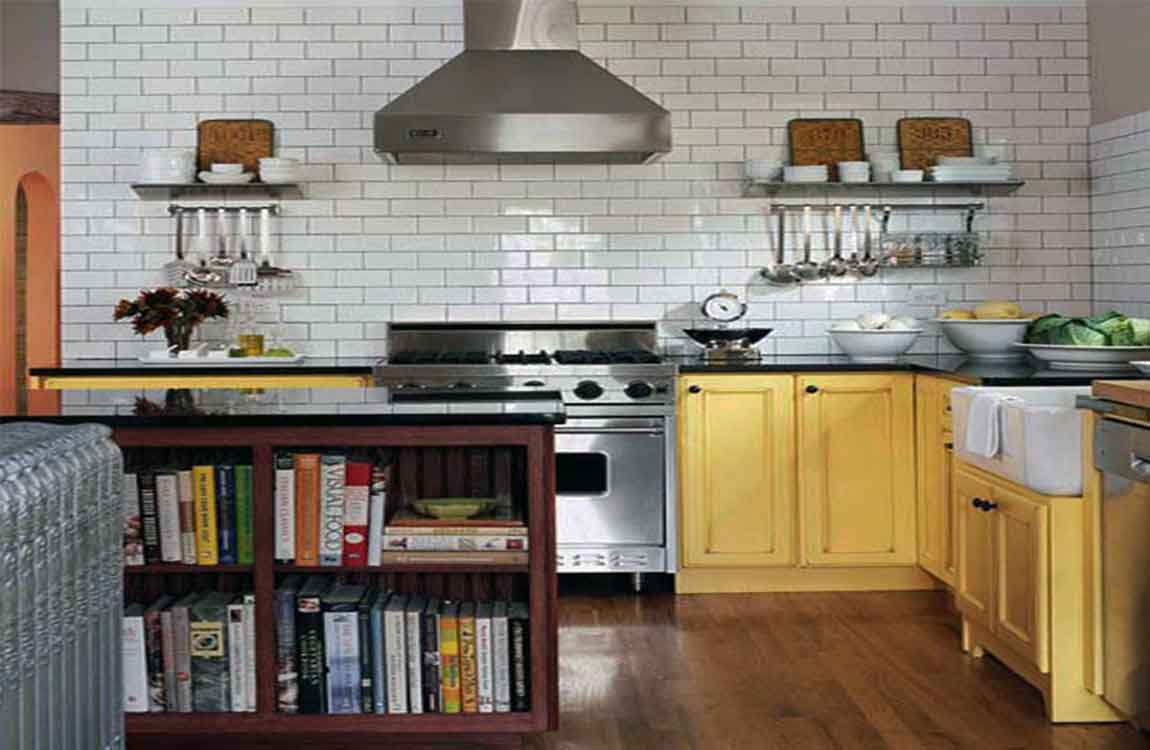
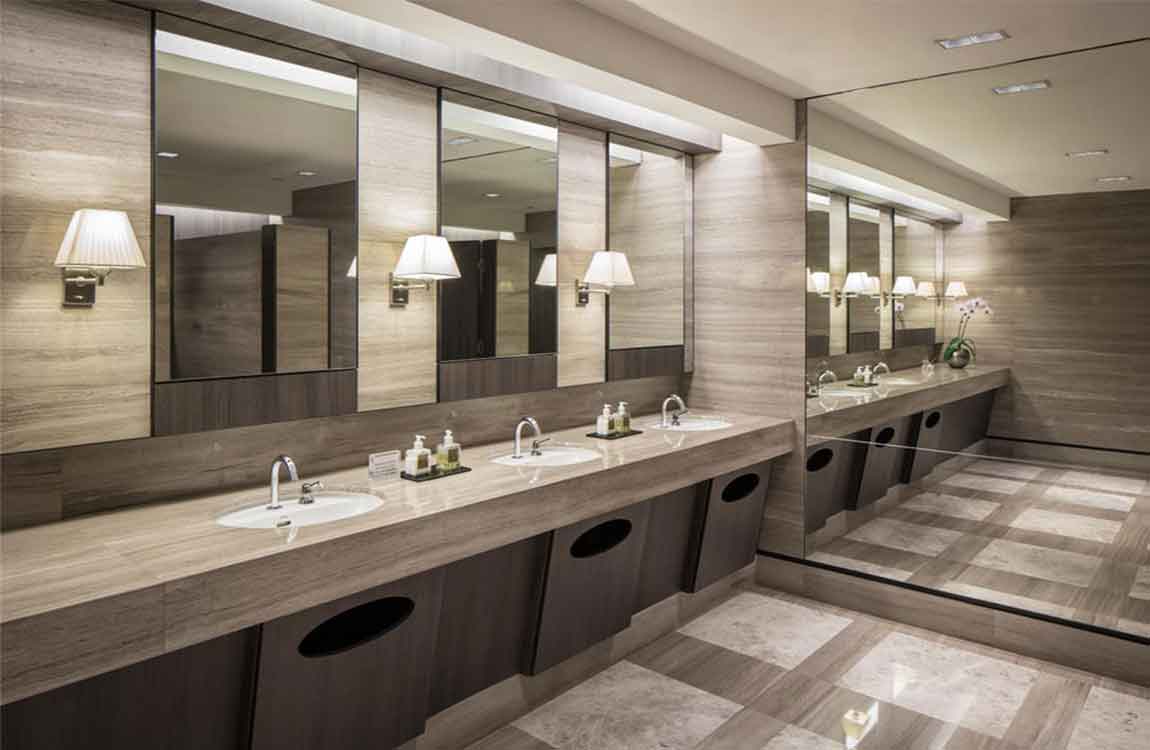
Wipe marble tiles surfaces with a wet cloth. Use only warm tap water, as many household cleaners are too harsh for marble tiles counters. Wipe the length of the counter with a wet cloth. Microfiber cloths are best for this if you have them, they’ll give the counter a better scrub without needing to use a household cleaner. If you need to clean your counter more thoroughly, you can use commercial cleaners specifically designed for marble tiles.


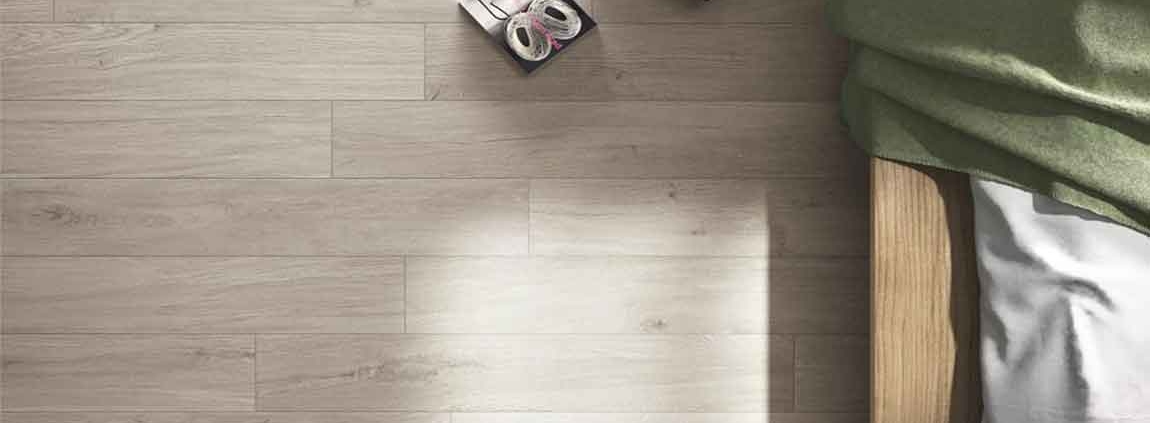
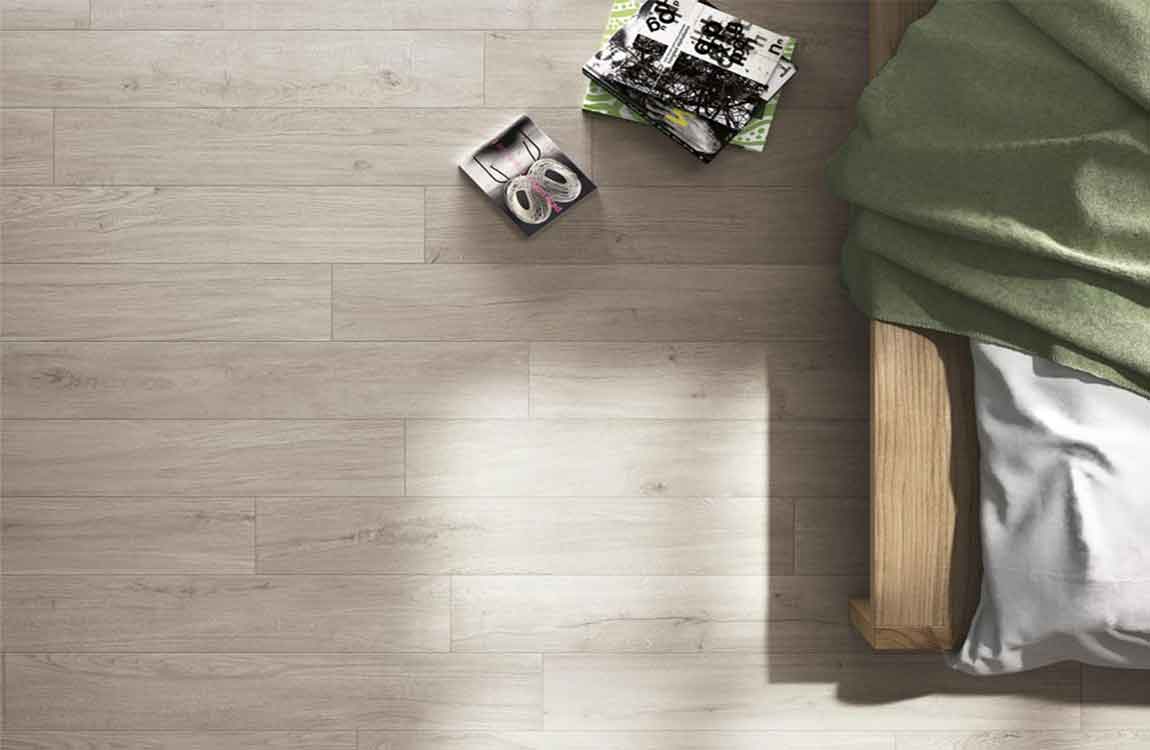
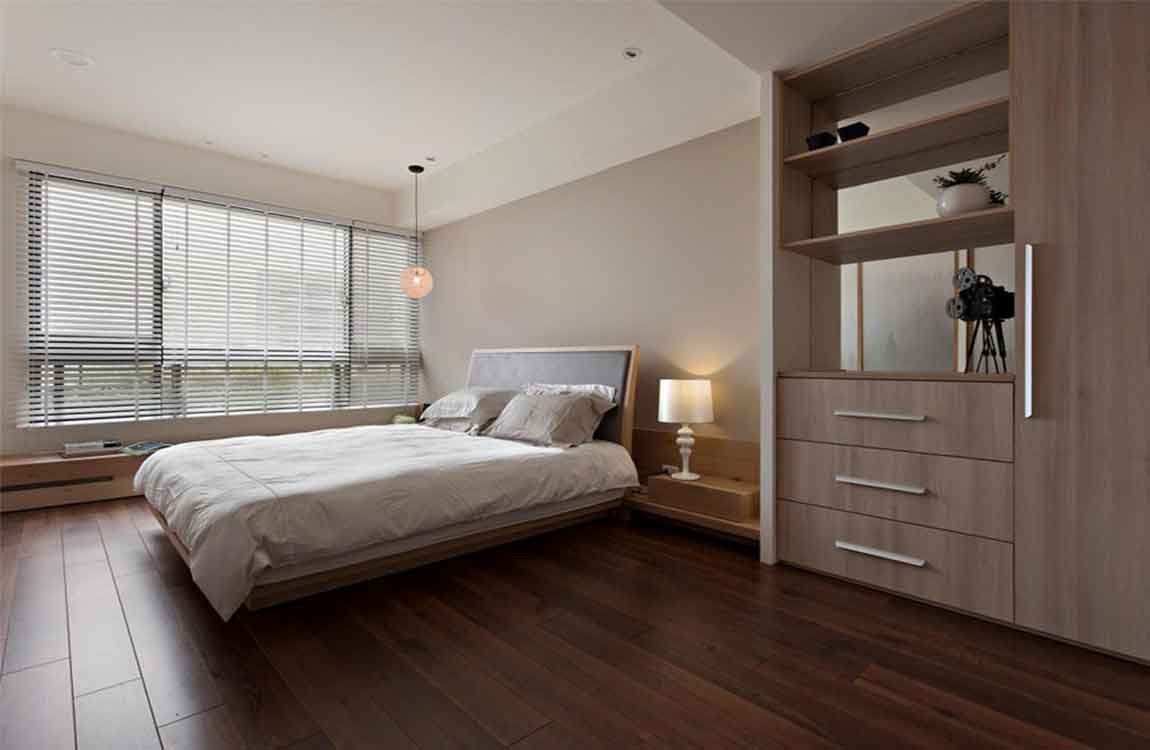
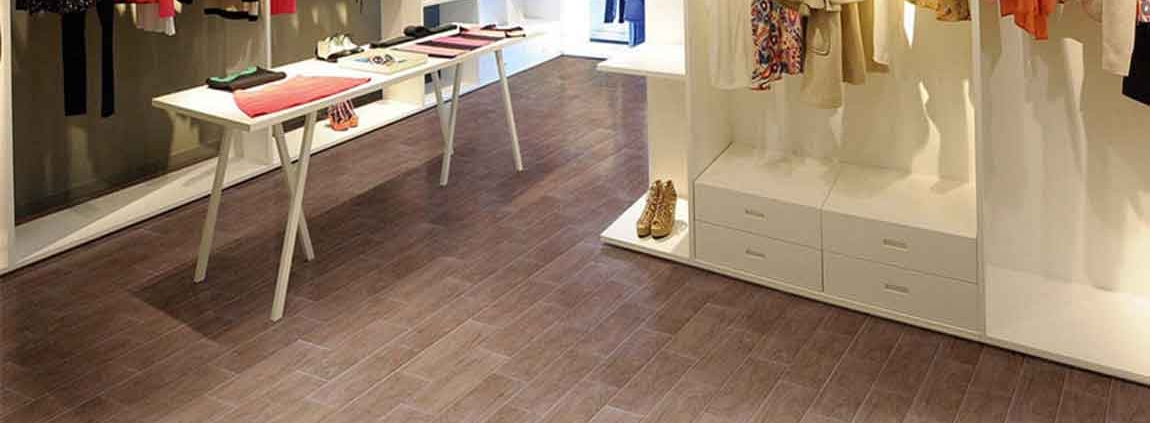
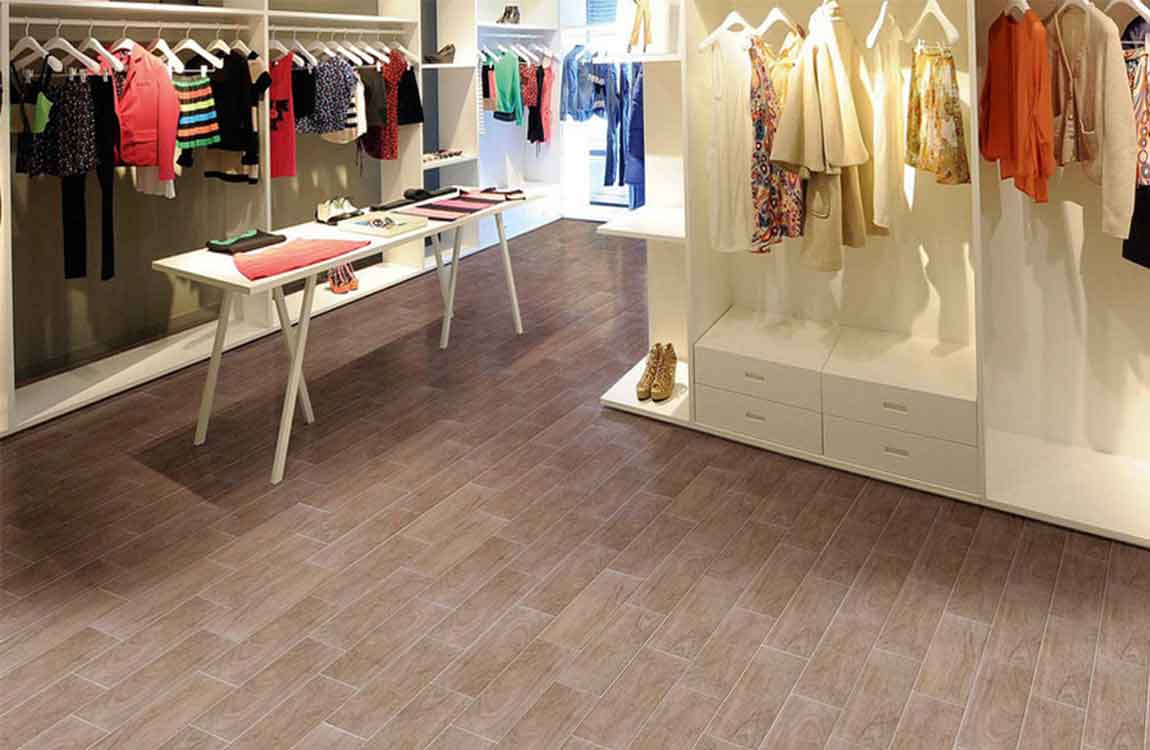
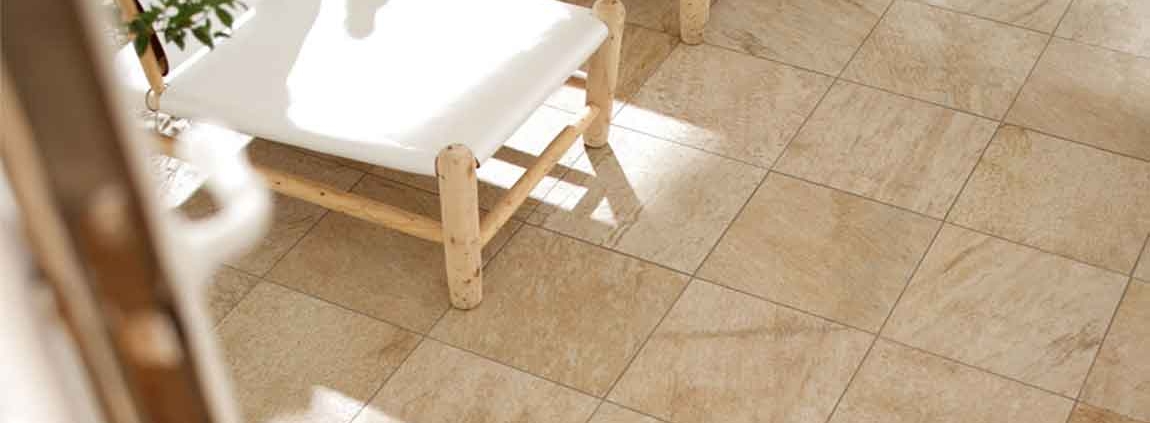
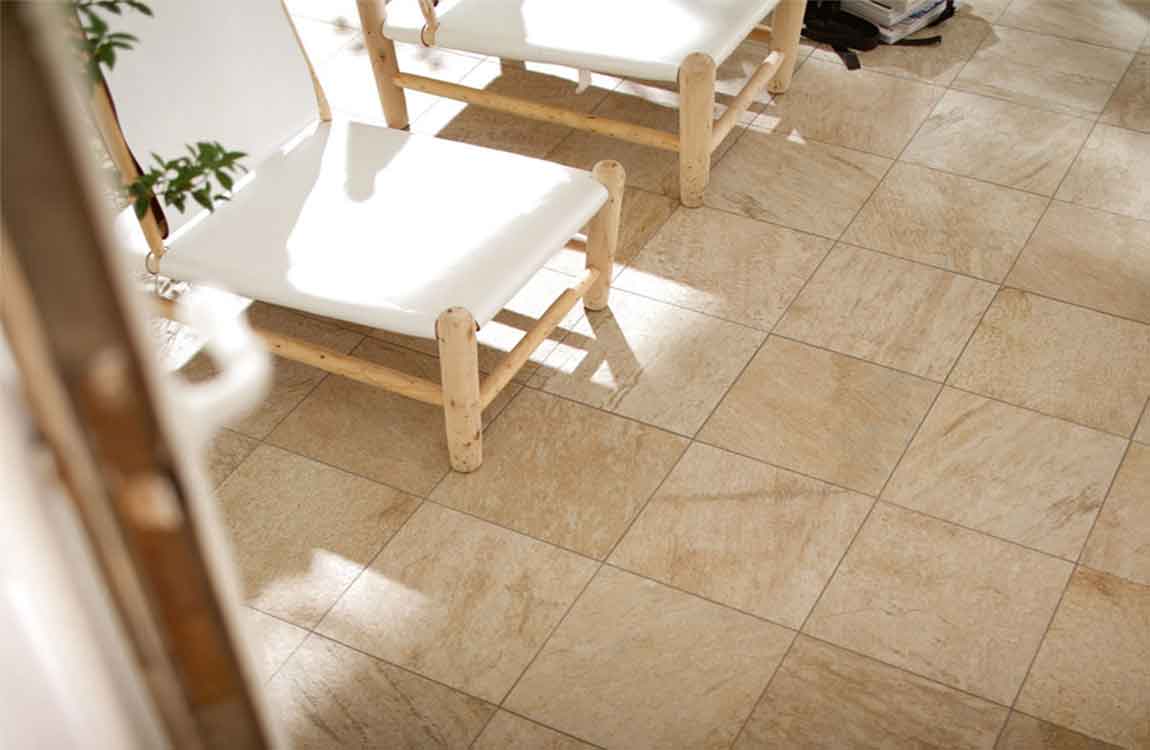
For marble tiles floors, passing a dust mop on the surface regularly should be enough for regular cleaning. However, if the floor is dirty and requires some extra cleaning, add a couple of drops of dish soap to a bucket of water and use a microfiber head mop to clean the floor with this solution. Dry the floor thoroughly after cleaning it. This kind of cleaning should be done daily to clear crumbs or any dust that may have accumulated on the counter, it won’t clean serious stains.


Wipe tiles dry with a separate cloth. Don’t let the marble tiles just air dry, since marble tiles is easily marked by water spots. Use a microfiber cloth to wipe tiles until they’re dry. Spread a baking soda mixture over the marble tiles polish it. Mix three tablespoons (44ml) of baking soda with one quart (946ml) of water. Use a shammy to spread this mixture over your marble tiles surface.


Let the mixture sit on your marble tiles for a few hours before wiping it away with a wet cloth. Sprinkle crushed chalk over your marble tiles to polish it further. For best results, you’ll want to use a box of white chalk and use a mortar and pestle to crush it into fine dust. Use a shammy to wipe the counter in circles, buffing it and bringing out the shine.


Wipe the chalk dust away with a dry cloth after buffing it. Remove the painter’s tape after applying the silicone adhesive and before it dries. Start removing each piece of tape immediately after applying your adhesive beads. Either remove your tape after each bead or all at once after applying all of the beads.

How Removing Stains with a Poultice?


Mix paper towel pieces, ammonia, and hydrogen peroxide in a bowl. Rip up a couple sheets of paper towels and place them in a bowl. Note that the amount of paper towel you use depends on the size of the stain you’re trying to remove. Pour a few drops of ammonia in the bowl, and enough hydrogen peroxide to completely soak the paper towel chunks.


When handling ammonia, you should wear gloves to avoid skin irritation and burns. If the stain you’re trying to remove is quite large, you may want to fold up a paper towel instead. Attempt this method if you’re dealing with old or tenacious stains that can’t be removed with more conventional means.


Place the paper towel poultice over the stain. Pick the saturated chunks out of the bowl and place them over the stain. Be careful not to apply too much pressure, or the hydrogen peroxide and ammonia might leak out over your marble tiles. If you’re dealing with a vertical surface, the paper towel chunks should be wet enough to just stick on.


Seal the poultice with plastic wrap. Stretch a length of plastic wrap over the poultice and stain. Apply pressure to its sides, so that it completely seals the poultice, then use clear adhesive tape to secure the plastic wrap. Use a toothpick to poke a couple of holes in the plastic wrap to allow airflow. Let the poultice sit for two to three days.


Remove the plastic wrap and wash the area with warm water. You should be able to lift the plastic wrap easily with just your fingers. Pick the paper towel poultice off of your surface and throw the chunks away. Then, dampen a cloth with warm water and wipe the area clean. After washing the marble tiles, use a dry cloth or paper towel to dry the area.

How Maintaining marble tiles Surfaces?


Wipe away spills quickly. marble tiles is a sensitive, porous surface, and spilled liquids can stain or etch these surfaces. Acidic substances like coffee, juice, wine or toiletries are especially damaging to marble tiles. Use a microfiber cloth or paper towels to mop up and wipe spills as soon as they happen.


Choose your cleaners carefully. Even general purpose cleaners can damage marble tiles surfaces, especially if they contain acids or alkalis. If you’re going to apply a cleaner directly to your marble tiles tiles or floors, make sure it’s specially formulated to clean marble tiles.


Use coasters and cutting boards on marble tiles tiles. Condensation rings on marble tiles tiles can etch and stain the surface, so make sure to place coasters under any glass placed on them. When cutting fruits and vegetables, cutting boards will prevent any acids or juices from staining the tiles.


Work as fast as you can so that the adhesive is still wet before you lay down your marble tiles. Attach your marble tiles slabs to the cabinets with the adhesive beads. After applying the adhesive, carefully lower each marble tiles slab into place over the beads. Now, press them down gently to ensure that they adhere to the cabinets beneath them.


Be sure to lower the slab onto the adhesive while it’s still wet. Have a friend help you lower each slab into place. Seal the joints between each slab if there are any. A proper dry-fitting can avoid this step, but sometimes it can’t be helped. Start by lining the top of each seam’s sides with painter’s tape.

How Performing Everyday Cleaning?


Wipe down the surface with warm water. In most cases, your daily cleaning won’t require more than a simple wipe down with warm water. To do this, take a clean microfiber cloth, wet it with warm water, and systematically wipe the marble tiles. Switch out your cloth for a clean one when it gets dirty.


Make a cleaning solution with mild dish soap and water. Some days you may need more than warm water to clean your marble tiles. In this case, create a solution of water and dish detergent. Take several cups of warm water and add a couple teaspoons of detergent. The amount of detergent/soap may vary based on the specific product.


Make sure your detergent/soap is not fat-based. This could alter the color of the marble tiles. You can consider buying a soap or cleaning product especially formulated for Carrara marble tiles.


Wipe down the marble tiles with your soap solution. After you’ve made your solution, dampen a clean cloth and wipe down the marble tiles systematically. Make sure to push debris toward one end of the marble tiles and then remove it. Make sure you don’t leave any debris or excess suds on the marble tiles.


Use a clean damp cloth to remove soap residue. After you’ve wiped down the marble tiles with your detergent solution, take a wet a clean cloth and wipe down the marble tiles again. This will help remove soap residue from the marble tiles surface.

How Attaching Your marble tiles?

Install your kitchen sink if necessary. If you had to remove your kitchen sink when removing your old marble tiles, be sure to reinstall it before adding the new material. Start by following manufacturer’s directions to install the faucet followed by detergent and dispenser mounts. Now, attach the sink, supply lines, and drain pipes.


Always apply a ribbon of plumber’s putty before installing the faucet and sprayer bases. Use caulk to attach the sink rim to its opening. Seal the drain and tailpipe with caulk or with a gasket—whichever the manufacturer recommends. Be sure to turn your water on and check for leaks before installing your marble tiles.


Stick painter’s tape to the top edges of the cabinets for protection. Try to cover at least the top 1 inch (2.5 cm) of the cabinets, although the more the better. This will ensure that no silicone adhesive touches their faces. Purchase painter’s tape from any home hardware store or online supplier.


Install ledgers in areas of low cabinet support. While marble tiles can be placed directly on top of cabinets, their weight shouldn’t be underestimated. Take a look at your tiles design and look for areas that have the least amount of cabinet support. Now, install 1 to 2 inch (2.5 to 5.1 cm) ledgers into the walls on the sides of the cabinets to add support.


Attach each ledger using an electric drill and the screws provided. Purchase ledgers from home hardware stores. Be sure to take measurements of the areas that need ledgers before purchasing any. Apply silicone adhesive beads to the top of the cabinets. Start by applying a 2 to 3 inch (5.1 to 7.6 cm) thick bead of adhesive to a corner and then working your way around the top of each cabinet.

How Cutting Your marble tiles?

Measure the top of your cabinets and purchase your marble tiles slabs. Use a measuring tape to get the dimensions of the cabinet tops to determine how much marble tiles you need. Be sure to account for the sink opening when ordering pre-cut marble tiles so that it comes with a space for your sink. Always choose marble tiles with unpolished edges to ensure that there are seams between the slabs.


Choose between rounded, curved, and square edges for the outer edges of your marble tiles. Use 1.25 inch (3.2 cm) slabs for the best results. Select a pattern and color that fits with your space. Add an extra 1⁄2 to 1 inch (1.3 to 2.5 cm) to your dimensions to account for overhang. Remove the marble tiles from the packaging and dry-fit it to the tiles.


marble tiles weighs 25 pounds (11 kg) per square foot, so have at least one person help you move the slabs to be safe. If you’re using multiple marble tiles slabs, make sure that each one fits tightly against the other. If you removed your kitchen sink when removing your old marble tiles, lower it into place after dry-fitting your marble tiles to make sure that it fits. If your sink is still installed, that’s fine too.


Mark cutlines onto the top and bottom of the marble tiles to shape it to the tiles. Even with pre-cut marble tiles, you might have to make some adjustments to their size. Take note of any portions of the marble tiles that need to be removed or cut to fit the tiles and mark them off on the top and bottom with a straight edge and pencil.


Start by placing your straight edge onto the top and draw a line to mark the region to be removed. Afterward, turn the marble tiles over and mark a line on the bottom parallel to the top one. Now, connect each line via lines on the sides. Make sure that there are 4 lines total—the top, bottom, and 2 side lines.

How to Clean Cultured Marble Tiles?

Cultured marble tiles is a resilient material frequently used for tiles, sinks, and vanities. Mineral deposits and soap scum can build up on your marble tiles, negatively impacting its appearance. Remove mild buildup and stains with a soft rag and white vinegar. Eliminate difficult stains with hydrogen peroxide or a special, heavy-duty cleaning solution.


Ensure safe cleaning by avoiding harsh chemicals and abrasives. Some stubborn stains might require a longer soak time. However, soaking your marble tiles too long in this solution may be harmful to its finish. Cleanse the area with water. Rinse the cleaned area with cold water in the same fashion as previously described.


Wipe up water remaining on your marble tiles and any dirtiness with a clean, dry, soft rag. Your cultured marble tiles should now be clean. Any excess sealer that’s pooled on the surface of your marble tiles or that has not been absorbed must be removed for the health and appearance of your marble tiles, as leftover sealer can stain it.


Allow the sealer to set for 24 hours. Let the sealer fully absorb and dry into your marble tiles before trying to use your shower again. You should seal your marble tiles bathtub once every six months. Let everyone in your house know that using the shower before the sealer dries could damage your marble tiles.


After receiving your pre-cut marble tiles slabs, the first thing to do is make sure they fit on your tiles. Place the slabs on top of their installation location—also known as dry-fitting—and make sure that each piece fits into its space without creating any large gaps between its surroundings.

How to Clean a marble tiles Shower?

A marble tiles shower is an elegant and chic addition to anyone’s bathroom. Unfortunately, there are also drawbacks with marble tiles, especially when you have to clean it. marble tiles is a porous rock that tends to absorb chemicals and dyes that are found in traditional cleaners. For this reason, many different things can end up ruining your shower’s sleek finish.


Luckily, if you use the right techniques and limit the chemicals you use when you clean, you can have a shiny marble tiles shower that’s free of stains and dirt. Wipe down your shower after each use. It’s important that you wipe it clean after every use because the chemicals found in your soap may hurt the marble tiles.


Use a dry cotton rag or dishcloth to wipe the moisture from the walls and basin of your shower after you use it. Fill a spray bottle with warm water a tbsp (14.7 ml) of mild dish soap. Use regular warm water to fill a spray bottle and add a tbsp (14.7 ml) of non-abrasive, pH-neutral, dish soap into the bottle.


Select an undyed dish soap that does not contain any abrasives like sand or stone, and that doesn’t contain any acids like citrus, lemon, or vinegar. It will say pH-neutral on the label of your dish soap. Conventional cleaners may contain acids that can damage the surface of your shower. There are specially made marble tiles cleaners that you can purchase at department stores or online.


Popular commercial marble tiles sprays include Black Diamond, Simple Green, and Zep marble tiles Cleaner. Spray the solution onto your shower and rub it in with a damp cloth. Coat the walls and basin of your shower with the solution and rub the solution in a small circular motion. Continue to work around your shower in small circles, concentrating on any built up mildew or dirt.

How Sealing Your marble tiles Shower?

Test to see if your shower needs to be sealed. Unless you have a white marble tiles shower, you should not seal your shower. You should also not seal your shower if there is already an existing seal on it. Test to see if there is sealer by putting a couple of drops of water onto the surface of the shower and allowing the water to dry for ten minutes.


If the area is dark, it means that your marble tiles has absorbed the water and most likely needs to be sealed again. If the sealer has pooled on top of your marble tiles, it means that it’s already sealed. If your shower is already sealed, there’s no reason to do it again, and it can actually be detrimental to your marble tiles.


Dust and clean the inside of your shower with a damp rag. The first step before you seal your shower is to make sure that all the dust and dirt that may be built up is removed before you seal it in. Wipe down your shower with a damp rag and water, then dry it with a clean rag. Make sure that your shower is dry and free of dirt before you start sealing.


Spray down your shower with the sealer and wipe it in. Spray down your shower with the sealer and use a sponge or a rag to wipe the sealer in. Work your way from the top of the shower to the bottom of the shower and try to apply even coats throughout it. Some popular brands of marble tiles sealer include DuPont Stone Sealer and Miracle Sealants.


It’s important that you get a stone sealer made for a stone like marble tiles. Allow the sealer to soak for 15 minutes. During this period the sealer will be absorbed by the marble tiles. You should start to see the marble tiles turn a darker color as it absorbs the sealer. Wipe off excess sealer on the surface of your shower. Use a dry absorbent cloth to remove any excess sealer that pools on the top of your shower.

How Removing Deep Stains?


Mix 1 part baking soda with three parts water. Combine the baking soda with the water in a small bowl or cup. Continue to mix it together until the baking soda absorbs the water and forms a paste. If your paste is too thick, add more water to it. If the paste is too runny, add more baking soda.


Apply the paste to the stains. Wear gloves and use your hands to smear a good portion of the paste over the stains on your shower. Target any discoloration or built up mildew that you weren’t able to remove from a basic cleaning. Cover the paste with plastic wrap. Tape the ends of the plastic wrap so it stays in place. Don’t cover all the edges in tape so that the marble tiles can breathe.


Let the paste sit on your shower for 24 hours. The paste will dry and absorb the stain under it. When the paste is ready, it should be dry and hard. Remind people in the house that you are doing a deep cleaning and that they won’t be able to use the shower. Rinse and wipe down the baking soda.


Remove the baking soda paste from your shower by rinsing down your shower and wiping the stained areas with a rag. If you notice that the stain is still visible, repeat the steps until it is fully removed. Dry the shower. Use an absorbent rag or squeegee to dry off your shower completely.


You should dry down your shower after every use, but doing a more extensive cleaning with a mild dish soap and water two to three times a week should keep the marble tiles looking clean and fresh. Rinse the shower. Use a showerhead or a bucket of water to rinse the entirety of the shower down, including the walls. It’s important that you remove any leftover soap or it may sink into the marble tiles and create stains later.