How to Clear Patio Tiles?
Make sure to treat each set of stairs up to each landing separately. Using your vacuum, vacuum each stair. This makes sure that you get all the lint and dust that the broom may have left behind.

If your Patio Tiles is still dirty, you can either repeat these steps until it’s clean or you may have to use a more intensive method to clean it entirely. Once your Patio Tiles is dry, add a Patio Tiles sealer if you want to protect it from stains and regular wear and tear.
Sweep up the paste. Once you’ve allowed the paste to sit and oxidize, you can remove it from the Patio Tiles. Use a broom to get the initial paste up.
Rinse off the Patio Tiles. Rinse the Patio Tiles off with buckets of water or use a hose. Make sure that all of the kitty litter paste is removed from the surface of your Patio Tiles before allowing it to dry.
Let the Patio Tiles dry for 24 hours. Allow your Patio Tiles to dry from the sun for 24 hours. Alternatively, you can use a leaf blower to help dry off the concrete faster. Assess the results once you’re done. If the stain has faded but is not completely gone, you can repeat the steps to continue reducing the appearance of the stain.


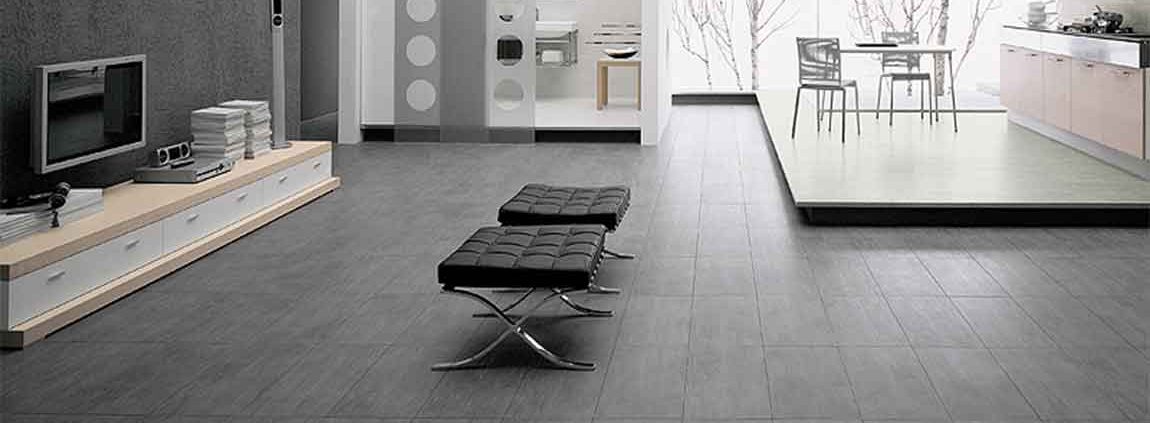
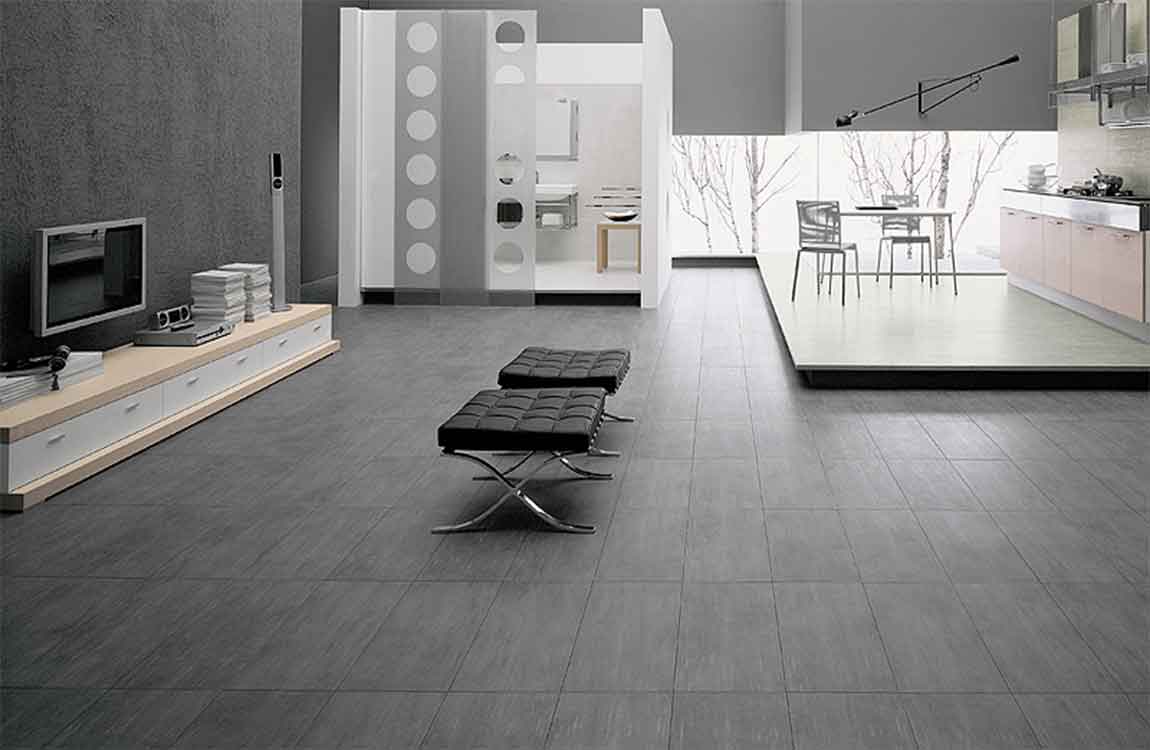
 Clean the active floor with a vacuum cleaner at least 3 times a week. The floors of the kitchen and living room need to be vacuumed regularly, and as the number of people living in the house increases, so does the floor. The area floor with less activity, such as bedroom floor, should be cleaned once a week.