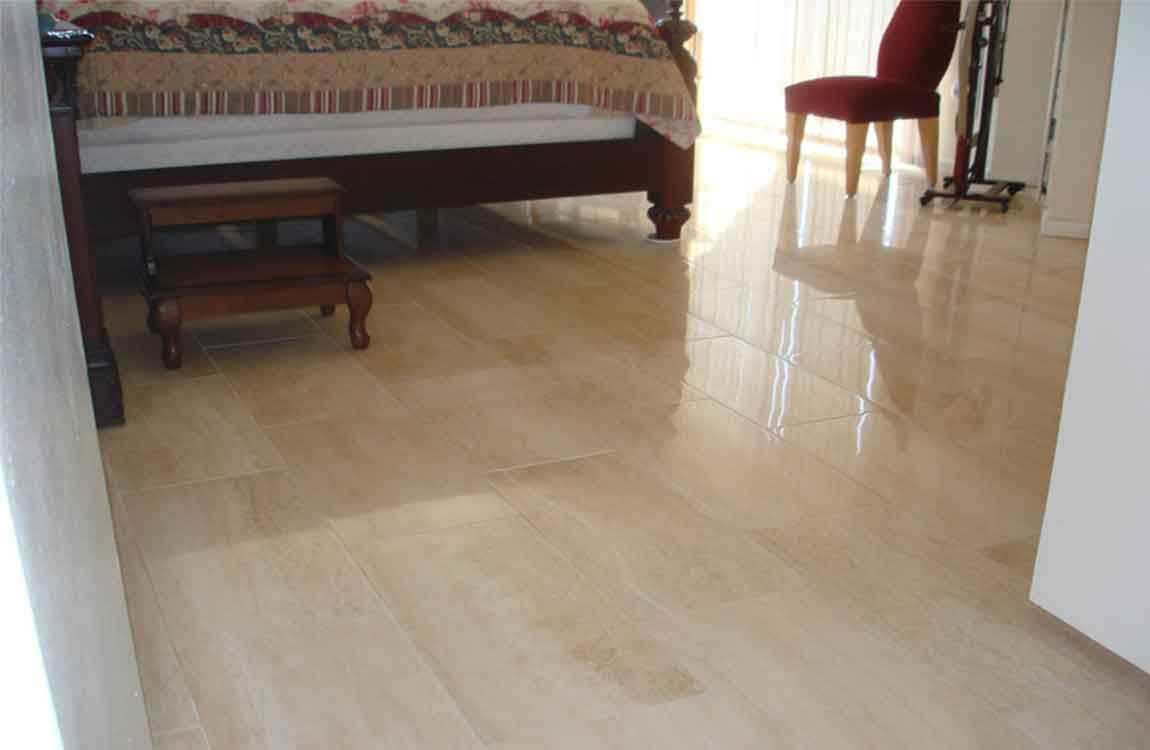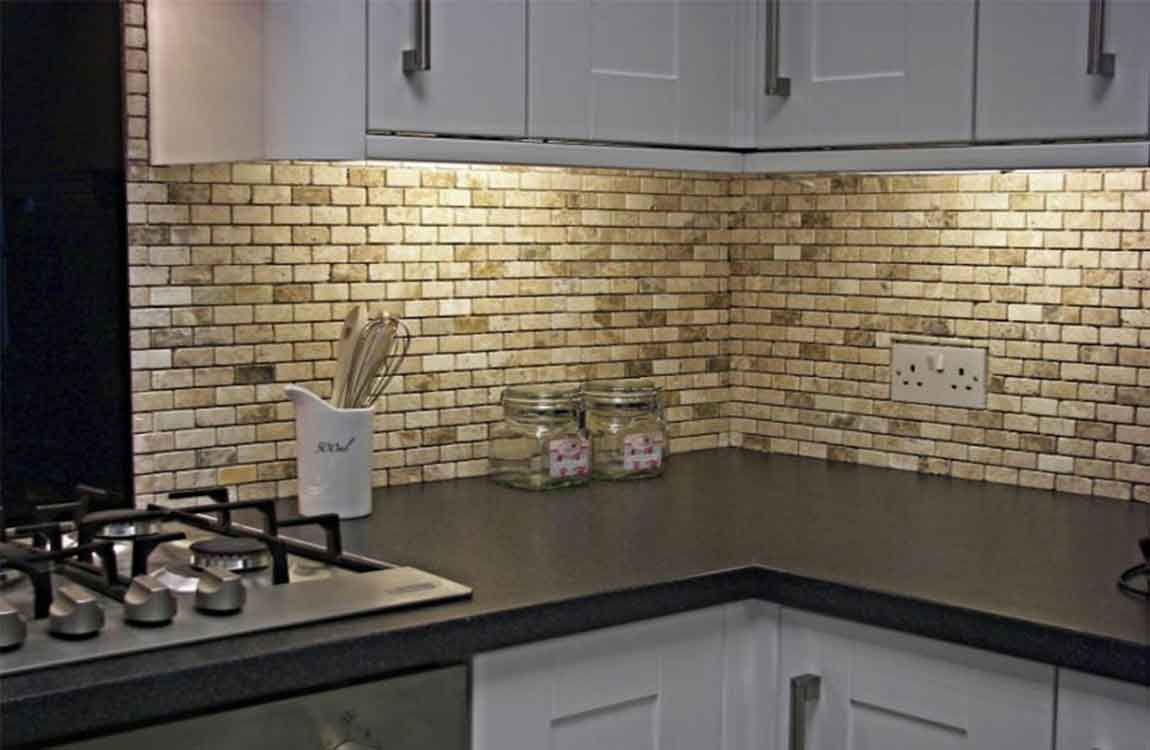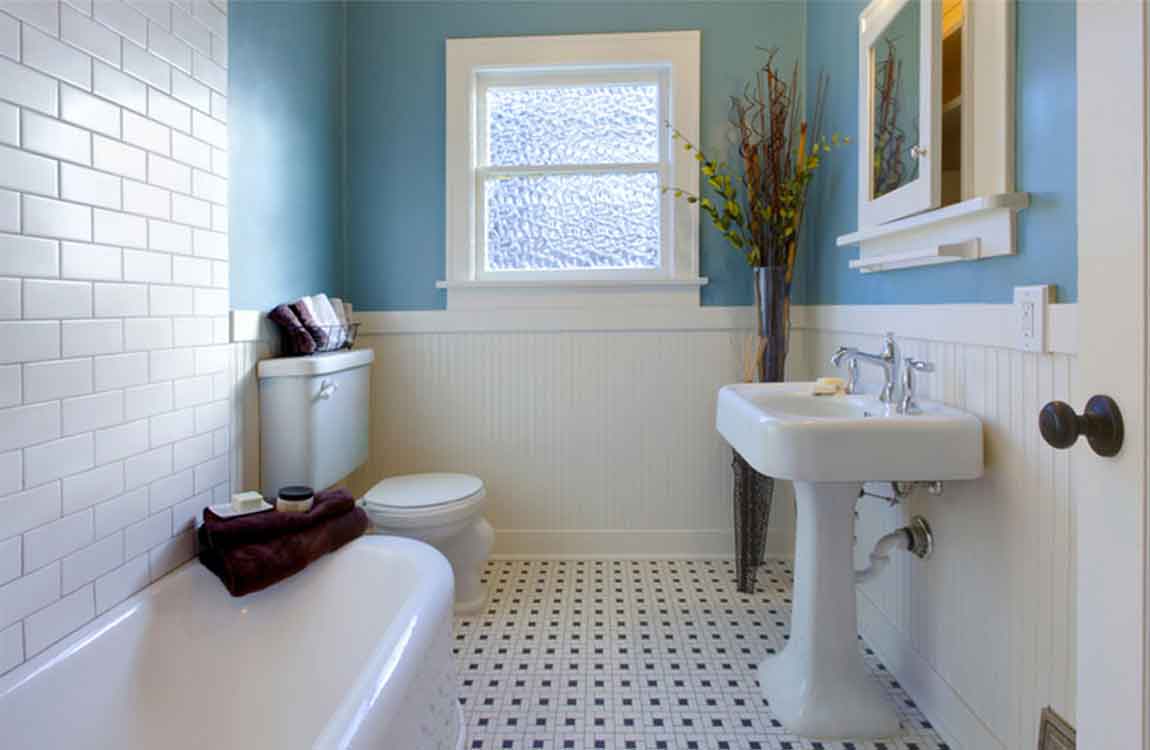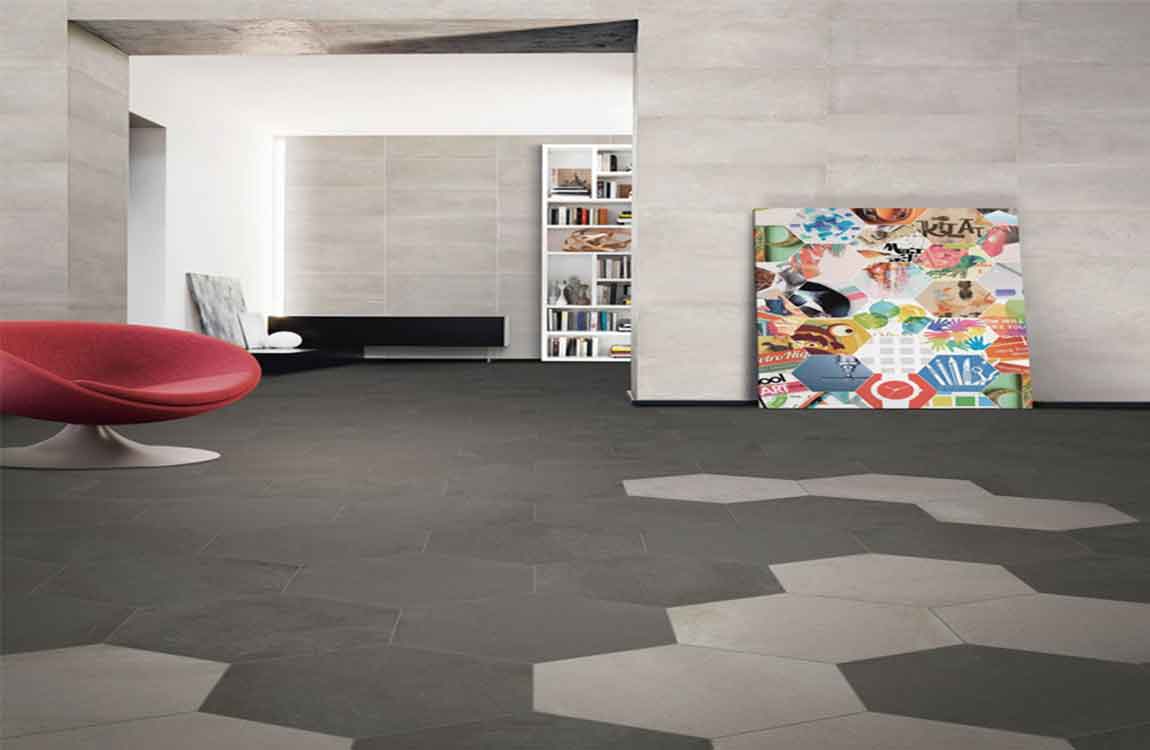
How Doing General Cleaning on Interior Surfaces?


Sweep all loose dirt and debris off of the surface. If you have a sandstone tiles hearth or sandstone tiles on your floor, sweep them off before doing a deep clean. With will get rid of loose debris on the surface and will make cleaning easier. If your interior sandstone tiles surfaces are not on the floor, such as if you have a sandstone tiles counter top, use a dry towel or a small, hand-held brush to wipe all crumbs, dust, and other debris off of them.


You can also use a vacuum to get rid of all loose dirt and debris on the surface. Wipe down the surface with a damp cloth. Use a clean, soft rag to wipe down your sandstone tiles. Simply get the rag wet, ring it out in the sink, and then wipe the entire surface of the stone.


If you are dealing with a sandstone tiles floor surface and you don’t want to get on your hands and knees, you can use a microfiber mop head or other soft floor cleaning mop. Rinse out the rag if it gets very dirty and then continue on until the entire surface has been cleaned.


Tip: When you are wiping down the surface, notice whether the water appears to absorb into the sandstone tiles or if it beads up on top. If it absorbs into the stone, that means the stone has no sealant. If it beads up, the stone has been sealed. sandstone tiles that is not sealed is more prone to staining, so it needs to be used more carefully.


Don’t use your general household cleaning products on your sandstone tiles. Unless a general cleaning product, such as a “kitchen surface cleaner,” is labeled for cleaning natural stones, you shouldn’t put it on your sandstone tiles. In particular, acid-based cleaning products, such as those that contain citrus or vinegar can damage the surface.

How Tackling Tough Interior Stains?


Blot up spills right away. Use a clean, dry towel to pick up any spills on your sandstone tiles. Be sure to dab and blot the area instead of wiping it. Wiping the spill around can create a larger stain by moving the food or liquid around the area. Most liquids can stain your sandstone tiles but some that are particularly bad include wine, fruit juices, and coffee.


Avoid the use of cleaners that contain harsh chemicals and abrasives. sandstone tiles is a very porous stone and it can be discolored and damaged by a wide variety of cleaning products. In particular, acidic cleaners can discolor the surface permanently. Tip: sandstone tiles is prone to discoloration and it can’t be cleaned with the common cleaners you use in other parts of your house.


Thus, if you are looking for a surface for your tiles or flooring that is strong and can take a beating, sandstone tiles is not for you. Make a baking soda paste if plain water can’t get a spot off. It’s easy to make a great alkaline sandstone tiles cleaner by mixing up a paste of baking soda and water. Put a couple of tablespoons of baking soda in a small bowl and mix in a few drops of water.


Stir the mixture with a spoon and keep adding water until the mixture is a thick paste. You can also buy specific natural stone-cleaning products online or at many home improvement and hardware stores. However, a simple baking soda paste is likely to work just as well. Apply the paste to the stain and scrub it with a soft-bristled brush.


Smear the paste onto the stain on the stone with the spoon you used for mixing. Let it sit on the surface for about 15 minutes. Then scrub the surface with a soft brush. You can use a variety of types of brushes, including a home cleaning brush, a nail brush or an old toothbrush. Wipe the paste off with a clean, damp cloth.

How Cleaning Exterior Surfaces?

Sweep off the surface. Remove any loose debris from the outdoor surface you are cleaning. If you are cleaning off a patio, use a large broom to sweep it off. If you are cleaning a small retaining wall or a monument, use a small broom to sweep the detailed areas. Removing the top layer of dirt and debris this way will help you assess what areas need to be deep cleaned and which just need a light scrubbing.


Wet the surface and allow the water to sit for about 30 minutes. Spray the surface with your hose so that it is all damp. A layer of water will start to loosen anything growing on the surface. Wait for the stone to soak for about 30 minutes before continuing on and your overall cleaning process will be much easier.


Tip: If the temperature is below freezing, wait for it to warm up before putting water on your sandstone tiles. Purposely putting water on sandstone tiles, especially older sandstone tiles that might have tiny cracks in it, can cause the stone to crack if water gets inside of it and freezes.


Scrub the surface with water and a plastic-bristle brush. Use a circular motion while scrubbing to get any organic material off of the stone. This often includes moss, lichen, and mold. Keep scrubbing until you are happy with the color of the stone. Most outdoor scrub brushes will work for fine for this. You can use a hand brush or a brush on a pole.


Just make sure that bristles are medium-firm, meaning that they bend when you push the brush across the surface. Never use a wire brush or extremely firm plastic-bristle brush on sandstone tiles. It will scratch the surface and speed up decay. Use a squirt of dish-washing soap, if necessary.

How to Install marble tiles?


If you’re looking for some eye-catching accents and unique pigments to spice up your kitchen, marble tiles are a great choice. Although marble tiles installation is definitely a job best done with a friend given the heaviness of the material, the actual installation is a lot easier than you would think!


Attach a diamond masonry blade to your power saw. Start by attaching vice grips to your old blade to prevent it from moving. Now, use a wrench to loosen the bolt and remove it. Remove the flange—the small rim located under the bolt—and lift the blade out. Finally, swap in your new diamond blade, reattach the flange, and retighten the bolt.


Be sure that your blade is designated for marble tiles. Skip this step if you already have a diamond masonry blade on your power saw. Saw along the marked lines to cut the marble tiles to size. Set the blade depth to half the thickness of your marble tiles. Afterward, place your left hand on marble tiles to keep it steady and your right hand on the handle of the saw to move it forward and backward.


With your marble tiles on a flat surface, start sawing along the top penciled line. Apply gentle pressure downward onto the marble tiles with your left hand and down onto the saw using your right hand. Always check that the teeth of the diamond blade are pointing opposite to the marble tiles. Repeat this process with the other side of the marble tiles to cut it in half.


Remove the blade from the marble tiles every 30 seconds to keep the temperature low. Space each bead apart by 6 to 12 inches (15 to 30 cm) to make sure that the silicone holds the counter as securely as possible. Always start installing the marble tiles around the sink region.

How Doing General Cleaning and Polishing?

Wipe marble tiles surfaces with a wet cloth. Use only warm tap water, as many household cleaners are too harsh for marble tiles counters. Wipe the length of the counter with a wet cloth. Microfiber cloths are best for this if you have them, they’ll give the counter a better scrub without needing to use a household cleaner. If you need to clean your counter more thoroughly, you can use commercial cleaners specifically designed for marble tiles.


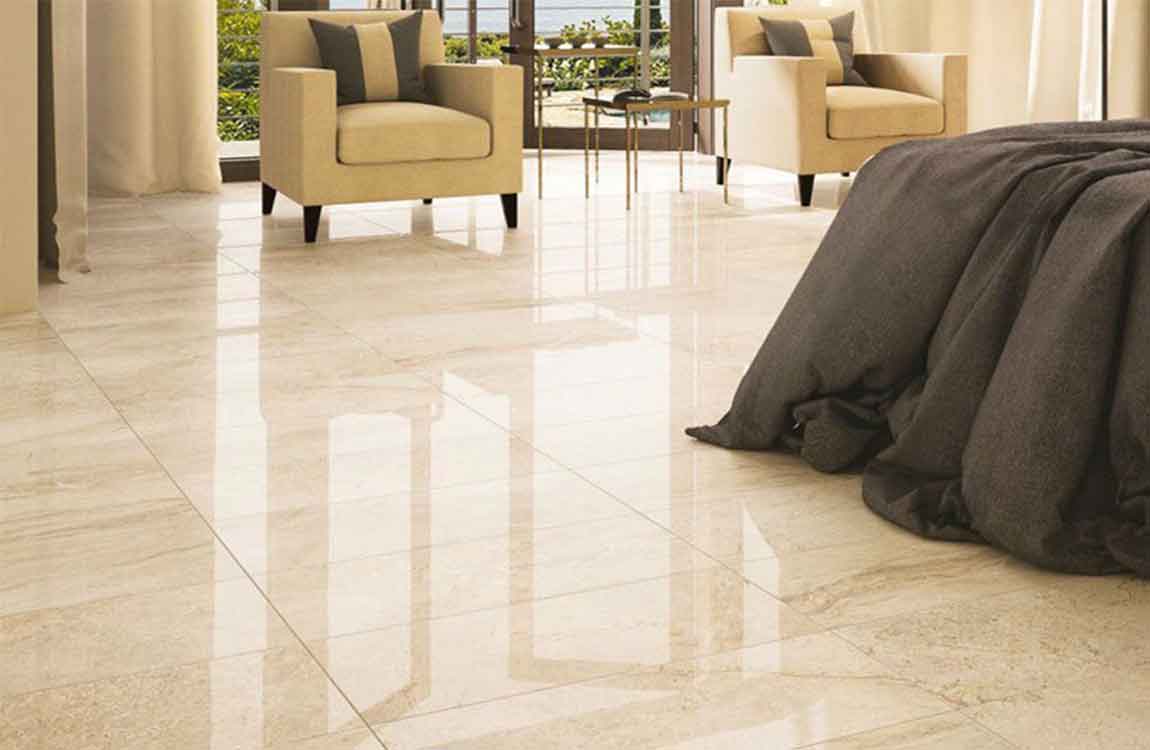
For marble tiles floors, passing a dust mop on the surface regularly should be enough for regular cleaning. However, if the floor is dirty and requires some extra cleaning, add a couple of drops of dish soap to a bucket of water and use a microfiber head mop to clean the floor with this solution. Dry the floor thoroughly after cleaning it. This kind of cleaning should be done daily to clear crumbs or any dust that may have accumulated on the counter, it won’t clean serious stains.


Wipe tiles dry with a separate cloth. Don’t let the marble tiles just air dry, since marble tiles is easily marked by water spots. Use a microfiber cloth to wipe tiles until they’re dry. Spread a baking soda mixture over the marble tiles polish it. Mix three tablespoons (44ml) of baking soda with one quart (946ml) of water. Use a shammy to spread this mixture over your marble tiles surface.


Let the mixture sit on your marble tiles for a few hours before wiping it away with a wet cloth. Sprinkle crushed chalk over your marble tiles to polish it further. For best results, you’ll want to use a box of white chalk and use a mortar and pestle to crush it into fine dust. Use a shammy to wipe the counter in circles, buffing it and bringing out the shine.


Wipe the chalk dust away with a dry cloth after buffing it. Remove the painter’s tape after applying the silicone adhesive and before it dries. Start removing each piece of tape immediately after applying your adhesive beads. Either remove your tape after each bead or all at once after applying all of the beads.

How Removing Stains with a Poultice?


Mix paper towel pieces, ammonia, and hydrogen peroxide in a bowl. Rip up a couple sheets of paper towels and place them in a bowl. Note that the amount of paper towel you use depends on the size of the stain you’re trying to remove. Pour a few drops of ammonia in the bowl, and enough hydrogen peroxide to completely soak the paper towel chunks.


When handling ammonia, you should wear gloves to avoid skin irritation and burns. If the stain you’re trying to remove is quite large, you may want to fold up a paper towel instead. Attempt this method if you’re dealing with old or tenacious stains that can’t be removed with more conventional means.


Place the paper towel poultice over the stain. Pick the saturated chunks out of the bowl and place them over the stain. Be careful not to apply too much pressure, or the hydrogen peroxide and ammonia might leak out over your marble tiles. If you’re dealing with a vertical surface, the paper towel chunks should be wet enough to just stick on.


Seal the poultice with plastic wrap. Stretch a length of plastic wrap over the poultice and stain. Apply pressure to its sides, so that it completely seals the poultice, then use clear adhesive tape to secure the plastic wrap. Use a toothpick to poke a couple of holes in the plastic wrap to allow airflow. Let the poultice sit for two to three days.


Remove the plastic wrap and wash the area with warm water. You should be able to lift the plastic wrap easily with just your fingers. Pick the paper towel poultice off of your surface and throw the chunks away. Then, dampen a cloth with warm water and wipe the area clean. After washing the marble tiles, use a dry cloth or paper towel to dry the area.

How Maintaining marble tiles Surfaces?


Wipe away spills quickly. marble tiles is a sensitive, porous surface, and spilled liquids can stain or etch these surfaces. Acidic substances like coffee, juice, wine or toiletries are especially damaging to marble tiles. Use a microfiber cloth or paper towels to mop up and wipe spills as soon as they happen.


Choose your cleaners carefully. Even general purpose cleaners can damage marble tiles surfaces, especially if they contain acids or alkalis. If you’re going to apply a cleaner directly to your marble tiles tiles or floors, make sure it’s specially formulated to clean marble tiles.


Use coasters and cutting boards on marble tiles tiles. Condensation rings on marble tiles tiles can etch and stain the surface, so make sure to place coasters under any glass placed on them. When cutting fruits and vegetables, cutting boards will prevent any acids or juices from staining the tiles.


Work as fast as you can so that the adhesive is still wet before you lay down your marble tiles. Attach your marble tiles slabs to the cabinets with the adhesive beads. After applying the adhesive, carefully lower each marble tiles slab into place over the beads. Now, press them down gently to ensure that they adhere to the cabinets beneath them.


Be sure to lower the slab onto the adhesive while it’s still wet. Have a friend help you lower each slab into place. Seal the joints between each slab if there are any. A proper dry-fitting can avoid this step, but sometimes it can’t be helped. Start by lining the top of each seam’s sides with painter’s tape.

How Performing Everyday Cleaning?


Wipe down the surface with warm water. In most cases, your daily cleaning won’t require more than a simple wipe down with warm water. To do this, take a clean microfiber cloth, wet it with warm water, and systematically wipe the marble tiles. Switch out your cloth for a clean one when it gets dirty.


Make a cleaning solution with mild dish soap and water. Some days you may need more than warm water to clean your marble tiles. In this case, create a solution of water and dish detergent. Take several cups of warm water and add a couple teaspoons of detergent. The amount of detergent/soap may vary based on the specific product.


Make sure your detergent/soap is not fat-based. This could alter the color of the marble tiles. You can consider buying a soap or cleaning product especially formulated for Carrara marble tiles.


Wipe down the marble tiles with your soap solution. After you’ve made your solution, dampen a clean cloth and wipe down the marble tiles systematically. Make sure to push debris toward one end of the marble tiles and then remove it. Make sure you don’t leave any debris or excess suds on the marble tiles.


Use a clean damp cloth to remove soap residue. After you’ve wiped down the marble tiles with your detergent solution, take a wet a clean cloth and wipe down the marble tiles again. This will help remove soap residue from the marble tiles surface.

How Attaching Your marble tiles?

Install your kitchen sink if necessary. If you had to remove your kitchen sink when removing your old marble tiles, be sure to reinstall it before adding the new material. Start by following manufacturer’s directions to install the faucet followed by detergent and dispenser mounts. Now, attach the sink, supply lines, and drain pipes.


Always apply a ribbon of plumber’s putty before installing the faucet and sprayer bases. Use caulk to attach the sink rim to its opening. Seal the drain and tailpipe with caulk or with a gasket—whichever the manufacturer recommends. Be sure to turn your water on and check for leaks before installing your marble tiles.


Stick painter’s tape to the top edges of the cabinets for protection. Try to cover at least the top 1 inch (2.5 cm) of the cabinets, although the more the better. This will ensure that no silicone adhesive touches their faces. Purchase painter’s tape from any home hardware store or online supplier.


Install ledgers in areas of low cabinet support. While marble tiles can be placed directly on top of cabinets, their weight shouldn’t be underestimated. Take a look at your tiles design and look for areas that have the least amount of cabinet support. Now, install 1 to 2 inch (2.5 to 5.1 cm) ledgers into the walls on the sides of the cabinets to add support.


Attach each ledger using an electric drill and the screws provided. Purchase ledgers from home hardware stores. Be sure to take measurements of the areas that need ledgers before purchasing any. Apply silicone adhesive beads to the top of the cabinets. Start by applying a 2 to 3 inch (5.1 to 7.6 cm) thick bead of adhesive to a corner and then working your way around the top of each cabinet.

How Cutting Your marble tiles?

Measure the top of your cabinets and purchase your marble tiles slabs. Use a measuring tape to get the dimensions of the cabinet tops to determine how much marble tiles you need. Be sure to account for the sink opening when ordering pre-cut marble tiles so that it comes with a space for your sink. Always choose marble tiles with unpolished edges to ensure that there are seams between the slabs.


Choose between rounded, curved, and square edges for the outer edges of your marble tiles. Use 1.25 inch (3.2 cm) slabs for the best results. Select a pattern and color that fits with your space. Add an extra 1⁄2 to 1 inch (1.3 to 2.5 cm) to your dimensions to account for overhang. Remove the marble tiles from the packaging and dry-fit it to the tiles.


marble tiles weighs 25 pounds (11 kg) per square foot, so have at least one person help you move the slabs to be safe. If you’re using multiple marble tiles slabs, make sure that each one fits tightly against the other. If you removed your kitchen sink when removing your old marble tiles, lower it into place after dry-fitting your marble tiles to make sure that it fits. If your sink is still installed, that’s fine too.


Mark cutlines onto the top and bottom of the marble tiles to shape it to the tiles. Even with pre-cut marble tiles, you might have to make some adjustments to their size. Take note of any portions of the marble tiles that need to be removed or cut to fit the tiles and mark them off on the top and bottom with a straight edge and pencil.


Start by placing your straight edge onto the top and draw a line to mark the region to be removed. Afterward, turn the marble tiles over and mark a line on the bottom parallel to the top one. Now, connect each line via lines on the sides. Make sure that there are 4 lines total—the top, bottom, and 2 side lines.