How to Selecting a Material for Your Tiles?
Tiles are a great flooring option that can work for any room. They’re easy to clean, long-lasting, and stylish, but choosing the right floor tiles for your home can feel challenging. Luckily, it’s easy to choose floor tiles if you consider your needs and personal style. You can then select a material, incorporate your own style, and shop for the tiles you want.
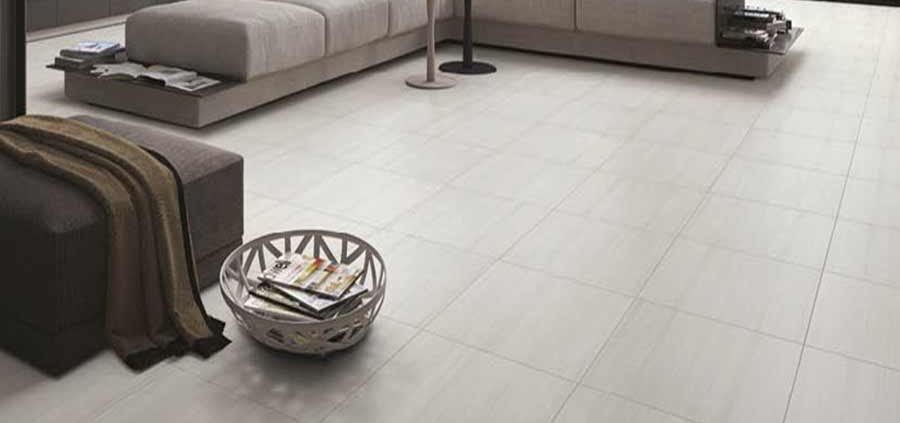
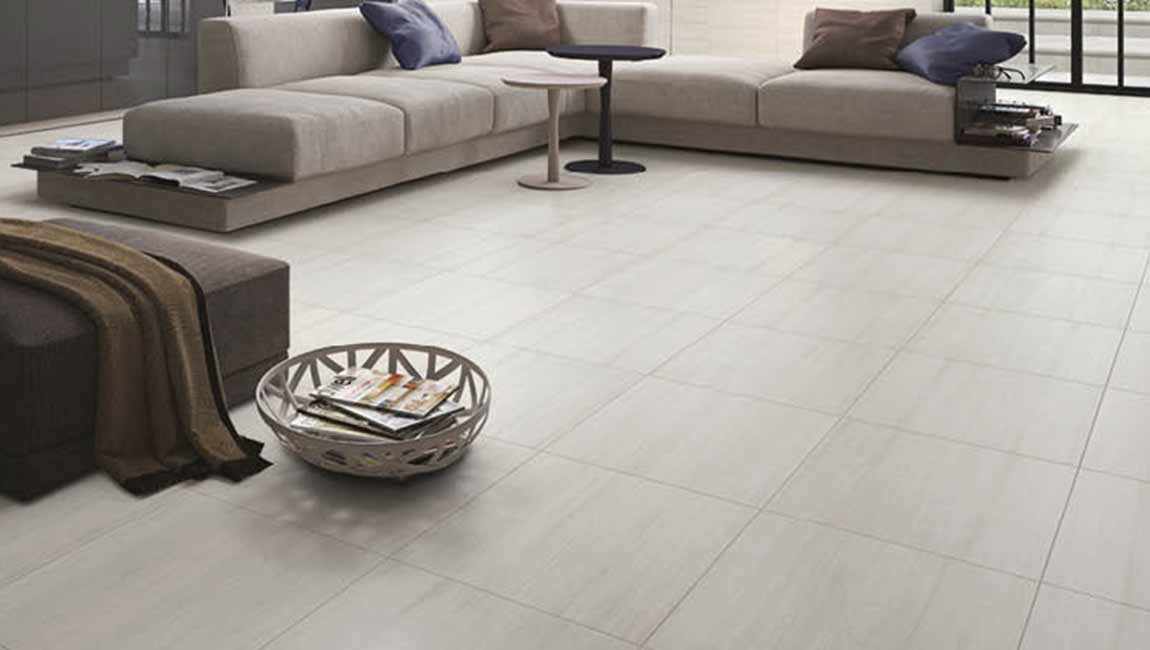
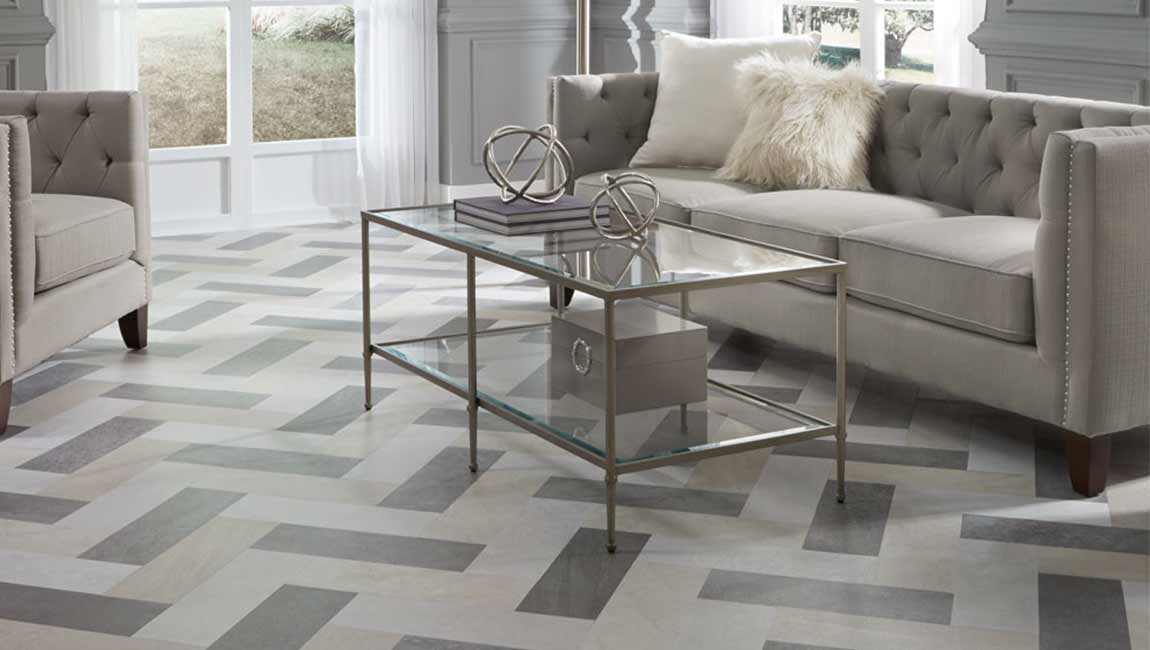
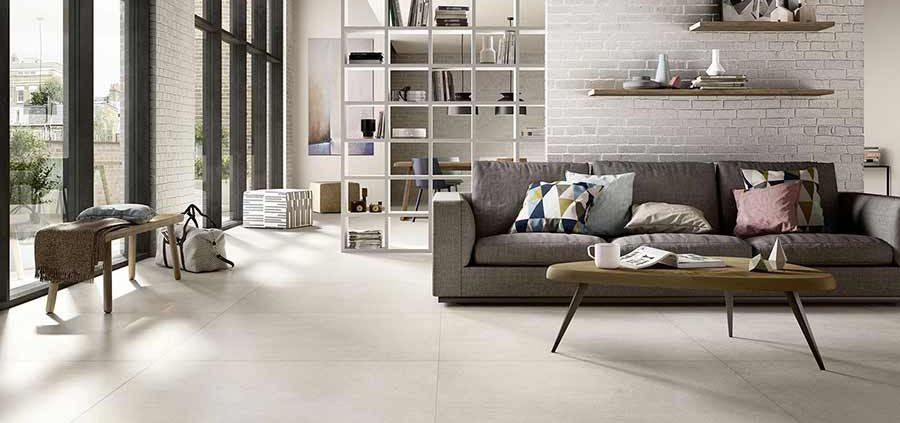
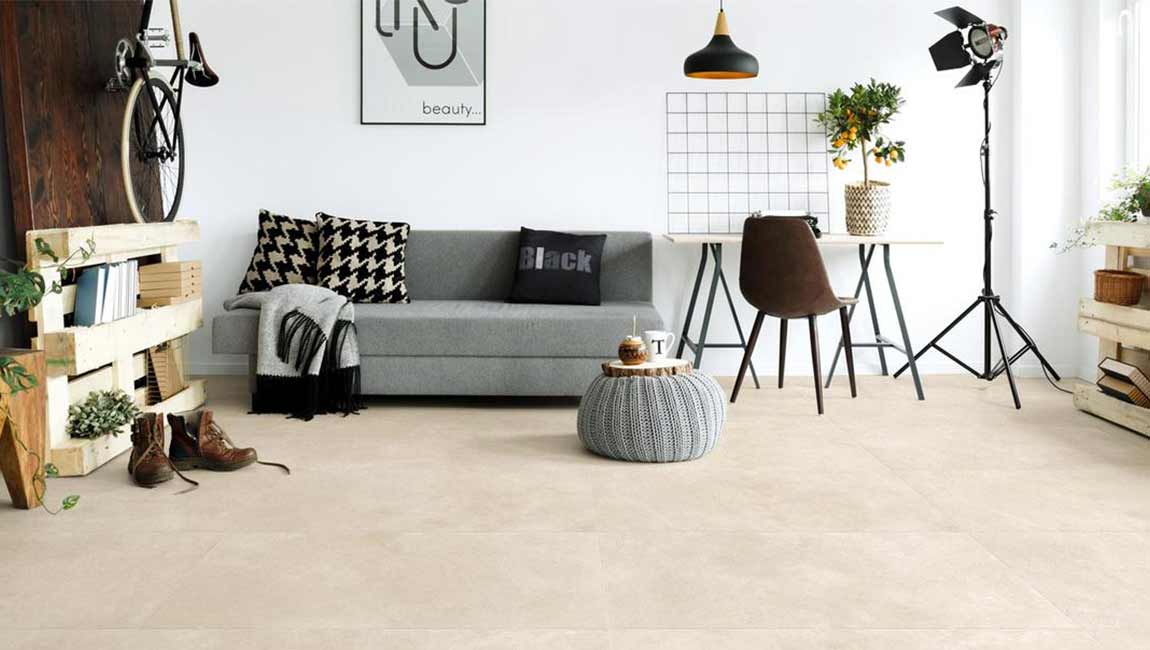
Choose ceramic tiles for an inexpensive, classic option. Ceramic tiles are popular options because they are inexpensive and fit with any decor. You can choose large tiles or small tiles, depending on your preference. They are easy to install on your own, but you’ll need to work harder at keeping them clean, as they are porous and absorb liquids. For a classic look, choose un-textured, solid color tiles. Show your personal style with fun colors, designs, or textures.
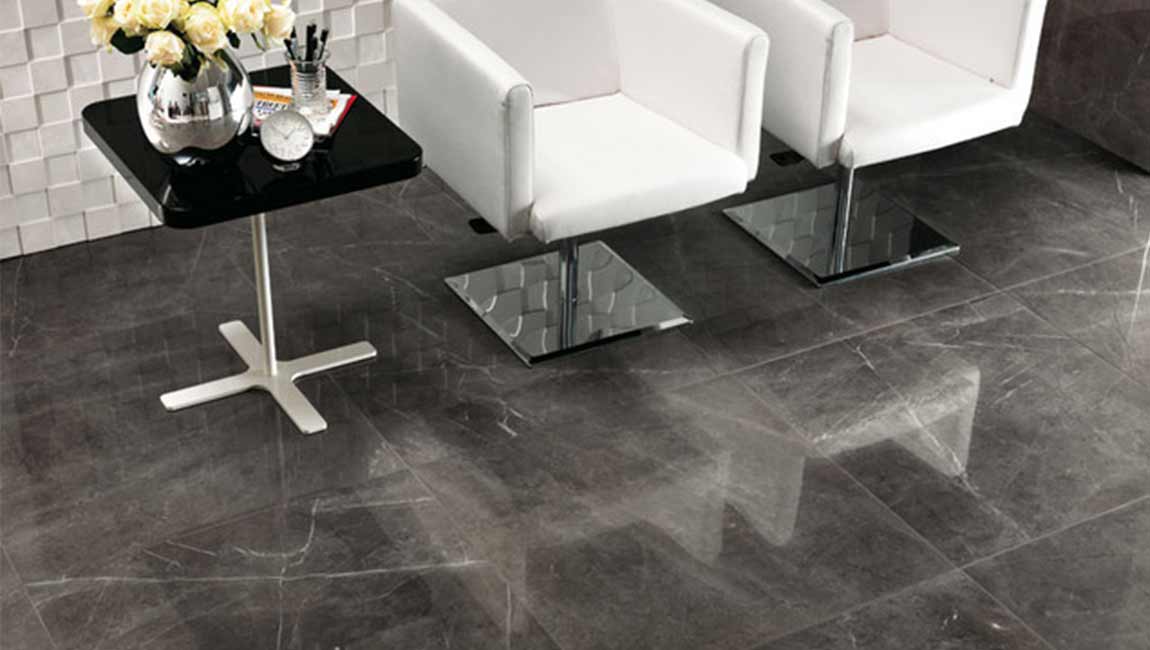
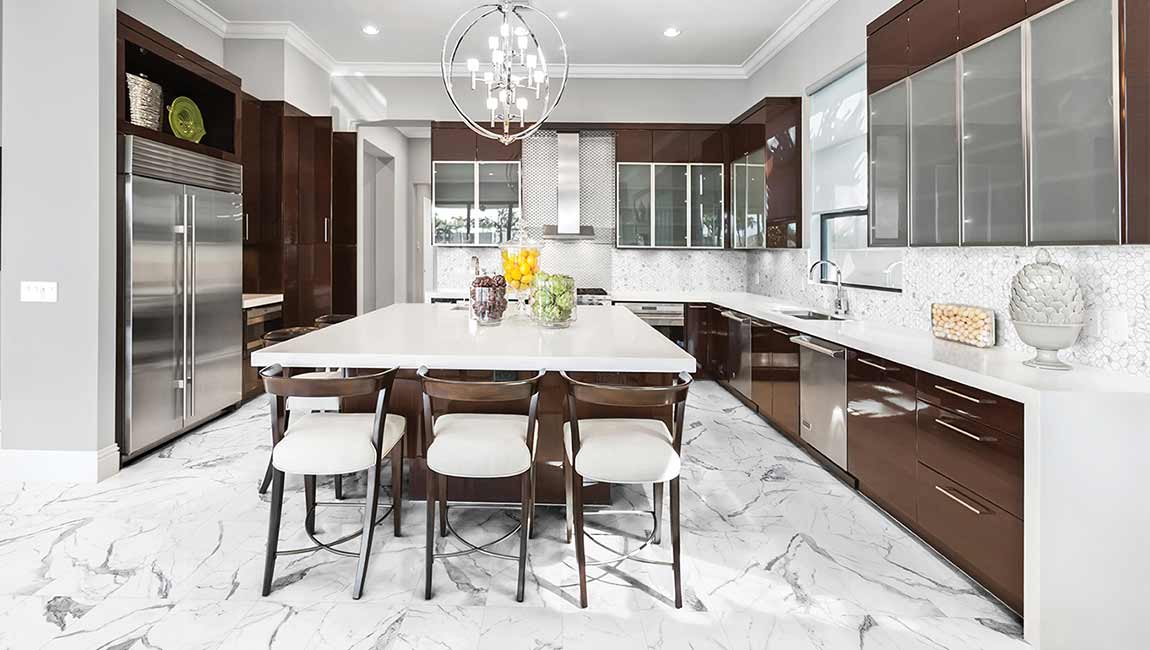
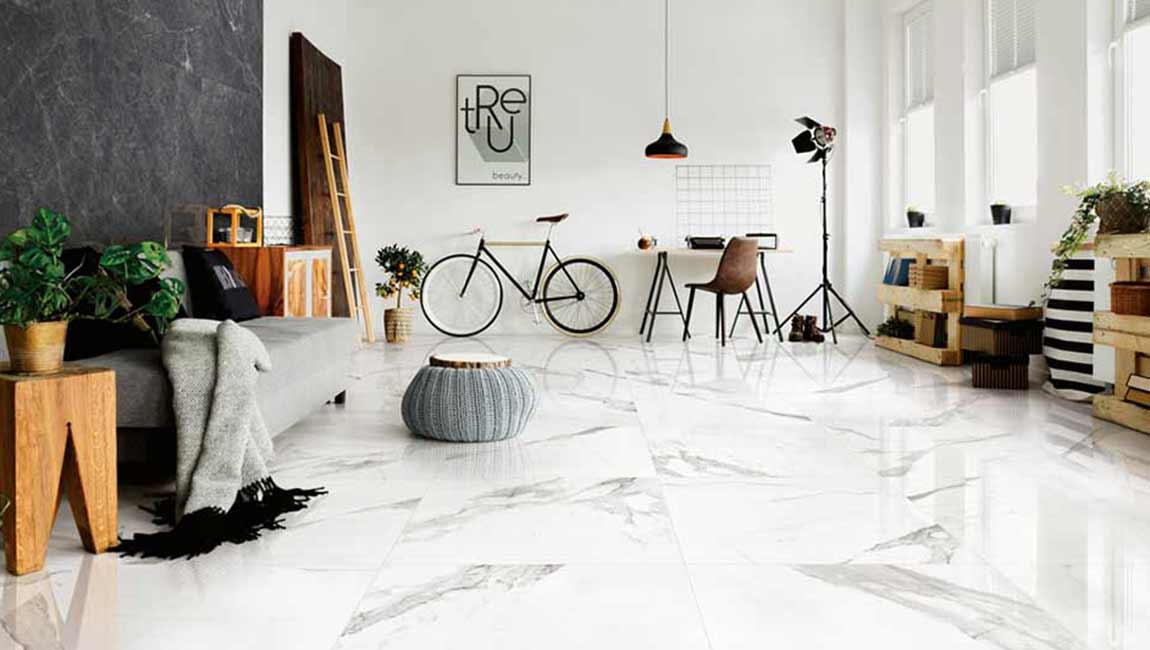
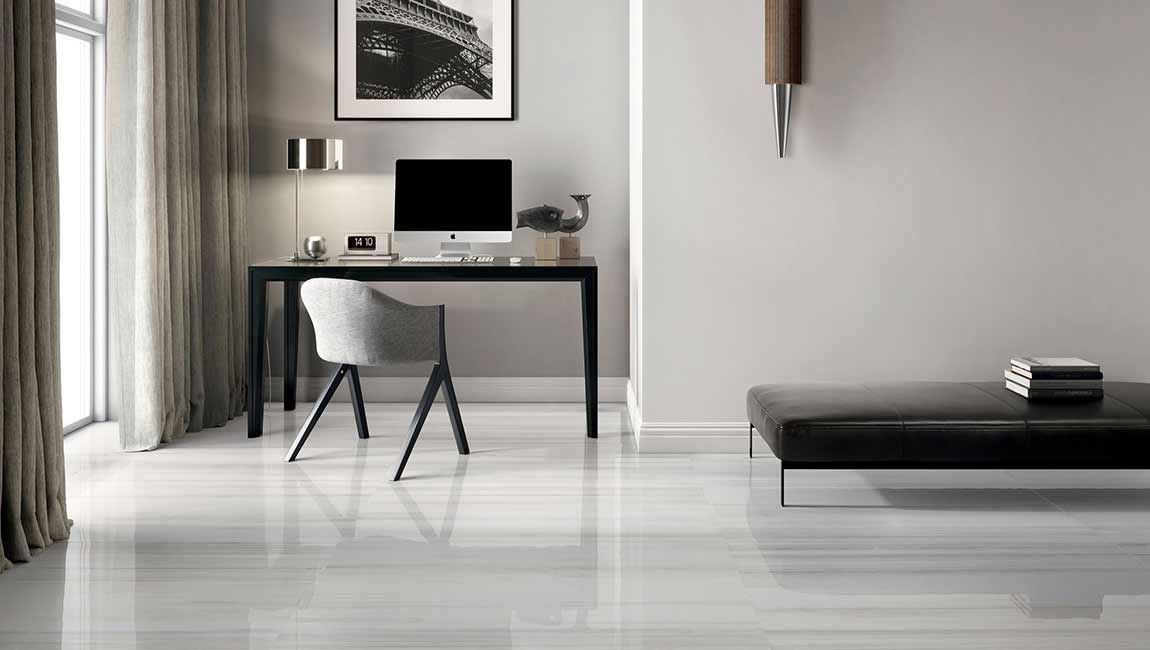
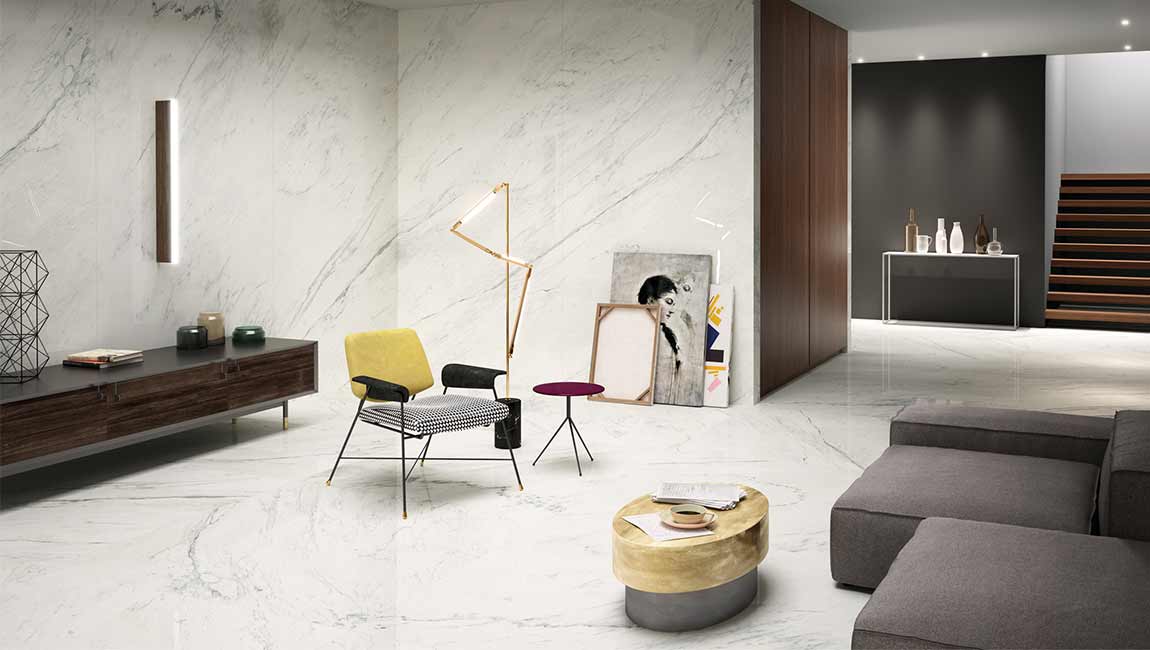
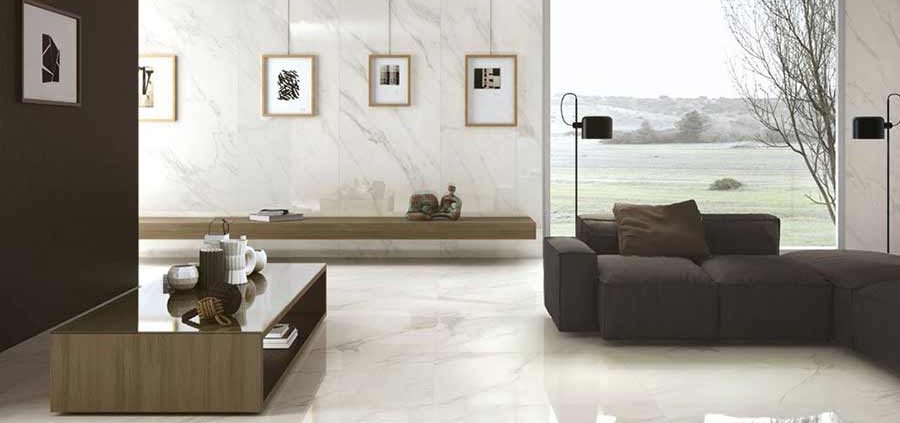
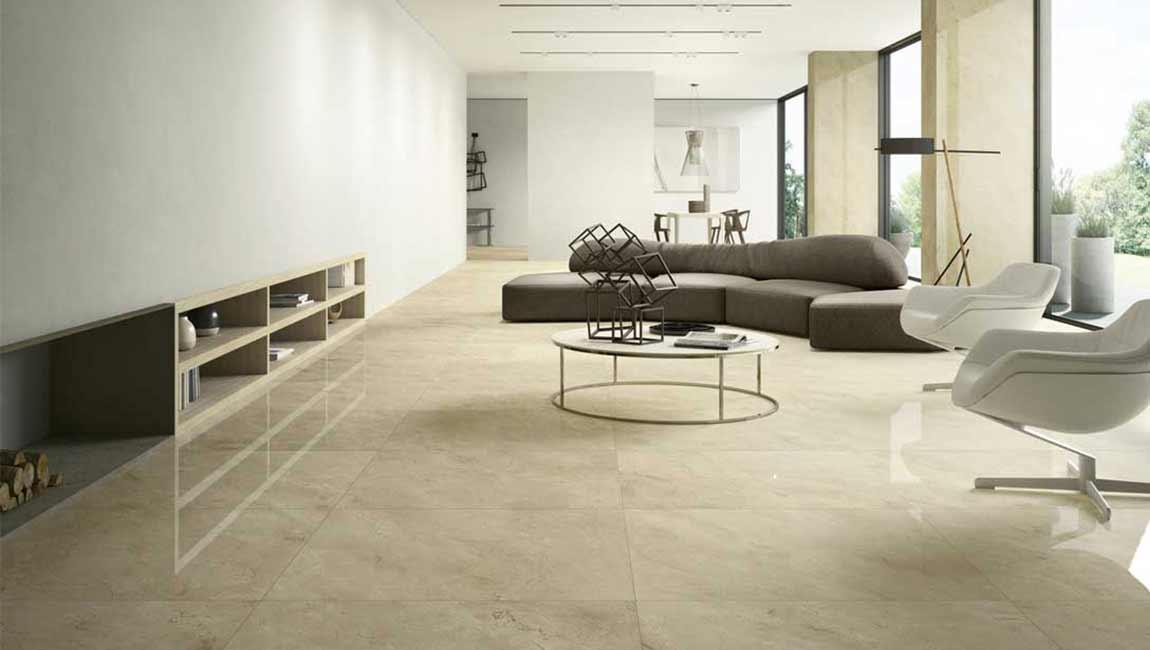
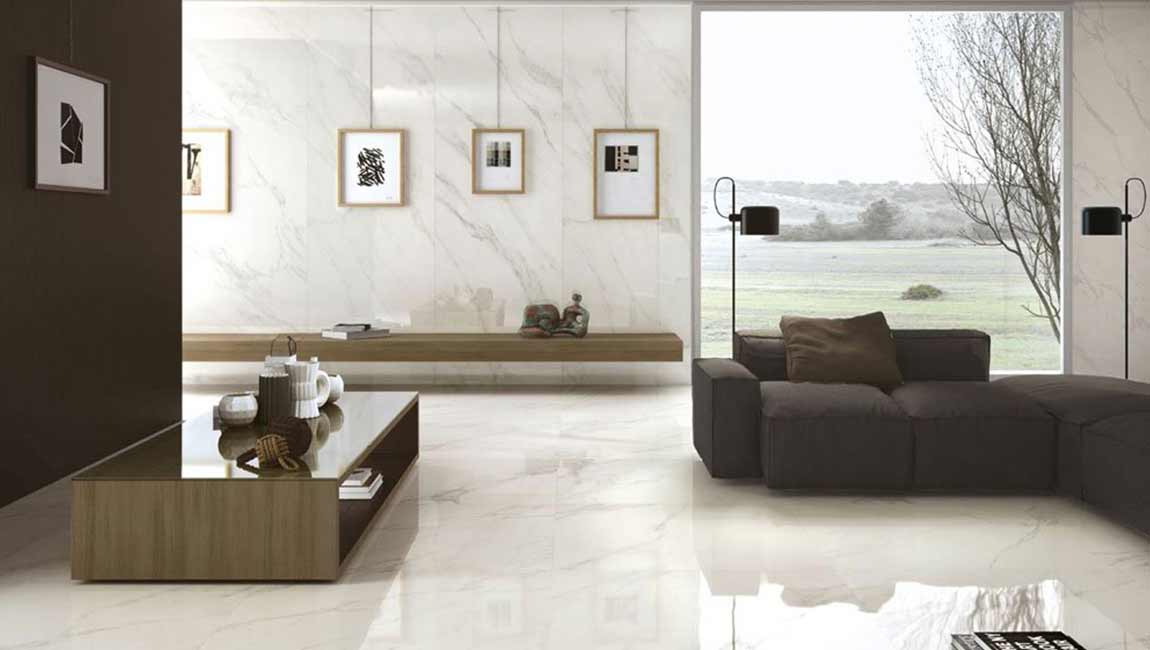
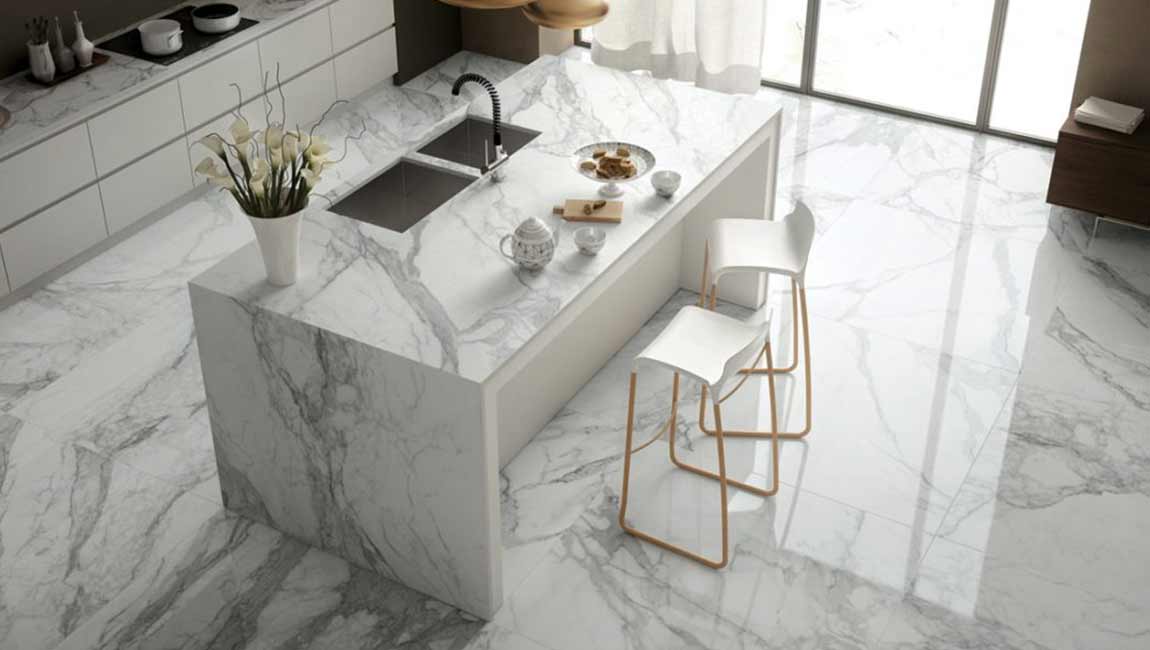
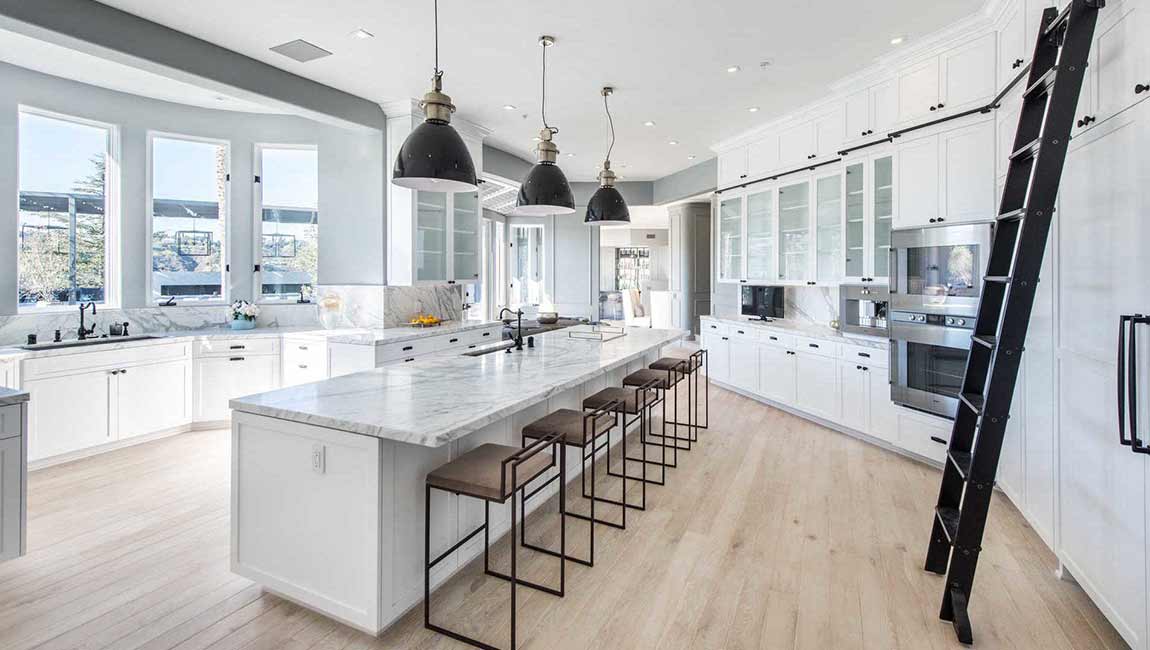
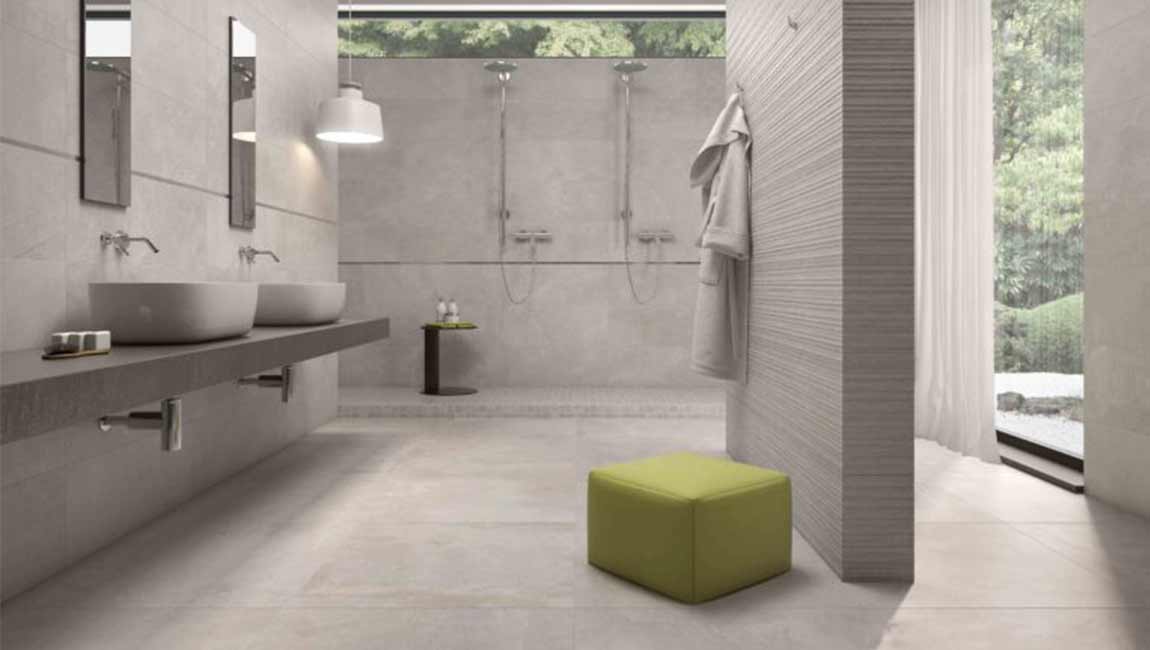
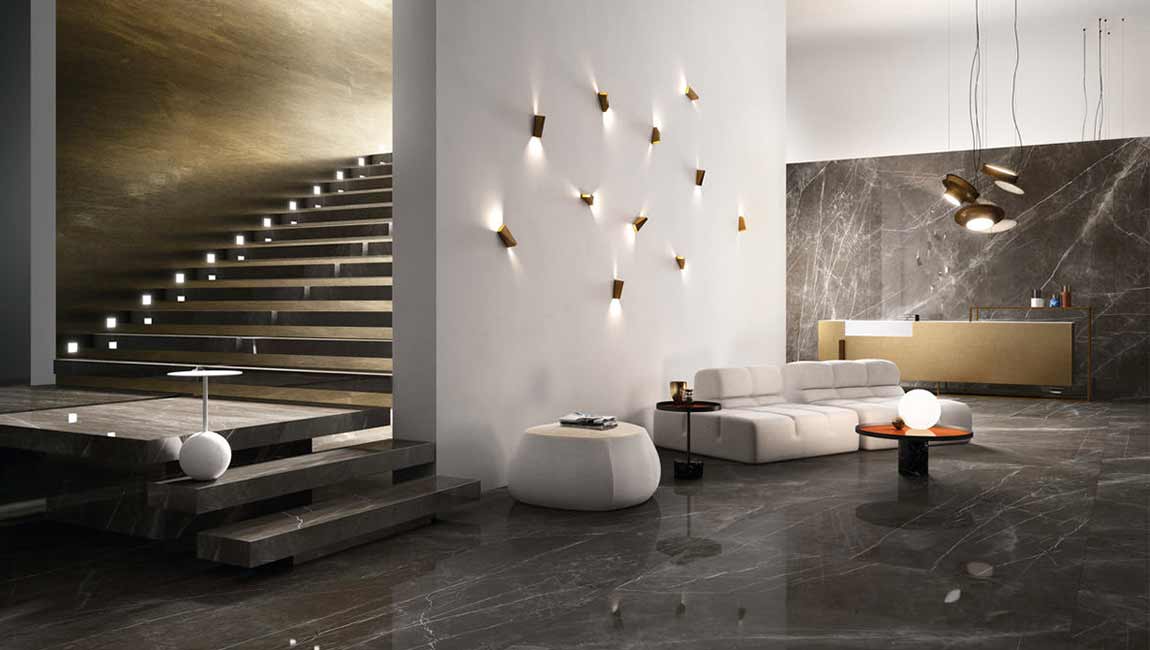
Select porcelain tiles for a durable option that’s still budget friendly. Porcelain tiles are one of the most durable on the market, and they’re also water resistant. Another perk is that they’re easy to clean. Porcelain tiles have a classic look that is easy to fit into any style. These tiles can be more expensive than other options. If you choose porcelain tiles, it’s better to get them professionally installed, as they are very difficult to cut.
Opt for cork tiles if you want soft, quiet floors. Cork is a recent trend that can be a nice addition to any room, if you like the look. It’s great for people who want a floor that absorbs impact, and it’s also resistant to water and germs, making it a good choice for kitchens and bathrooms. You can find natural cork or colored cork.
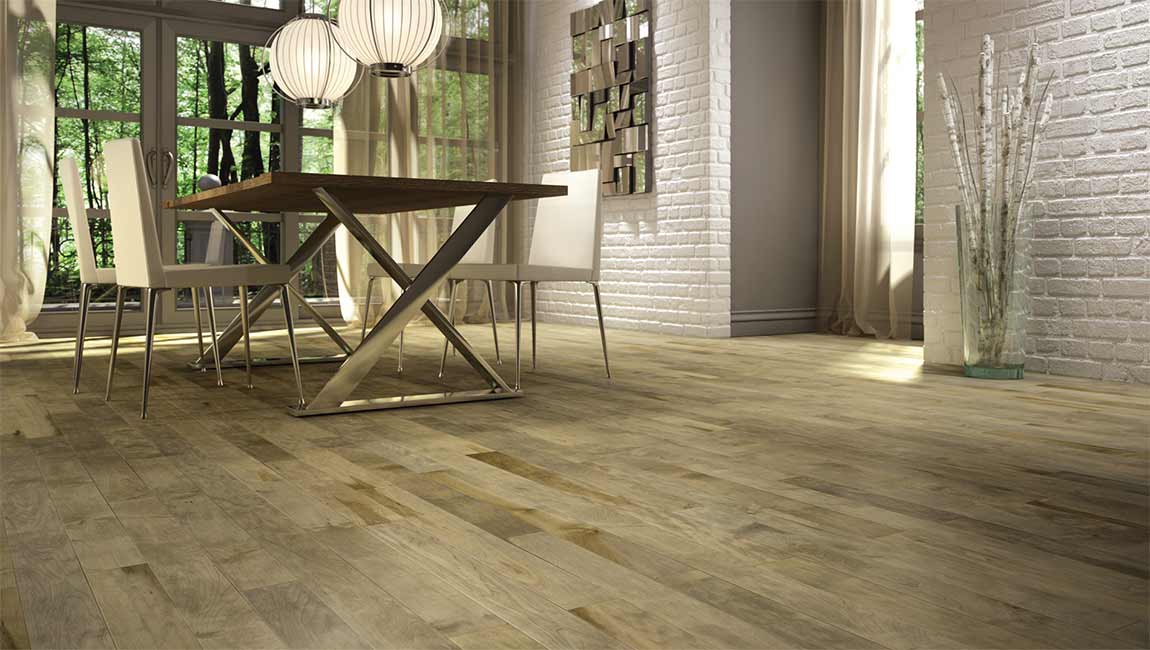
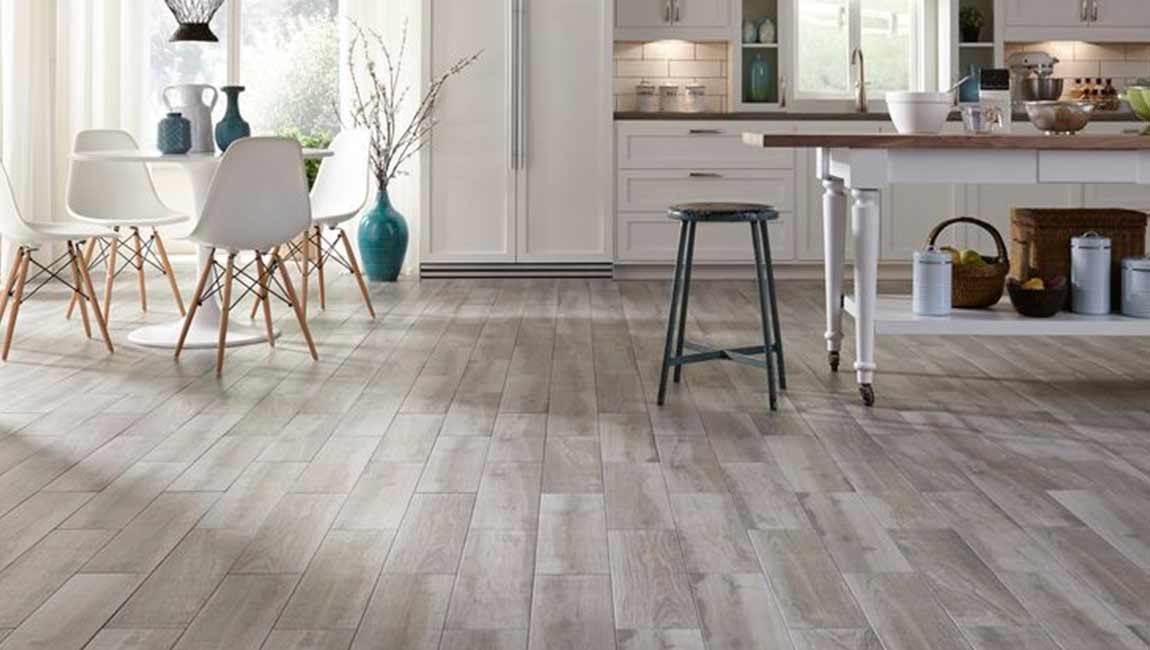
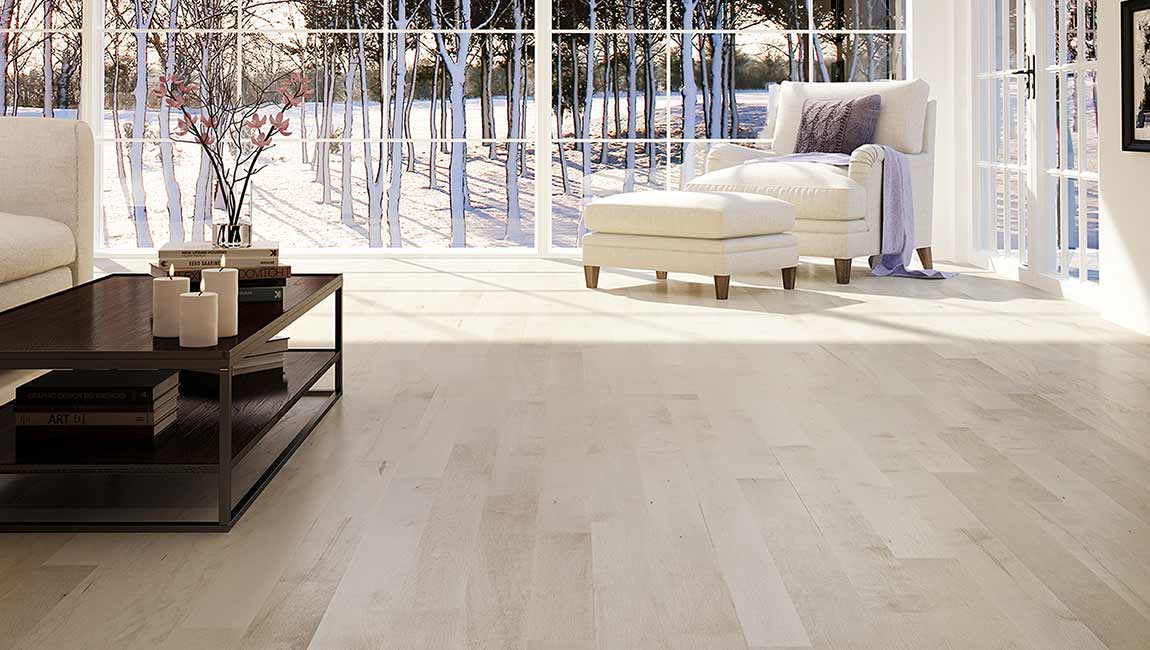
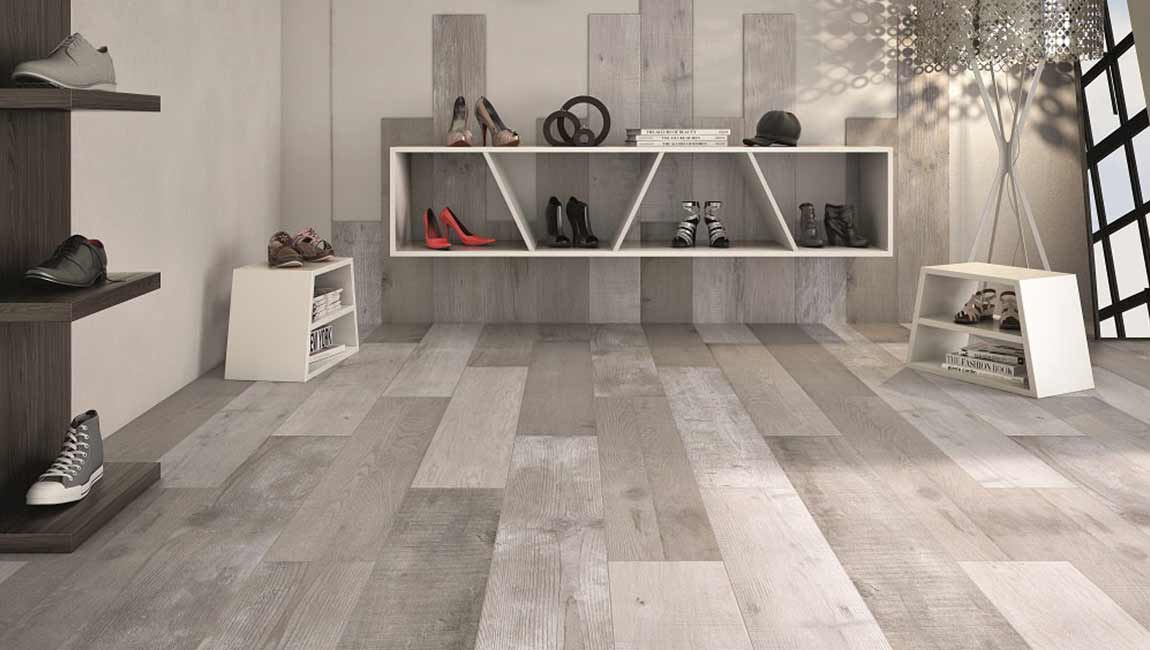
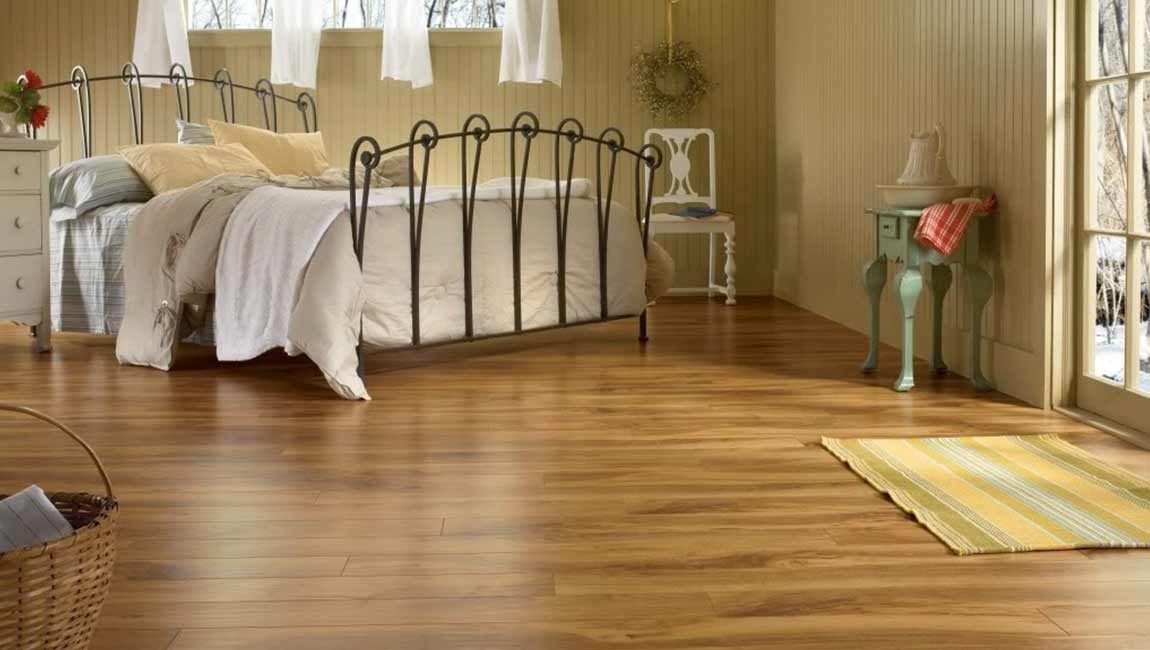
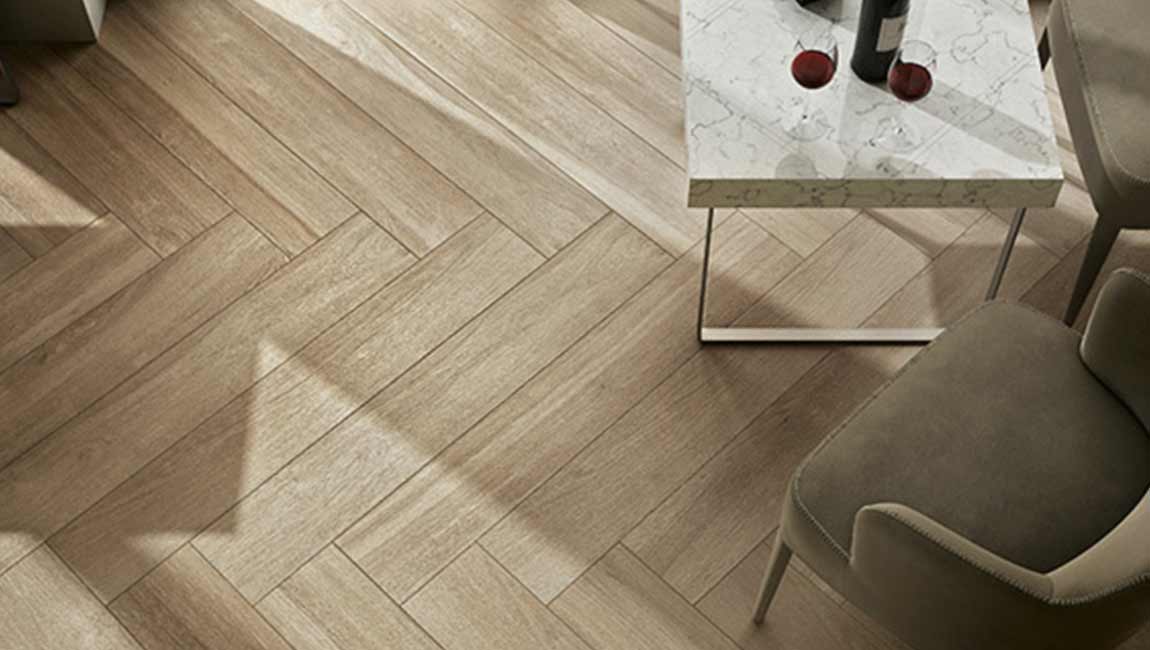
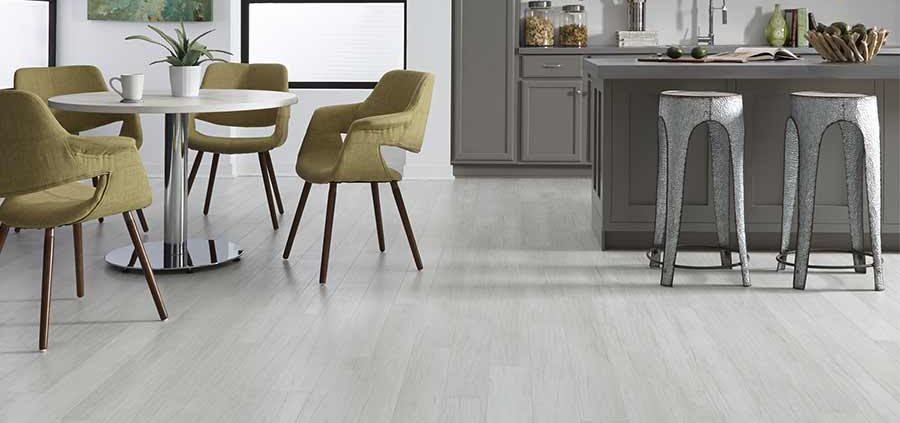
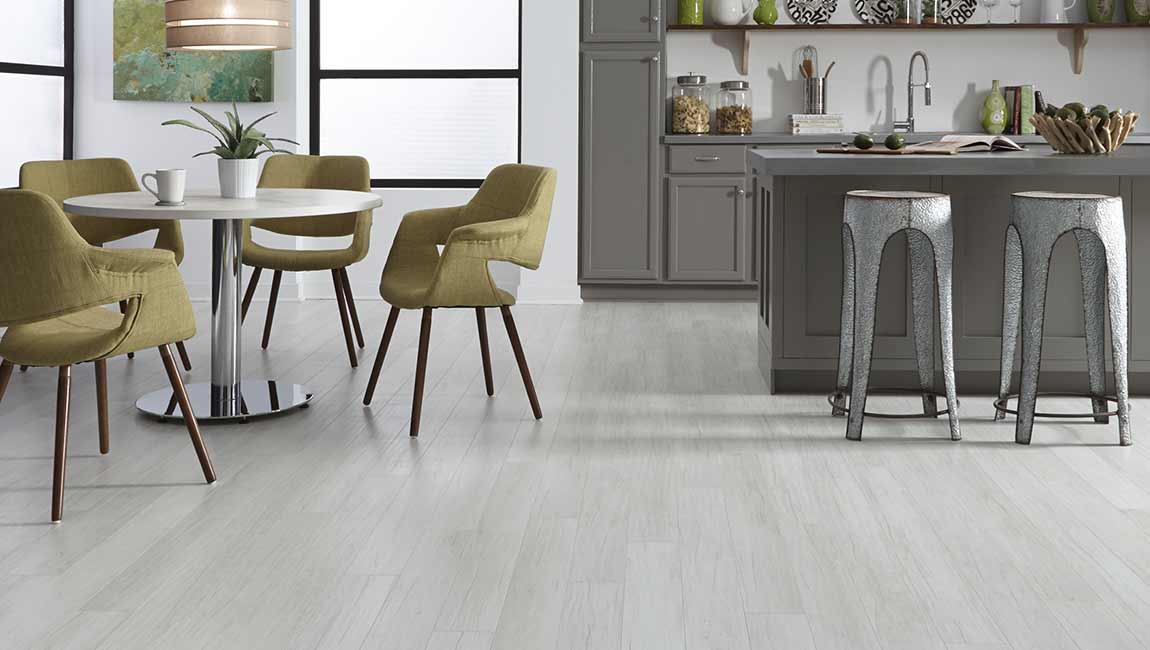
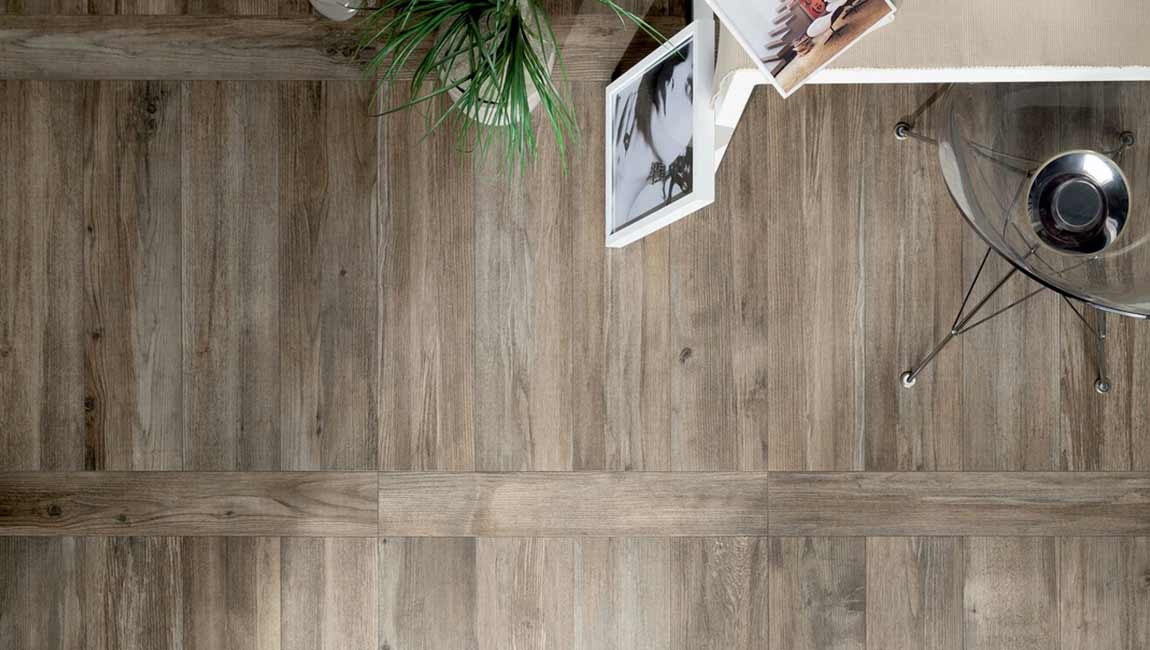
Select bamboo floor tiles for a durable, sustainable option. Bamboo is becoming a popular choice for people who want to use environmentally-friendly materials in their homes. Bamboo tiles look similar to wood flooring, but they’re made of the fast-growing grass. You can find bamboo tiles in strips or planks. Bamboo also holds up well in homes with pets.
Choose rubber floor tiles for a modern, industrial look. Rubber tiles are quiet, durable, and easy to maintain. They also come in a variety of colors. Rubber tiles might be a great option for homes with active children, as they’re softer and hard to damage.

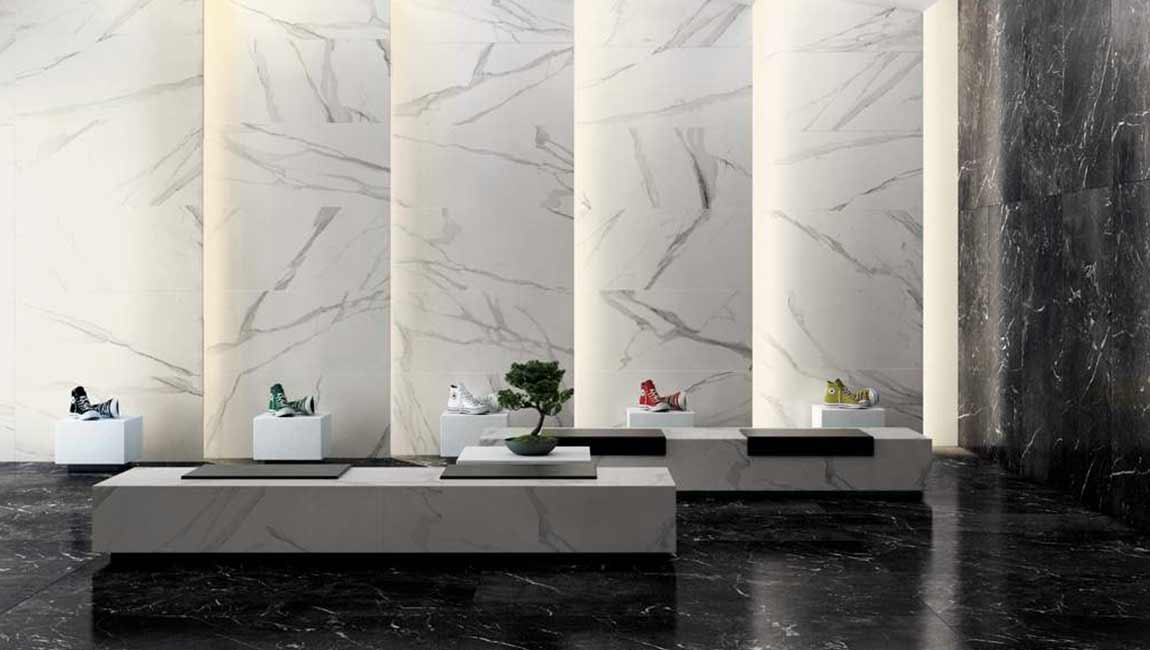
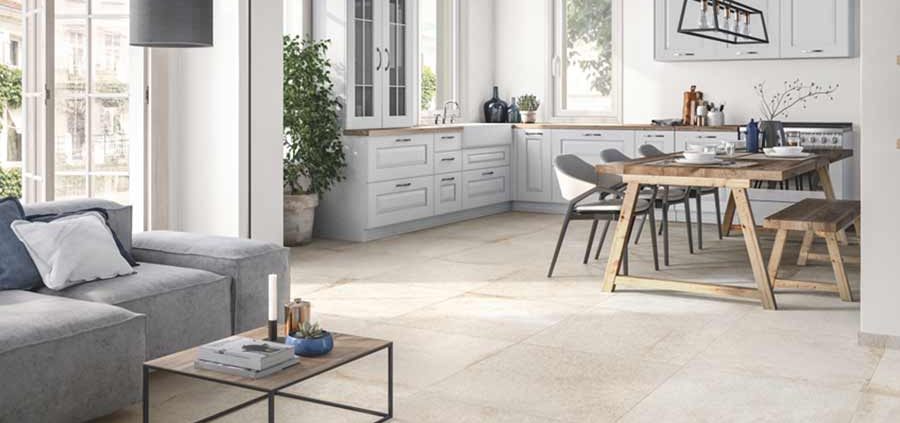
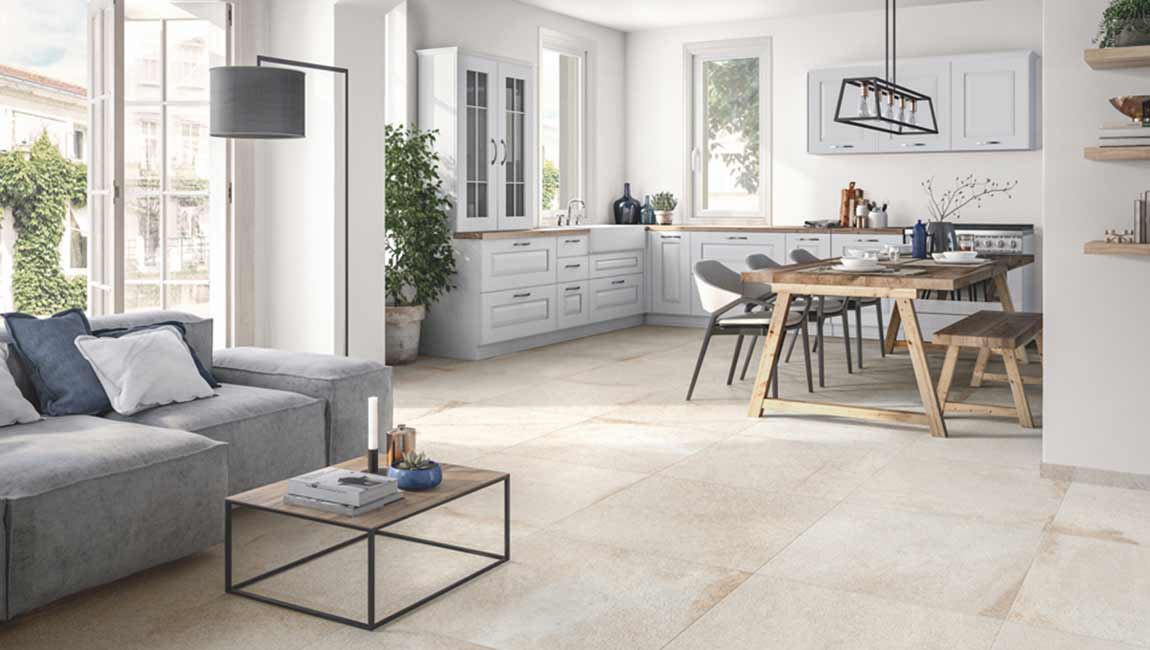
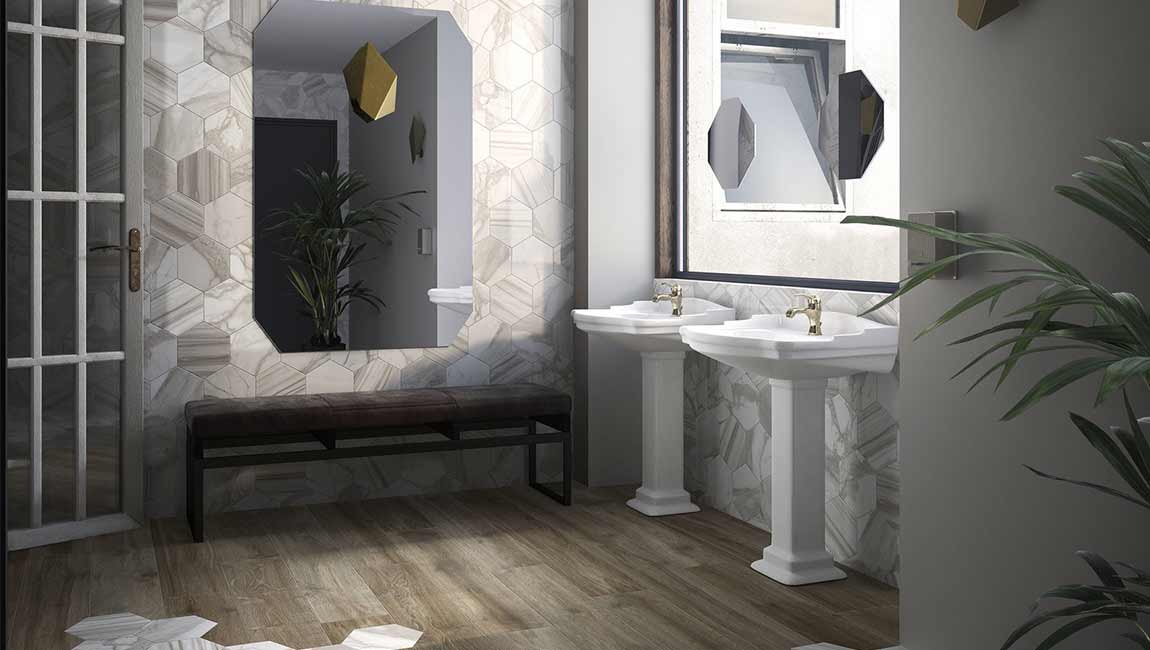
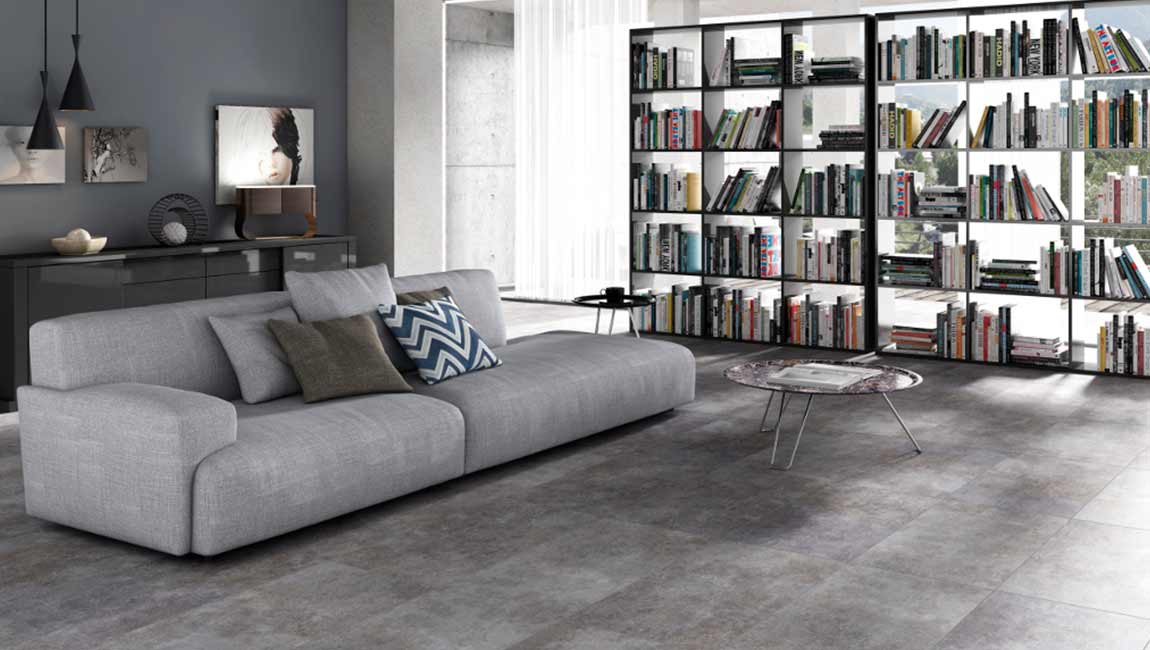
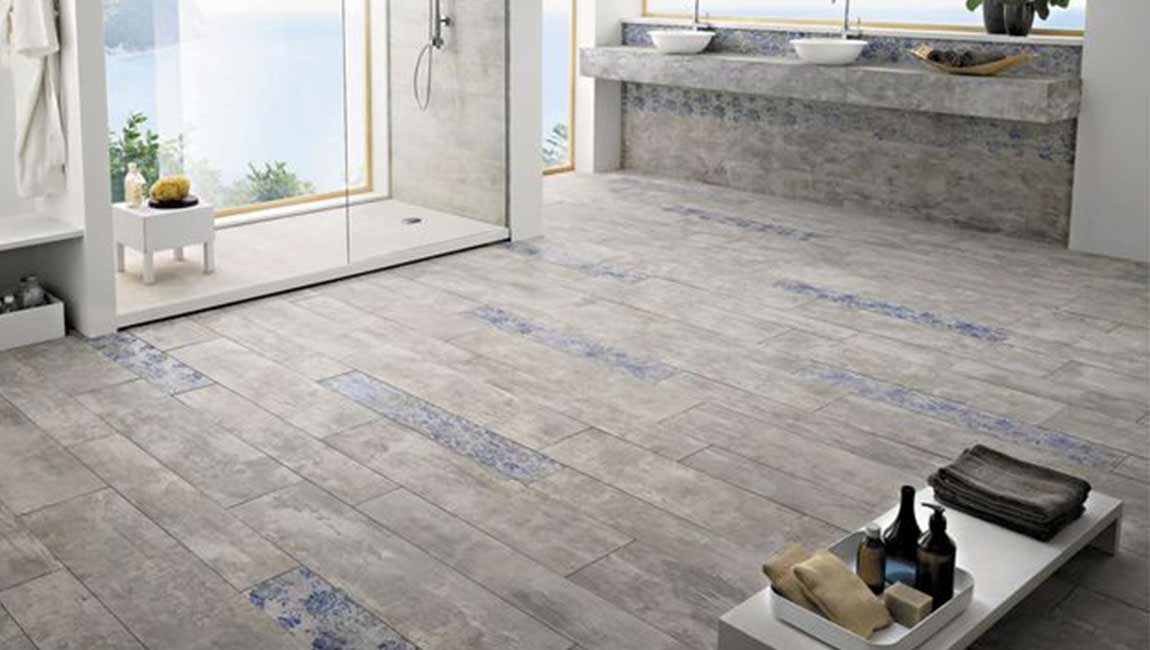
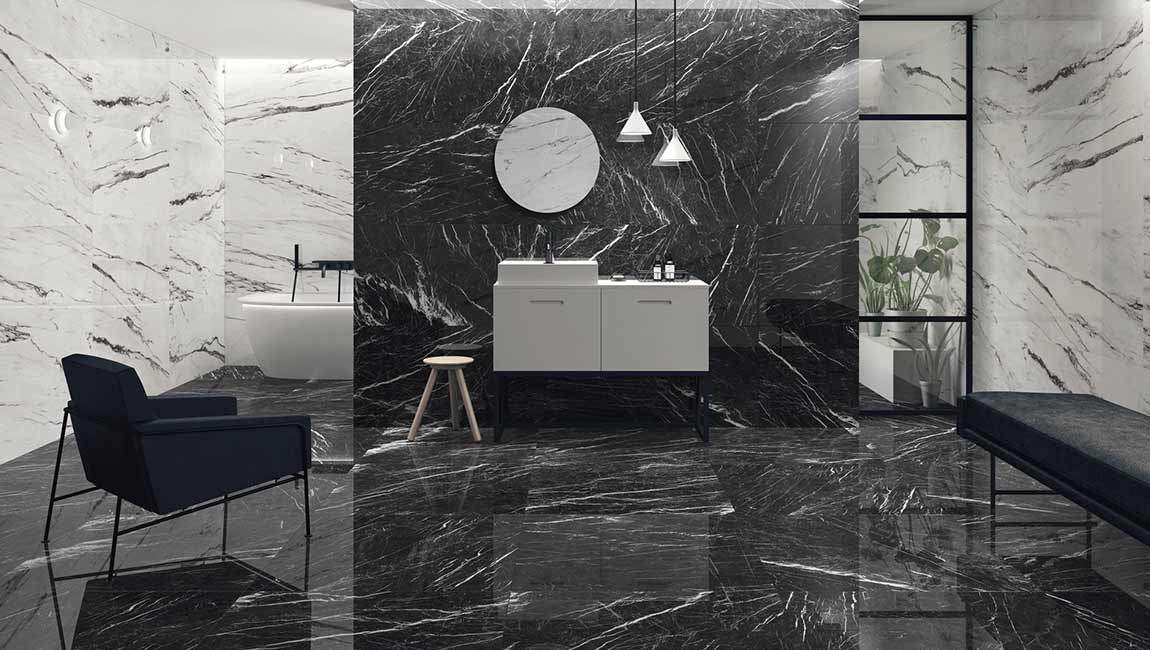
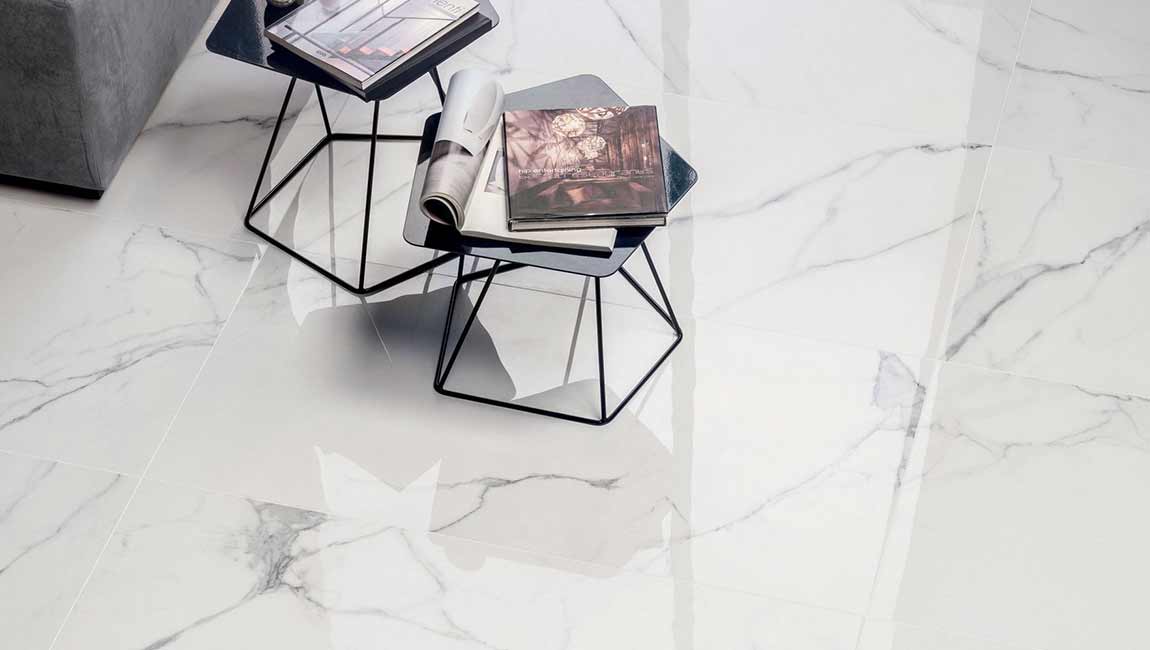
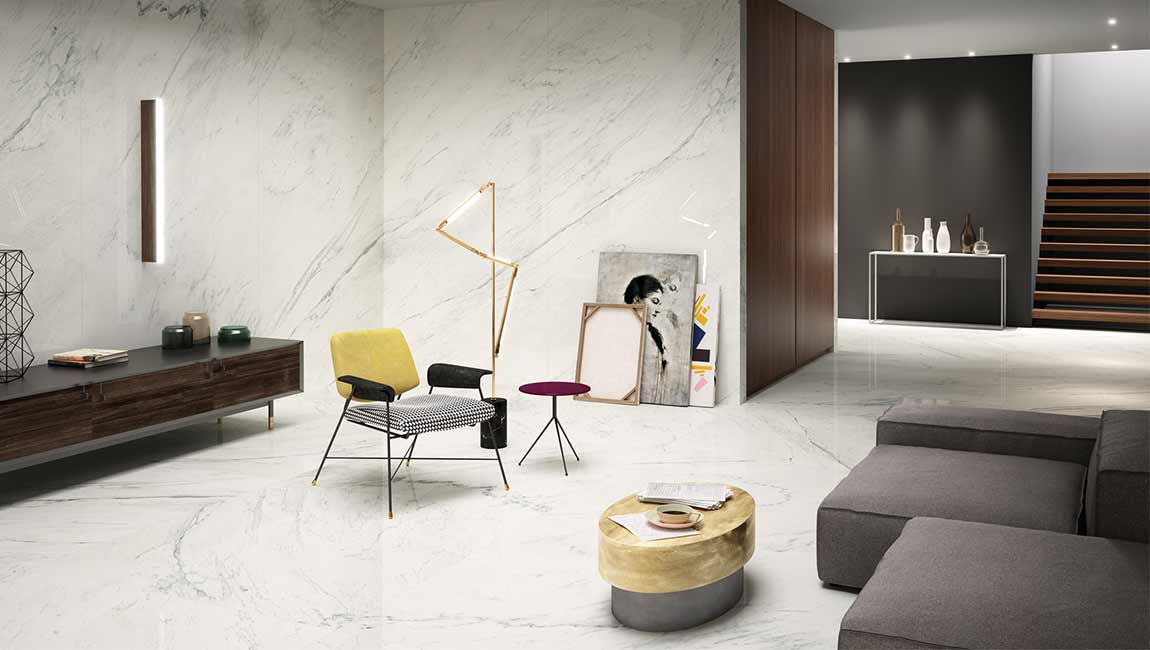
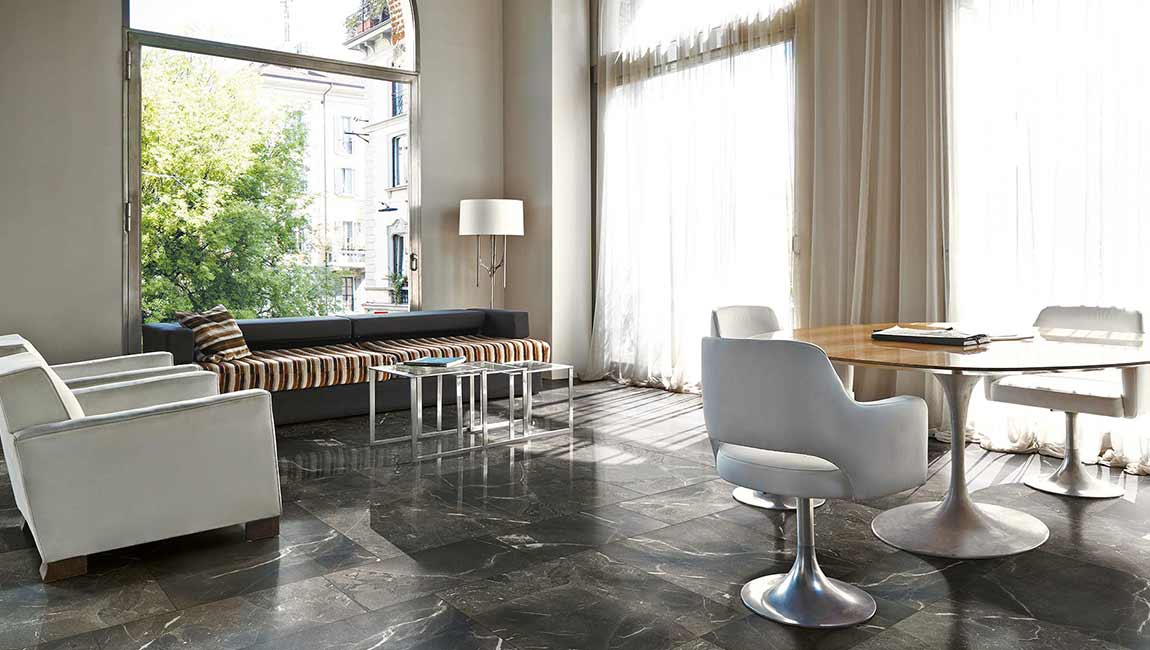
Invest in natural tiles if you want a long-lasting option. Natural tiles include materials like slate, limestone, and granite. Although they can be very expensive, they also last the longest, compared to other tiles. Natural tiles look best with traditional, classic, or rustic decor. However, you can make them fit with any style if you choose a neutral color. You can also choose from different textures and colors to fit the style of your home.