How to Cleaning Solid Stone Tiles?
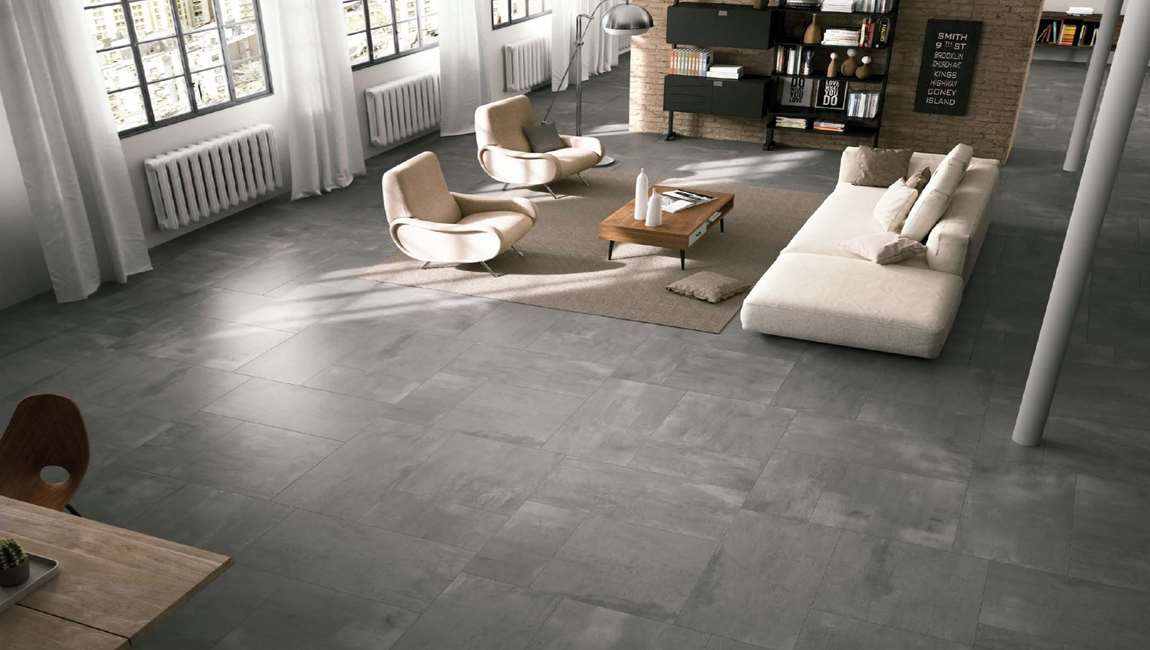
Dry mop solid stone tiles every day or two. Dry mop your tiles every day or as soon as you notice dirt or debris. The dry dust mop will prevent sand and grit from rubbing against the tiles which can cause scratches. You should dry mop if your rome stone tiles are made of: Granite, Slate, Limestone, Marble, Sandstone

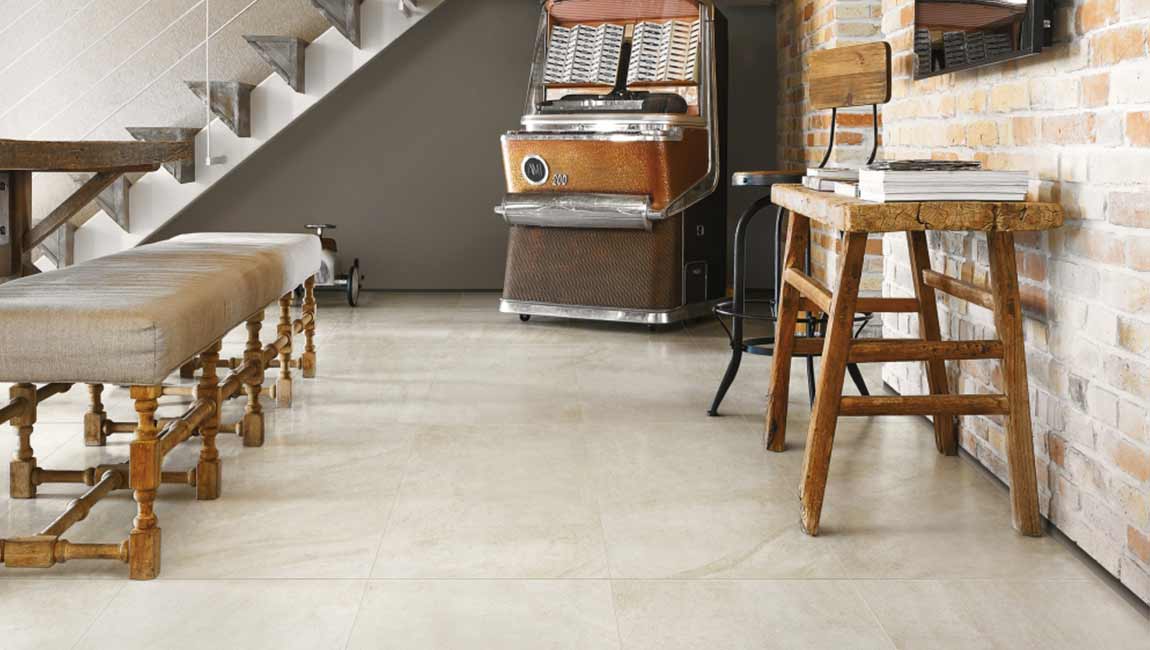
Wash the new sand stone tiles with soap and water. Fill a 5 US gal (19 L) bucket with water and a few squirts of mild dish soap or stone soap. Dip a mop into the soapy water and wring it out. Mop the tiles in small, overlapping circles to remove the dirt and prevent streaking. Choose a soapstone with a pH level of 7 or try to find a soapless cleanser since it won’t leave streaks. If you’re using dish soap, choose one that’s phosphate-free and biodegradable.

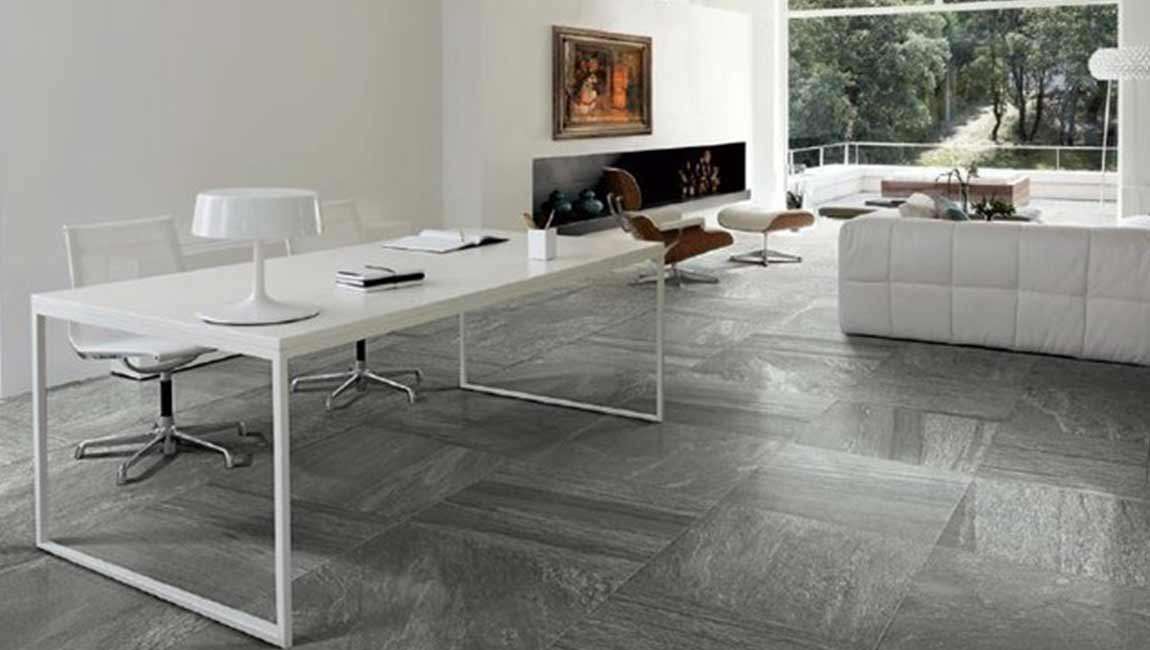
Identify if you should use a bleach solution. To remove algae or moss, clean the tiles with a bleach solution. If your solid stone tiles are near a pool, patio, or hot tub, wash them off with clean water. Pour 2 gallons (7.6 L) of water into a bucket and stir in 4 tablespoons (59 ml) of bleach. Use a sponge or mop to wash the area with the mild bleach solution.

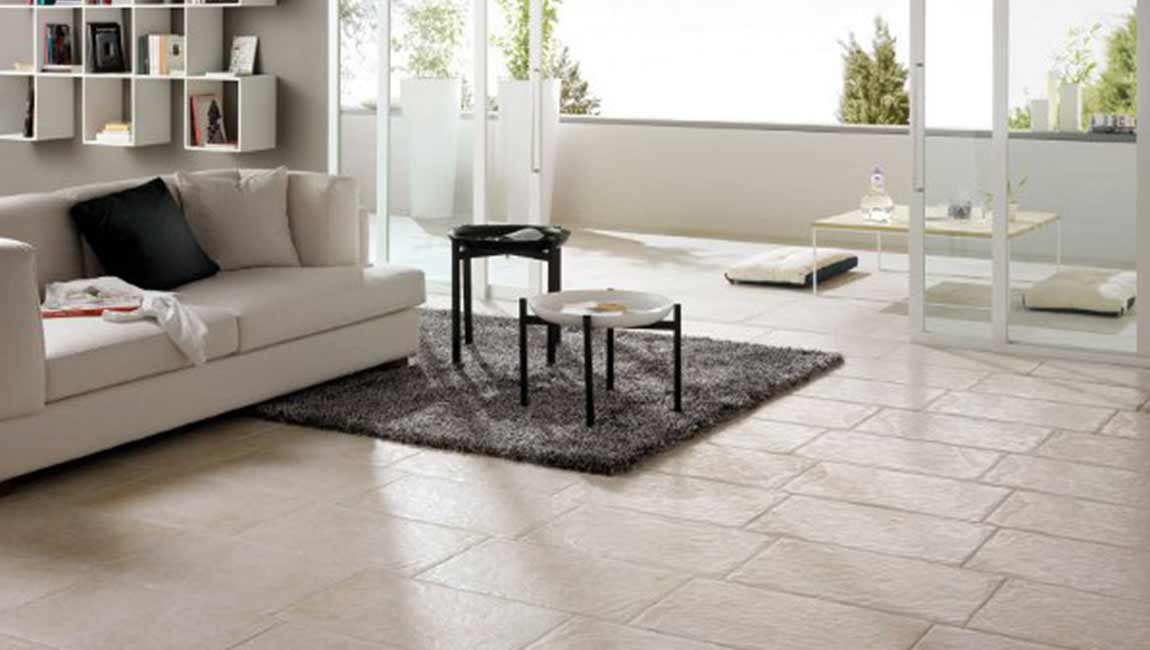
Rinse and dry the tiles. If you’re cleaning a large space, take a garden hose and rinse the tiles design with clean water to remove any soap residue. If you’re cleaning a small area, you can dip the mop in clean water and wring it out. Mop over the wood tiles so they’re rinsed with the clean water. Wipe the tiles with a soft cloth until they’re dry and let them air dry completely.

You’ll need to change the water several times and keep rinsing until the soap residue is completely removed. Stone tiles tend to fade in color over time due to sun exposure, so use a stone enhancer and sealer to protect them. Make sure you find one that is safe for outdoor use. Avoid cleaning with abrasive materials. Never clean your solid stone tiles with anything that’s abrasive. These can scratch and damage the tiles. When making or buying cleansers, avoid: Hard bristle brushes, Vinegar or lemon juice, Products with acid cleansers.