How Using Baking Soda and Vinegar to Grout Between Floor Tiles?
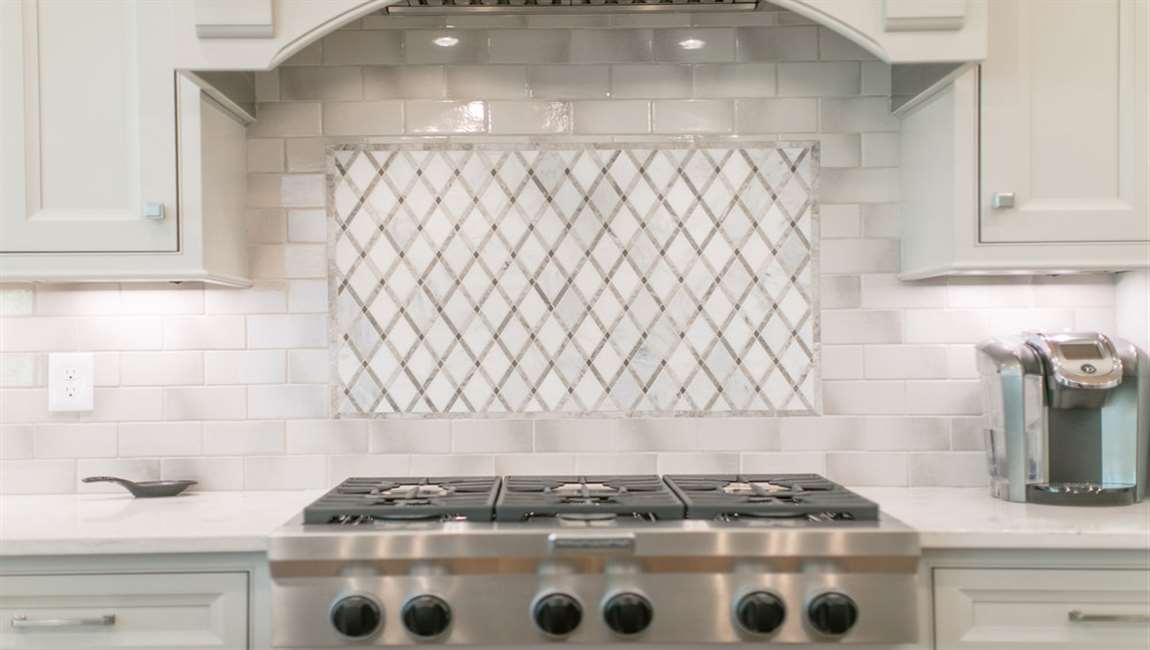
Make a paste of baking soda and water. Mix 3 parts of baking soda to 1 part water to make a thick paste. This versatile cleaner will work with all colors of grout, but vinegar can be harmful to some natural stones tile such as marble tile or limestone.

Apply the paste to the grout lines with your finger. Although the baking soda isn’t harmful, wearing rubber gloves can help prevent scratches or irritated skin from the abrasive grout and baking soda.

Make a 1:1 solution of white vinegar and water in a spray bottle. Spray the baking soda paste you applied with the vinegar solution. You should immediately see bubbling which lets you know the natural cleaning process has begun. Do not use vinegar if your spots tile is made of natural stone.

Wait for the solution to stop bubbling. The bubbling action is a chemical reaction between the baking soda and vinegar. The reaction generally lasts a few minutes. After the bubbling has stopped the chemical cleaning action is done. Scrub the grout lines with a brush. Use a nylon bristled scrub brush, or a toothbrush, to scrub along each grout line. Pay close attention to corners and edges to make these areas clean as well.

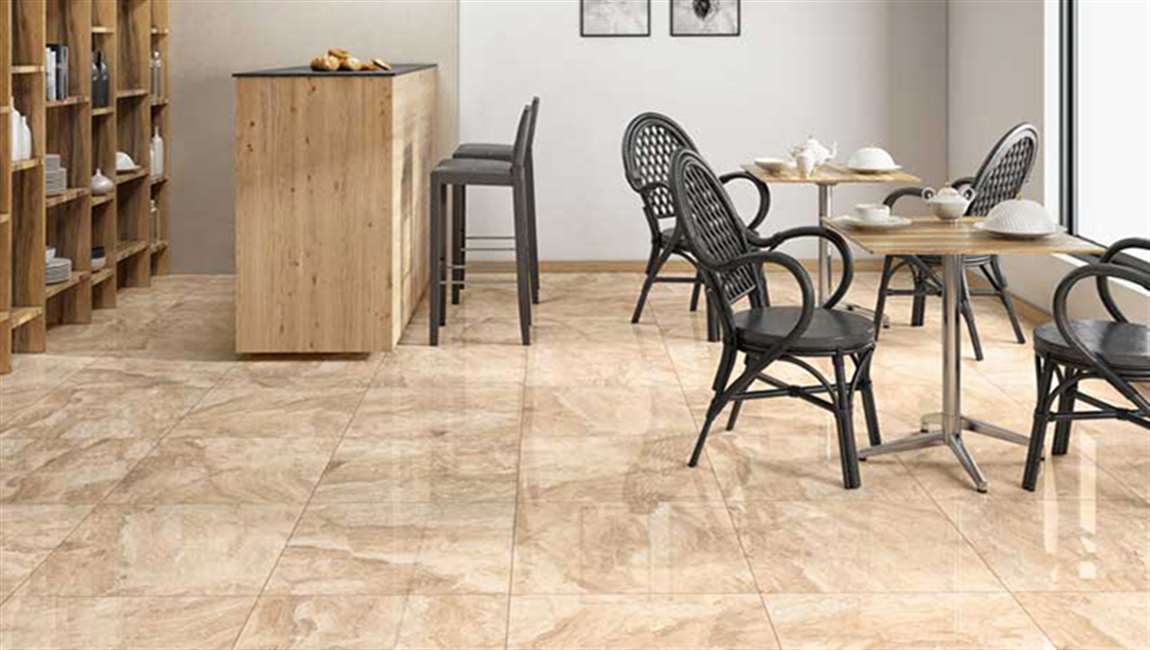
Mop the Tundla Tiles floor with plain water. Use a mop and plain water to remove the baking soda and vinegar residues. Rinse your mop and change the water often during the cleaning process so you do not continue to spread the residue around the common marble floor.