How Preparing Your Work Area Before Grout Wall Tile?
Put on safety protection. Use rubber gloves, eye protection, older clothes that cover your arms, and a smock. If you don’t put on safety protection, you could potentially hurt yourself. This is especially true for eye protection, as you may get grout in your eyes without it. Make sure the room you’re working in is properly ventilated. To do this, open nearby windows and doors. If you have a bathroom vent, turn it on.

Tape plastic covers to surrounding walls and floors. Use painters tape to secure plastic to the area directly underneath where you’ll be working with grout. In addition, place plastic next to the portion of the wall you’ll be working on. This will protect these areas from grout spills or stains.

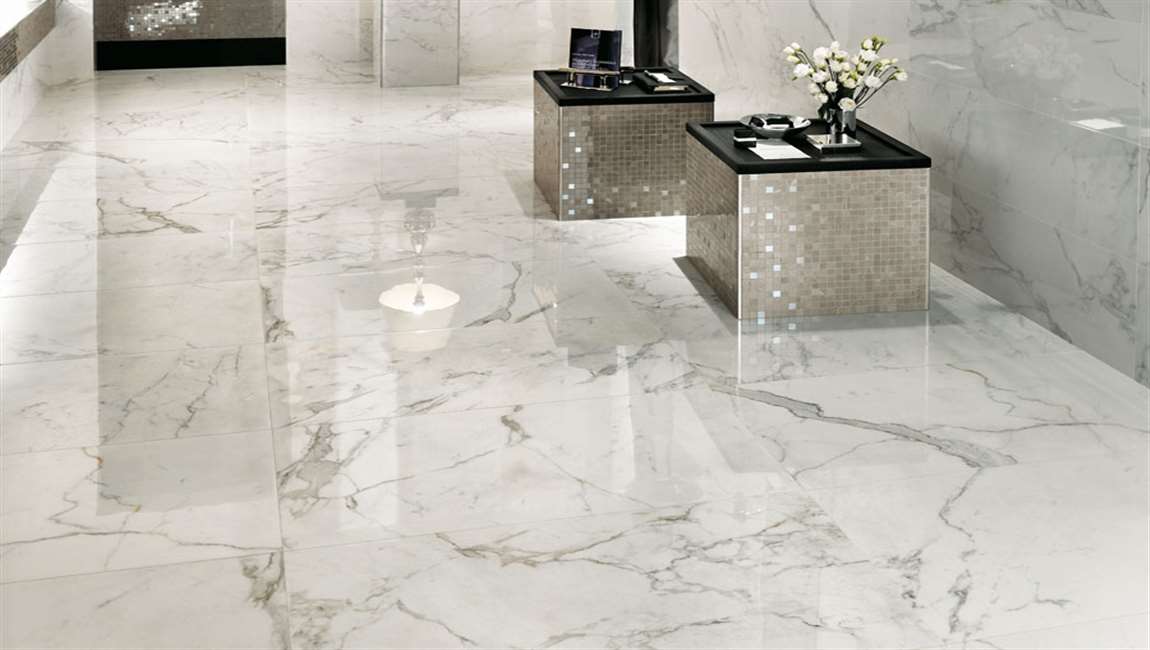
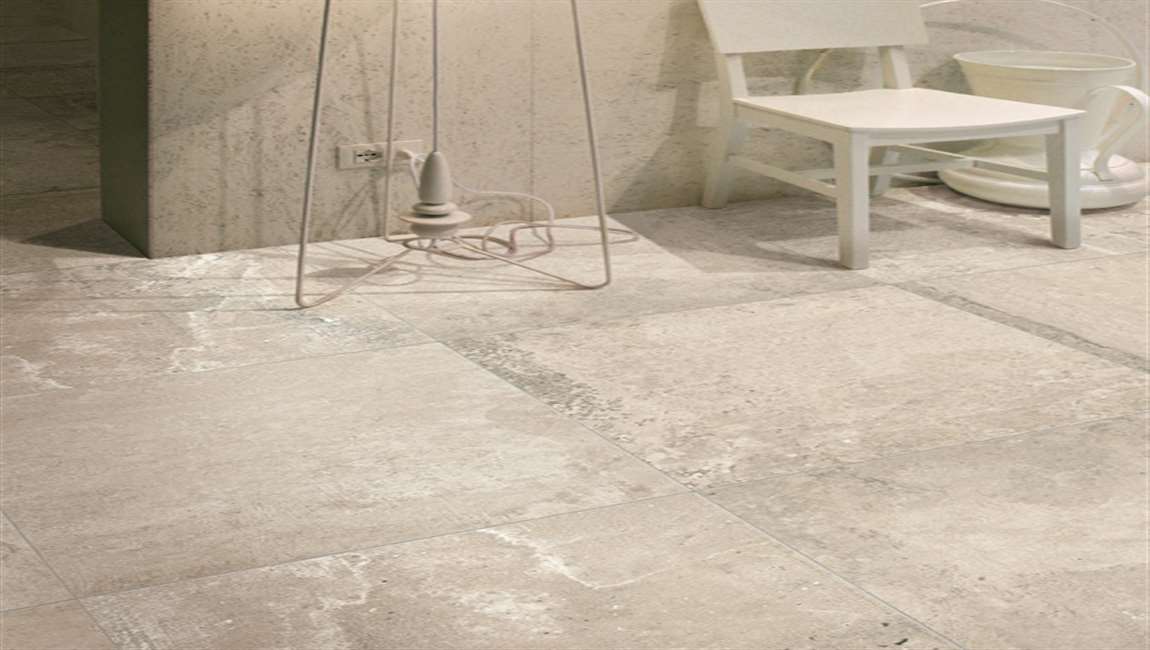
Remove polished tile spacers from in-between the casstle tiles. If you just laid new cement tile, you’ll want to remove the spacers you used to keep them in a grid pattern. Use needle-nose pliers to remove them. In the end, if you forget to remove them, you’ll wind up putting grout right over them. This could cause your grout to decay rapidly in the future.
Mix your grout until it is smooth and consistent. Read the directions on your grout product. Then, pour the appropriate amount of water into a bucket. Add the amount of grout powder the package specifies. Use a trowel or a paddle mixer attached to a drill to mix the grout until it has a consistency like toothpaste. After mixing your grout, let it sit for about 10 minutes before using it.

If your grout seems liquidy, add a little more powder. If your grout seems very thick, add a little bit of water. Alternatively, purchase pre-mixed grout to ensure it has the right consistency. Mix your grout every 15 minutes. Take your float/trowel and lightly mix the grout every 15 minutes. Do this by moving your float in a circular fashion through the grout. If you don’t mix the grout regularly, it will wind up setting and you won’t be able to work with it.