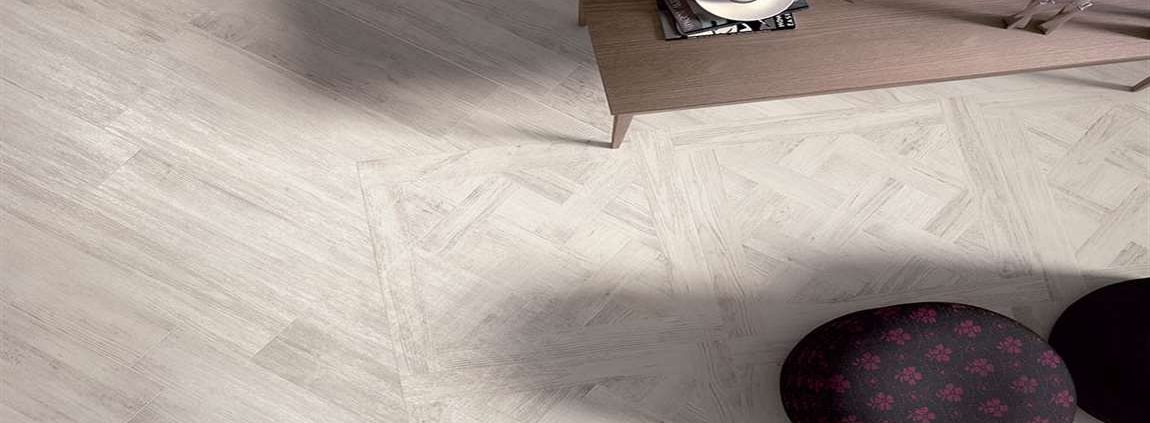
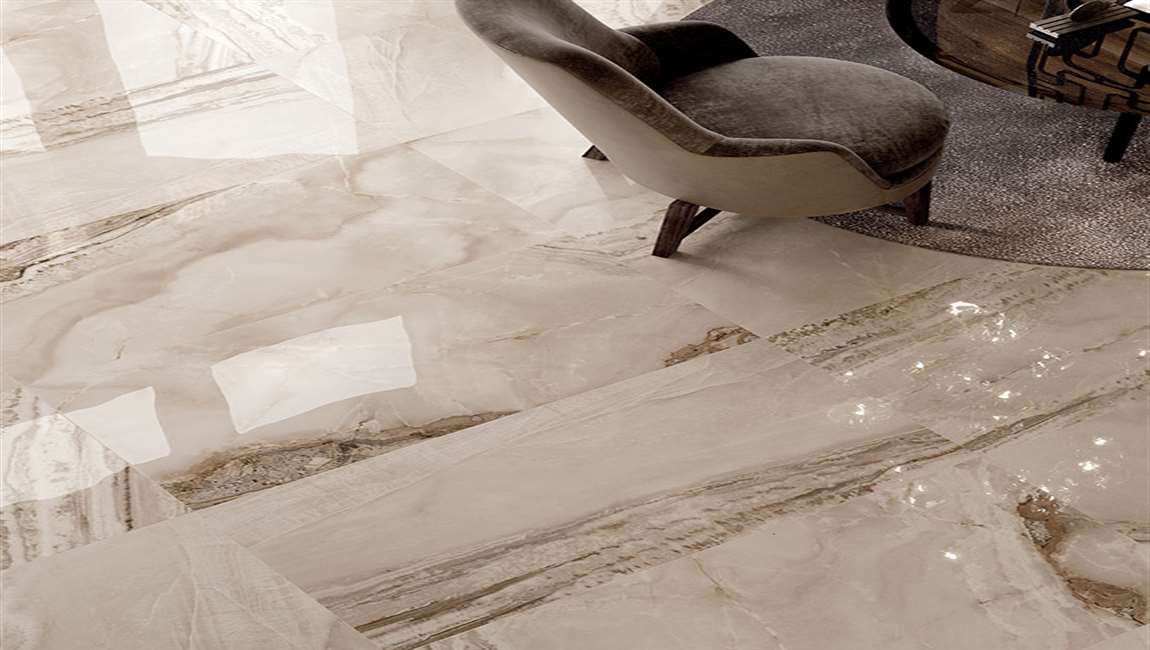
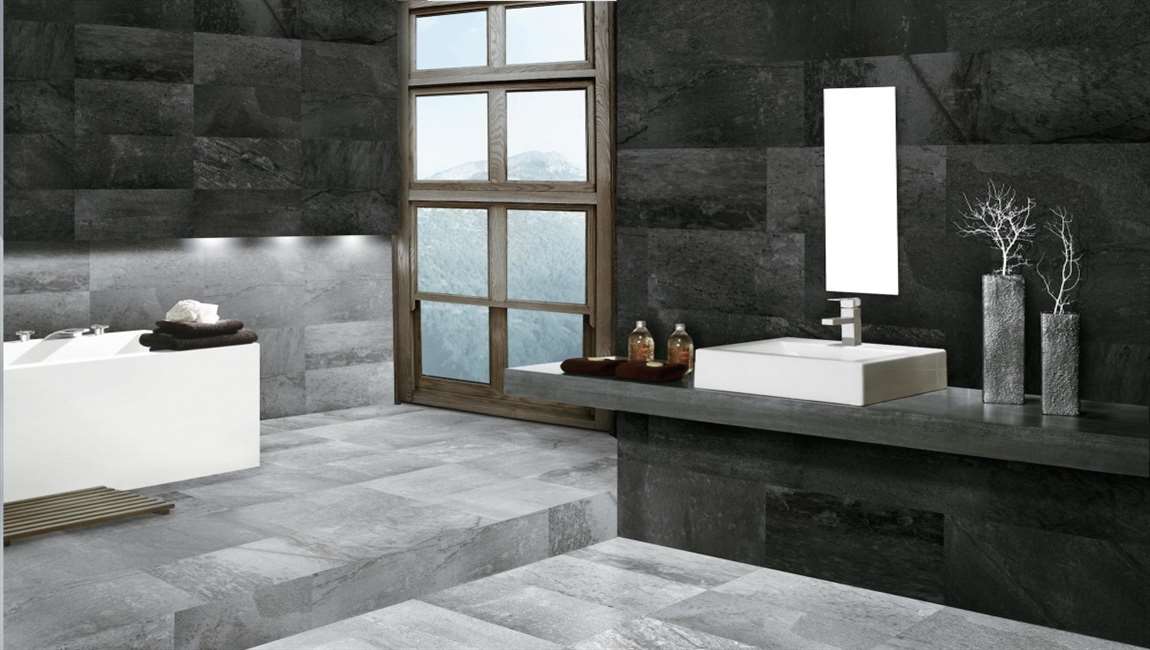
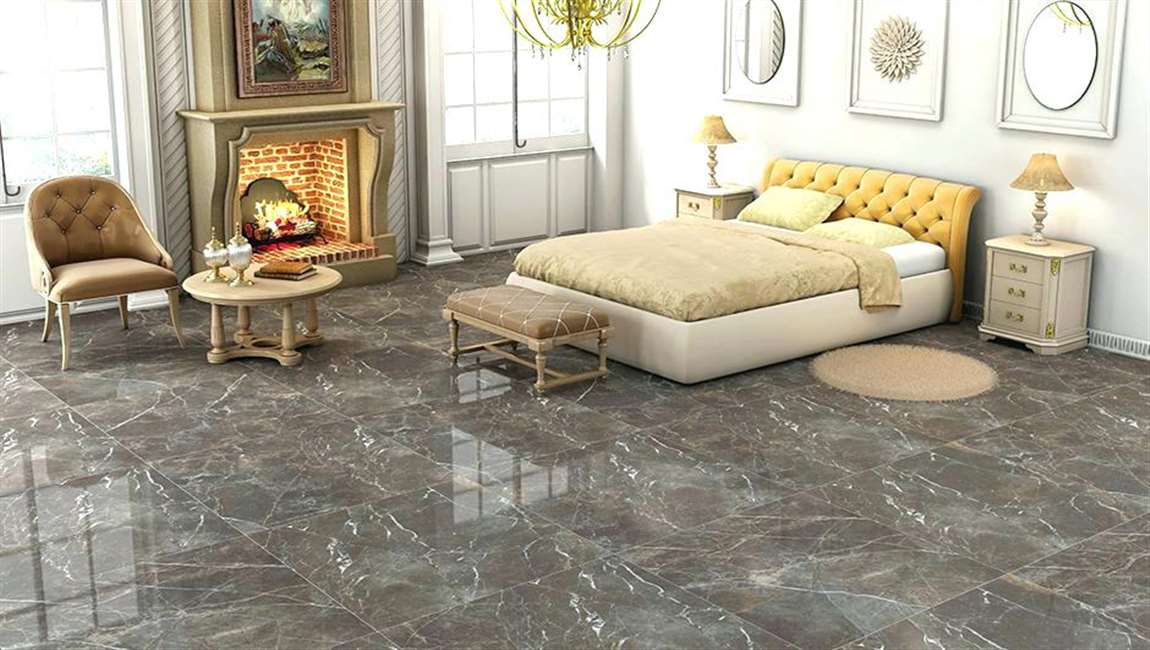
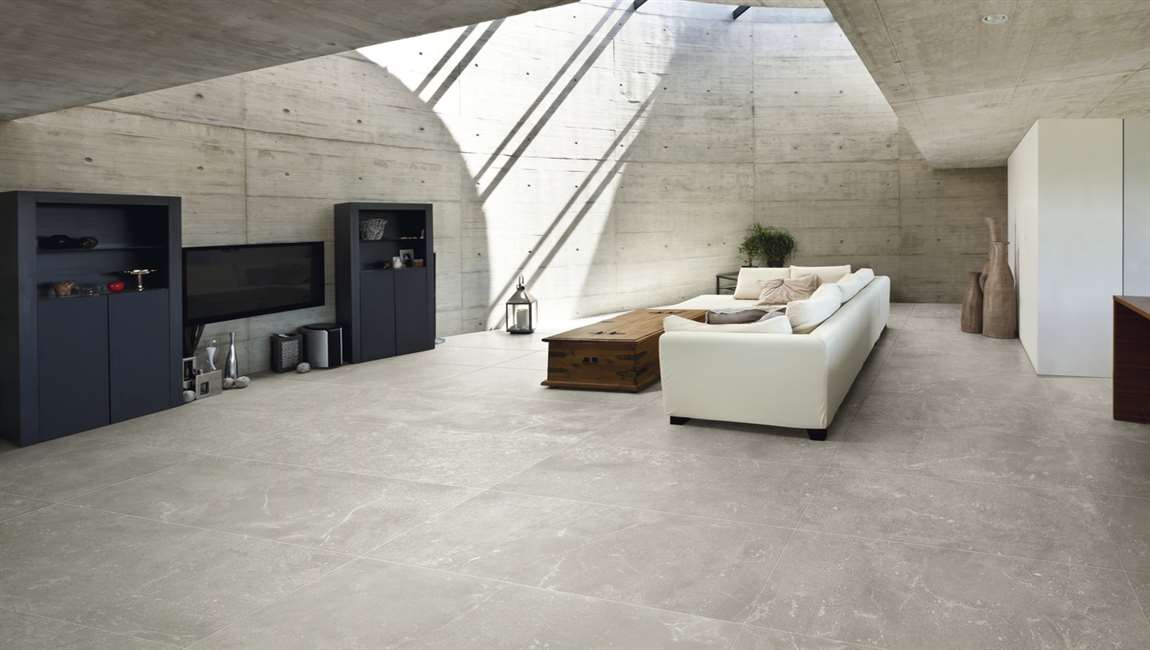
How Cleaning Polished/Glazed Porcelain Tiles?

Sweep the floor with a dust mop. Start by sweeping the floor to remove any dust on the porcelain tiles. You can use a dry dust mop or a vacuum. You can also use a microfiber mop, as it will be gentle on the tiles. Brooms with straw or plastic bristles will be too harsh on the floor and could scratch the tiles. Make sure you sweep in the corners and between tiles. You want to try to remove as much surface dust on the tiles as you can before you move on to more intense cleaning.

Use a soft, nylon brush to remove any dirt. You can use a nylon cleaning brush or an old toothbrush to remove any dirt or dark spots on the floor. Wet the floor with hot water and use the brush to remove surface dirt. Scrub the tile in a circular motion, making sure the tile is damp when you scrub it. Do not scrub any tiles that are dry, as this could scratch the tile.

Apply a cleaning solution for stains. If you notice any stains on your polished or glazed porcelain tiles, you should apply a cleaning solution using a mop. You can use a home solution of white vinegar and water or a professional cleaning solution. Make a home solution by combining ¼ cup white vinegar with two gallons of warm water. Mop the floor and let it sit for five to ten minutes. Then, mop the floor again, rinsing off the solution. The vinegar will help to disinfect, deodorize, and clean the tiles.

For a professional option, use a cleaning solution from your local home hardware store or the cleaning supplies aisle. You should make sure the solution is safe for use on glazed or polished tile before you use it. You may want to do a spot test by using a small amount of the solution on the floor to ensure it does not damage the floor.

If there are coffee stains on the tiles, you can use baking soda to remove them. Apply a sprinkle of baking soda on the stain and then dampen it with a clean cloth. Gently scrub the area until the stain is removed.

How to Clean Granite Tiles?

Granite is a durable and timeless design choice. To keep your granite tiles looking their best, though, proper cleaning is paramount. By removing surface dirt before cleaning, sticking with granite-friendly cleaning solutions, and establishing a regular maintenance routine, you can keep your granite tiles in beautiful condition for years to come.

Establish a regular cleaning routine. Wiping your tile with a dry cloth every other day will help minimize surface dirt. The more often you do routine cleanings, the less frequently you will need to do serious deep cleans with soap and water or cleaning solution. Creating a calendar reminder can help you remember to wipe your tile.

Clean tiles as soon as something spills. Whether it’s a glass of wine or some salsa, food and drink are full of acids and natural juices, which can deteriorate granite tile. When something spills, clean it up right away with soap and water, drying your tile completely. This will keep any potential stains from setting.

Inspect grout and tiles for damage. Bits of grout breaking off can scratch your granite and trap dirt and grime. Cleaning is a great time to get up close and personal with your tile, examining the integrity of each stone and grout line. Be sure to replace chipped or broken tiles and have your grout touched up wherever necessary.

Seal your granite once a year. While sealant is no substitute for cleaning, it can make your granite more resistant to water damage and other spills. Seal your granite once a year with a high-quality granite sealant, such as Rock Doctor Granite Sealer or Stone Pro Granite Sealer, to keep your tiles in good condition.

How Removing Tough Stains For Granite Tiles?

Employ a granite-safe cleaning solution for more difficult jobs. If your floor is very dirty or has not been washed in a long time, it can be helpful to use a granite-safe cleaning solution, such as Method Granite Cleaner Spray or Weiman Granite Cleaner. Never use “all-purpose” household cleaning products on granite.

Ventilate the area. If you choose to clean your granite with a store-bought granite solution, it likely will give off fumes from the chemicals. Open a window to maintain better airflow while you work. Spray the cleaner on one barana tile at a time, wiping with a soft cloth. If you spray on many tiles at once and the solution is left standing, it may stain your granite. Dry thoroughly with a soft cloth to minimize water stains.

Try a baking soda poultice on deep stains. For deep or set-in stains, apply a poultice to draw the stain out of the stone. Mix baking soda and water until the mixture has the consistency of sour cream. Spread the paste on the stain and cover with plastic wrap. Leave it covered for 24 hours.After 24 hours, wash the paste off as you would normally clean your granite tiles, with soap and warm water.

Clean grout with a granite-safe choice. Grout is a magnet for dirt and dust. If dirty grout is making your polished tiles appear less clean, seek out a granite-safe grout cleaner, such as Granite Gold Grout Cleaner or Tile Lab Grout Cleaner. Many normal grout formulas are abrasive and will damage your granite tile.

Use a toothbrush or other small brush to clean the grout between your granite tiles. This will ensure the grout cleaner is applied in a more targeted manner. Always avoid using harsh scrubbers of any kind on your granite tile.

How Doing Routine Cleaning For Granite Tiles?

Wipe the area with a dry mop or duster. Before you begin cleaning your granite tile, it is important to remove surface dirt. Doing this will keep any bits of grit or grout from scratching your granite, which can trap bits of dirt deep in the stone and dull its finish.

Use warm distilled water and mild dish soap. If your granite is just a little dirty, first try cleaning it with warm distilled water and some mild dish soap. Dilute a few drops of the soap in a bucket of water, wringing a soft cloth to remove excess water before each wipe of the granite tile. Standing water can stain granite if left too long.

Avoid soaps with lots of dyes and fragrances. Dyes can stain light colored granite. Microfiber cloths you can buy at the hardware store specifically designed for stone are best. Don’t ever use anything abrasive such as scrubbing sponges or steel wool to clean granite. Though the stone is durable, it is vulnerable to scratching.

Work in a methodical way so you don’t miss any spots. For example, you could clean all the tiles left to right in one row before moving to the next. If your granite tiles are on the floor, be sure not to clean yourself into a corner.

Dry the granite thoroughly to avoid water spots. Use circular motions to dry, as if buffing a car. If you don’t have a soft cloth, you can use an old T-shirt without screen prints.

How Cleaning Grout with Vinegar and Baking Soda?

Mix 1  c (240 mL) of vinegar and 1  c (240 mL) of water in a spray bottle. Measure the vinegar and water into a spray bottle. Screw the lid on tightly and then shake the spray bottle vigorously for 5 seconds to combine the water and vinegar. Malt vinegar and white vinegar both work well for this method. This method works on all types of tiles and surfaces, such as flooring, backsplashes, or countertops.

Spray the solution liberally over the grout and let it sit for 5 minutes. Ensure that all the grout is coated with the water and vinegar spray. Leave it for 5 minutes to soak into the grout.

Mix 1 cup (180 g) of baking soda and ½ cup (125 mL) of water in a bowl. Measure the baking soda and water into a small bowl. Use a spoon to stir them together until they are fully combined and form a paste. If you are cleaning a very small area, halve this recipe.

Scrub the paste into the grout with a grout brush. A grout brush is a thin brush that is designed to easily remove the dirt from between tiles. Dip the brush into the baking soda paste and then scrub it over the tiles until all the dirt is gone. Use a scrubbing brush or a toothbrush if you don’t have a grout brush.

Spray the vinegar solution over the areas that you have scrubbed. The vinegar will mix with the baking soda paste and start bubbling vigorously. This chemical reaction helps to dissolve any remaining dirt and grime from the grout. Spray enough vinegar solution to completely cover the baking soda paste.
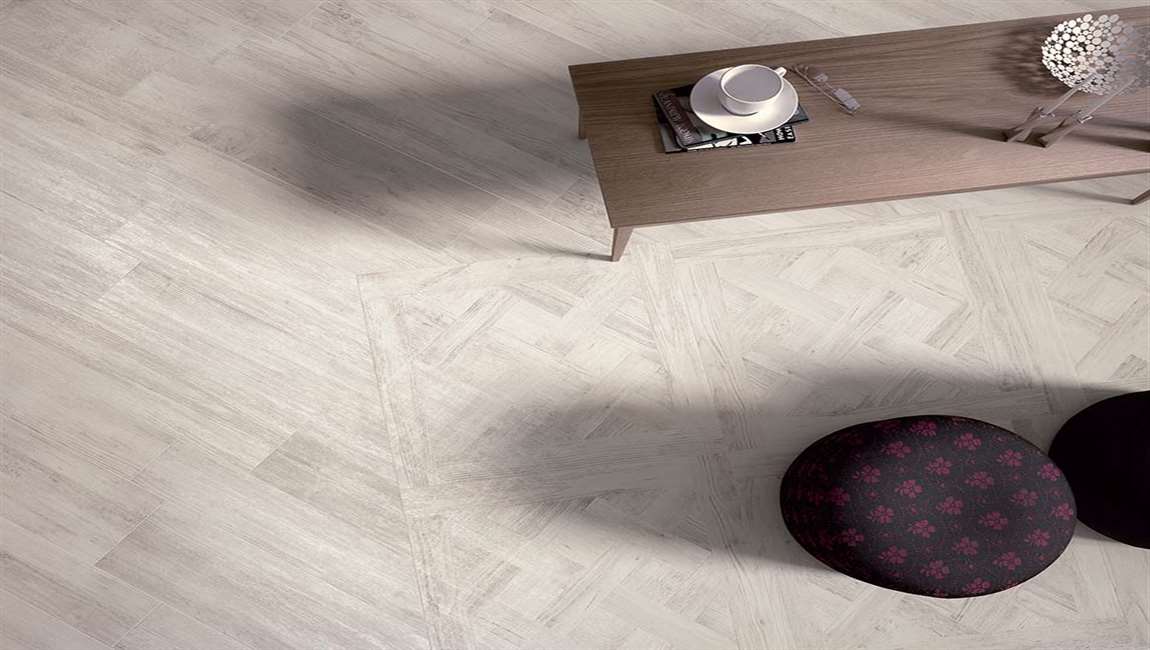
Use warm water and a dishcloth to wipe up the baking soda and vinegar. Dip a clean dishcloth in water and then squeeze it to remove any excess water. Wipe up all the baking soda and vinegar paste from the grout. Rinse your cloth after each wipe to avoid spreading the baking soda over the wood tiles. This also helps to remove the vinegar smell from the grout.

How Removing Greasy Marks from Tiles?

Wipe up oil splatters as soon as they happen, if possible. Tile splashbacks look fantastic but can get greasy quickly. Oil marks are easiest to remove when they are fresh. If you notice oil splashing on the tiles while you are cooking, use a paper towel to blot the oil. If you don’t have a paper towel on hand, use a clean dishcloth instead. This method will remove greasy marks from all types of tiles.
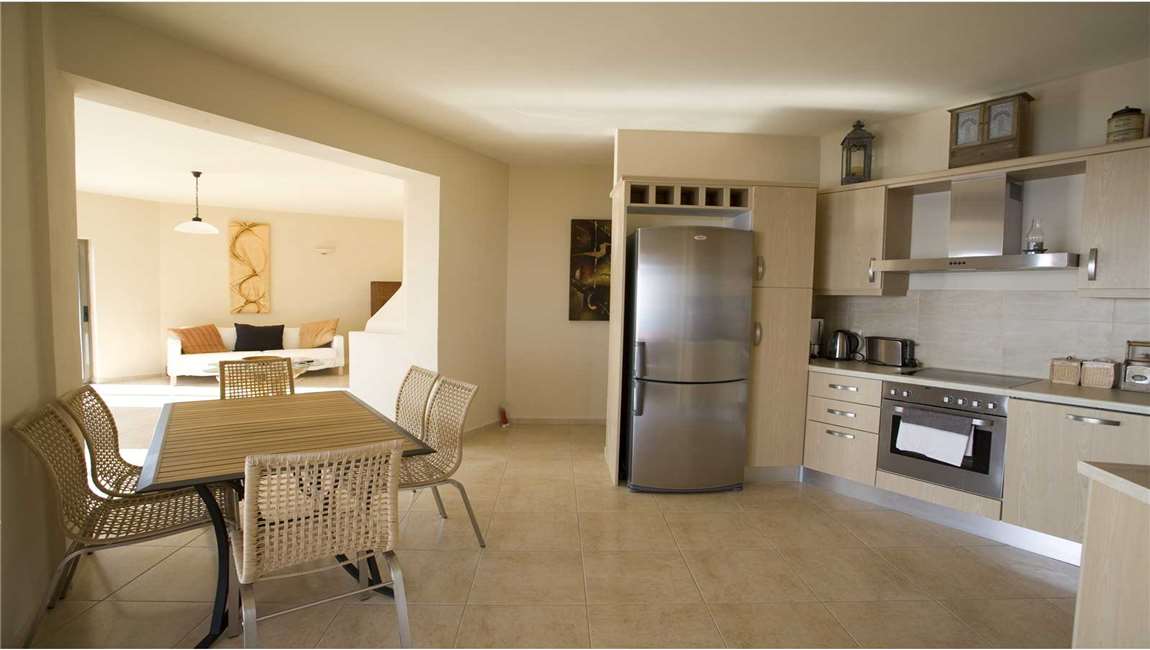
Fill a bucket with warm water and 2 drops of dishwashing liquid. If you notice greasy marks on the wood tiles that have likely been there a while, use this method to get rid of them. The warm water and dishwashing liquid help to break down the oil and remove the stains. Add the water and dishwashing liquid into the bucket and then use your hand to gently stir them together. Any dishwashing liquid or detergent works for this method.

Dip a sponge into the soapy water and use it to wipe up the grease. Soak the sponge in the water and then squeeze it to remove any drips. Press the sponge onto the greasy marks for 5 seconds and then wipe in circular motions until all the marks are gone.

If you are cleaning a large area, dunk your sponge in the soapy water regularly to ensure that it has fresh dish soap on it.

If there’s is a lot of excess build-up on your tiles, you may need to clean with a store-bought degreaser or use a vinegar solution.

Wipe the soap suds off the tiles with warm water and a dishcloth. Dunk a clean dishcloth in warm water and wring it out to remove any excess water. Wipe the entire tile surface until all the soap suds are gone. If the dishcloth get soapy, rinse it in warm water and then carry on wiping the tiles.

Dry the area with a tea towel. This avoids the tiles from growing mold or mildew. Use a clean tea towel to dry all the moisture from the tiles and grout. If you don’t have spare tea towel, use paper towels instead.

How to Clean Tiles?

Tiles are both stylish and practical. Unfortunately, over time, they can get greasy and dirty. To do a general floor clean, mop the porcelain tiles with water and a tile cleaner. If your tile splashback has greasy marks on it, use soapy water to the oil splashes. Clean the grout between your tiles with baking soda and vinegar to remove discoloration. These methods are quick and easy, and will leave your string stone tiles looking sparkling clean!

Sweep up any dust and dirt with a dustpan and brush. Use the brush to push any debris and dust into the dustpan. This avoids you spreading the dirt around the floor when you mop it later. If you don’t have a dustpan and brush, use a broom instead.

Mix water and tile cleaner in a bucket. Choose a tile cleaner that is designed for your type of tiles. For example, look for a commercial cleaner marketed as “ceramic-friendly” or “safe for stone floors.” Fill a mop bucket with water and add the tile cleaner, as directed on the back of the container.

Purchase tile cleaner from a cleaning store. Most tile cleaners require approximately 1 capful of tile cleaner per bucket of water. Avoid using citrus cleaners on stone as this can damage the tiles. Try not to use cleaners containing soap or detergent, as these can make your tile floors slippery. If you want to make your own tile cleaner, mix equal parts of vinegar and water in a bucket. This can be used on all types of tiles.

Wipe the cleaner over the calacata tiles with a mop. Dip the mop into the bucket of water and tile cleaner, and then squeeze out any excess liquid to avoid drips. Push the mop back and forth over the entire area until the calacata tiles are clean. Press the mop down firmly when cleaning any stained areas, as the tile cleaner and the pressure of the mop will help to remove the stains.

Knowledge of Grouting the Tiles

The old rule of “measure twice, cut once” is your friend here. Be very sure about how much tile you need before you cut it. Remove the spacers before you continue. Once you’ve got all of your tiles in place, you can remove your tile spacers. If you mixed your mortar correctly, the tiles should now stay in place. Let the thinset cure. You will now want to let the mortar thoroughly cure before you do the grout. This usually takes around 24 hours. Make sure that the area is well ventilated and that moisture is kept to a minimum.

Remove the excess. Get a large bucket of sink-full of water and a large sponge. Get the sponge wet and then wring out the excess water, so that it is only damp. You want to have as little water on the sponge as possible. Now, wipe all along the tiled area to clean off the excess grout. Do not press very hard or you will remove the grout between the tile. Rinse and wring your sponge frequently, keeping it as clean as you can. Get new, cleaner water as needed.

Let the grout cure. Once you have grouted all of the tiled area, allow the grout to cure. You should follow the instructions for your specific product but generally three hours are needed to cure grout properly (as many as 24-48 hours may be needed, however). Make sure that the area is well ventilated and that moisture is kept to an absolute minimum.

Seal the grout. Once your grout has cured, you will want to seal your grout. This step is often skipped but you should not skip it if at all possible. Sealing your grout will be very important in keeping it from getting moldy or stained. Find an appropriate grout sealant at your local hardware store and apply it according to the included instructions.

Usually, the sealant will be wax-like and is applied using a rag. Rub it in circular motions along the grout lines to apply. Grout will need to be resealed roughly every 6 months and should at least be resealed once a year.

Caulk as needed. If you need to, you can apply caulk as needed around your new tiles. This may be useful at the corners and along the seams, such as if you have applied a short backsplash along a wall. Simply caulk the line, shape the caulk by running your finger down the line, and let it set.

How Grouting the Tiles?

Choose a grout. There are two main types of grout: sanded and unsanded grout. Sanded grout is used when the gaps between light color tiles are larger than 3mm. Unsanded grout is used when the gaps between wood tiles are smaller than that. Measure the gaps between your tiles to find out which grout is best for your project.

Glass tiles almost always come in sheets these days and these sheets tend to have very small gaps between the marble tiles, meaning you will probably want unsanded grout. It is important to choose the right grout for your project because not doing so will cause cracks (and all the problems that come with them) in your tiles. There is also technically epoxy grout, which you can use, but it is more expensive and difficult to apply if you do not have experience applying grout.

Mix your grout. Mix your grout according to the instructions on the packaging, making sure to also mix in any additives you want. It should have a consistency like smooth peanut butter. Make sure that you mix no more than what you can spread in 20 minutes. This will keep the grout from drying out. You should only work on small areas at a time, finishing one section before continuing on to the next, so plan on mixing many small batches of grout.

You can get grout additives that make it more mold resistant or water resistant, as well as additives that do things like giving the grout a color. Spread your grout. Grab a grout float and get ready to spread! Working in only a small area at a time (again, what you can cover in 20 minutes), spread the grout onto the wall tiles. Hold the float at a 45 degree angle and criss-cross the gaps between the tiles. You do not want to move the float parallel or perpendicular to any tiles, since this will push the grout out of the gaps.

Let the grout cure for 20 minutes. Use the float to remove the major excess grout and then let the grout begin to cure. Wait roughly 20 minutes, or whatever time is recommended in the instructions for your specific product, so that the majority of the grout can set enough for you to remove the excess that is on the tiles.

How to Clean Tile Floors with Vinegar?

The right floor tiles can lend a look of subtle sophistication to almost any room in your home—until they get dirty, that is. After a while, dirt and mildew can begin to build up on the surface of textured tiles and down in the grouting, leading to unsightly discoloration. Cleaning floor tiles can also be a tricky task, as many types of cleaners can inadvertently fade or damage porous materials like natural stone. Luckily, there’s a convenient solution sitting right in your kitchen. With just a bottle of ordinary vinegar and a little determination, you can clean and polish your tile flooring, extending its lifespan and leaving it looking like it was just installed.

Talk to your local hardware store about the trowel size that they would recommend for your particular project. Usually, glass tiles come in sheets and trowel with smaller notches will be needed. However, if you are using larger glass tiles that are not in a sheet, the average 3/8″ trowel will probably be better.

Lay your tiles. With the mortar in place, you can start setting out your tiles or tile sheets. Simply press them firmly into the mortar; push it solidly against the surface but remember that it’s not toothpaste. You don’t want to push the tile so that you disturb the mortar. You just want to get the tile to stick. Try to start in a corner or against a wall, to cut down on the amount of cutting and sizing that you need to do. Insert tile spacers between the tiles or tile sheets as you go.

If you are using tile sheets, you can cut the sheets as needed to create a sheet of any size or shape for your project. You can also cut out the middle of a sheet in order to make space for outlets. Simply use a utility knife to cut the mesh backing.

Cut tiles as needed. You will likely have a space that does not perfectly fit the tiles that you have, create a need for only a portion of a tile. In order to fill these gaps, you will need to cut the tiles to size. You will need to use a wet saw with a blade designed for glass in order to cut glass tiles. Be very careful and keep your fingers as far away from the blade as possible.