
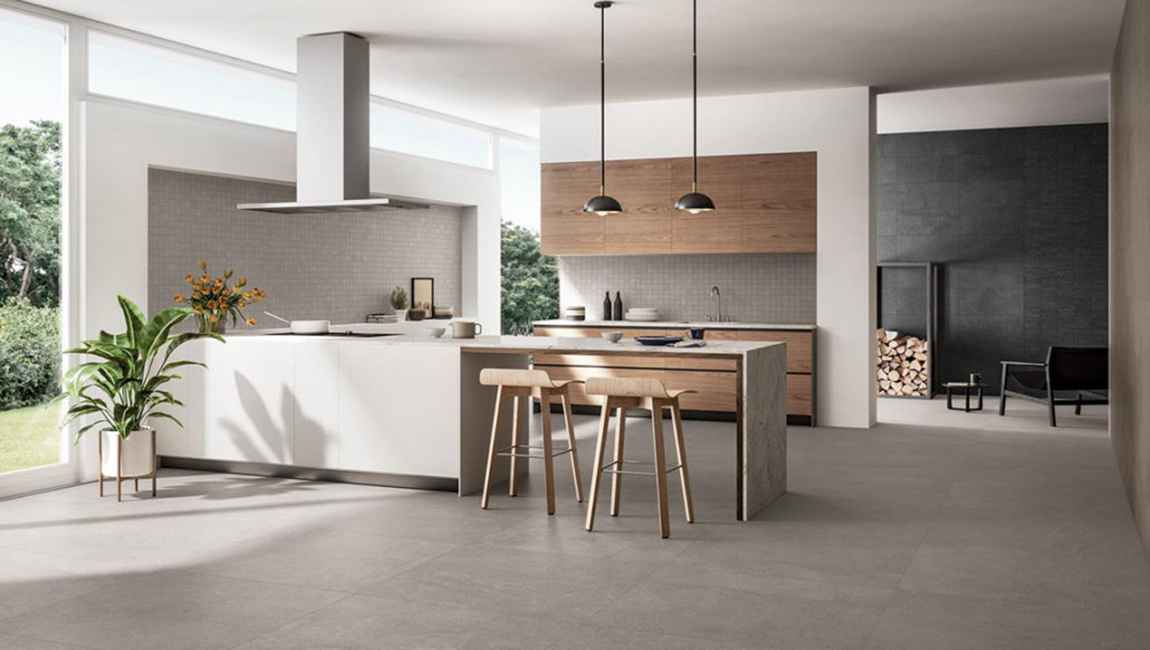
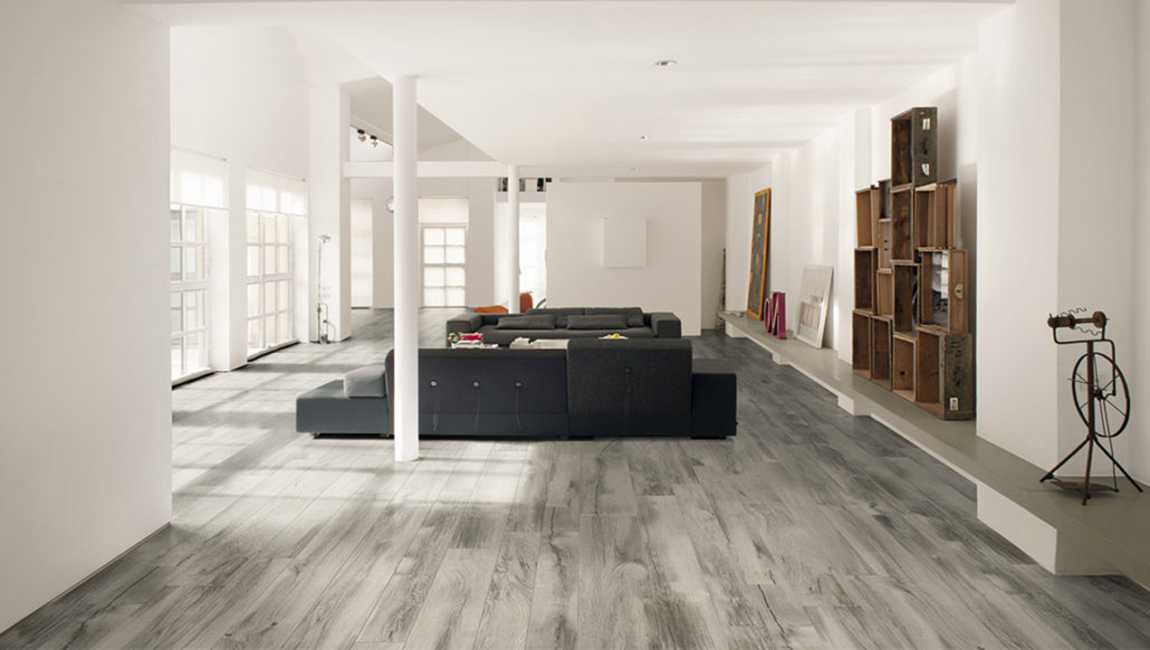
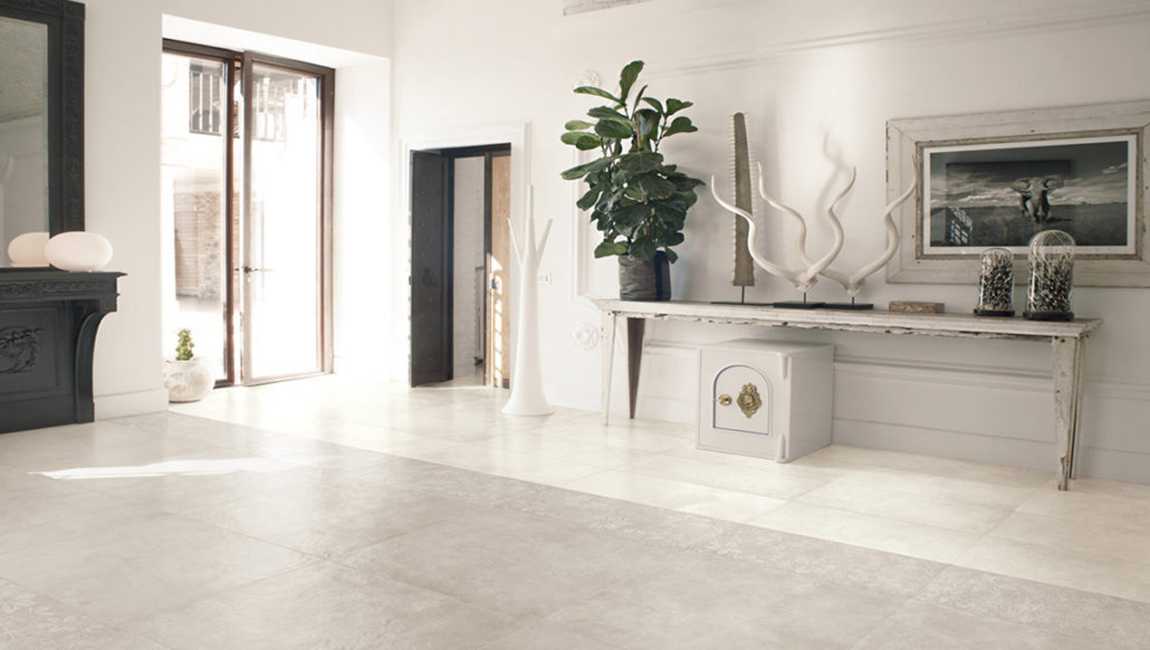
The Knowledge of Laying Floor Tiles
You will use 3 full tiles and 1 tile cut to 4 inches (10.2 cm), since the size of the 3 joints plus the 1 wall joint equals 2 inches (5.1 cm) and your original tiles size was 6 inches (15.2 cm) (6 inches original tiles– 2 inches total joint= 4 inch tiles). Note that this does not follow the realignment strategy mentioned above. Because this room is “squared,” the true center is best left where it actually is. Simply make uniform cuts as they correspond to each side (in this case, you will have 9 inch (22.9 cm) tiles as the wall tiles on the “short” 7 foot (2.1 m) walls and 4 inch (10.2 cm) marble tiles on the long 12 foot (3.7 m) walls.
Follow the same process for the other three quadrants. Because this design is uniform, it is best to follow the same size cuts all the way around. Pre-drill some wood tiles to fit over items such as radiator pipes, bath pipes, and so on. To achieve this you may have to drain down radiator systems, remove the rad from the wall and take the taps off the pipework. Very time consuming but worth the effort if a minimal look is desired. Your floor will look better if you can drill a hole in the small tiles and lay the tiles design over the pipe.
Use a diamond hole saw to bore into the wood marble tiles and drill a perfect hole. If you do not have a hole saw you can use a wet-tile saw to cut a square hole in the center of the kitchen floor tiles. Draw a square on the back of the polished tiles in the desired location of the hole. Carefully place the backside of the floor tiles against the wet-saw blade at the midpoint of one of the sides of the square. Gently push the tile against the the blade until the edge of the square is cut. Repeat for the other sides of the square hole. When your floor is rehearsed and all ceramic tiles are laid, measured, and cut, and appear to your liking, you are ready to lay the adhesive,
Cut the cement tiles board with a jigsaw or a carbide-tipped scoring tool. If you need to cut non-linear shapes out of your cement board, use a jigsaw and a carbide-tipped blade. If, however, you’re only cutting straight lines out of the cement board, use a carbide-tipped scoring tool (it costs $10) and a straight edge.

Finish up by mudding and taping the joints of the cement board. This process is almost exactly like mudding and taping drywall, except you’re using mortar instead of compound and fiberglass mesh tape instead of joint tape. Lay down a bit of mortar with your trowel, then press the fiberglass mesh tape into the joint. Then go over the mesh tape with your trowel, pressing it into the seams and locking it firmly in the mortar. Smooth out the resulting joints so that they don’t bulge out, feathering the edges.

