
How to Lay a Ceramic or Porcelain Tile Floor?
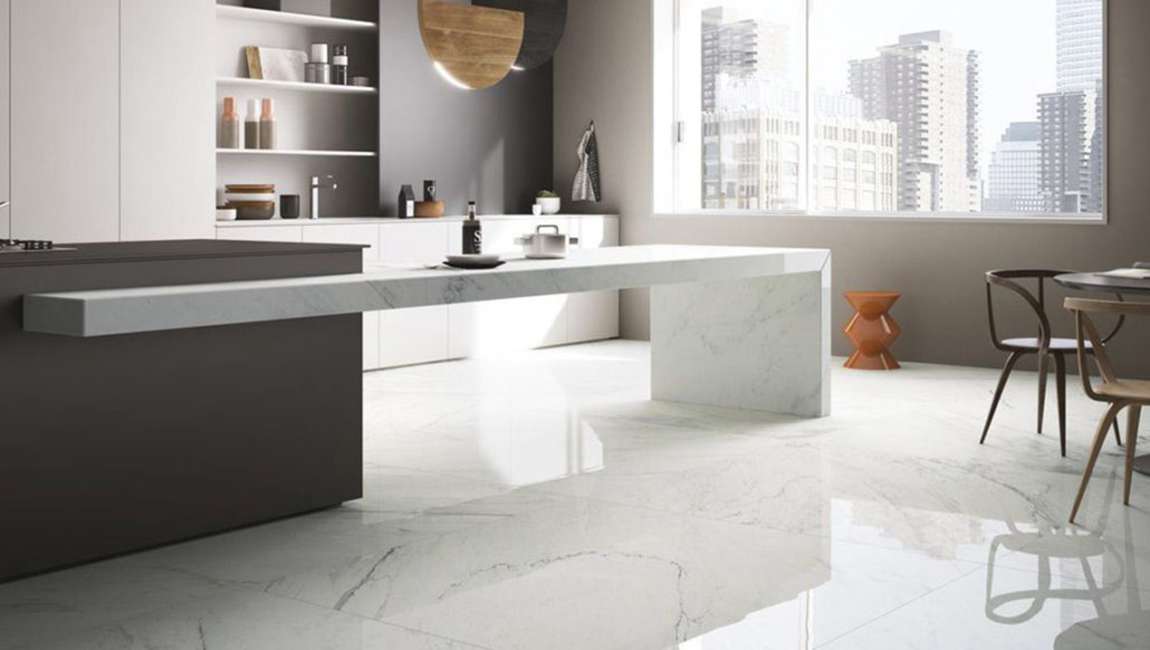
Decide on your tiles size and pattern. tiles come in different sizes: 4 inch (10.2 cm) by 4 inch (10.2 cm), 8 inch (20.3 cm) by 8 inch (20.3 cm), 12 inch (30.5 cm) by 12 inch (30.5 cm), for example (there are others, too). marble tiles can also be laid in different patterns. The total number of tiles you will need will depend on the size and pattern you want. For simplicity’s sake, let’s assume we are going to use 12 inch (30.5 cm) by 12 inch (30.5 cm) tiles and use a traditional grid design, where tiles are simply laid in pattern like graph paper.
Because the area of the room is 84 square feet, we will need about 84 12 inch (30.5 cm) x 12 inch (30.5 cm) (1 square foot) floor tiles (even accounting for the spaces in between tiles, known as “joints”). However, it is a good rule of thumb for beginners to purchase extra tiles to account for improperly cut or scored tiles, or for breakage. Buy an extra pack or two of wall tiles to be safe. When laying tile diagonally, a lot of material is wasted as cutoffs. A good rule of thumb here, even for experts, is to buy 15% more tile than the square footage would dictate.

Pick a color.You are only limited by your imagination (and the store’s stock). Choice of color typically is a matter of individual choice. The only additional step of planning and preparation with regard to color of the tile is with the grout selection. Grout is the “filler” that goes in the spaces between tiles, the joints. It can be grey, white, terra cotta, and so on. Typically, dark tiles with light grout really show the spaces in between tiles, and vice versa. The selection of grout color will really depend on how you would like the floor to look to the eye. There is no hard and fast rule.

Prep your space. Be sure that the entire surface is as smooth as possible. You will likely need to use floor leveling compound (available at your do it yourself hardware store) to float (create gradual transitions in the floor’s surface) out any divots, holes, or differences in subflooring heights. If you don’t “float” out these differences your cement tiles will crack. Your surface is now prepared for tiling.

Find your center point. You have already determined the size of your room, which is 84 square feet. Finding the center point is critical for laying the wood tiles. It will determine where you will lay your first kitchen tiles and the next ones. Measure one wall, for example the 12 foot (3.7 m) wall. At 6 feet (1.8 m), half the distance, mark a point with a pencil. Do the same on the other 12 foot (3.7 m) wall. Using your chalk line, anchor one end at the midpoint of one wall and stretch across to the midpoint of the other. “Snap” the chalk line by lifting it up slightly and letting it hit the ground; this will leave a straight line on the floor. Measure the 7 foot (2.1 m) walls and mark a point a 3 ½ feet on both sides.

Rehearse laying out ceramic tiles.When you have found your center point, you will notice you will have a “quadrant” design on the floor, or 4 equally sized areas. Starting at the center, “rehearse” your tile pattern by simply laying them on the floor without any adhesive or glue. Place the first tile at the corner nearest the center point. You are only going to work in one quadrant at a time. Begin placing tiles design in a straight line towards either wall, leaving a small space in between the tiles.

