Posts

How Performing Everyday Cleaning?


Wipe down the surface with warm water. In most cases, your daily cleaning won’t require more than a simple wipe down with warm water. To do this, take a clean microfiber cloth, wet it with warm water, and systematically wipe the marble tiles. Switch out your cloth for a clean one when it gets dirty.


Make a cleaning solution with mild dish soap and water. Some days you may need more than warm water to clean your marble tiles. In this case, create a solution of water and dish detergent. Take several cups of warm water and add a couple teaspoons of detergent. The amount of detergent/soap may vary based on the specific product.


Make sure your detergent/soap is not fat-based. This could alter the color of the marble tiles. You can consider buying a soap or cleaning product especially formulated for Carrara marble tiles.


Wipe down the marble tiles with your soap solution. After you’ve made your solution, dampen a clean cloth and wipe down the marble tiles systematically. Make sure to push debris toward one end of the marble tiles and then remove it. Make sure you don’t leave any debris or excess suds on the marble tiles.


Use a clean damp cloth to remove soap residue. After you’ve wiped down the marble tiles with your detergent solution, take a wet a clean cloth and wipe down the marble tiles again. This will help remove soap residue from the marble tiles surface.


How Doing Daily Cleanup of Marble Tiles?

Wet the surface of the tiles. Run a clean, damp cloth over the surface of the cultured marble tiles to slightly wet it. This helps you avoid damaging the glaze that gives it its shine when you apply the soap or cleaner. If the surface already has lingering water, such as from a shower, you don’t need to add more.


Apply a mild soap or all purpose cleaner to the surface. You can spray the soap or cleaner directly onto your cultured marble tiles, or you can dampen a clean towel and wipe it over the surface. Choose a water-based cleaner with a neutral pH. It’s the safest option for cleaning your cultured marble tiles without damaging the glaze or scratching the surface.
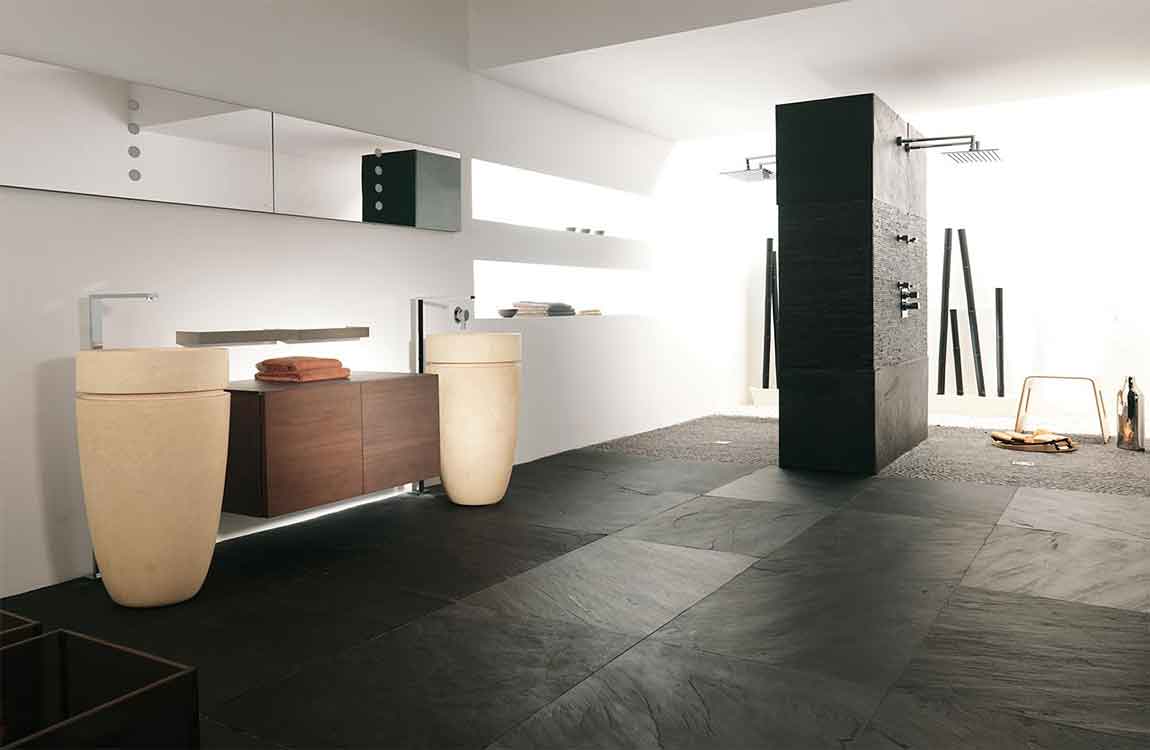

Wipe the surface of the cultured marble tiles with the rag. Make circular movements as you wipe away the soap or cleaner. If necessary, apply more soap or cleaner to the cultured marble tiles. Continue wiping with your cloth until the surface is dry. Use a soft cloth to avoid scratching or damaging the surface. Don’t use abrasive sponges or cloths.
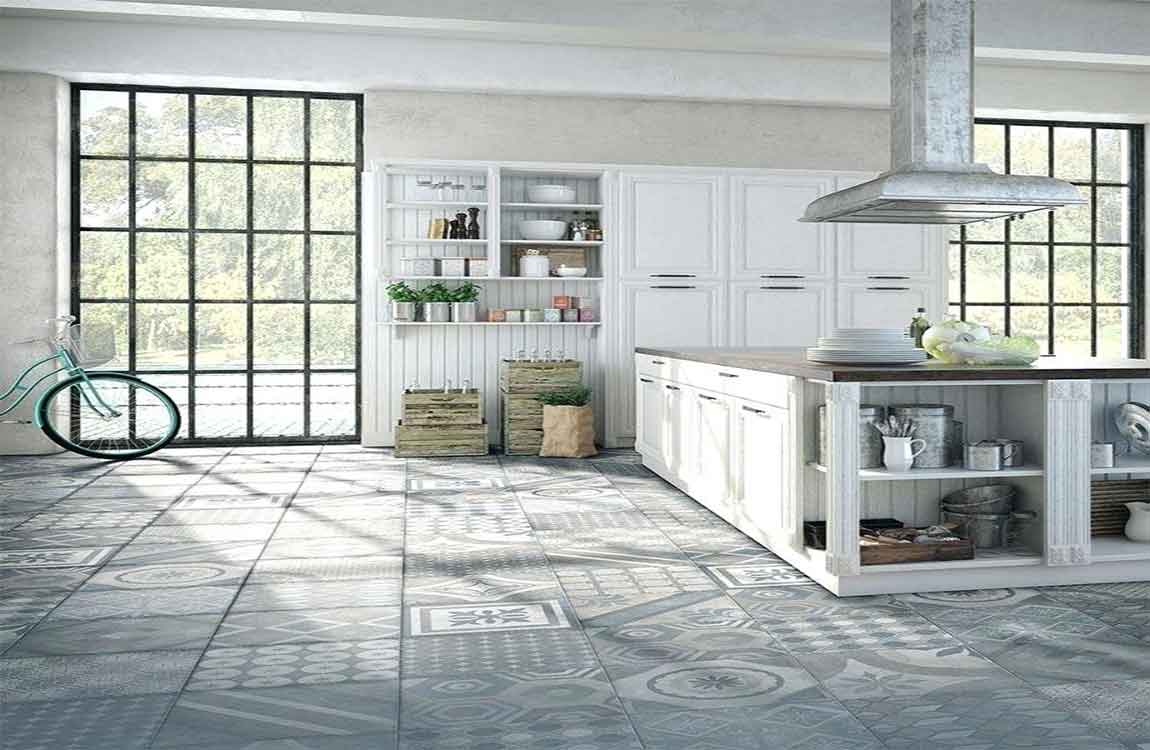

If your cloth is very wet, switch to a clean, dry cloth to remove the remaining cleanser. Avoid using harsh chemicals, which can damage the surface. Harsh chemicals can damage the glaze on your cultured marble tiles, making it appear dull. These cleaners can also cause chemical scuffs and scratches on your cultured marble tiles. Stick to mild soaps and cleaners.
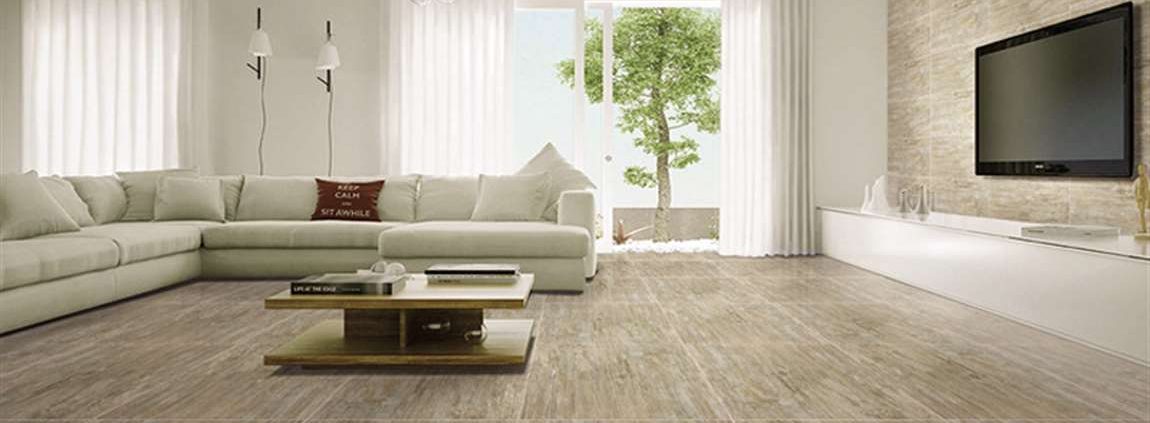

Rinse away the cleaning agent and polish the marble tiles, if desired. Fill your cup with cold water again. Pour it on the cleaned portion of your marble tiles and wipe up excess liquid and remaining dirtiness with a clean, soft, dry rag. After this, your counter should be clean. This method will remove dirt and debris but not grease.

How Preventing Gaps in Laminate Flooring?


Allow your laminate flooring to acclimate for 48-72 hours. Bring the planks inside and leave them to sit undisturbed prior to installation. This will give the material a chance to get used to the unique conditions in your home, which can help you avoid many environment-related complications later on.


Fluctuations in temperature and humidity can cause certain types of laminate flooring to swell and shrink slightly. Over time, this can result in noticeable gaps and other inconsistencies. Storing your laminate flooring materials in your garage, basement, or foyer also keeps them from being exposed to the elements.

Make sure the subflooring is perfectly level. Use a level to check the angle of your subfloor every 2–3 feet (0.61–0.91 m). If there are rises or depressions present, your laminate planks won’t sit correctly, no matter how many times you reposition them. Subfloors that are off alignment will need to be smoothed out using leveling compound.


If you plan on adding a separate underlayment for insulation, it will be important to make sure it’s cut properly to eliminate wrinkling, folding, or bunching, all of which could contribute to an off-level subfloor.


Have your laminate flooring installed professionally. Attempting to measure, cut, and install laminate flooring yourself leaves a lot of room for error, even if you have experience with this type of project. In most cases, it will be better to leave it to the pros. They’ll have the equipment, expertise, and manpower needed to get the job done faster and with more lasting results.

How to Clean Mildew from Grout?

Mildew is a common problem in grout found in bathrooms. Regular cleaning should keep mildew mostly away, to the point it only needs to be cleaned with water. However, built up mildew should be targeted with a cleaning solution. There is no special formula to get rid of mildew. It simply takes a lot of scrubbing to get mildew and mold out of the grout between tiles.

Ventilate your shower. A well-ventilated shower is key to preventing mildew to begin with. If your shower has a fan, make sure to turn that on after getting out of the shower. It also helps to crack a window in your bathroom during the day.

Spray down your bathroom after showering. Keep a spray bottle in your bathroom filled with one part vinegar and one part water. Two to three times a week, use this mixture to spray down your shower. This will help prevent mildew from building up on the shower walls.

Clean your bathroom regularly. Mildew is hardest to remove when it’s built up in grout between tiles. The best way to prevent the need for heavy cleaning is to clean your bathroom once a week. If you do a quick, mild cleaning weekly, you’re unlikely to have to deal with heavy mildew removal in the future.

How Choosing and Applying Your Cleaner?

Try water alone for mild mildew. If you clean regularly, mildew is probably mild. A small film of mildew covering grout does not require special cleaners. For this mildew, stick to simply scrubbing water between the tiles. This should be enough to get rid of unwanted mildew. If mildew does not come out with water alone, you may need a stronger cleaner.

Use bleach for intense build up. Mildew that is built up over time requires a cleaner. Bleach is the best course of action to remove mildew. You can buy bleach online or at a local department store. As bleach is dangerous if ingested, make sure to store it in a safe place away from children and pets. Wear gloves when handling bleach. Mix your cleaning solution. In a bucket, mix three parts water with one part bleach.

The precise amount of bleach and water you need depends on how much mildew you’re cleaning. Make sure to mix bleach in a well-ventilated area. Spritz on your solution. Place your bleach solution is a spray bottle. Spritz a liberal amount of the solution over tiles, focusing on where you see built up mildew. Let the solution sit for about 15 minutes before continuing with the cleaning process.

Use an ammonia solution. Mix 3.5 cups (828 milliliters) hot water, ¼ cup (21 grams) baking soda, 1/3 cup (80 milliliters) ammonia, and ¼ cup (60 milliliters) vinegar. Pour the mixture into a spray bottle. Wait 60 minutes, then spray the grout you wish to clean. Use a scouring sponge to remove the dirt from the grout. Wipe the grime away with a damp rag.

Tile Commercial Polishing

Apply a wax stripping solution to remove any built up wax. If your tile floor has previously been waxed, you’ll want to remove it before polishing. The old wax may be flaking or collecting dirt, and will affect the overall polish. Fill your bucket with a wax stripper and scrub your tile floor clean of any old wax with a scrub brush, then mop the floor with clean water to remove any chemical residue.

Allow the floor to dry at least 1 hour before moving on, but make sure the floor is fully dry. You can find wax stripper at any home improvement or hardware store. Try hydrochloric acid for soap scum and water deposits on tile flooring. Hard water deposits and soap scum stains require heavy duty chemicals to be removed.

Empty the bucket of water completely, then fill it with 4 cups (950 mL) of water and 1⁄2 cup (120 mL) of hydrochloric acid. Apply the mixture directly to the stain and allow it to sit for several minutes. Then scrub the stain clean and allow the area to dry completely. Hydrochloric acid is available for purchase at most hardware stores. It is also often sold at pool supply stores because the acid is commonly used to sanitize swimming pools.

Hydrochloric acid is a harsh chemical and can burn your eyes and throat, so mix it in the bucket outside or a well-ventilated area. Be sure not to get any of the chemical on your skin as it can cause chemical burns. Use an electric floor buffer to buff the tile floor quickly. A floor buffer is a great option for a quick and consistent buffing. Consider renting or borrowing one for the day if you do not own one.

They are often as easy to use as a standard vacuum cleaner. Turn the buffer on and move it across the tile floor using small, sweeping side-to-side movements for an even finish. You can rent electric floor buffers from home improvement stores like Home Depot for around $30 a day.

How to Replace Tile Floor?

Installing a new white tile floor is a great way to update a space. If the old tiles and subfloor are in good shape, then you can tile directly over them. Or, you can pull up the flooring and start over entirely from scratch. To lay your stone tiles, start by deciding on a pattern. Then, apply thin-set to the floor and set each tile down individually. Keep going until your floor is finished, wipe it down with a wet sponge, and admire your work.
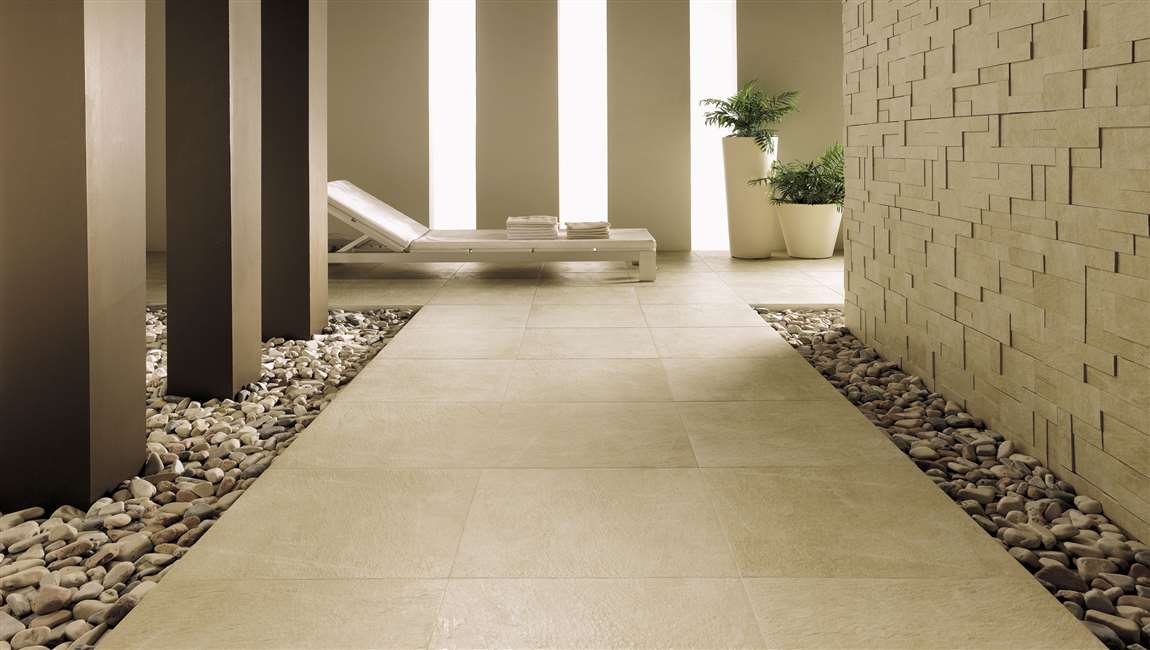
Decide whether or not to tile directly on top of the prior layer. If the old Cement tile is securely installed and in good condition, you can save yourself a lot of time by just laying new tile on top of it. However, the floor level will change a bit. If you rip up the old tile, it will take more time, but you can guarantee that the subfloor is secure.

Tap each old tile lightly to check for looseness. Get a small wood mallet and tap the center of each wood tile. Listen closely to the noise that follows. If it sounds hollow, then you need to pull up the tile, spread a layer of thin-set underneath it, and press it back down.

Check the floor for levelness. Place a level down on the floor. Look at it to see if the floor reads out as perfectly level. Move your level device around to check all parts of the room. If there are high points in the room, use a masonry grinder to grind them down. If there are low points, plan to build them up with some extra thin-set before laying your new tile.

Sand the old tiles down. Get an 80-grit or rougher sand paper. Go over the room, sanding each area until all of the Wood Marble tile is a bit rough on the surface. Use a broom or vacuum to pick up any dust left over from sanding. The rougher texture of the tile will help the new tile to attach more securely to the floor.Before you start working, put on a pair of construction goggles to protect your eyes. Don protective gloves that fit you well, if you are worried about skin irritation.

How to Choosing a Blade and Taking Safety Precautions Before Cut Marble Tiles?

Pick a diamond blade for your saw or angle grinder. Diamond blades have a harder cutting edge, making it easier for them to grind through tough materials like stone or marble tile. Purchase a blade for a wet saw or an angle grinder depending on what you plan on using.
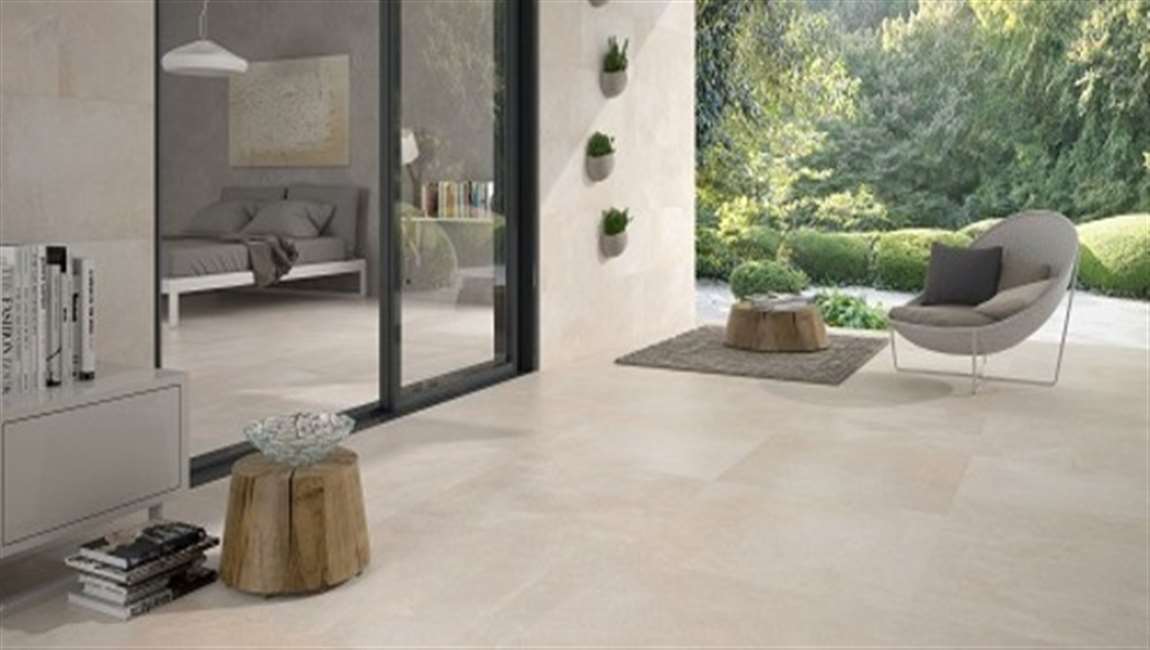
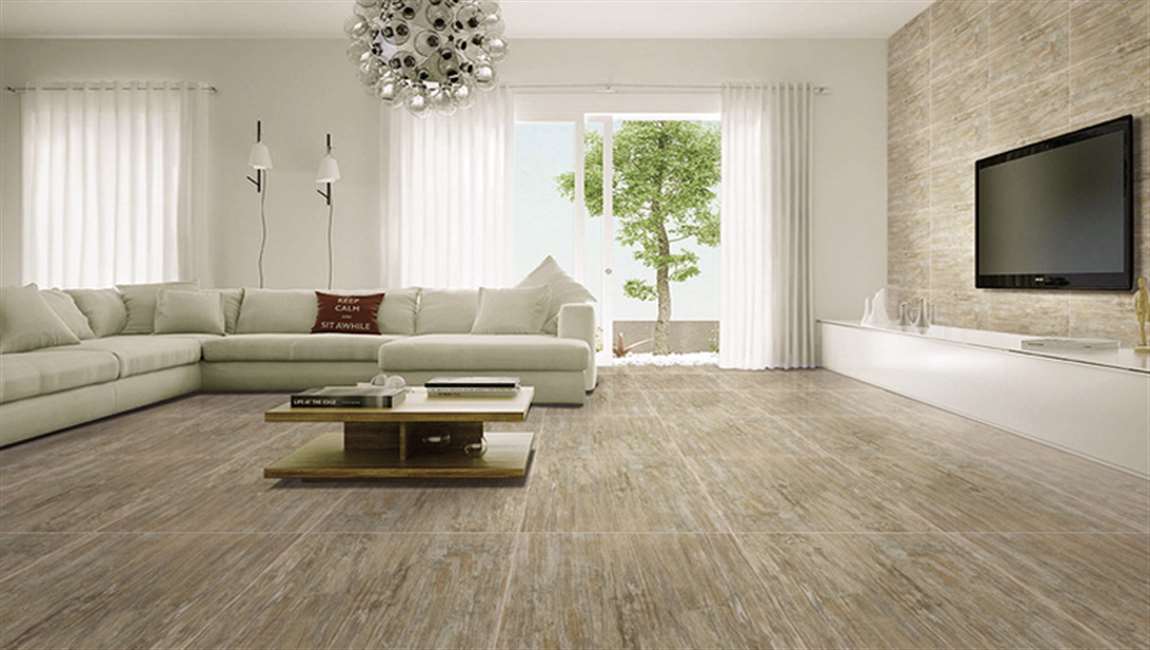
Look for diamond blades at your local hardware store or online. The size of your blade depends on the model of your machine. Check with the instruction manual to see what size blade it requires.

Mark the line you’re cutting on the casstle tile with a pencil. Set a straightedge on top of your tile and trace along the edge with a pencil to mark it. The mark won’t wash off when you use a wet saw, and it can easily be rubbed off the spots tile when you’re finished. If you’re making a curved cut, use a compass to trace a perfect circle.

Tip: If you don’t want to mark your calacata tile directly, place a straight piece of masking tape on the tile and use a marker to draw your line on it. It’s okay to cut through the tape.

Wear safety glasses, earplugs, and a respirator. Cutting through marble tile kicks up a lot of dust, so protect your eyes, nose, and mouth. Since using the saw or angle grinder will be loud, put in earplugs so you don’t damage your hearing. Most hardware stores should carry all of the safety equipment you need. You may wear work gloves if you want, but they’re not necessary.

Marble Tile Home Maintenance Cheats

1, scrub marble tiles, do not use steel wire ball and other hard objects, generally with a wet cloth can remove surface stains.

2, the bathroom marble tiles if rust, dirt, soap and smear greasy, can buy detergent paste clean detergent paste is not expensive.

3, ceramic tile crevice can use brush dipped in a little decontamination cream to remove dirt, in order to prevent water seepage and mold growth, can brush waterproof agent in the crevice.

4, move heavy furniture, what are also a little bit careful, do not drag away, so as not to scratch the tiles surface layer.

The problem of maintenance of natural marble caused by everyone is due to the natural property of natural marble itself. Because of its loose material, easy to absorb water, stains, very sensitive to scratches and damage. Especially on the ground daily walking wear, if there is no regular maintenance care, it will lose luster, become gray, and even touch feel rough.

But unlike the marble tile tile properties, high density, high hardness, not easy to scratch, not water, corrosion resistance, stain is only on the tile surface, do not penetrate to the inside of the brick aesthetic.

How To Handle The Problem Of Water Seepage Of Toilet Ceramic Tile Seam?

Toilet ceramic tile seam seepage how to do? Believe this is the problem that many family toilet is more likely to happen.Cause there are many kinds of situations, ceramic tile water seepage or ceramic tile is of poor quality, or is laid with the quality of the lead to have crack, moreover is the water pipe and the place of ceramic tile mating seal does not reach the designated position, etc. So how to solve toilet ceramic tile water seepage? Let’s take a look at the solution to the water seepage of bathroom tiles:

Water seepage situation of toilet tile seam: the waterproof layer has a problem
If the situation it is ceramic tile must be removed to the wall to the waterproof layer, see the inner wall is preferred, then blow be bored with child again, to do the waterproof layer to metope, then shop sticks ceramic tile, general this kind of method is more complex, so suggest to check clear.
Water seepage condition of the water in the bathroom tile: water seepage caused by rupture of water pipe
This kind of situation, it needs to be check was carried out on the water pipe on the test, to see whether there is leaking water, if it is because water pipe broken, need to immediately find leaks, open the wall to replace the water pipe.


Water seepage condition of bathroom tile seam 3: damp and caused by the wall seepage water
Just need to pay more attention to the ventilation and cleaning in the bathroom daily.
Water seepage situation of toilet tile seam 4: ceramic tile gap is not good
First of all, it is necessary to fill the cracks with cement or filler, and then make a waterproof layer.