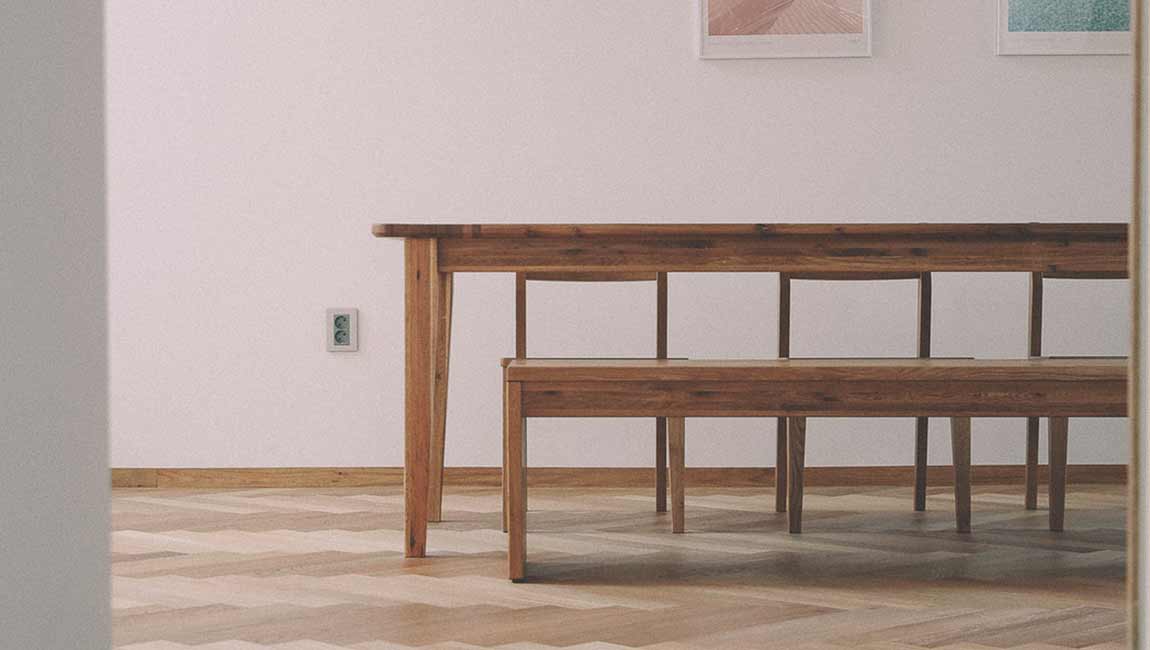
How to Identifying Already-Installed Tiles?

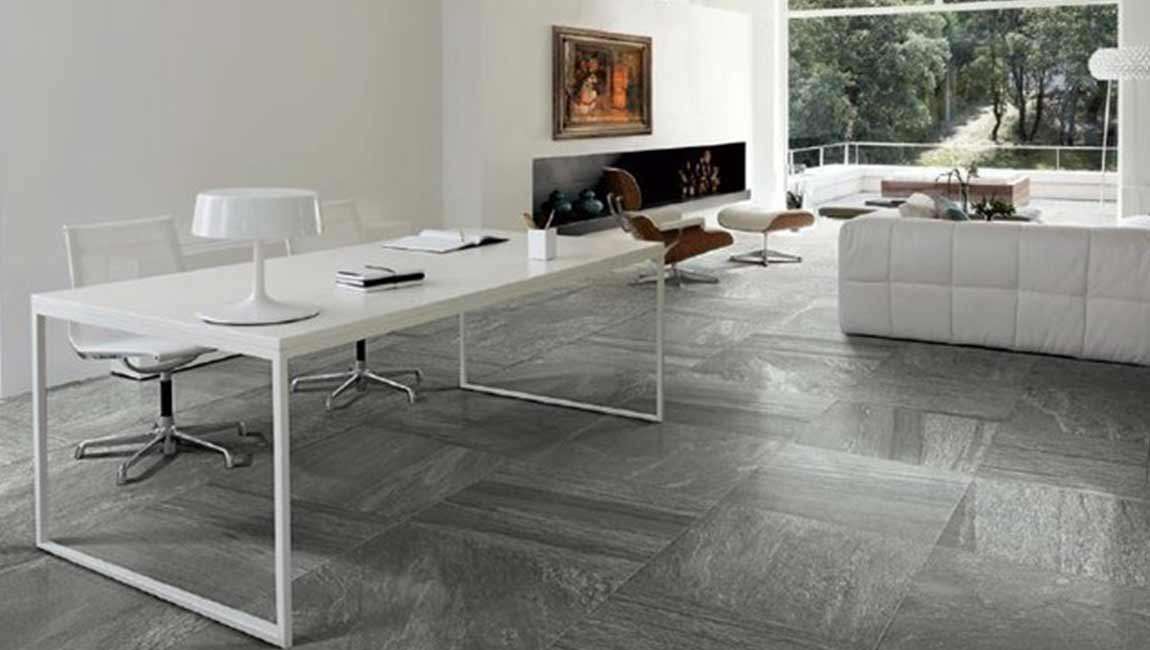
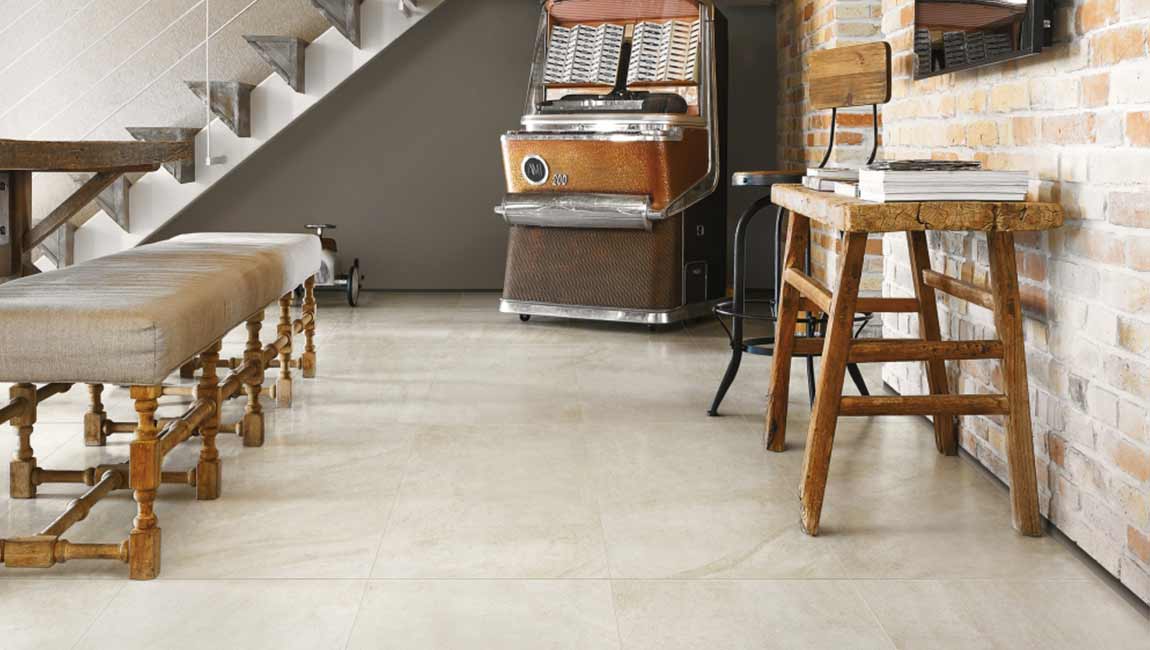
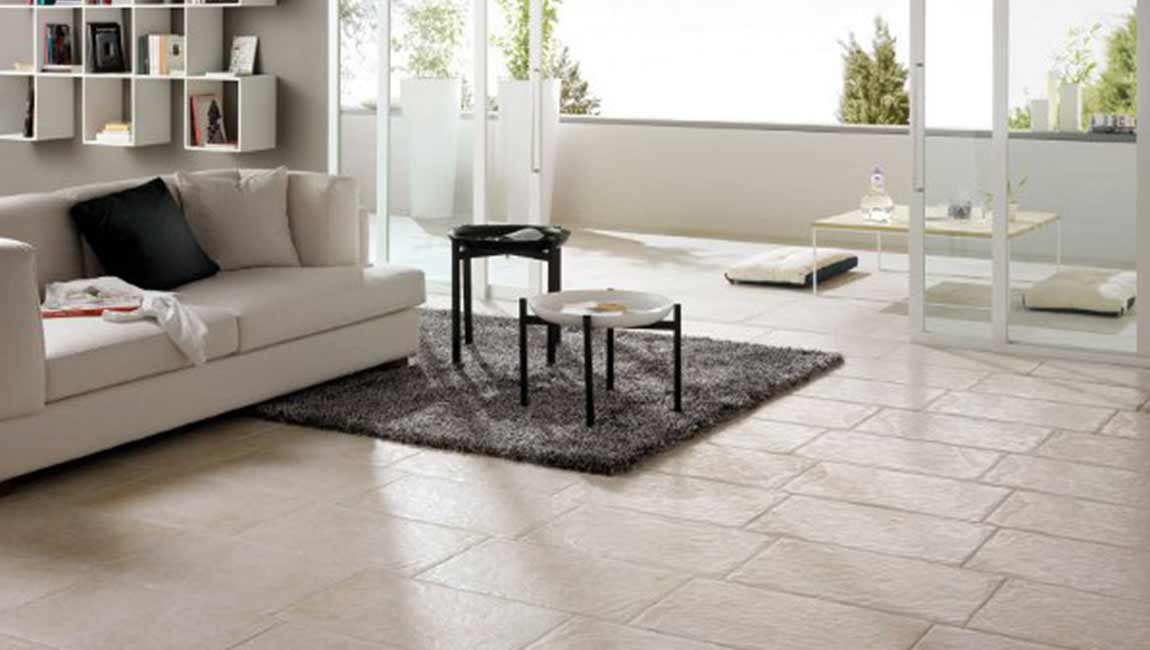
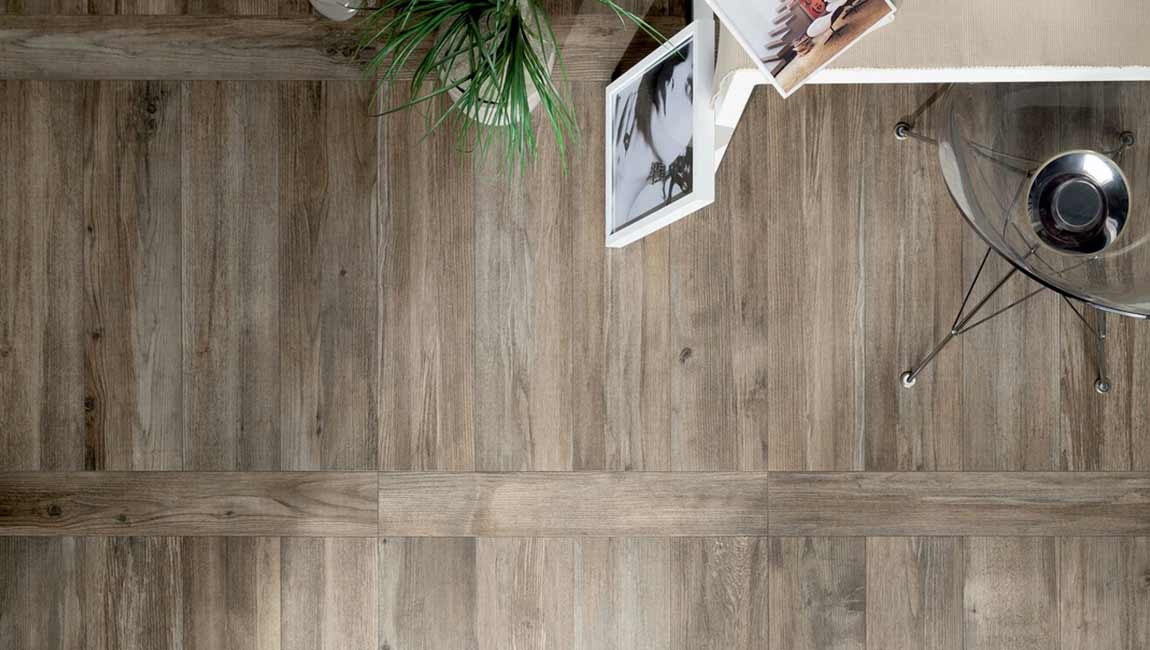
Note the location in which the tiles have been installed. Ceramic and porcelain tiles are each better suited to distinct locations in a home. Porcelain is often installed in laundry rooms, bathroom floors, bathroom walls, shower stalls, and around bathtubs. Porcelain tile is more durable than ceramic because of its hardness, and porcelain is also more resistant to moisture. Ceramic tile, on the other hand, is most often installed as flooring in high-traffic areas such as an entry way or a heavily-used hallway.

See if the tiles are stained or discolored. If so, they’re almost certainly ceramic. Porcelain tiles are very dense and have been designed to be impervious to stains. So, most staining substances (e.g., red wine) can be wiped off of them easily. Ceramic, on the other hand, is light, porous, and can absorb staining materials relatively easily. Stains on ceramic tiles could also come from foot traffic (dirt, mud, snow, etc.) if the tiles are located in an entryway.

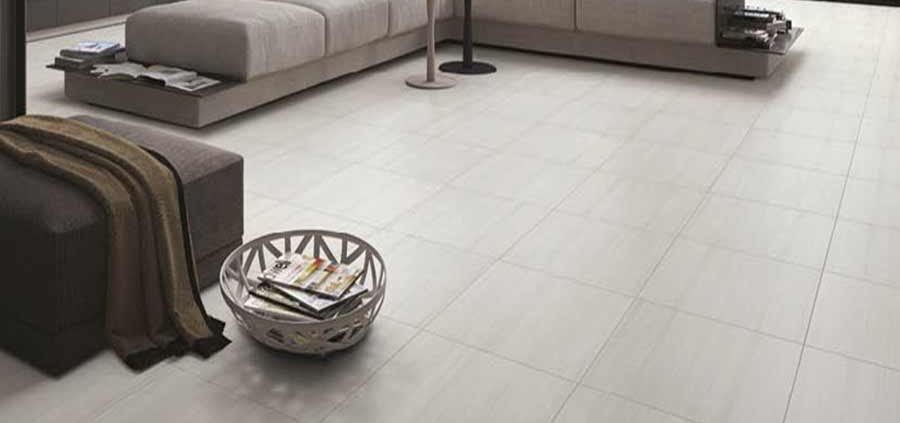
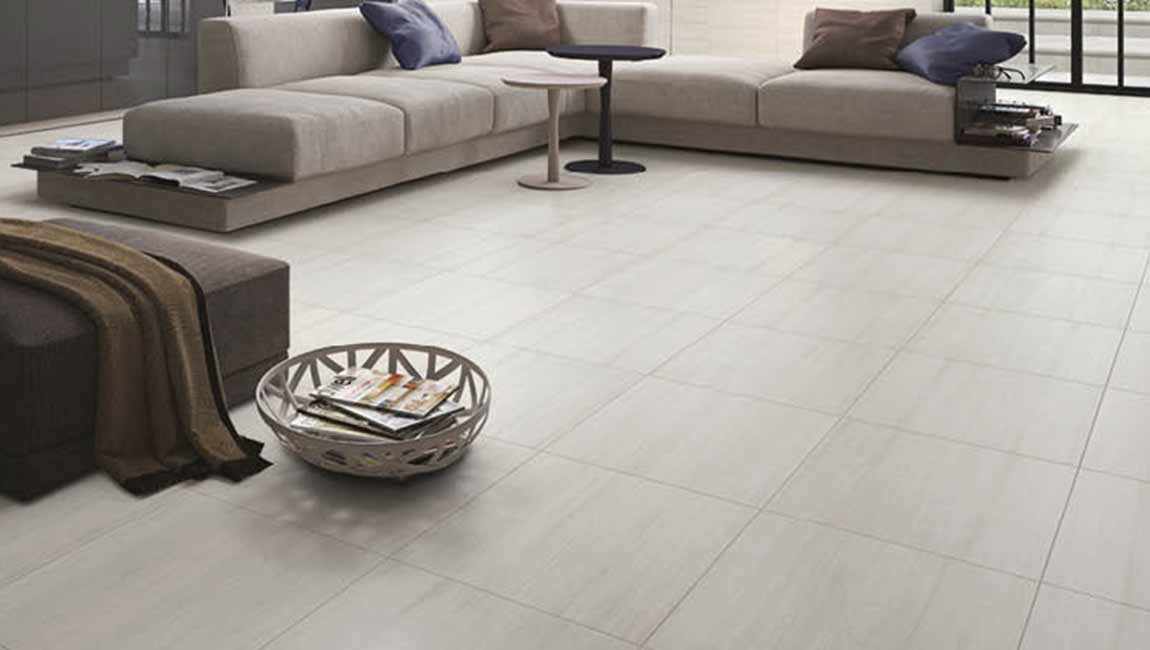
Inspect the faces of the tiles for uniform size and shape. The “face” of the tile is the top portion which faces upward or outward on installed tiles. Porcelain tiles have sharply-formed faces which are all exactly uniform in size. Due to their durability, porcelain tiles can be “rectified,” or cut to highly specific dimensions for complete uniformity. This also allows the porcelain tiles to be grouted together with only small gaps between tiles. If there is any discrepancy between the size of the tiles design , you’re dealing with ceramic tile.

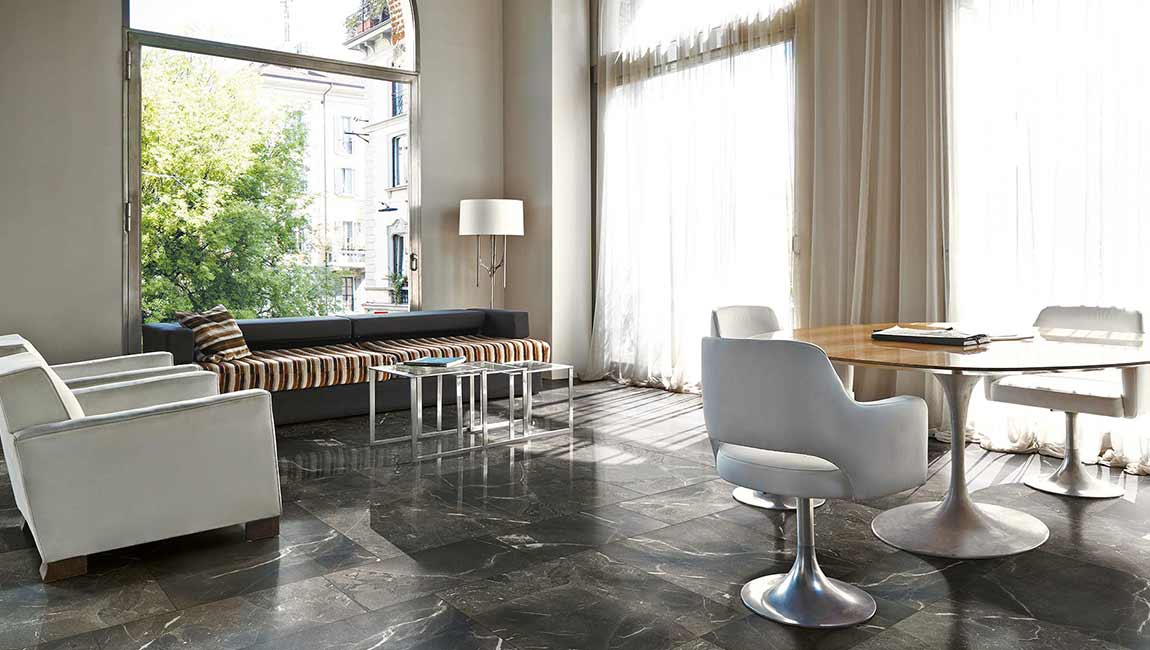
Use a liquid cleanser. If the stain on your marble tile is oil-based, such as grease or cosmetics, you can usually remove it with a soft liquid cleanser. Use a gentle household detergent on fresh stains and ammonia or mineral spirits on older, more stubborn stains. Dilute your chosen cleanser with warm water, and use a soft cloth to apply it to the stained area. Use a clean, damp cloth to wipe the cleanser off and a clean, dry towel to dry the marble. You can use the cloth dampened with your cleansing solution to gently scrub at the stain, but don’t be too rough to avoid scratches.

Try hydrogen peroxide. If your marble tile is stained by an organic material, such as food, coffee, or tea, hydrogen peroxide is usually the most effective cleanser. Mix 12 percent hydrogen peroxide with several drops of ammonia, and apply it to the stained tile with a cloth. Use a clean, damp cloth to wipe the hydrogen peroxide off, and thoroughly dry the surface with a soft, clean towel. You should only use hydrogen peroxide to clean your marble tile if it is a light color. Hydrogen peroxide may bleach dark marble tile.

The Difference Between Porcelain and Ceramic Tiles

Before you buy tile for a tiling project, you should be able to identify porcelain and ceramic tiles. Both are made from a mixture of clays and other materials, then kiln-fired. Both porcelain and ceramic tile are in the category of “ceramic tile.” Ceramic tiles are divided into two groups: non-porcelain tiles (or ceramic) and porcelain tiles. In general terms, porcelain tiles are a higher quality and more resistant to damage, since they’re fired in a kiln at higher temperatures and made of less porous materials.

Inspect the tiles finish to see how smooth it is. You can do this either by visually inspecting the tiles top surfaces or by running your fingers over the top of the tiles. Porcelain tiles have a fine-grained finish that is smoother than the finish on ceramic tiles. So, if the finish is slightly bumpy or coarse when you touch it, you’re dealing with non-porcelain (ceramic) tile. If the tiles are already glazed, flip them over and look at the unglazed underside.

Look for chips in the glaze to identify ceramic tile. Look closely at the glaze: if it’s chipped, you will be able to see the tile’s white or tan base. This is a sure sign that the tile is ceramic. Porcelain tiles are sometimes, but not always, glazed. Most high-quality porcelain tiles will have a consistent color that goes through the top, body, and bottom of the tile. Ceramic tiles, on the other hand, are nearly always glazed. Glazed porcelain tiles are much harder and are more resistant to wear and damage than non-porcelain ceramic tiles.

Examine the sides of the tile for a white, tan, or red color. While porcelain tiles can be colored, ceramic tiles will always have a white, tan, or red color, with a colored glaze on top. So, if you see that the sides (and base) of the tile are any other color other than white, tan, or red, you can be sure that you’re dealing with a porcelain tile. Some cheap, low-quality porcelain tiles may not have the color mixed through the body of the tile. Avoid purchasing these tiles.

Compare the costs of the two tile types. In nearly every scenario, porcelain tiles are more expensive than ceramic tiles: they take more time to produce, are more versatile, and tend to last longer. If you’re looking at two types of tiles in a hardware or home-supply store, non-porcelain (ceramic) tiles will be a little cheaper. As a broad rule of thumb, porcelain tile usually costs approximately 60% more than ceramic tile.

Tile’s Knowledge

A tile is a thin object usually square or rectangular in shape. Tile is a manufactured piece of hard-wearing material such as ceramic, stone, metal, baked clay, or even glass, generally used for covering roofs, floors, walls, or other objects such as tabletops. Alternatively, floor tile can sometimes refer to similar units made from lightweight materials such as perlite, wood, and mineral wool, typically used for wall and ceiling applications. In another sense, a tile is a construction tile or similar object, such as rectangular counters used in playing games (see tile-based game). The word is derived from the French word tuile, which is, in turn, from the Latin word tegula, meaning a roof tile composed of fired clay.

Tiles design are often used to form wall and floor coverings, and can range from simple square tiles to complex or mosaics. Tiles are most often made of ceramic, typically glazed for internal uses and unglazed for roofing, but other materials are also commonly used, such as glass, cork, concrete and other composite materials, and stone. Tiling stone is typically marble, onyx, granite or slate. Thinner tiles can be used on walls than on floors, which require more durable surfaces that will resist impacts.

The earliest evidence of glazed brick is the discovery of glazed bricks in the Elamite Temple at Chogha Zanbil, dated to the 13th century BC. Glazed and colored bricks were used to make low reliefs in Ancient Mesopotamia, most famously the Ishtar Gate of Babylon (ca. 575 BC), now partly reconstructed in Berlin, with sections elsewhere. Mesopotamian craftsmen were imported for the palaces of the Persian Empire such as Persepolis.

The use of sun-dried bricks or adobe was the main method of building in Mesopotamia where river mud was found in abundance along the Tigris and Euphrates. Here the scarcity of stone may have been an incentive to develop the technology of making kiln-fired bricks to use as an alternative. To strengthen walls made from sun-dried bricks, fired bricks began to be used as an outer protective skin for more important buildings like temples, palaces, city walls and gates. Making fired bricks is an advanced pottery technique. Fired bricks are solid masses of clay heated in kilns to temperatures of between 950° and 1,150°C, and a well-made fired brick is an extremely durable object. Like sun-dried bricks they were made in wooden molds but for bricks with relief decorations special molds had to be made.

Medieval encaustic tiles were made of multiple colours of clay, shaped and baked together to form a patternt that, rather than sitting on the surface, ran right through the thickness of the marble tile, and thus would not wear away.

Medieval Europe made considerable use of painted tiles, sometimes producing very elaborate schemes, of which few have survived. Religious and secular stories were depicted. The imaginary cement tiles with Old testament scenes shown on the floor in Jan van Eyck’s 1434 Annunciation in Washington are an example. The 14th century “Tring tiles” in the British Museum show childhood scenes from the Life of Christ, possibly for a wall rather than a floor,[5] while their 13th century “Chertsey Tiles“, though from an abbey, show scenes of Richard the Lionheart battling with Saladin in very high-quality work.[6] Medieval letter wall tiles were used to create Christian inscriptions on church floors.

How to Shopping for Your Floor Tiles?

Shop in store or online. If you want to shop in person, you can visit a home improvement store or a flooring store. You can also source your tiles online. Shopping in person is a great idea because you can see the tiles in person to verify what the color or design looks like. Both options should provide you with samples of the floor tiles you’re considering, so don’t hesitate to ask.

Measure your floor so that you can estimate cost. Knowing how many square feet you need to cover will help you narrow down your choices. Use your measurements to see how many of each tile you would need, then add up the costs to make sure they’re within your budget. If you’re shopping in the store, an employee can help you determine how many wood marble tiles you would need for the space you’re tiling.

Bring photos and swatches of your room’s decor when shopping. It’s hard to determine what the wood tiles will look like in your home, but you can help yourself by bringing items from your home. This could include a photo, a paint swatch, a fabric swatch, or even a piece of your decor that you want to match.

Compare the items from your home to the tiles to see how they look. Bring your partner or a friend for a second opinion. Get samples of the tiles to get an idea of how they’ll look in your home. You can also bring the marble tiles into your home by getting a sample. These are usually available for free or for a low cost. You can request samples from a store or from companies online. Getting a sample can save you from buying a bathroom tile that doesn’t work in your home.

Choose tiles that are rated for use on floors. Tiles design are rated for durability using a rating system called the PEI scale. They can be rated from Class 1 through 5. Floor tiles should be at least a Class 2, but it’s a good idea to choose one that is a Class 3 or higher to ensure that the tile won’t be easily damaged by normal use. Lower rated tiles are better for use on walls or counters.

How to Incorporating Your Own Style in Floor Tiles?

Select large, irregular, or concrete marble tiles for a modern look. If a classic look isn’t your style, opt for tiles that are larger and offer contemporary styling. Rectangular or hexagonal tiles are also available. Concrete  tiles give a cool, chic finish to a room. Unusual designs, like faux brick, are available in some specialty stores. Large square tiles evoke the lobby of an upscale hotel.

Create your own designs by mixing colors and sizes. Since tiles are available in a lot of colors and sizes, it’s easy to create your own design. You can make a pattern with various colors, or you can mix large and small tiles to create a border or design. Ask an expert at the tile store to help you locate tiles that will fit together. You could also buy tiles that are the same size. A tile cutter can help you trim tiles design to fit the design you want. However, it won’t work if you’re using porcelain tiles, as they’re too strong.

Choose textured tiles for an earthy feel. Some stones are textured, especially natural stone. For example, stone can have a wavy texture, a smooth texture, or a slightly rounded texture as though the floor is really made of rocks. Some mosaic tiles have a faux-wood texture or a faux-brick texture.

Smooth marble tiles are easier to fit with any decor. The texture of the tiles will depend on the material. You’ll get more options with ceramic, porcelain, or stone. Use large tiles to make a large room feel cozier. Large tiles give the illusion that the space is smaller. If you choose cement tiles with a pattern, you can add even more warmth. Additionally, they help you fill that space faster when you’re installing the tiles.

Lay the tiles diagonally to make the room feel larger. Although it’s more difficult, laying the wood tiles diagonally rather than horizontally gives the illusion of more space. Lay the tiles point-to-point instead of side-to-side. You will likely need to use your tile cutter to trim the edge tiles.

You can create this style with both large and small tiles, though smaller tiles will make the room look even bigger. However, they will also take longer to install. If you want to install the tiles yourself, it’s a good idea to avoid porcelain tiles, which will be harder to trim.

How to Selecting a Material for Your Tiles?

Tiles are a great flooring option that can work for any room. They’re easy to clean, long-lasting, and stylish, but choosing the right floor tiles for your home can feel challenging. Luckily, it’s easy to choose floor tiles if you consider your needs and personal style. You can then select a material, incorporate your own style, and shop for the tiles you want.

Choose ceramic tiles for an inexpensive, classic option. Ceramic tiles are popular options because they are inexpensive and fit with any decor. You can choose large tiles or small tiles, depending on your preference. They are easy to install on your own, but you’ll need to work harder at keeping them clean, as they are porous and absorb liquids. For a classic look, choose un-textured, solid color tiles. Show your personal style with fun colors, designs, or textures.

Select porcelain tiles for a durable option that’s still budget friendly. Porcelain tiles are one of the most durable on the market, and they’re also water resistant. Another perk is that they’re easy to clean. Porcelain tiles have a classic look that is easy to fit into any style. These tiles can be more expensive than other options. If you choose porcelain tiles, it’s better to get them professionally installed, as they are very difficult to cut.

Opt for cork tiles if you want soft, quiet floors. Cork is a recent trend that can be a nice addition to any room, if you like the look. It’s great for people who want a floor that absorbs impact, and it’s also resistant to water and germs, making it a good choice for kitchens and bathrooms. You can find natural cork or colored cork.

Select bamboo floor tiles for a durable, sustainable option. Bamboo is becoming a popular choice for people who want to use environmentally-friendly materials in their homes. Bamboo tiles look similar to wood flooring, but they’re made of the fast-growing grass. You can find bamboo tiles in strips or planks. Bamboo also holds up well in homes with pets.

Choose rubber floor tiles for a modern, industrial look. Rubber tiles are quiet, durable, and easy to maintain. They also come in a variety of colors. Rubber tiles might be a great option for homes with active children, as they’re softer and hard to damage.

Invest in natural tiles if you want a long-lasting option. Natural tiles include materials like slate, limestone, and granite. Although they can be very expensive, they also last the longest, compared to other tiles. Natural tiles look best with traditional, classic, or rustic decor. However, you can make them fit with any style if you choose a neutral color. You can also choose from different textures and colors to fit the style of your home.

How to Fit Wall Tiles?

Tiles are the way to go if you want to cover rough plaster, protect a wall from moisture or just add colour to a room. Whatever the shape or size of the wall you want to floor tile, the technique is basically the same and doesn’t require any specialist DIY skill or tools. Unlike paper or paint, you don’t have to spend hours preparing the surface for tiling, just a few minutes setting out the positions.

Prepare the walls. To prepare the walls, repair any large holes with plaster filler and brush on a coat of plaster stabilizing solution if the surface is powdery. Estimate the number of tiles. To help you work out where to place your tiles, make a tiling gauge from a piece of straight wooden batten. Use this to estimate how many marble tiles you’ll need – starting at the top of the skirting board, move the batten up the wall one tile width at a time.

If a narrow strip is left at the top, move the bottom row up by half a tile width to give an even finish. Mark out the horizontal rows with pencil – be sure to use a spirit level to ensure they’re horizontal. Tack the batten along first pencil line so that the casstle tiles can be positioned against it. Do the same to identify where to place the vertical lines – start at a corner and use a plumb line to fix the position accurately.

Spread the adhesive. Spread the adhesive/grout over about half a square metre of the wall, starting in the corner made by the two battens. Use the notched side of the spreader to form even ribbons of adhesive. Start to tile, pressing the polished tiles gently onto the wall until you see adhesive squeeze out around the sides.

Ensure that the tiles are level. Press spacers into each corner and hold a spirit level across the marble tiles to see if they form a flat surface. Continue to tile, working on about a square metre at a time until you have fixed all the whole wall tiles. Neaten up. Leave to dry fully before removing the timber battens. Cut the tiles to fit into any gaps. For hard ceramic tiles, the glazed surface must be scored and the tile design broken along this line. Tile cutting jigs are inexpensive and are much easier to use than freehand tile cutters. Use a saw tile to cut a tile to fit around an awkward shape such as a pipe or architrave.

Add grout to the wood tiles. Check that all the spacers are removed and wipe off all tile adhesive from the tiles before starting the grout work. Select a grout colour that matches the spots tiles (it can be a slightly different colour) and mix as instructed by the manufacturer. Smooth the grout into all the gaps around the tiles. Wipe off excess using a damp cloth. Leave to dry completely before showering or bathing.

What Should We Do After Apply Tiles to Concrete?

Install the floor tiles. Lay the tiles into the mortar and using the spacers, make sure you are running even with the chalk line. As you move on to the subsequent rows, use the spacers to keep your pattern square. Once a tile is set, try to avoid touching it again.

Clean the area. Wash the wood marble tiles off with a damp rag as you go to prevent clumps of mortar from drying on the surface. As you get to the end of the room, make sure your cut pieces fit properly, and then leave the mortar to dry for the manufacturer’s specified length of time.

Apply grout. Mix the grout as specified on the package and begin liberally spreading it over the tile design using the grout float. Use the float to make sure that there are no low spots, and then use a damp rag to wipe any excess grout from the face of the tile size. Don’t worry at this point if the tile appears a little cloudy. Once the grout has had time to set up, repeat the process, again using the float to squeegee and extra grout off of the face of the tile.

Aside from being available in many different colors, grout comes in two varieties: sanded and un-sanded. The sanded variety is used when the gaps between your cement tiles is bigger than 1/8″. The sand gives the grout additional strength. Anything 1/8″ or smaller will be just fine using un-sanded grout. You will most likely find that you want to use the un-sanded grout in the smaller gaps because it finishes much smoother. Working sanded grout into a small gap can be frustrating.

One word of warning: if you are using marble tile on your floor, never use sanded grout! Make sure you install it with 1/8″ or smaller gap because you must use un-sanded grout with marble. The sanded grout will scratch the surface of the marble tile and it is not repairable.

How to Apply Ceramic Tiles to Concrete?

Installing ceramic tiles over concrete can help to create a more inviting indoor or outdoor living space. Prepare the concrete. Using an acid based cleaner or deep cleaner of your choice, clean the concrete and allow it to dry thoroughly. Examine the floor and see if there are any cracks or pits that need to be fixed and use the proper concrete repair kit to repair them.

A muriatic or other acid-based cleaner is usually the best way to completely clean the concrete prior to installing wood tile. Seal and level the concrete. Once your repairs have dried, take the time to seal the concrete. Once the sealer has dried, apply the concrete patch or leveler and make sure that you have a flat surface with no defects. The floor must be level or your tiles design and grout will form cracks.

Cleaning the concrete should be done before adding a floor leveling compound. A sodium silicate or lithium silicate based sealer will help to waterproof and strengthen the concrete. Because silicates work below the surface, they won’t interfere with adhesion.

Plan the tile layout. Before installing the small tile it is a good idea to lay our your design. Pre-plan which and how many pieces of tile have to be cut and where the cut marble tile will be placed. Chalk lines will become very helpful so make sure you mark the floor.

Mix the mortar. After you have decided where you want to begin, follow the instructions provided by the manufacturer and begin to mix the mortar. Don’t mix too much in advance, as it will begin to set up on you before you can use it. Using your grooved trowel, begin spreading the mortar over a small area. Never spread out more than what you can cover with three or four floor tiles at a time.

Different kinds of tile require different types of mortar. Ask the sales representative who sells you the glazed rustic tile to help you choose the right one. A grooved trowel will be necessary to spread the mortar. They are available with different sized grooves, so be sure to read the package directions on the mortar to ensure that you buy the right size.

What Should We Do Before Install Tiles on a Concrete Basement Floor?

At first glance, installing tiles design might seem like tough work. Indeed, very few people choose to install their floor tiles themselves during renovation, instead choosing to let a professional handle it. If you want to tackle the job yourself, a basic overview can help you on your way.

Pick the right marble tiles. Concrete floors are dull, drab and boring, but oftentimes people lack the time or the necessity to lay down an alternative floor. Most often, concrete floors are seen in basements and other out of the way places. However, if you choose to remodel your basement and need a new floor, the first thing to consider is what type of floor you need. Several varieties of cement tiles, including ceramic tile and vinyl, can be used; choose the one that best suits tiles your anticipated use.

Clean the concrete surface. This is a vital step of the project. Accumulated mud, dirt and other debris must be removed completely to ensure that the tiles are laid properly and stick to the concrete. For this purpose, be sure to use a commercial or industrial strength cleaning agent, along with lots of water and a brush.

Perform the concrete repairs and leveling. To lay an even surface, the underlying concrete needs to be uniform and level as well. To achieve this, get rid of any protrusions, bumps or cracks in the surface. Using sandpaper to level the bumps and concrete and other fillers to stop cracks, you should be able to get a smooth surface. Be sure to wash it after this is done and let it dry.

Plan the layout. After preparing the surface, plan how you intend to lay down the polished porcelain tiles. Depending on size and shape, you can have a wide variety of patterns to choose from and you may even decide to get creative with your patterns and create something original. Be sure to plan this out carefully before starting the actual work to ensure that there are no mistakes.