How to Repairing Small Cracks with The Tiles Cracking?
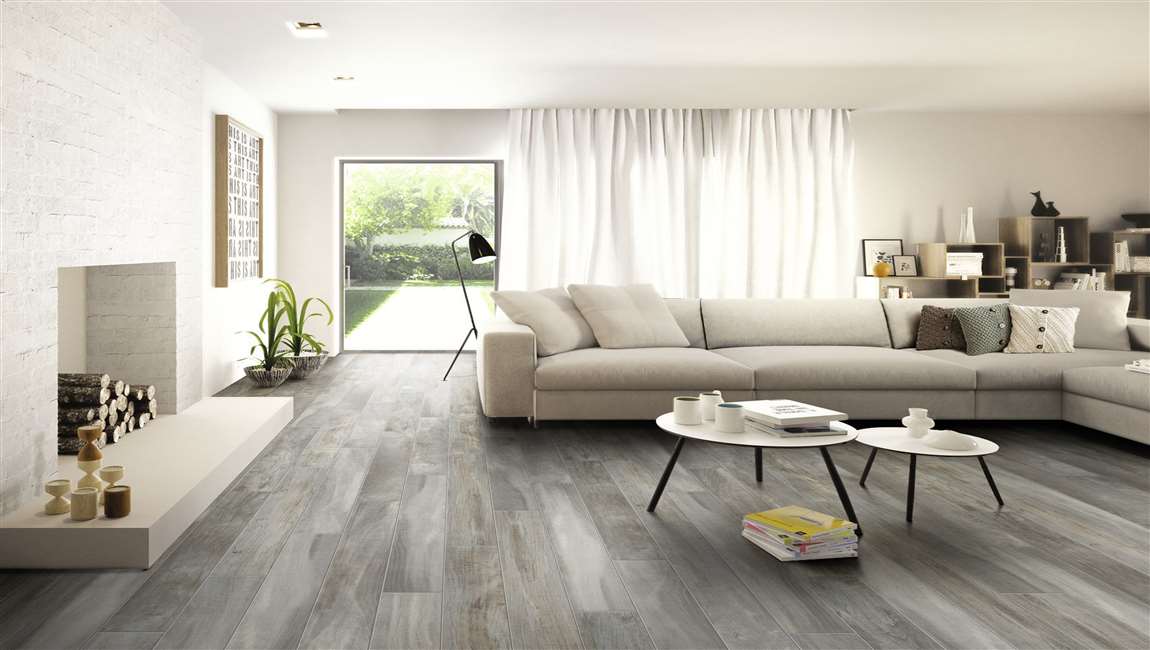
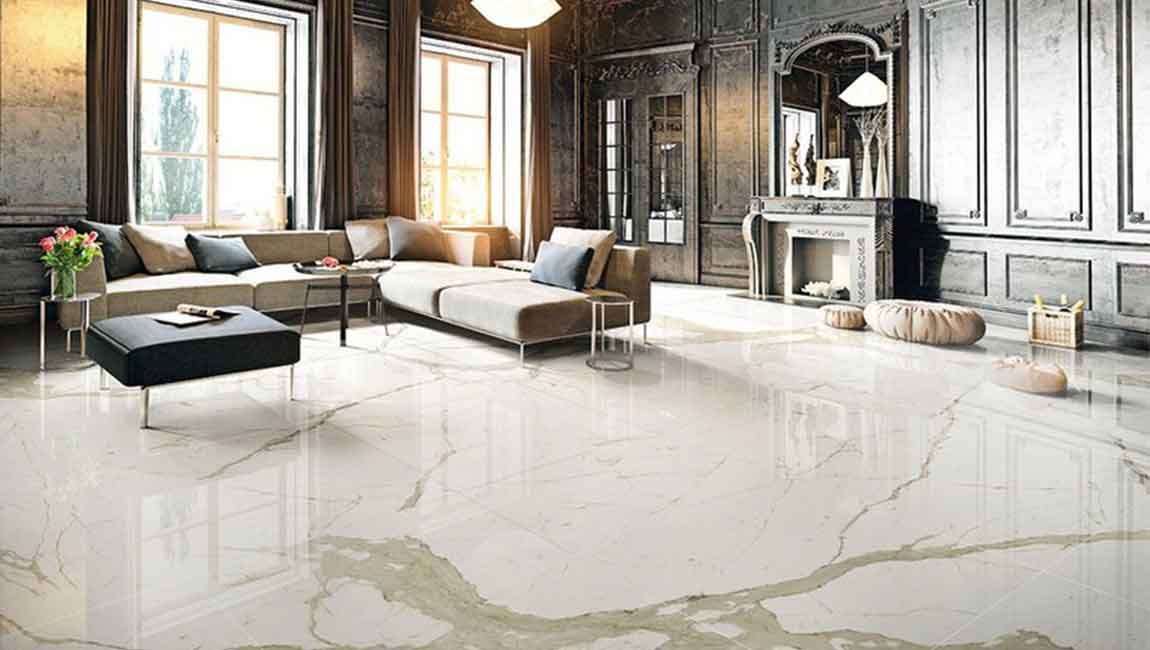
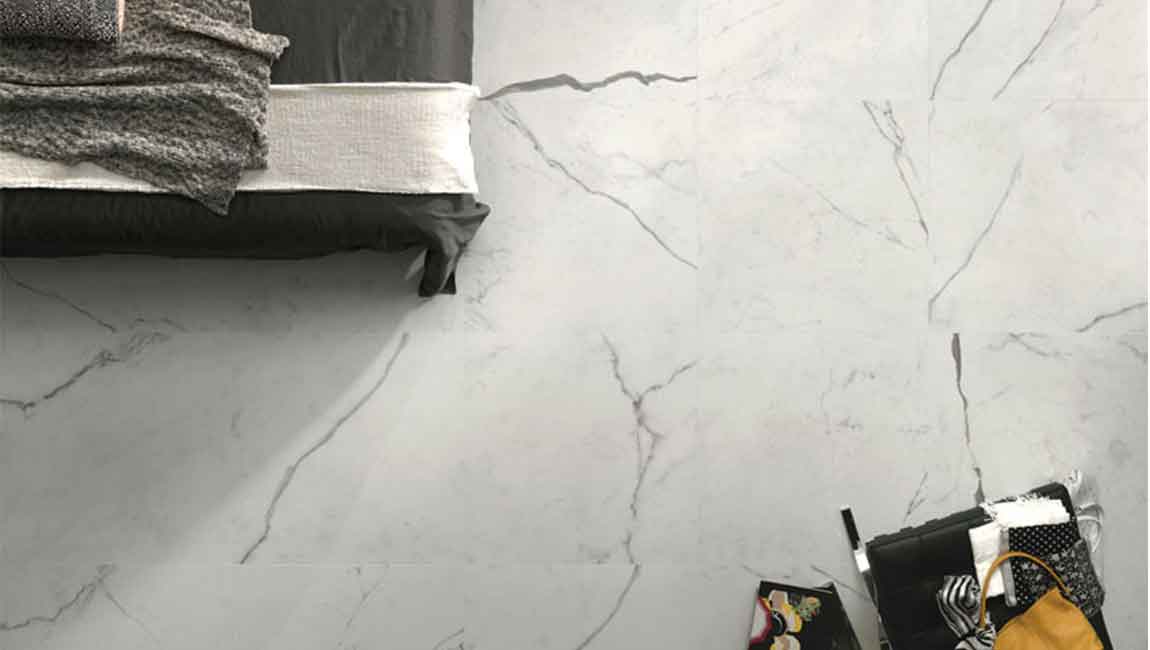
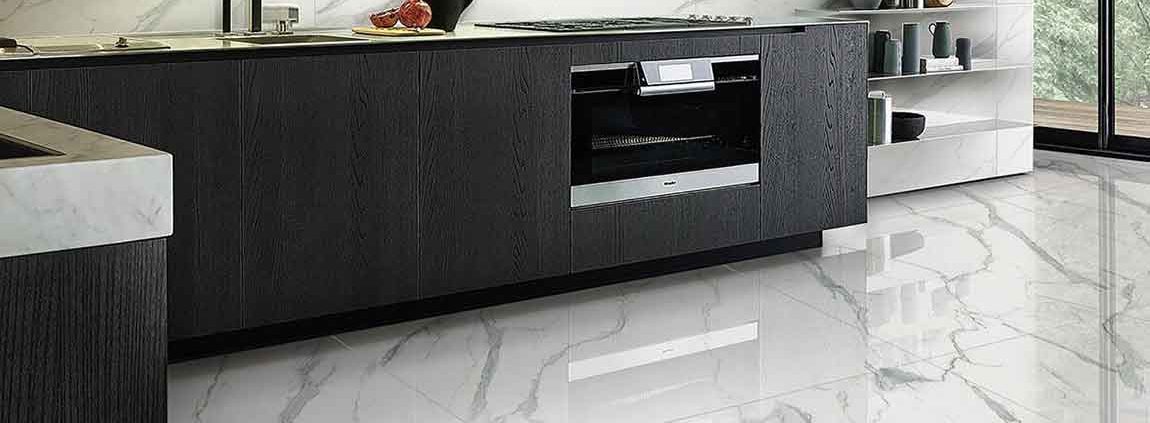
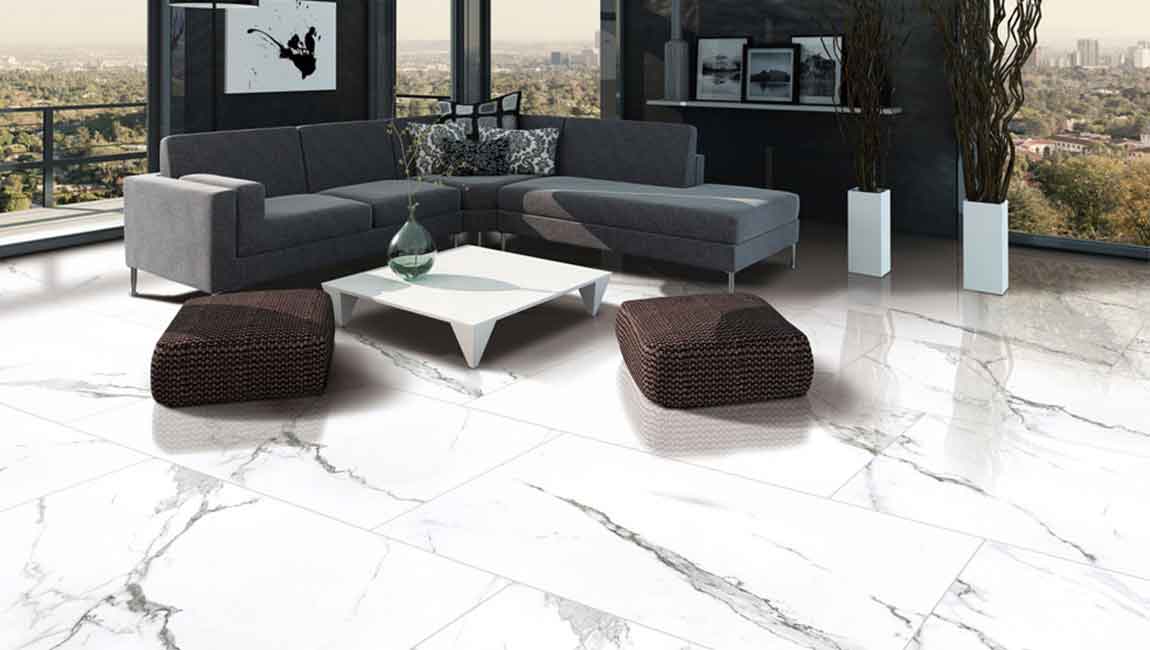
Tile floors are easy to customize, easy to clean, and make for a classy addition to any home. But the brittle nature of tiles and the constant foot traffic means that the tiles are likely to crack at some point. However, there are steps you can take mitigate tile cracking. Reinforcing your floor will make for a more solid and level surface, while repairing tiles with epoxy is an easy fix for single tiles design that become cracked.

Clean the wood tile with soap and water. The cracks in your tile may not call for a full overhaul in your flooring. If the cracks are minor, they can be patched with epoxies. First, take a sponge and soapy water and clean the surface of the tile, removing dust and debris. Dry the tile with a hair dryer. It may take a little while for water that has seeped into the cracked tile to dry, so run a hair dryer over the wood marble tile to expedite the drying process.

Mix the epoxy. The epoxy will come in a tube with two chambers. Squeeze a little bit from both chambers onto a scrap piece of casstle tile or cardboard and mix it with a stick. If the crack is especially deep, you may have to apply a primer and wait for it to dry before applying the epoxy.
Apply the epoxy and wait 24 hours for it to dry. Cover small cracks with a thin coating of epoxy by brushing it on with a small brush. Fill in any deeper cracks with epoxy until the epoxy is level with the surface of the tundla tile. Leave the epoxy to dry for approximately 24 hours. Be careful with the epoxy. It is extremely strong and will dry on your skin within seconds!

Paint the tile. If the crack repair called for enough epoxy that it is visible on the travertino tile after it has dried, you can use a small brush to paint over the epoxy and blend it in with the color of the wood tile design. Add an additional coat of polyurethane on top of the paint. Once the paint has dried, add a thin coat of polyurethane to the tile to keep it from chipping and to add another layer of water-repellent protection.