
What should you do before lay a ceramic or porcelain tiles?
Laying a ceramic or porcelain tile floor can be considered a daunting task, but with adequate planning and preparation, this perception can be overcome. Laying one’s own marble tile is also much less expensive (and possibly more rewarding) than having it professionally installed. Cost can be minimized by careful planning and preparation.
Laying the foundation. An unpleasant question to be faced is “What is your floor made up of?” Plywood is good. But, if you have the typical 1/2″ to 5/8″ particle board on top of a deck made of 2x8s, you have some work to do. After removal of the base trim, the particle board should be pulled up (this is easiest if you first cut it into about 16″ squares)and replaced by plywood. You will need a Skil saw, and if you’re doing the kitchen, you’ll need a “toe-kick saw.” Replace the particle board up to where the tiles design will stop. While you have the particle board off, you can inspect the deck to make sure it is firmly attached to the floor joists. Now you’re ready for leveling compound (if needed).
Lay the backer board. You will need to lay backerboard (fiberglass or preferably cement sheets that are usually 3 by 5 feet) as well, or the wood tiles will pop off. Evaluate the space to be tiled. A first phase of evaluation is to determine the size of the room to be tiled (or re-tiled). The number of cement tiles you will need will depend on the size of the tiles price you wish to lay, as well as the bathroom tile pattern you will like on the floor tiles. Using a tape measure or digital laser tape, measure the room from one wall to the opposite wall, and note the distance. Let’s say the measure of this distance is 12 feet (3.7 m). Measure the distance of the opposing walls to each other. Let’s say this distance is 7 feet (2.1 m). Multiplying these 2 distances (12 feet x 7 feet) will yield a total area of 84 square feet.
These measurements are based on squared dimensions. If the room is not perfectly “squared” (or in this case “rectangle”) because of an irregular marble floor tiles plan (where there might be a small section off of one side, for example), do not factor this space into your measurement. While you will of course need to tiles this space, factoring this space into your measurements will affect finding the “center” of the room, which will be discussed shortly. This area is important to note, since it will provide you with an estimate of the number of tiles you will need to purchase to cover the area to be tiled.
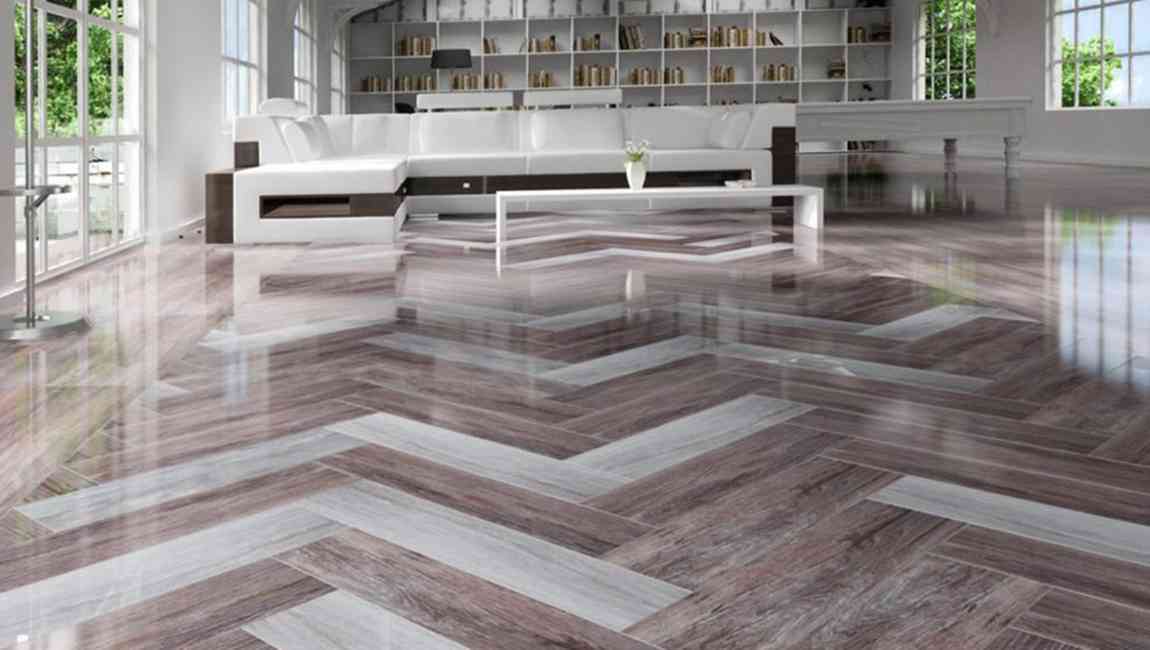
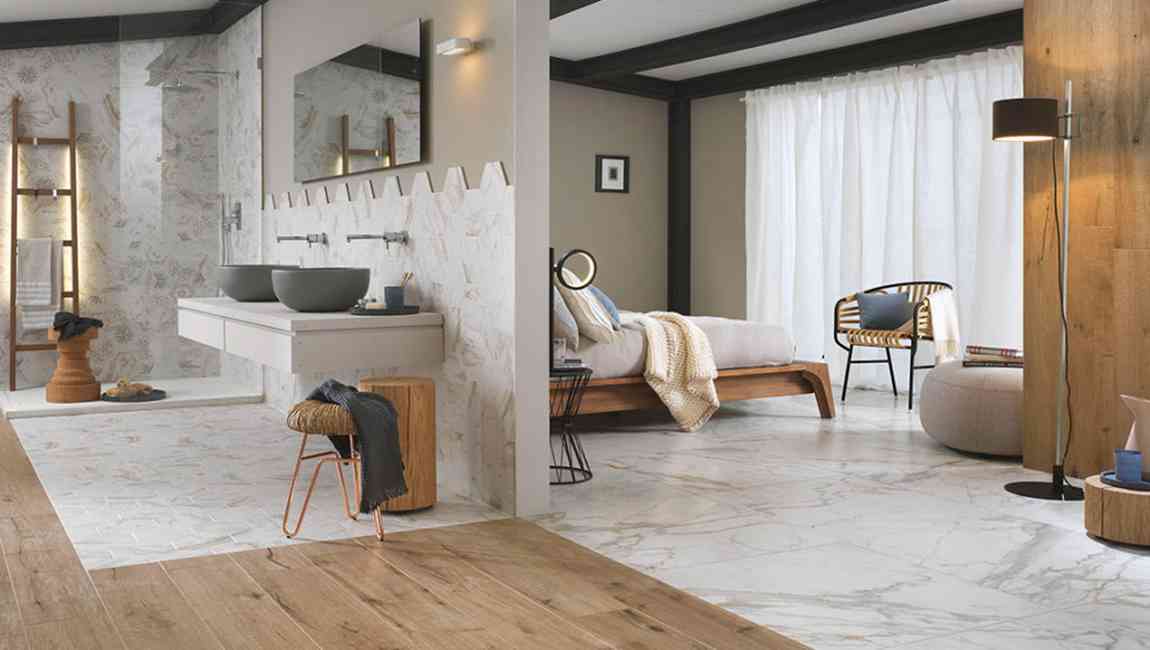
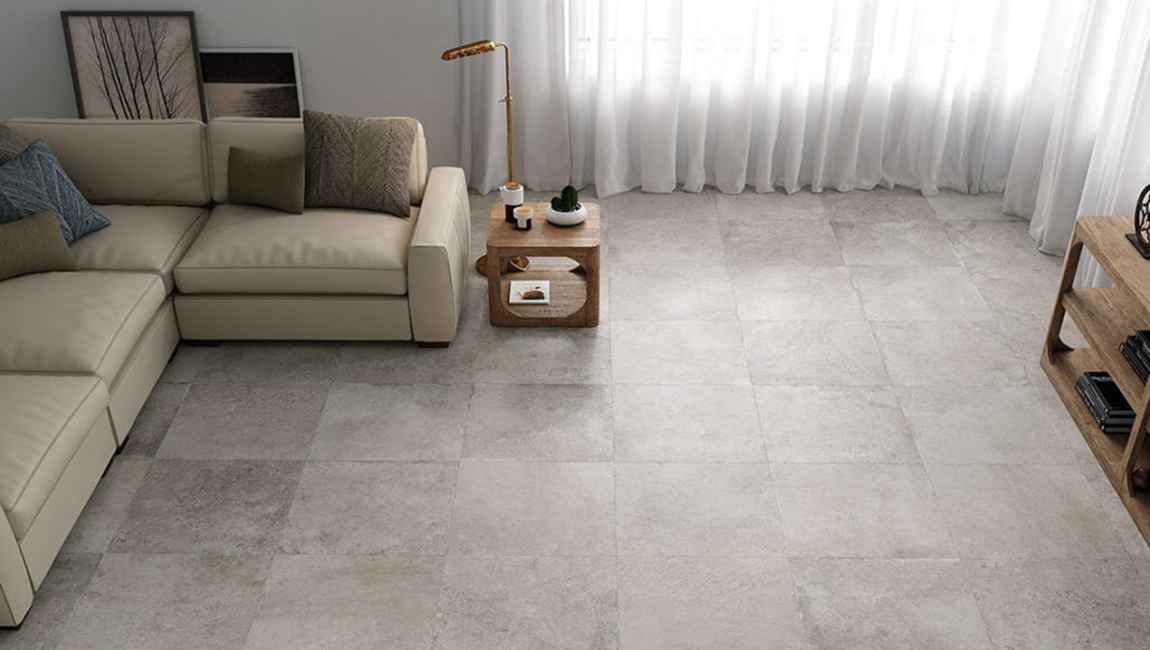
Decide on your tiles size and pattern. Tiles come in different sizes: 4 inch (10.2 cm) by 4 inch (10.2 cm), 8 inch (20.3 cm) by 8 inch (20.3 cm), 12 inch (30.5 cm) by 12 inch (30.5 cm), for example (there are others, too). Tiles can also be laid in different patterns. The total number of wood marble tiles you will need will depend on the size and pattern you want. For simplicity’s sake, let’s assume we are going to use 12 inch (30.5 cm) by 12 inch (30.5 cm) tiles and use a traditional grid design, where tiles are simply laid in pattern like graph paper.
Because the area of the room is 84 square feet, we will need about 84 12 inch (30.5 cm) x 12 inch (30.5 cm) (1 square foot) tiles (even accounting for the spaces in between tiles, known as “joints”). However, it is a good rule of thumb for beginners to purchase extra tiles to account for improperly cut or scored tiles, or for breakage. Buy an extra pack or two of tiles to be safe. When laying tiles diagonally, a lot of material is wasted as cutoffs. A good rule of thumb here, even for experts, is to buy 15% more tiles than the square footage would dictate.


")

")

")


