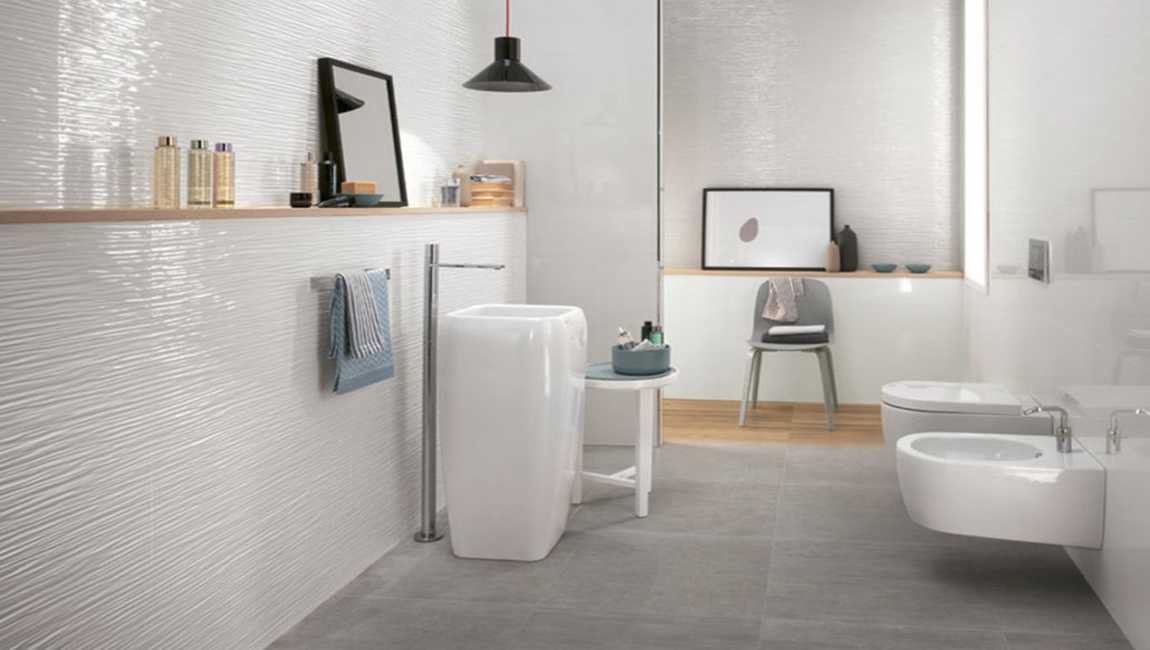
Treat dark colored stains with hydrogen peroxide. Soak a clean, soft rag with hydrogen peroxide. Wring excess peroxide out of the rag over your sink. Position the rag so its peroxide dampened parts directly touch and cover the stain. Keep the rag on the stain for several hours or overnight. Avoid using this technique if your marble tiles is dark colored. Hydrogen peroxide on dark colors can lead to lightening.
Less serious stains may only need 15 minutes to a half hour of time before the stain can be wiped away. Check less serious stains at regular intervals for this reason. If, at a glance, you can tell the stain you are working on will require heavy-duty techniques, you may want to skip the peroxide treatment and move straight to mixing a heavy-duty cleaning solution.
Rinse the treated area with cold water. Fill a cup or small bucket with cold water. Pour water onto the treated area of the marble tiles. Use a clean, dry, soft cloth to wipe up standing water and any dirtiness. Heavy-duty stains may remain after cleaning the surface with peroxide, in which case you’ll need to mix a heavy-duty cleaning solution.
Mix a heavy-duty cleaning solution for remaining stains. In a medium sized bucket, combine ¼ cup (59 ml) baking soda, ¼ cup vinegar, ½ cup (118 ml) ammonia, and 8 cups (1.9 L) of hot water. Agitate the mixture with a kitchen implement, like a spoon, until the ingredients are consistently blended. The mixture will foam slightly.
As an alternative to heavy-duty cleaners, you can use paint-thinner or denatured alcohol to remove the stain. However, always test these cleaners in an inconspicuous place on your cultured marble tiles first, as they may damage the surface. Although this cleaning solution is made with household products, it can be harsh on your skin. Wear gloves when using this solution to prevent dry skin and irritation.
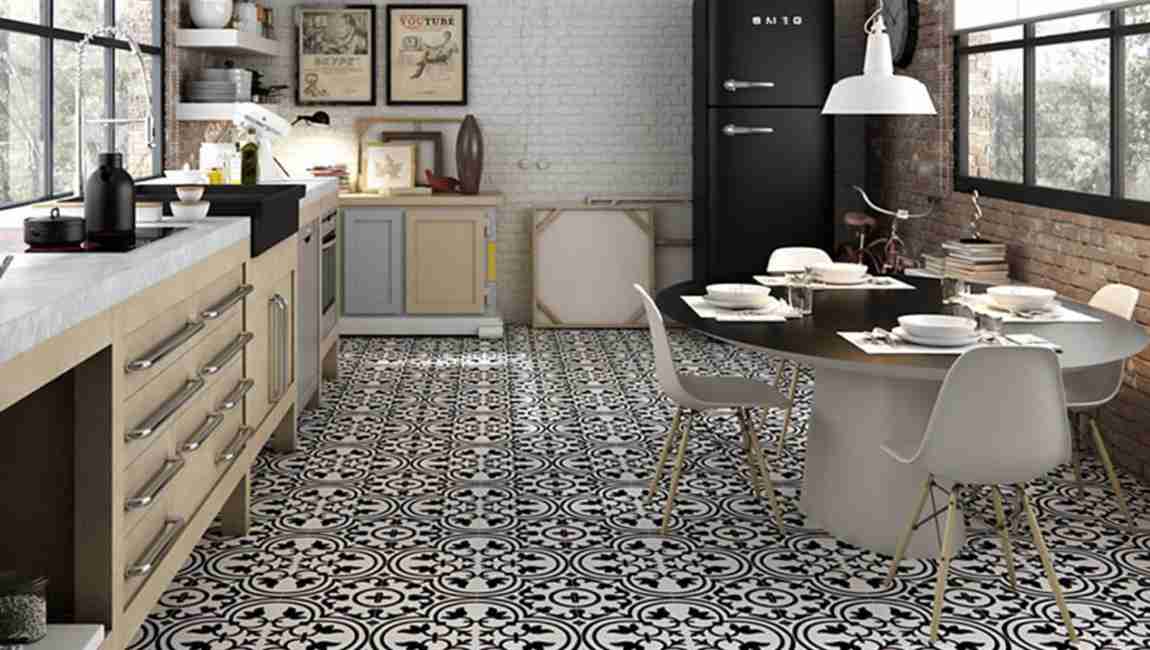
https://baranaceramic.com/wp-content/uploads/2020/01/Eliminating-Heavy-Stains-5.jpg7501150administratorhttps://baranaceramic.com/wp-content/uploads/2025/09/logo.pngadministrator2020-01-01 08:00:262020-01-03 06:48:14How Eliminating Heavy Stains?
Glass tile mosaics look great as a backsplash accent to a room or as the tiling for a bathroom. Although mosaic glass is generally durable, if it’s not cut correctly, it can crack or shatter before you get a chance to install it. You can nip the tiles with a nipper, score and snap thinner tiles, or use a wet saw to cut large pieces of tile.
Regardless of which method you use, you’ll need to learn the right techniques in order to cut your glass mosaic tiles correctly. Squeeze and break the glass tile according to your pre-drawn guidelines. Place the carbide wheels where the each guideline meets the edge of the glass tile. Squeeze the handles until the nippers cut through the tile and break the glass, keeping the nippers aligned with the marks you’ve drawn.
Readjust after each nip so you continue following the lines as you proceed. Use repeated, small clipping motions and take your time, collecting the nipped glass pieces as you cut them off. If the glass is stubborn, you may need to use two hands to cut through it. If this is the case, hold both of the handles with your dominant hand and wrap your non-dominant hand around it to add extra strength to your grip.
Smooth the edges with a rubbing stone and wipe away the marker. The nipped pieces of glass tile will be uneven, jagged, and rough so you’ll need to smooth the edges out with a rubbing stone. Hold the piece of glass tile in one hand and the stone in the other hand and run the stone over the edge of the glass to round and smooth the edges.
The edges of nipped tile can be extremely sharp, and if you plan to install them around places like shower drains or the edge of a wall, you need to smooth the edges out. Place the scoring wheel at the farthest end of your drawn-on guideline. To be better able to see and follow your guideline and to be able to apply even pressure, you need to start scoring at the far end of the tile.
https://baranaceramic.com/wp-content/uploads/2019/09/Cut-Glass-Mosaic-Tiles-1.jpg7501150administratorhttps://baranaceramic.com/wp-content/uploads/2025/09/logo.pngadministrator2019-09-10 08:00:102019-09-12 06:49:26How to Cut Glass Mosaic Tiles?
Installing a tile backsplash yourself is a great way to save money while getting the exact look you want. There is more to installing backsplashes than just arranging tiles, however; you have to measure and cut the tiles so that they fit properly. If the backsplash is already installed, you may still be able to cut holes into it for new fixtures, as long as you use the proper tools.
Use tile nippers for small tiles. Tiles that are smaller than 1 or 2 inches (2.5 or 5.1 cm) may be difficult to cut on a score-and-snap tilecutter. Not only could you hurt yourself, but you could break the tile. Instead, use a pair of tile nippers to pinch the tile where you need to break it. You can use tile nippers on larger tiles to “cut” curves.
Use a wet saw to notch tiles, if needed. Sometimes, the corner of a cabinet or outlet cover will extend into your backsplash tiles. Measure the corner, then trace it onto the tile with a pencil or marker. Place the tile onto the sliding table of the wet saw. Gently guide the tile into the saw to make the first cut. Pull the tile back, then create the second cut. Use a tile nipper to break off the piece between the 2 cuts.
Install the tile sheet using your preferred tile cement. Spread the tile cement across the backsplash area, then press the tile sheet into place. If you cut your tile sheet smaller, arrange it so that the gaps caused by the size difference are along the top edge, where the cabinets are. If there is a gap along 1 of the side edges, position the sheet so that the gap is in a corner.
Measure the excess tiles against the gaps. You should still have some tile sheeting left over from when you cut the tile sheet down. Take these excess tiles, and measure them against the gaps. If you need to, mark the back of each time with a pencil or marker to figure out how much you need to trim.
https://baranaceramic.com/wp-content/uploads/2019/08/How-to-Cut-Tile-Backsplash-1.jpg7501150administratorhttps://baranaceramic.com/wp-content/uploads/2025/09/logo.pngadministrator2019-08-08 08:00:492019-08-07 03:30:17How to Cut Tile Backsplash?
There are a number of ways to get your ceramic tile clean. Engage in regular maintenance to prevent grime and grit from collecting on your ceramic tile. Sweep (or vacuum) and mop your ceramic tile at least once each week. If your tile is stained, you should identify the specific substance or agent of the stain, then choose an appropriate remedy. If you’re facing a particularly obstinate stain on your ceramic tile, consider steam cleaning or a muriatic acid solution.
Sweep your ceramic tile regularly. Use a broom and dustpan to sweep your floor at least once each week. This will remove dust, dirt, and other grime from the tile. Alternately, you could vacuum your ceramic tiles to remove dust, dirt, and crumbs.
Mop the floor weekly. After sweeping the floor, mop it at least once each week. There’s no need to use soap (though it doesn’t hurt). This will keep your ceramic tile looking shiny and new. Once you’ve mopped the floor, wring the mop out immediately and dry the floor with it to prevent any new dirt from settling in wet areas, and to protect you from slipping.
If you use soap, use a non-toxic dish detergent. Start with a couple drops of detergent so it doesn’t become over-concentrated. Too much detergent can leave soapy residue or film on your floortiles. Continue regular maintenance on your floors without using any strong chemicals. Over time, chemicals can degrade the quality of your woodtiles.
Use a doormat. If you’re trying to protect ceramic tile located directly inside the foyer, place a doormat outside the door of your residence. Additionally, place a rug or another mat right inside the house. Encourage family members and visitors to wipe their feet on both mats, and to remove their shoes when they enter the home. Use of doormats is especially important during rainy and snowy seasons.
https://baranaceramic.com/wp-content/uploads/2019/03/How-to-Clean-Ceramic-Tile-2.jpg6501150administratorhttps://baranaceramic.com/wp-content/uploads/2025/09/logo.pngadministrator2019-03-28 09:37:132019-03-28 09:37:13How to Clean Ceramic Tile?
Find your center point. You have already determined the size of your room, which is 84 square feet. Finding the center point is critical for laying the floor tiles. It will determine where you will lay your first marble tiles and the next ones. Measure one wall, for example the 12 foot (3.7 m) wall. At 6 feet (1.8 m), half the distance, mark a point with a pencil.
Do the same on the other 12 foot (3.7 m) wall. Using your chalk line, anchor one end at the midpoint of one wall and stretch across to the midpoint of the other. “Snap” the chalk line by lifting it up slightly and letting it hit the ground; this will leave a straight line on the floor. Measure the 7 foot (2.1 m) walls and mark a point a 3 ½ feet on both sides.
Rehearse laying out kitchen tiles. When you have found your center point, you will notice you will have a “quadrant” design on the flooing tiles, or 4 equally sized areas. Starting at the center, “rehearse” your tiles design pattern by simply laying them on the marble floor tiles without any adhesive or glue. Place the first small tiles at the corner nearest the center point. You are only going to work in one quadrant at a time. Begin placing wood tiles in a straight line towards either wall, leaving a small space in between the tiles.
Repeat the same process for the 3 ½ foot line. You will use 3 full cement tiles and 1 tiles cut to 4 inches (10.2 cm), since the size of the 3 joints plus the 1 wall joint equals 2 inches (5.1 cm) and your original tiles size was 6 inches (15.2 cm) (6 inches original tile- 2 inches total joint= 4 inch tiles). Note that this does not follow the realignment strategy mentioned above. Because this room is “squared,” the true center is best left where it actually is. Simply make uniform cuts as they correspond to each side (in this case, you will have 9 inch (22.9 cm) tiles as the wall tiles on the “short” 7 foot (2.1 m) walls and 4 inch (10.2 cm) tiles on the long 12 foot (3.7 m) walls.
Pre-drill some tiles to fit over items such as radiator pipes, bath pipes, and so on. To achieve this you may have to drain down radiator systems, remove the rad from the wall and take the taps off the pipework. Very time consuming but worth the effort if a minimal look is desired. Your floor will look better if you can drill a hole in the tiles and lay the tiles over the pipe.
Use a diamond hole saw to bore into the tiles and drill a perfect hole. If you do not have a hole saw you can use a wet-tile saw to cut a square hole in the center of the tiles. Draw a square on the back of the tiles in the desired location of the hole. Carefully place the backside of the tiles against the wet-saw blade at the midpoint of one of the sides of the square. Gently push the tiles against the the blade until the edge of the square is cut. Repeat for the other sides of the square hole.
https://baranaceramic.com/wp-content/uploads/2018/09/How-to-lay-a-ceramic-or-porcelain-floor-tiles-1.jpg600900administratorhttps://baranaceramic.com/wp-content/uploads/2025/09/logo.pngadministrator2018-09-06 05:20:292019-11-26 09:02:41How to lay a ceramic or porcelain floor tiles?
Laying a ceramic or porcelain tile floor can be considered a daunting task, but with adequate planning and preparation, this perception can be overcome. Laying one’s own marble tile is also much less expensive (and possibly more rewarding) than having it professionally installed. Cost can be minimized by careful planning and preparation.
Laying the foundation. An unpleasant question to be faced is “What is your floor made up of?” Plywood is good. But, if you have the typical 1/2″ to 5/8″ particle board on top of a deck made of 2x8s, you have some work to do. After removal of the base trim, the particle board should be pulled up (this is easiest if you first cut it into about 16″ squares)and replaced by plywood. You will need a Skil saw, and if you’re doing the kitchen, you’ll need a “toe-kick saw.” Replace the particle board up to where the tiles design will stop. While you have the particle board off, you can inspect the deck to make sure it is firmly attached to the floor joists. Now you’re ready for leveling compound (if needed).
Lay the backer board. You will need to lay backerboard (fiberglass or preferably cement sheets that are usually 3 by 5 feet) as well, or the wood tiles will pop off. Evaluate the space to be tiled. A first phase of evaluation is to determine the size of the room to be tiled (or re-tiled). The number of cement tiles you will need will depend on the size of the tiles price you wish to lay, as well as the bathroom tile pattern you will like on the floor tiles. Using a tape measure or digital laser tape, measure the room from one wall to the opposite wall, and note the distance. Let’s say the measure of this distance is 12 feet (3.7 m). Measure the distance of the opposing walls to each other. Let’s say this distance is 7 feet (2.1 m). Multiplying these 2 distances (12 feet x 7 feet) will yield a total area of 84 square feet.
These measurements are based on squared dimensions. If the room is not perfectly “squared” (or in this case “rectangle”) because of an irregular marble floor tiles plan (where there might be a small section off of one side, for example), do not factor this space into your measurement. While you will of course need to tiles this space, factoring this space into your measurements will affect finding the “center” of the room, which will be discussed shortly. This area is important to note, since it will provide you with an estimate of the number of tiles you will need to purchase to cover the area to be tiled.
Decide on your tilessize and pattern. Tiles come in different sizes: 4 inch (10.2 cm) by 4 inch (10.2 cm), 8 inch (20.3 cm) by 8 inch (20.3 cm), 12 inch (30.5 cm) by 12 inch (30.5 cm), for example (there are others, too). Tiles can also be laid in different patterns. The total number of wood marble tiles you will need will depend on the size and pattern you want. For simplicity’s sake, let’s assume we are going to use 12 inch (30.5 cm) by 12 inch (30.5 cm) tiles and use a traditional grid design, where tiles are simply laid in pattern like graph paper.
Because the area of the room is 84 square feet, we will need about 84 12 inch (30.5 cm) x 12 inch (30.5 cm) (1 square foot) tiles (even accounting for the spaces in between tiles, known as “joints”). However, it is a good rule of thumb for beginners to purchase extra tiles to account for improperly cut or scored tiles, or for breakage. Buy an extra pack or two of tiles to be safe. When laying tiles diagonally, a lot of material is wasted as cutoffs. A good rule of thumb here, even for experts, is to buy 15% more tiles than the square footage would dictate.
https://baranaceramic.com/wp-content/uploads/2018/09/What-should-you-do-before-lay-a-ceramic-or-porcelain-tiles-1.jpg600900administratorhttps://baranaceramic.com/wp-content/uploads/2025/09/logo.pngadministrator2018-09-05 06:46:482019-11-26 09:02:47What should you do before lay a ceramic or porcelain tiles?
Ceramic tile is a versatile and durable finishing material. Tiles can be installed as a floor or wall covering nearly anywhere, but they are especially useful in bathrooms and kitchens. Tiles design wall can resist moisture and handle scrubbing much more readily than drywall or other materials, and so they are the ideal choice for humid bathrooms and kitchens where they will be exposed to cooking splatters. Learning how to install ceramic wall tile is a task well within the reach of an average homeowner. The process requires only a few tools and materials.
Make sure your wall is ready to go. Once you’ve removed the current wall dressings and wall items, like light switch covers, you’ll want to check the base layer that you will be building on to make sure that it is structurally sound. This is important, since a rotting or weak wall tiles can cause your tiling job to warp, crack, or even break and fall down. Look for signs of mold or damage to the tiling surface.
Cracks are often a sign that a wall may be weak and need to be replaced. Try pressing on the wall, especially at the studs. If it gives way or feels soft, it may require work. If you are going to be tiling a large area, remember to use tiling board as a backer and not just put the wood tiles directly onto drywall. Tiling board is installed just like drywall (nailed to the studs) but is made of more water resistant materials which will keep it from warping and cracking your tile work.
Use a level and tape to measure for your tile locations. Now, using a level and measuring tape, measure and mark for the middle lines in the area you will be tiling. You want to find both the vertical and horizontal middle, since you will use these to keep your Ceramic straight and divide the area into sections for tiling. Never assume a fixture in the room like the tub or vanity (or even the ceiling) is perfectly level. They rarely are. It is very important to rely on the level.
Mark the locations on the wall using a chalk line. Using a chalk snap line, mark the mid-line and vertical lines which you just measured. If you’ve never used a chalk snap line before, don’t worry: it’s easy. Simply place a nail at one end of the space you marked, attach the string, pull it taut and snap it down. This will leave a straight line on your wall. You’ll still want to check it for level but it’s much more accurate than drawing a line. You can use just regular string and manually chalk it to make a chalk line but using a chalk box, which are easily bought for about $5, will generally be a lot less work.
Dry fit and then cut cement tiles to size using a diamond wet saw. Dry fit your rustic tiles to be sure that they will look the way you want them to look. Once you’re comfortable with how it looks, figure out how the tiles price will meet up with the corners and edges of your wall. You will probably need only a part of a tile when it comes to some of these areas, so it will be necessary to cut the tiles to size. Measure how much space you need for each row with the spaces and cut tiles to size using a diamond tipped wet saw.
So, for example, let’s say your wall to tile is five feet long. You’re putting up subway tile and the tiles are 6″, with spaces of 1/4″ between each of them. You’ll need 9.6 tiles for each row to cover that space, meaning nine full tiles and one cut to 3.6″. If you don’t own a diamond tipped wet saw, you can usually rent one from your local major hardware store. You can also use a tile cutter, but this is more likely to end in broken tiles so only take this option if using cheaper tiles.
Dry fitting is especially important if your tiles make up a pattern, since you will need to be very comfortable creating that pattern. You don’t want to make a mistake or have to spend a lot of time thinking about it once the mortar is up on your wall. You can test your dry fit pattern by making a layout stick, which can be made from any straight and level piece of spare wood. Lay the tiles on a floor and mark the layout stick with a pencil at the joints between tiles. Use the layout stick to see how the tiles fit on the wall.
https://baranaceramic.com/wp-content/uploads/2018/09/What-should-you-do-before-install-ceramic-wall-tiles-1.jpg600900administratorhttps://baranaceramic.com/wp-content/uploads/2025/09/logo.pngadministrator2018-09-03 06:35:192019-11-26 09:02:59What should you do before install ceramic wall tiles?
Lay out a single horizontal and vertical row of tiles design across the floor along the chalk reference lines. Shift the tiles, if needed, so any cuts that must be made by the wall are against the least noticeable wall tiles. You also don’t want cut marble tiles at the entrance to the bathroom, so adjust the wood tiles so cuts are against the far marble wall tiles. You can snap additional chalk reference lines, once the tiles layout is finalized, if you wish.
Set the first tile in the far corner of the room and work towards the doorway. You won’t want to step on the newly laid tile before the mortar has a chance to dry. Work on laying the tiles in small sections at a time. Mix up a small batch of thin-set mortar and spread a thin layer on the cement board with the notched trowel. Lay several pieces of cement tiles with tiles price spacers to establish even grout lines. Firmly press the tiles into the mortar so there are no air bubbles underneath. Set a level across the top of the tiles to make sure they are perfectly flat.
Cut walltiles design with a tile cutter or wet saw, if necessary, to fit along the wall. As you work toward the wall, you may not be able to use a perfect number of tiles. You may also need to make cuts for tiles that sit around toilets and other rounded objects in the floor. Allow the thin-set to dry for at least a day. Follow the instructions recommended by the manufacturer before grouting. Grouting bathroom floor tile. Pull the tiles spacers out from between the tiles before adding grout. Mix the sanded grout with water in a bucket, according to the manufacturer directions.
Scoop some grout onto the file floor with a trowel. Firmly press it into the grout lines with the grout float, working in small sections at a time. Remove the excess grout from the surface of the tiles before it has a chance to dry. Fill a second bucket with water and use it to wet the large sponge with rounded corners. Wring out the sponge and then wipe over the tiles so that you are moving at a diagonal to the grout lines. If you wipe parallel to the grout lines, you might gouge out some of the grout and leave an uneven surface. Rinse the sponge in the bucket of water and repeat until all the grout is removed from the surface of the tiles.
Wait at least 2 days for the grout to cure before sealing it. Sometimes its smart to leave a humidifier on during the two days you’re letting it sit, to help the grout gain in strength.
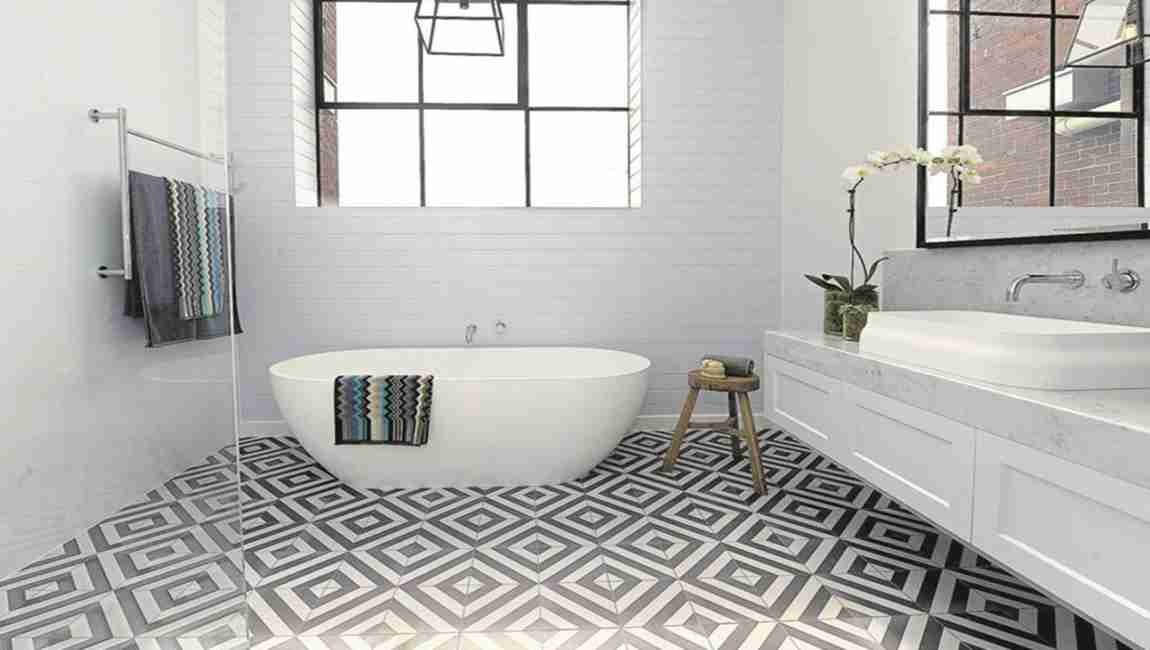
https://baranaceramic.com/wp-content/uploads/2018/08/How-to-tiling-a-bathroom-floor-tiles-1.jpg600900administratorhttps://baranaceramic.com/wp-content/uploads/2025/09/logo.pngadministrator2018-08-29 10:02:262018-11-28 05:55:47How to tiling a bathroom floor tiles?
Tiles are indispensable decoration material in modern home decoration, and the floor area is large. It is precisely because of a large number of demand has been stimulating the tiles design industry to promote the old and bring forth the new, the marble tiles on the market is very diverse, the price is also very different.
There are two ways to sell floor tiles: sold by block or sold by square meters. Before purchasing tiles, you should calculate the area of wood marble tiles which needs to be laid before decoration. Some building materials stores have conversion charts. As long as you know the area to be laid, you can find out the number of tiles needed. Some conversion charts are simpler, as long as you know the length and width of the area pasted can find the number of tiles needed. Some floor tiles boxes will also list the size of a box of tiles.
Usually, 640 tiles are needed to cover an area of 80 square meters and 320 tiles are needed to cover an area of 14 cm by 14 cm and 20 cm by 20 cm by 20 cm. Another thing to note is that ceramic tiles tiling will have a certain amount of wear and tear, so prepare the amount of this part. This formula can also be used to roughly calculate the amount of tiles required: (decorative area per tile area) X (1 + 3%) is the number of flooring tiles required for construction, of which 3% is the construction loss.
In addition to the main material of tiles, ordinary cement, white cement, medium sand, 107 glue and so on are needed for ceramic laying and pasting. Usually a 12.5 square kilogram of cement and 34 kilograms of medium sand are needed for laying a square floor tiles. After the tiles are finished, it needs to be sealed with white cement, about 0.5 kilograms per square meter.
It has become an unwritten rule that the wall and floor of bathroom decoration should be all tiled. In fact, bathroom tiles can have other functions in bathroom. Because the environment in the bathroom is humid, so if you want a locker, you might as well use cement tiles directly. The bathroom tiles lockers are easy to clean, strong and durable, and are more adjustable with the walls and floors tiles. Of course, it is also a good idea to use tiles to build a bathtub or shower screen.
https://baranaceramic.com/wp-content/uploads/2018/08/How-to-calculate-the-price-of-floor-tiles-1.jpg600900administratorhttps://baranaceramic.com/wp-content/uploads/2025/09/logo.pngadministrator2018-08-17 10:31:162018-11-28 02:15:26How to calculate the price of floor tiles?
Balcony as a place of leisure and contact with the outside world, decoration or not will directly affect the degree of beauty and comfort of the room, so when decorating the balcony wood tiles, not only to consider the beautiful design should also pay attention to practical and comfortable.
The selection of balcony cement tiles must be moderate. The decoration of the balcony is different from the decoration of other space in the room, because the space of the balcony itself is relatively small, and the style of the balcony seems to be more compact, so if you also like decoration bedroom living room to choose some large specifications of small tiles, it may not have a very good decoration effect.
Balcony tiles design selection should pay attention to, it is best to choose some small and medium-sized tiles price, so that the overall style of decoration will be more beautiful, and will look more compact, will not have a narrow feeling, this must be noted.
The color of balcony marble tiles should be carefully when you chosen them. Balcony floor tiles color selection will directly affect the style of balcony decoration molding, so the choice of polished tiles color are also very important, so must not be careless in color selection. Balcony tiles color selection must be in line with the choice of the external wall style, and the choice of balcony tiles are not suitable for some too gorgeous color. Some light and elegant colors look better overall, this point in the selection of balcony tiles must pay attention.
Balcony tiles decoration layout should be compact. Balcony tiles installation is also a very detailed requirement, must be installed very compact, can not be arbitrary. Before decoration, the whole balcony should be carefully measured where tiles are needed, and the number of tiles to be installed should be accurately measured, and careful layout and design should be carried out beforehand, then attention should be paid to the installation according to the predetermined design situation, so that the finished product will be better.
The choice of balcony tiles is the most basic work of balcony decoration, and the installation of balcony tiles is the most critical part of the whole balcony decoration, the two complement each other. In the decoration of the balcony, from the above aspects to do a good choice of balcony tiles and collocation, the decoration of the balcony whether the overall image or style is sure to withstand inspection and appreciation.
https://baranaceramic.com/wp-content/uploads/2018/08/What-are-the-matters-needing-attention-in-the-balcony-tiles-paving-1.jpg600900administratorhttps://baranaceramic.com/wp-content/uploads/2025/09/logo.pngadministrator2018-08-15 08:13:102019-11-26 09:11:34What are the matters needing attention in the balcony tiles paving?