Mix up a batch of grout and let it rest for 5 to 7 minutes. Lightly wet the area you’ll be grouting with a damp sponge and dump a bit of grout onto the area. Use a rubber float to smooth it into the joints, attacking each joint at a diagonal angle.
After 30-40 minutes (check the directions on the bag of grout) you want to wipe the excess grout with a damp sponge and a circular motion. Keep wiping with a clean sponge until the tile is clear. The tiles may look a bit hazy even after wiping, so you may have to buff them with a clean sponge to get rid of this haze.
Let the grout cure for approximately 3 days before sealing. Then, seal the grout. Run a thin bead of liquid grout or aerosol grout sealer onto the grout line and wipe away. Let dry and then test its water resistance by dropping water onto the sealed grout. Correctly sealed grout will cause the water to bead up on top of it.
Caulk any needed areas. Make sure to use a grout caulk to match the colors. As you caulk, remember to pull the caulk gun relatively quickly across the joint. Most amateurs caulk too slow and end up dropping too much caulk down on the joint. Other things to remember:Keep the tip angled as you run the bead along the joint.
Match the speed with which you pull the caulk gun trigger with the rate at which you pull the gun along the joint. You don’t want to be pulling the gun fast but triggering slowly, or vice versa. After applying the bead of caulk, “bed” it by running a damp finger across the bead with light pressure. Make sure that your grout chalk matches the grout. Let the caulk dry and redo it if you are not happy with the results.
https://baranaceramic.com/wp-content/uploads/2019/07/Grout-the-Tile-4.jpg7501150administratorhttps://baranaceramic.com/wp-content/uploads/2025/09/logo.pngadministrator2019-07-24 08:00:172019-07-23 10:28:53Grout the Tile
Gut the shower stall down to the studs. You may need to remove the shower pan and ceiling, as well. Do not put down any plastic because this can trap moisture and lead to rotting. Instead, use a product that you can paint on to help prevent moisture.
Choose a vapor barrier to install and introduce according to manufacturer directions. If you fail to install a vapor barrier, you might grow mold and mildew as moisture from your shower escapes through the tiles and into walls. Improperly installed tile and grout can allow water vapor to pass into the space behind.
When installing a vapor barrier on an exterior wall, it may be helpful to seal a plastic vapor barrier to the concrete floor but not all the way up to the top of the ceiling. With insulation improperly installed, or in colder climates, there’s a chance that condensation that forms behind the vapor barrier will cause the framing members to rot. In order to avoid that possibility, install the vapor barrier with space to spare so that the gap behind the vapor barrier can breathe. Use a roll on product, such as Red Guard.
Wedi boards are another option some consider even better than cement board. If you choose a membranous barrier such as Trugard or Kerdi, you can install plain old drywall or you can just install a cement board instead.
Put up a sturdy cement board backer. Putting up cement board is just like putting up drywall. You cut it to fit using a grinder with a diamond bit, and then screw it to the studs. Leave a 1/8″ gap between panels and then a very small space between the shower pan and the bottom of the backer so that the two don’t squeak by rubbing together.
https://baranaceramic.com/wp-content/uploads/2019/07/How-Preparing-the-Shower-for-Tiles-5.jpg7501150administratorhttps://baranaceramic.com/wp-content/uploads/2025/09/logo.pngadministrator2019-07-16 08:00:352019-07-15 10:47:01How Preparing the Shower for Tiles?
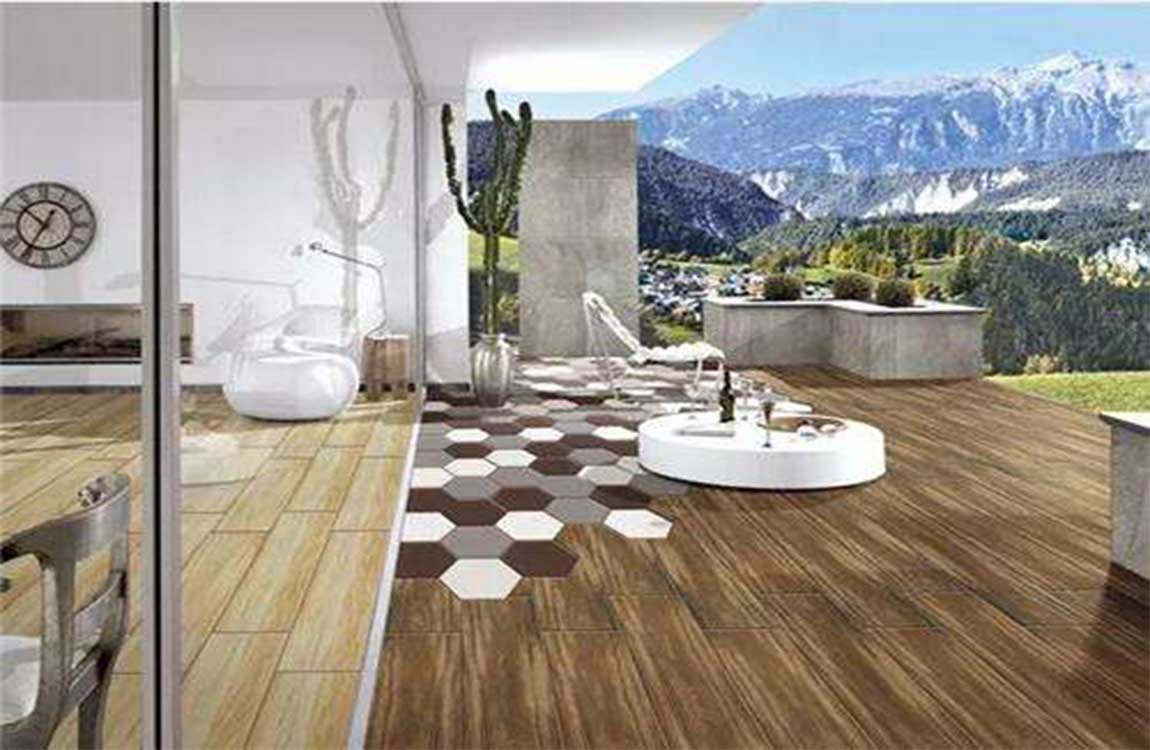
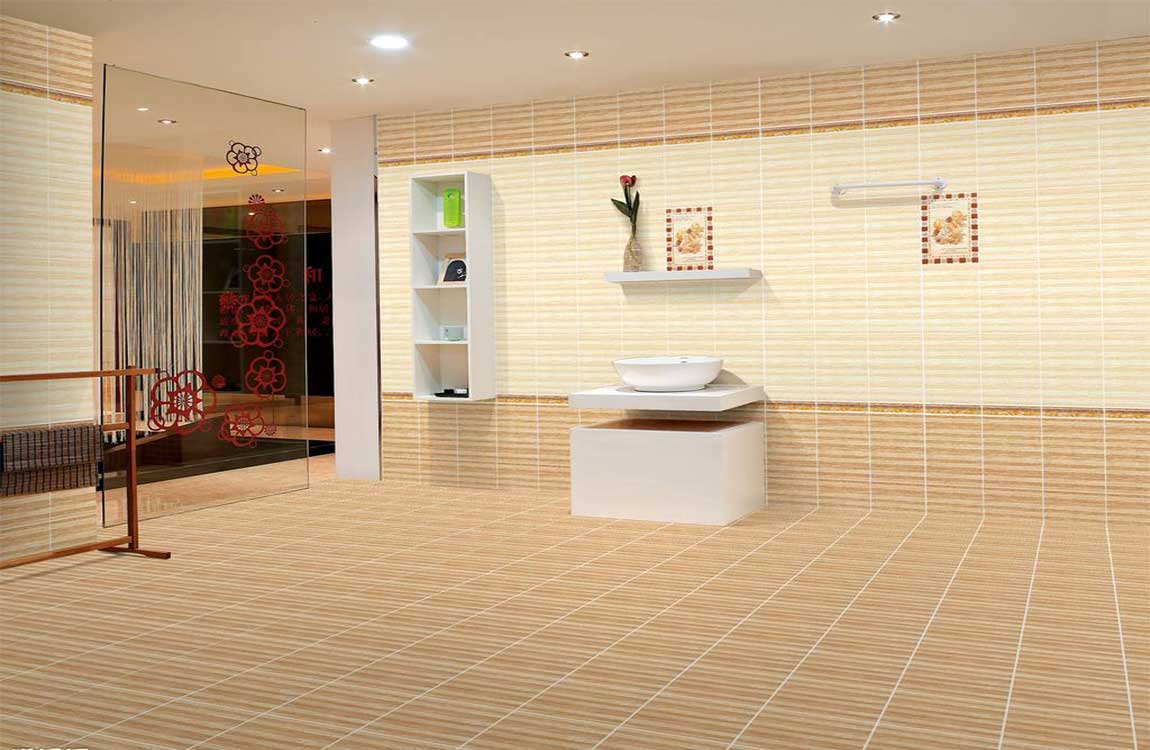
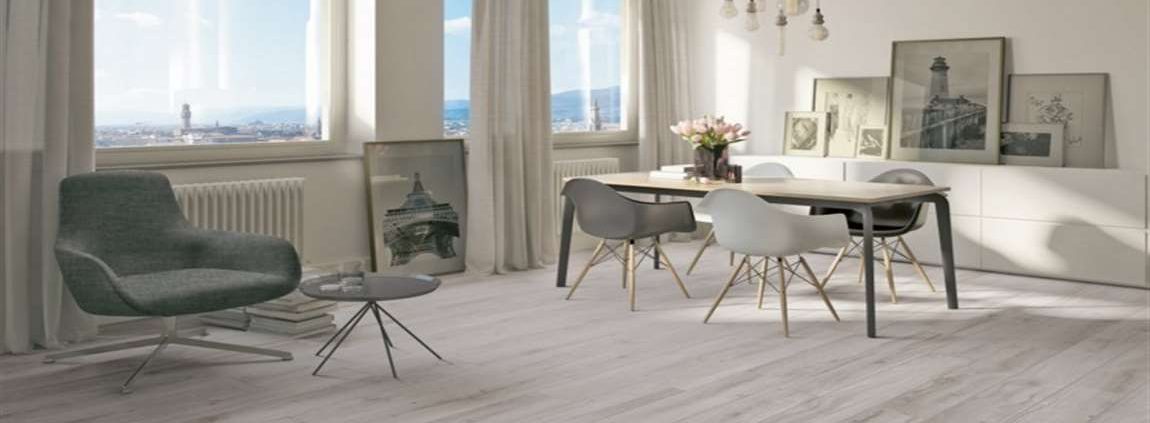
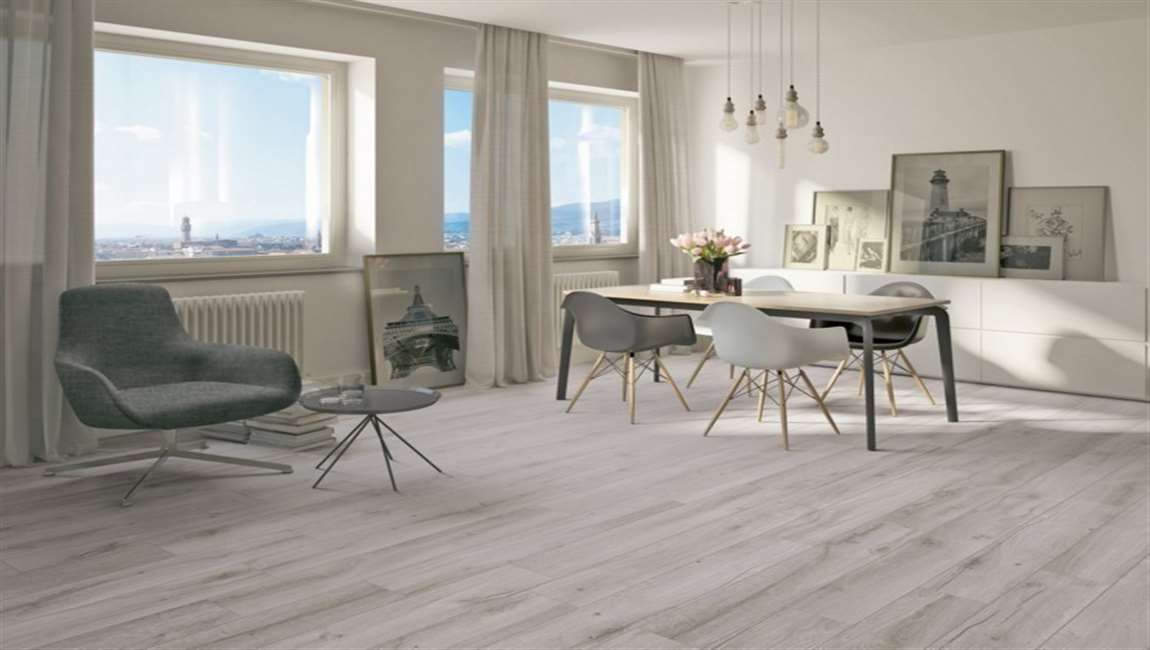
Keep porcelain tiles spotless isn’t difficult, but it can get tricky when the woodtile is stained or hasn’t been protected or sealed property. Thankfully, there are several cleaning options at your disposal to clean the porcelain tiles.
You may have polished or glazed porcelain tiles, unpolished or unglazed porcelain tiles, or textured porcelain tiles. You will need to use different approaches depending on the type of woodtile you are cleaning. With some patience and discipline, you can make sure your woodtiles are clean and stain-free.
Mop the floor. Finish your cleaning by mopping the tiles with a floor cleaner. You should use a mild cleaning solution that is safe for use on glazed or polished porcelain tiles. Make sure you mop the floor one more time with hot water before the cleaner dries on the tiles. This will ensure the cleaner does not stain or damage the tiles.
Dry and buff the floor. Use a microfiber cloth or a clean towel to dry the floor completely. Make sure there are no water spots or puddles of water remaining on the tiles. You can also open a window or set up a fan to dry the floor. Place fans in the room and open any windows to ensure an adequate airflow throughout the room.
Once the floor is dry, you can buff it to a shine with a piece of cheesecloth. Rub the cheesecloth over the tiles in circular motions to buff them. Get in the habit of using coasters on any porcelain tile counters to protect the surface from water rings due to glasses sweating water.
https://baranaceramic.com/wp-content/uploads/2025/09/logo.png00administratorhttps://baranaceramic.com/wp-content/uploads/2025/09/logo.pngadministrator2019-07-05 02:12:192019-07-30 08:36:28How to Clean Porcelain Tiles?
Granite is a durable and timeless design choice. To keep your granite tiles looking their best, though, proper cleaning is paramount. By removing surface dirt before cleaning, sticking with granite-friendly cleaning solutions, and establishing a regular maintenance routine, you can keep your granite tiles in beautiful condition for years to come.
Establish a regular cleaning routine. Wiping your tile with a dry cloth every other day will help minimize surface dirt. The more often you do routine cleanings, the less frequently you will need to do serious deep cleans with soap and water or cleaning solution. Creating a calendar reminder can help you remember to wipe your tile.
Clean tiles as soon as something spills. Whether it’s a glass of wine or some salsa, food and drink are full of acids and natural juices, which can deteriorate granite tile. When something spills, clean it up right away with soap and water, drying your tile completely. This will keep any potential stains from setting.
Inspect grout and tiles for damage. Bits of grout breaking off can scratch your granite and trap dirt and grime. Cleaning is a great time to get up close and personal with your tile, examining the integrity of each stone and grout line. Be sure to replace chipped or broken tiles and have your grout touched up wherever necessary.
Seal your granite once a year. While sealant is no substitute for cleaning, it can make your granite more resistant to water damage and other spills. Seal your granite once a year with a high-quality granite sealant, such as Rock Doctor Granite Sealer or Stone Pro Granite Sealer, to keep your tiles in good condition.
https://baranaceramic.com/wp-content/uploads/2019/06/How-to-Clean-Granite-Tiles-1.jpg6501150administratorhttps://baranaceramic.com/wp-content/uploads/2025/09/logo.pngadministrator2019-06-28 07:45:542019-06-25 08:39:51How to Clean Granite Tiles?
Regrouting your tile is a simple task that can be done in a small amount of time. The only aspect that takes some time in this process is the curing of the grout. All you need is some grout mix and a couple easy to use tools.
Decide what type of grout you will be using. This is dependent on the size of your grout’s joint (the space between the tiles where the grout lies). There are two types of grout for regrouting onlytile: sanded and unsanded. If your grout joints are larger than 1/8 inch (.3175 cm) use sanded grout to fill in the space; if your joints are going to be less than 1/8 inch (.3175 cm) use non sanded grout to fill in your joints as it is more compact.
Remove existing grout. If necessary, remove the existing grout before preparing to lay down new grout. This will keep the appearance clean and even, as well as prevent mold contamination. Tools for removing grout include a utility knife, a ceramic chisel, a hammer and a small scraper with a retractable blade.
Apply wood marbletile sealant. Apply a woodtile sealant over the surface of your tiles if they have become porous so the grout does not sink underneath the surface when regrouting your tile. Do this by using a phyllitetile sponge, a roller, or simply wipe the tiles with a coat of sealant and allow to dry for 24 hours.
Pump the neutralized acid out of the pool. Do this using a water pump. Once the acid is pumped out, rinse the pool with the hose. Then proceed to pump this water out of the pool as well. When the pool is completely rinsed and cleaned, refill it with water. When rinsing the pool, make sure to rinse your boots, gloves, goggles, and protective clothing with water as well. Rinse until all the acid is completely gone. Discard any unused acid at your local hazardous waste disposal.
https://baranaceramic.com/wp-content/uploads/2019/05/How-to-Regrout-Tile-4.jpg6501150administratorhttps://baranaceramic.com/wp-content/uploads/2025/09/logo.pngadministrator2019-05-22 07:21:022019-05-20 08:46:00How to Regrout Tile?
Comb the thin-set onto the floor. Dip your trowel into the bucket of thin-set and spread it out across the floor. Move your trowel in the same direction, to reduce the possibility of air pockets. If there were low spots in the floor that you marked earlier, you may need to apply extra thin-set to those areas.
Set each calacatatile down and wiggle it a bit. Hold the new slatetile above its future spot and drop it down gently and slowly. Move it just a bit side-to-side to secure the tile to the floor. Tap the top of the tile with a wooden hammer as well. Place a level on top of the tile to verify that the wood marbletile is level. Continue until all the tiles are placed.
Thin-set starts to dry immediately. If you need to peel up a tile and move it, you’ll need to do so almost immediately or risk having to chisel away hardened thin-set. The thin-set will be totally dry within 24-48 hours.
Use a tile cutter to make smaller tile pieces. You can either rent a cutter or buy a hand-held one from a home improvement store. You’ll likely need to cut crystaltiles to complete the edges of your floor. Hold a full cementtile under the cutter and run the scoring wheel across the top. Next, push down on the cutter’s handle until the tile snaps along the scoring line. Other options for cutting tile include using a wet saw or glass cutting tool.
Inspect each section of blacktile before moving on. After you finish four or more tiles, stand up and take a few steps back. Look down to see if the amazontiles appear in proper alignment. Place a level across the onlytiles to make sure it is even. Take this opportunity to clean away any thin-set from the tile’s surface with a damp sponge as well.
Work the grout into the joints. When all of the tiles are placed, mix your grout in a bucket according to the package directions. Use a trowel and grout float to press the grout in between each tile. Wipe away any excess from the tile’s surface before it hardens by using your trowel and a sponge. When you are finished, let the grout dry for two days before walking on it. Don’t add too much water to your grout. It should be similar in texture to cake batter.
https://baranaceramic.com/wp-content/uploads/2019/04/How-Installing-Your-New-Tiles-2.jpg6501150administratorhttps://baranaceramic.com/wp-content/uploads/2025/09/logo.pngadministrator2019-05-02 06:14:092019-04-29 06:26:36How Installing Your New Tiles?
Remove the grout around the tile with a grout saw. Grout saws resemble utility knives and are used to remove grout surrounding tiles. Hold your grout saw firmly in your dominant hand and work around the tile you want to remove. Use long strokes as you apply firm pressure to cut into the grout so the tile comes up easier. Grout saws can be purchased at any hardware or home improvement store.
Hit the tile with a hammer to loosen it. Set the hammerhead directly in the center of the tile. Lift the hammer up and bring it back down in the middle of the tile with a firm amount of pressure. This helps loosen the tile more and break apart some of the adhesive on the bottom. For larger tiles, use a 3–5 lb (1.4–2.3 kg) sledgehammer.
If your tile is smaller than 3 in × 3 in (7.6 cm × 7.6 cm) and you don’t want to damage the ones surrounding it, drill 5 holes in an X-shape through the tile with a carbide masonry drill bit. Use a hammer and a chisel on the holes to chip the tile out.
Pry up the edge of the tile with a chisel. Slide the end blade of your chisel underneath the tile and pull up on the handle to lift it. If the tile is still stuck, hit the end of the chisel’s handle with your hammer to break apart your tile. Work slowly so you don’t accidentally chip any of the tiles next to the one you’re trying to remove. If you don’t have a chisel, use the back of a claw hammer to lift and pry the tile off of the surface.
Use your chisel to scrape off the mortar. Set the chisel blade on the surface next to the adhesive mortar. Apply a firm amount of pressure to the chisel, working in short back and forth motions to scrape the mortar off. Once you’ve removed it all, use a vacuum to get rid of the residue. Make sure the surface is completely smooth or else you won’t be able to lay another tile in flat.
https://baranaceramic.com/wp-content/uploads/2019/04/How-Taking-out-a-Single-Tile-1.jpg6501150administratorhttps://baranaceramic.com/wp-content/uploads/2025/09/logo.pngadministrator2019-04-19 10:06:472019-04-19 10:09:47How Taking out a Single Tile?
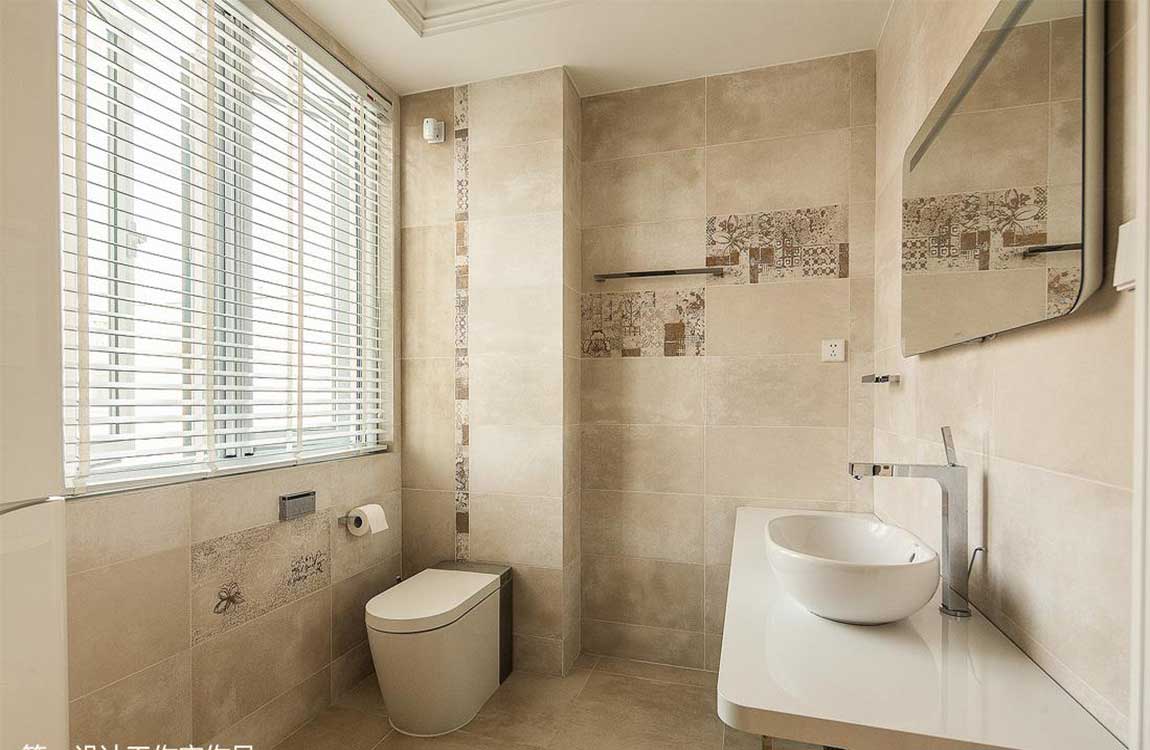
Whether you’re remodeling a bathroom or repairing existing marbletile, grouting wall tile is a necessary and often time-consuming task. However, by preparing yourself and being systematic, you can dramatically cut down on the time and effort it takes. Ultimately, by preparing your work area and gathering supplies, mastering grouting, and cleaning up excess grout, you’ll finish a seemingly overwhelming task quickly. In the end, whatever room your tile wall is in will look refreshed.
Get rid of nail polish stains with nail polish remover. Small spots of nail polish can be removed with the applicator attached to the lid of your bottle of nail polish remover. If the stain refuses to come off the ceramic tile, mix a solution with proportions 1:99 bleach to water. Dab a dishcloth in the mixture. Use the dishcloth to clean the nail polish. Alternately, dip a dishcloth in hydrogen peroxide and scrub the nail polish away. If using bleach, a mixture of 2 teaspoons (9.9 ml) bleach and 1 US quart (0.95 L) of water is typically appropriate.
Use paint remover against paint stains. Before you try to lift a paint stain from your ceramic tile, mop or wipe down the woodtile and allow it to dry. Apply the commercial paint remover according to manufacturer directions. Typically, this means applying a coat of paint remover with a paintbrush just as you would when painting. After about 30 minutes, the paint should be ready to wipe away with a damp paper towel. Open the windows of the area you’re working in to reduce inhalation of the toxic fumes paint removers give off.
Remove iodine with ammonia. Mix a few tablespoons of ammonia with an equal amount of water. Dampen a dishcloth with the solution. Scrub the iodine stain from your ceramic tile by pressing it and scrubbing in a back-and-forth method.
https://baranaceramic.com/wp-content/uploads/2019/04/How-to-Grout-Wall-Tile-3.jpg6501150administratorhttps://baranaceramic.com/wp-content/uploads/2025/09/logo.pngadministrator2019-04-01 02:22:002019-04-02 02:47:18How to Grout Wall Tile?
Use small shims or other spacers to allow a small amount of space between the bottom of the marbletile and the lip of the shower pan. Small pieces of cardboard work great as makeshift shims. After the mortar is set, you can simply remove these shims and caulk between the lip of the pan and the bottom of the woodtile.
Continue laying the tile, making sure to use spacers in between tiles. Spacers will leave you identifiable grout lines between woodtiles. Small 1/16″ or 1/8″ spacers (or even bigger) can be placed at several places on the x- and y-axis of the wood marbletile to leave adequate space for an even grout line.
Repeat the procedure, setting each row of tile on top of the last row of wall marbletile. Continue until you reach the top of the shower stall. Measure up from top of the last row. Mark the line with a level as a guide for your next row. Spread thin-set onto your tilesdesign with v-notched trowel and place the tile just below the marked line. Use spacers all around. Make sure to measure every third or fourth row to ensure that you have an even grout line. Let the tile set for 48 hours. This will make sure that the mortar has adhered properly to both the rustictile backing and the cement board backer.
Don’t cut any partial pieces yet. Set aside all of the pieces you’ll need to cut partial pieces. After placing full pieces on your wall, you may find that the size of the partial pieces you’ll need is a little different than what you anticipated.
Place a cloth or plastic cover over your countertops and appliances. Use a cloth or plastic to cover anything you want to protect from adhesive, grout, and caulk. Most importantly, place cloth or plastic over your counter tops, on appliances, and on any furniture in the immediate area. Secure drop clothes to countertops and appliances with painter’s tape.
Cover the edges of cabinets and appliances with painter’s tape. Take the time to systematically cover the edges of cabinets, appliances, and woodwork. This way, you’ll protect cabinets and more from being stained with grout or caulk.
Rub 80-grit sandpaper back and forth on the area you are tiling. When your sandpaper wears out and isn’t as abrasive, use a fresh piece. Make sure you sand the entire surface that you are tiling. Sanding will make it easier for the spotstile to adhere to the wall.
https://baranaceramic.com/wp-content/uploads/2018/12/The-Knowledge-of-Laying-Tiles-4.jpg6501150administratorhttps://baranaceramic.com/wp-content/uploads/2025/09/logo.pngadministrator2018-12-04 09:35:332018-12-04 09:35:33The Knowledge of Laying Tiles
Edison said that genius is one percent inspiration and ninety-nine percent perspiration.
Steve Jobs said that he could persist because he was sure that he loved his career.
Perhaps it should be said that all the persistence in the world is due to love. Some persistence is because you expect returns, and calculations will eventually get them. And some insistence is the thing you start from finding that direction. Only when people are very keen on their own love, can they pour all their passions and enduring enthusiasm. The former insists that you may become a successful person in other people’s eyes. The persistence of the latter will make you feel alive. And most of the time, this kind of persistence that pays no attention to rewards will often bring you fame and wealth. BARANA tiles, because they love their careers and love their happy home life, insist on creating quality products and love them more because they love them.
Because of love, so in the process of perfection.
The BARANA tile, founded in 2004, is a dark horse in the ceramic industry.
BARANA ceramic tile has strong strength, has 4 production bases, more than 20 advanced production lines, the annual output of ceramic tiles can reach 90 million square meters. While ensuring the quantity of ceramic production, BARANA tiles pay more attention to the quality of ceramic production. Therefore, BARANA tiles are not reluctant to pay heavy money to buy the world advanced level of Italy inkjet machine and other machinery equipment and the whole production line, to ensure the quality of each tile.
Because of love, so the quality of excellence.
BARANA tiles attach great importance to R & D innovation, and employ professional scientific researchers to establish a deep qualified product R & D team, and develop their own advanced technology and product innovation.
BARANA ceramic tile is also committed to building a business platform that is in line with the market, product structure, complete specifications, and manufacturers to win, to produce marble tiles, rustic tiles, full body glazed tiles, and polished tiles. The company has always adhered to the brand concept “from the artistic charm of nature”, adhere to the “customer first, quality first, continuous innovation, the pursuit of excellence” management policy, focus on the perfect wood style ceramic floors tiles design, the pursuit of customer satisfaction as the highest purpose, with advanced technology and advanced technology dedicated to the customers meticulously play. Create excellent quality and constantly surpass the brand vision of “global wood and leader brand”.
Because of love, so the design in the heart.
In order to absorb the excellent ceramic production technology and product design concept of foreign countries, the BARANA tile ceramic floor R & D team is often conducted in European countries for the integration of the technology and technology with Europe.
Therefore, the product of BARANA tile ceramic perfectly interprets the global fashion trend and artistic beauty, creates aesthetical, by him, and natural space art, while also with its distinctive “natural artistic charm” features, from a variety of ceramic products stand out from the popular consumer pursuit. BARANA tiles also won the top 10 ceramic brands in 2016.
Because of love, and more love. BARANA tiles will continue to create the greatest value for the franchisees and consumers with quality products and dedicated services, and create a happy home life.
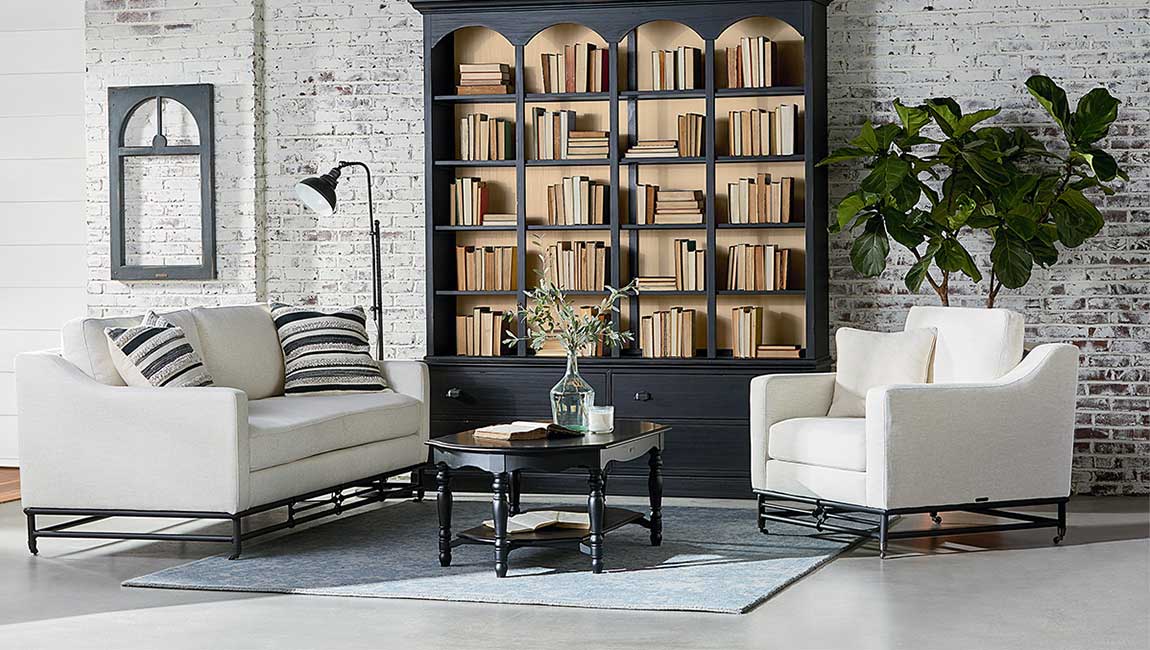
BARANA tiles ceramica: what do you look like in your ideal home?
In your life, the longest space you have with you, except for the office, the rest should be “home”.
So, what do you look like in your ideal home?
Everyone should fantasize the outline of their ideal home layout.
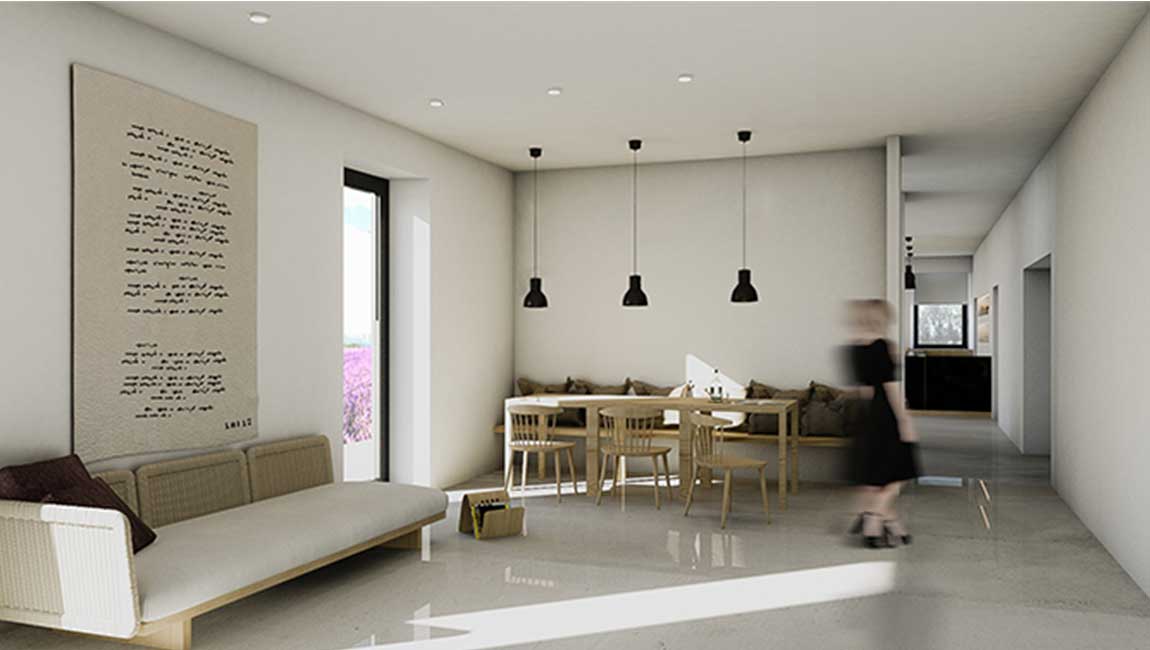
Maybe you love winter, like hot coffee in front of the big window to see the first snow; maybe you like spring, like to watch the city rain and listen to the sound of spring on the big balcony.
If you use a word to describe a family, what will your answer be?
There are many definitions of a family. Different people have different understandings of their home.
No matter which answer, it must be a comfortable space.
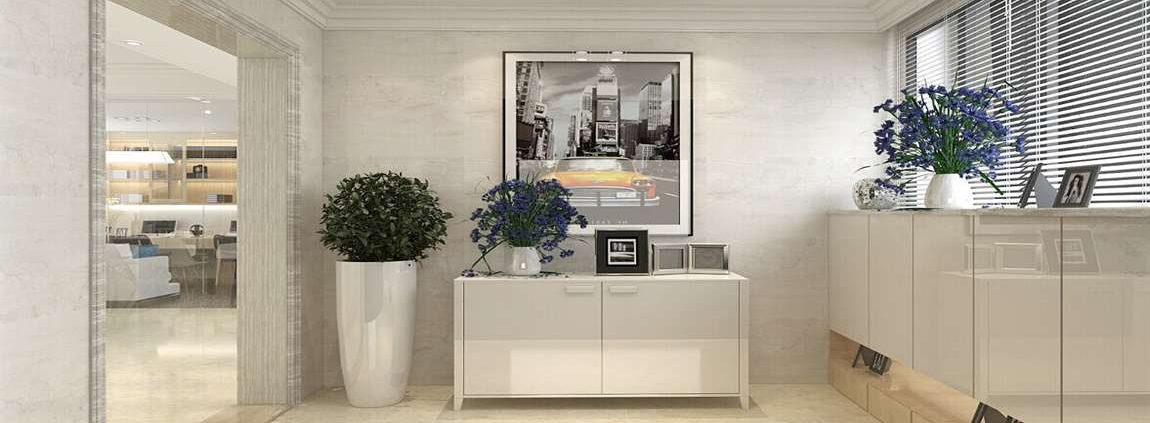
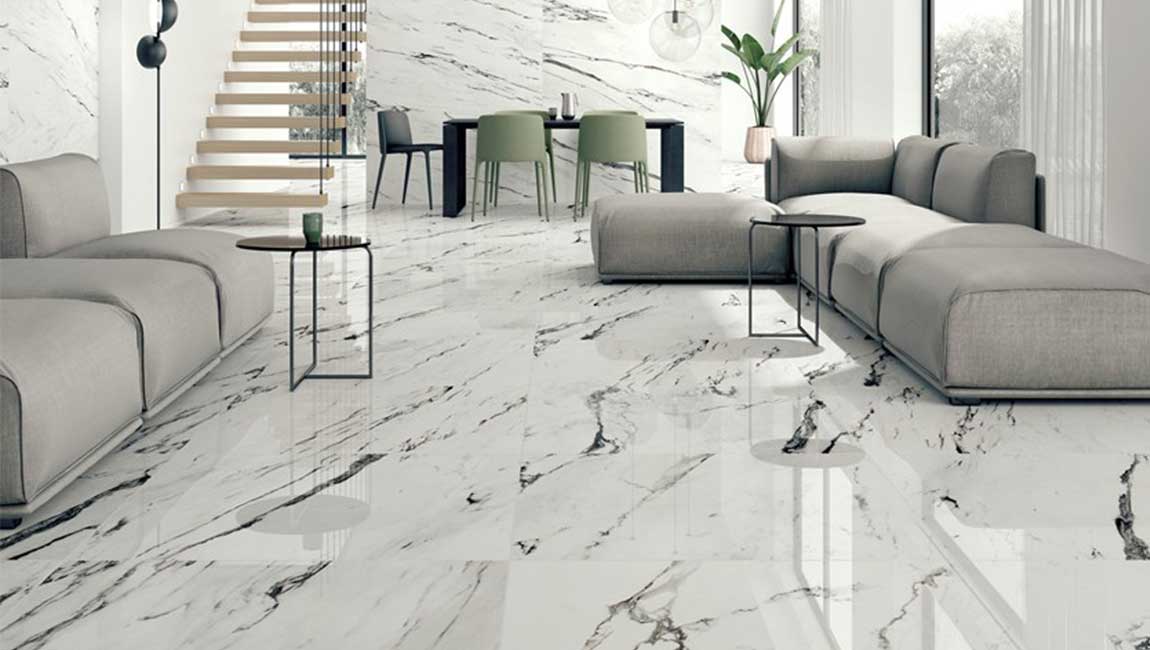
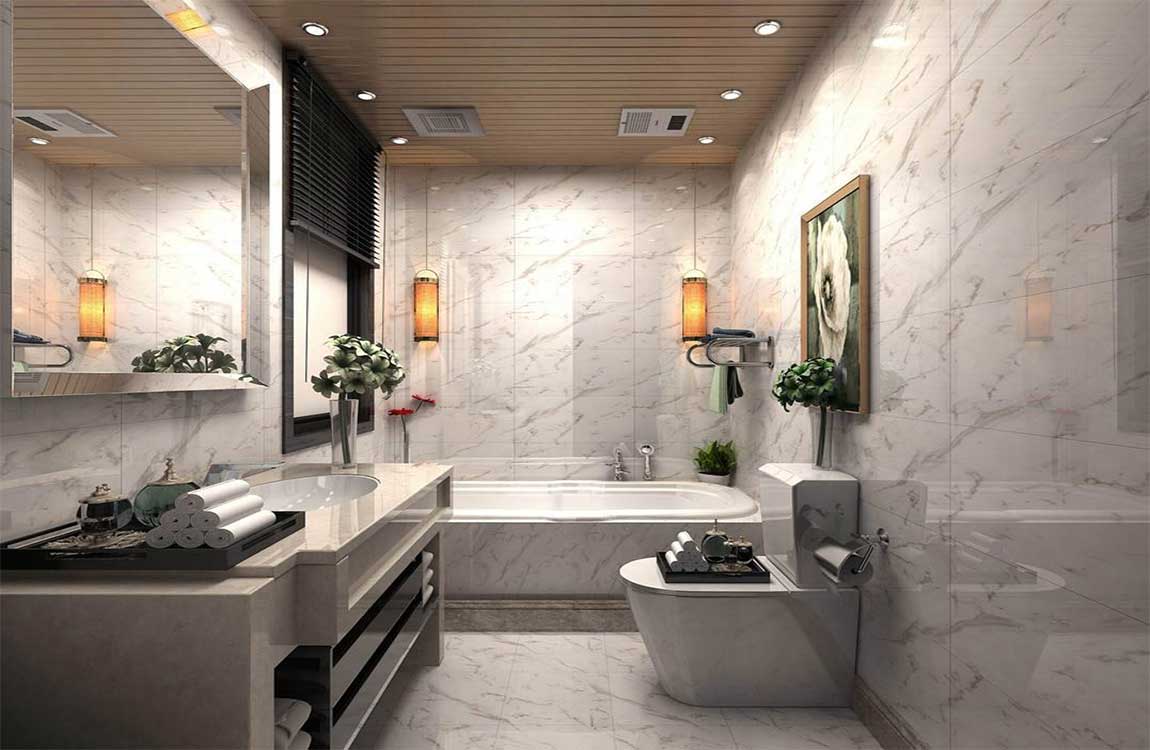
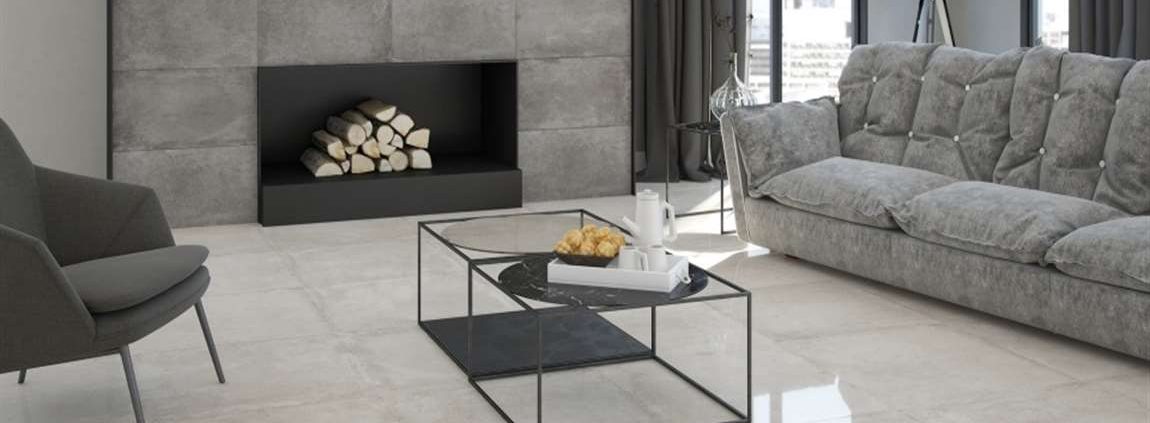
BARANA full body marble tile flooring Turkey yellow, from Turkey’s rare and precious natural marble, it is the magic of nature, the tone and texture, and the natural harmony of luxury and elegance. The space of the full body marble tiles, The silt is not stained, but the elegance of the clean and not demon is not luxurious. It makes people seem to be in peace. and at this time, what you want to do is to release yourself.
Because you are comfortable, you can do yourself unscrupulously.
A comfortable home is the ultimate station for your soul. Let the heart be placed and let your exhausted you be full of strength and continue to set out.
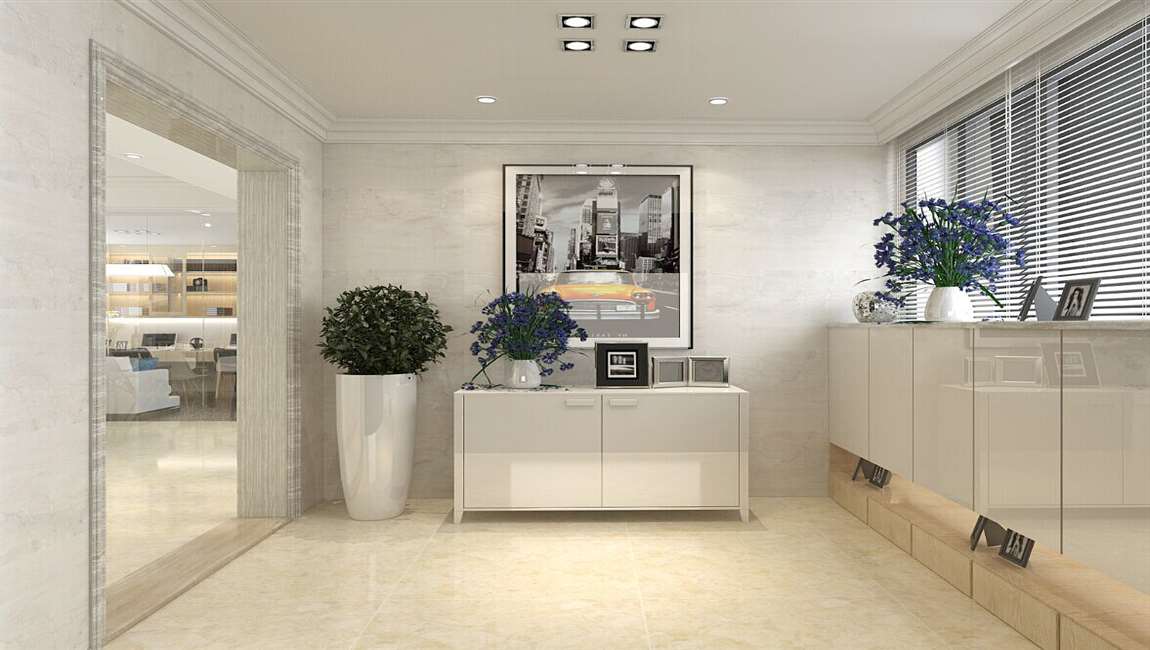
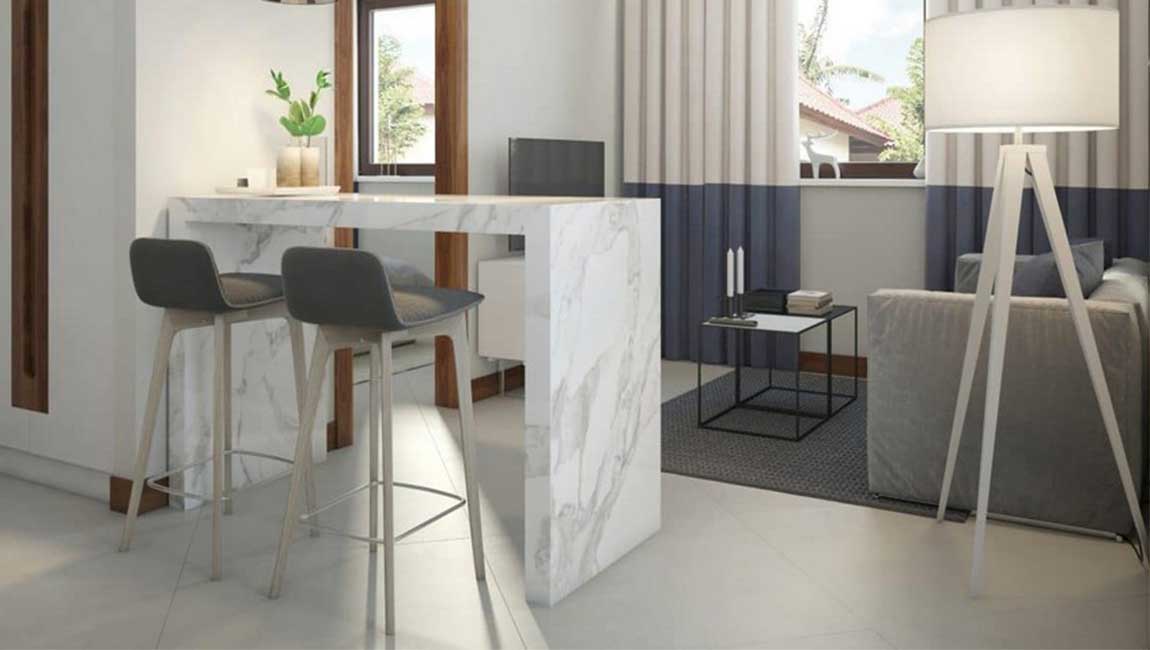
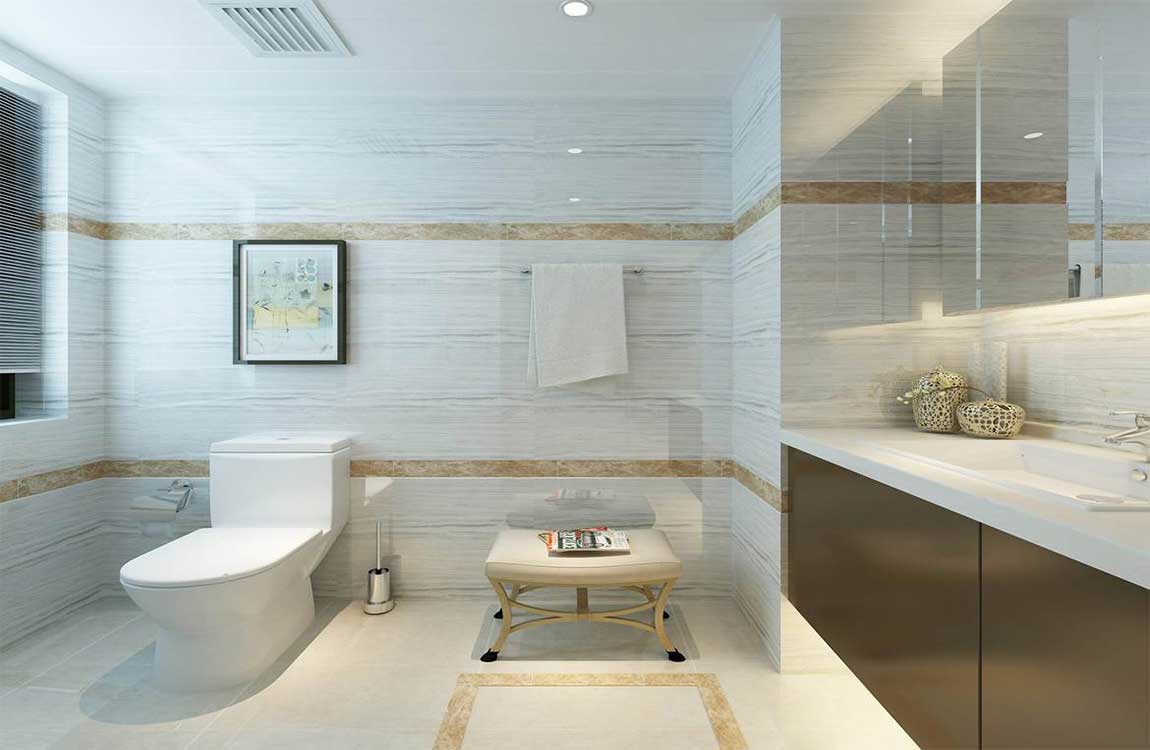
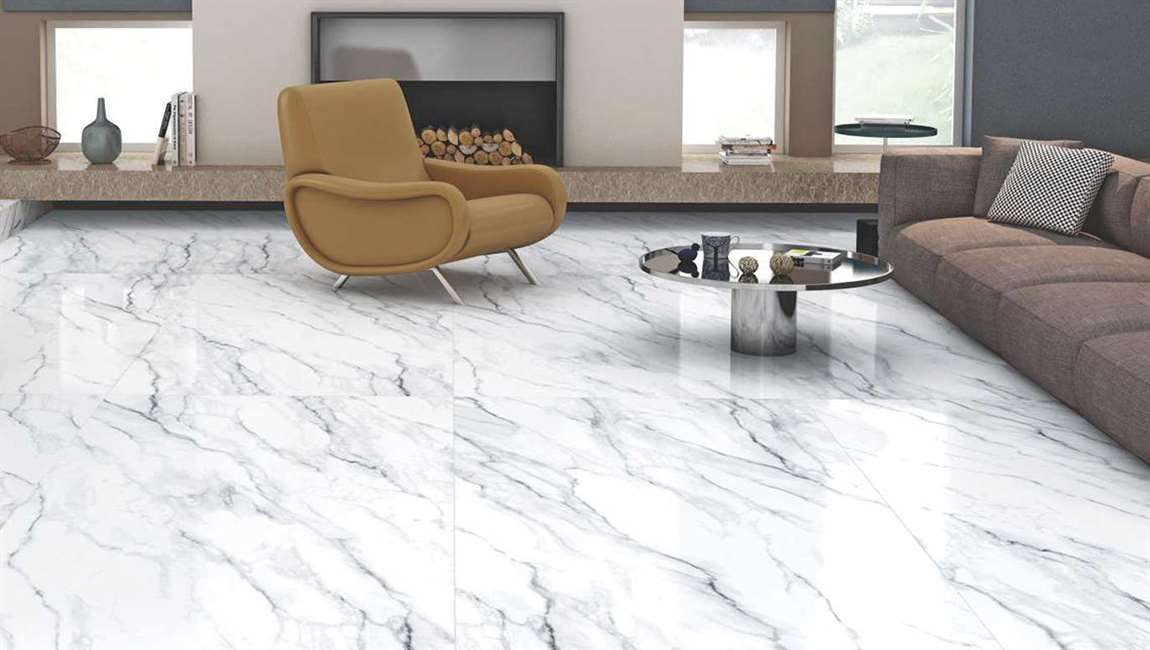
From the violet Lily from Italy stone tile, the country of marble, the white bottom reveals the sense of jade. The purple mesh texture is full of noble and elegant sense of space.
Time elapses, the vicissitudes of the world, this from the BARANA tile full body marble tiles space still waiting for you, waiting for you,The white clouds are leisurely and the years are quiet.
Compared to the romance of the viola, the simplicity and refinement are more to your heart.
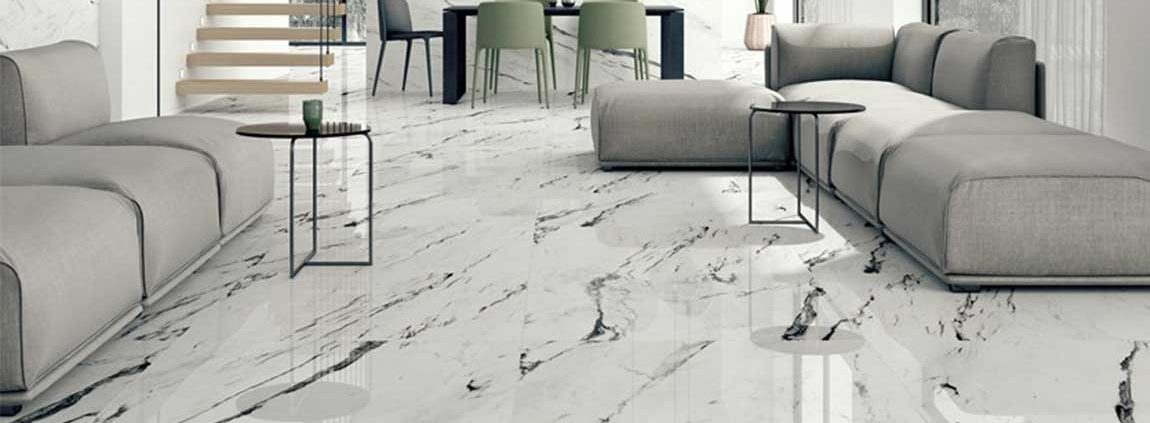
The Italy marble stone tile with the noble texture of natural rock, is uncommon, from the high stone Italy, the pure natural breath, the unique external display, the creation of quiet space, that is, the ear of no bamboo, nor the work of the letter.
Such elegant space makes your body and mind more peaceful.
If low-key and romantic can not satisfy your pursuit of luxury, the exquisite and nostalgia of Italy marble stone tile will bring you different feelings.
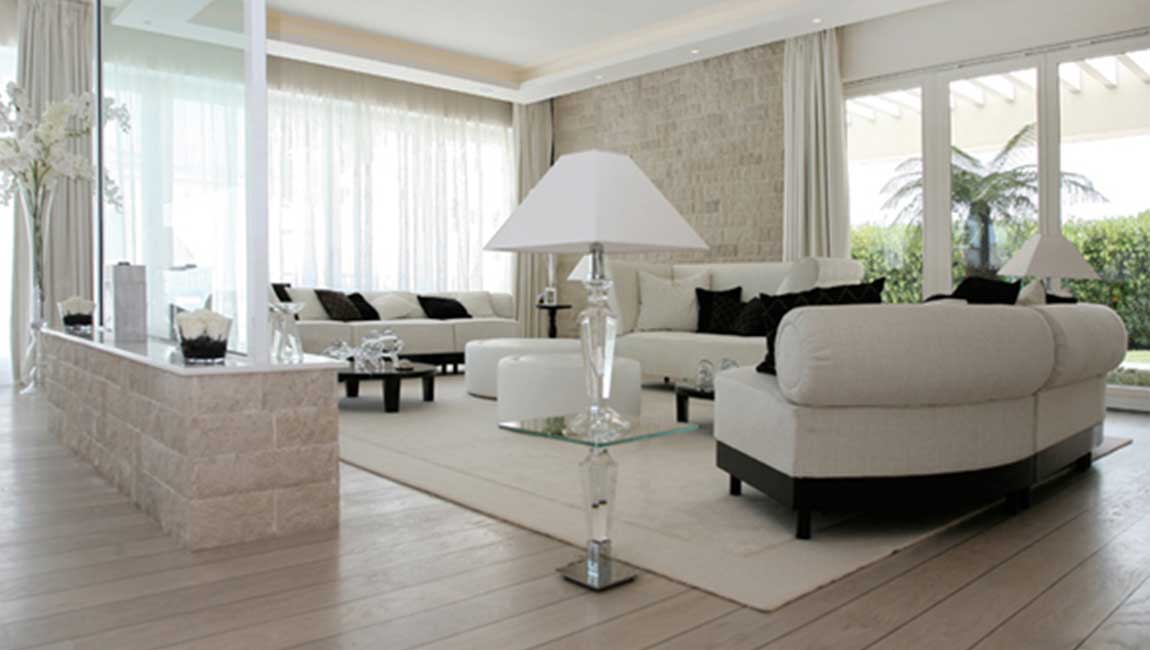
Italy cave stone, a noble texture with natural marble stone tile, was born uncommon. From the high stone Italy, it is pure natural breath, unique external display, create a quiet space, always give people exquisite, nostalgic impression.
This is the ideal home of BARANA ceramic tile full body marble tiles, in addition to this, adhering to the “originate from the natural art charm” brand concept of BARANA tiles and thousands of different styles of ceramic tiles, its space with unique design and excellent product quality is also popular with the majority of dealers and consumers.
https://baranaceramic.com/wp-content/uploads/2018/05/BARANA-tiles-Love-and-love-more-8.jpg600900administratorhttps://baranaceramic.com/wp-content/uploads/2025/09/logo.pngadministrator2018-05-04 06:58:392019-09-03 06:49:13BARANA tiles: Love, and love more


 Hit the
 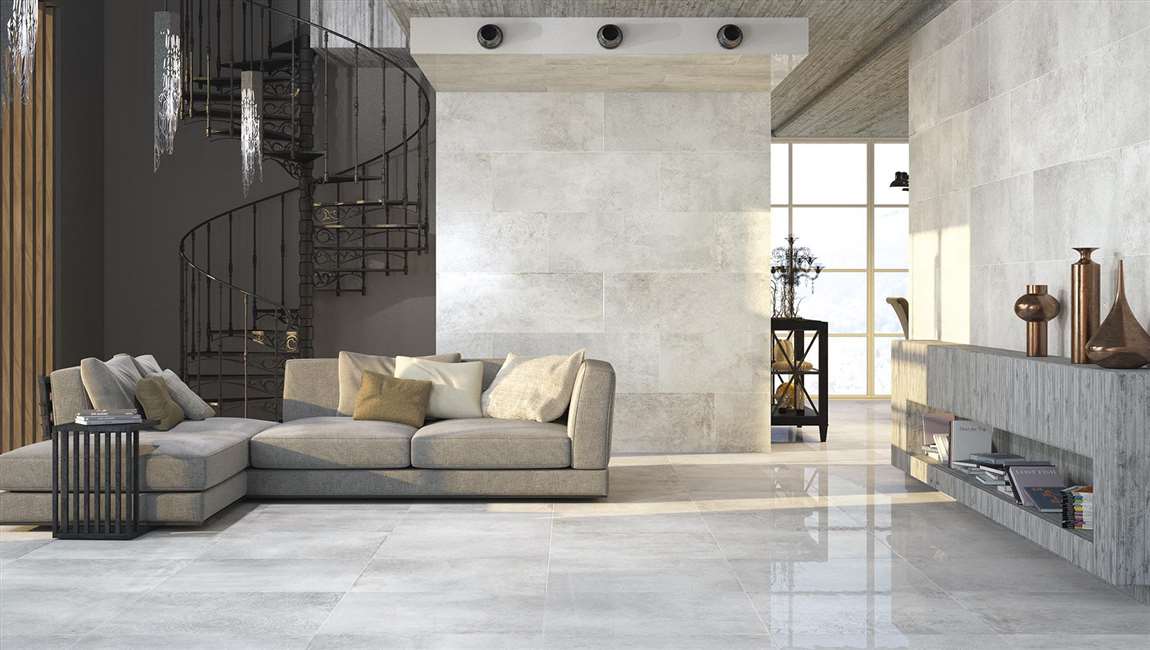 If your
 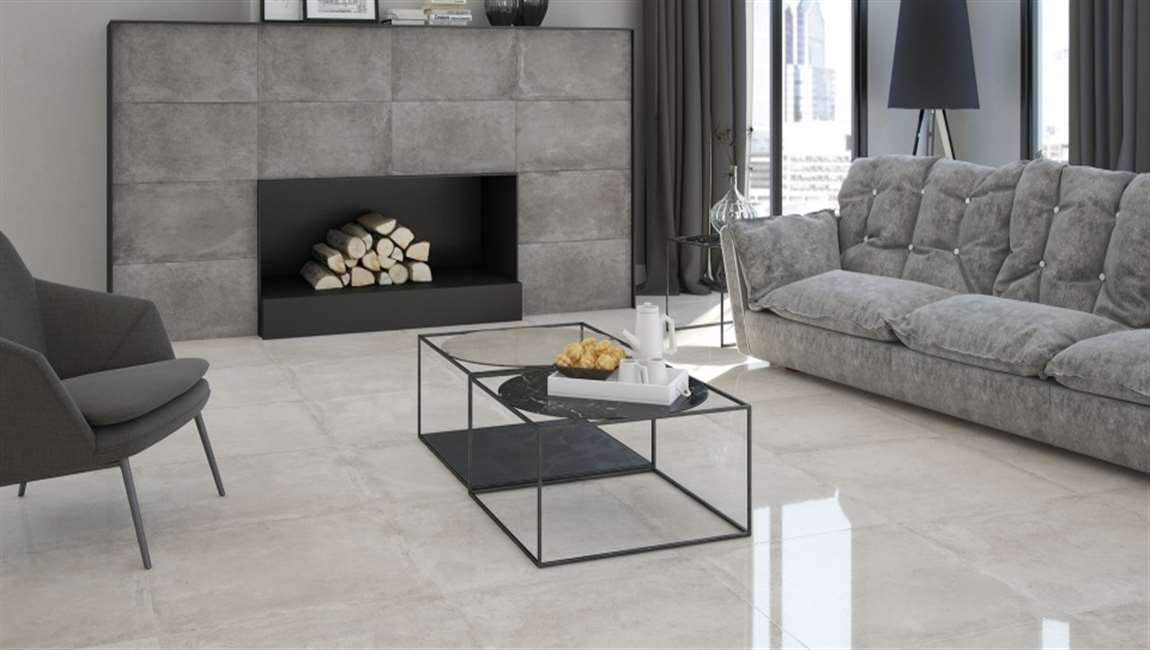 Pry up the edge of the
 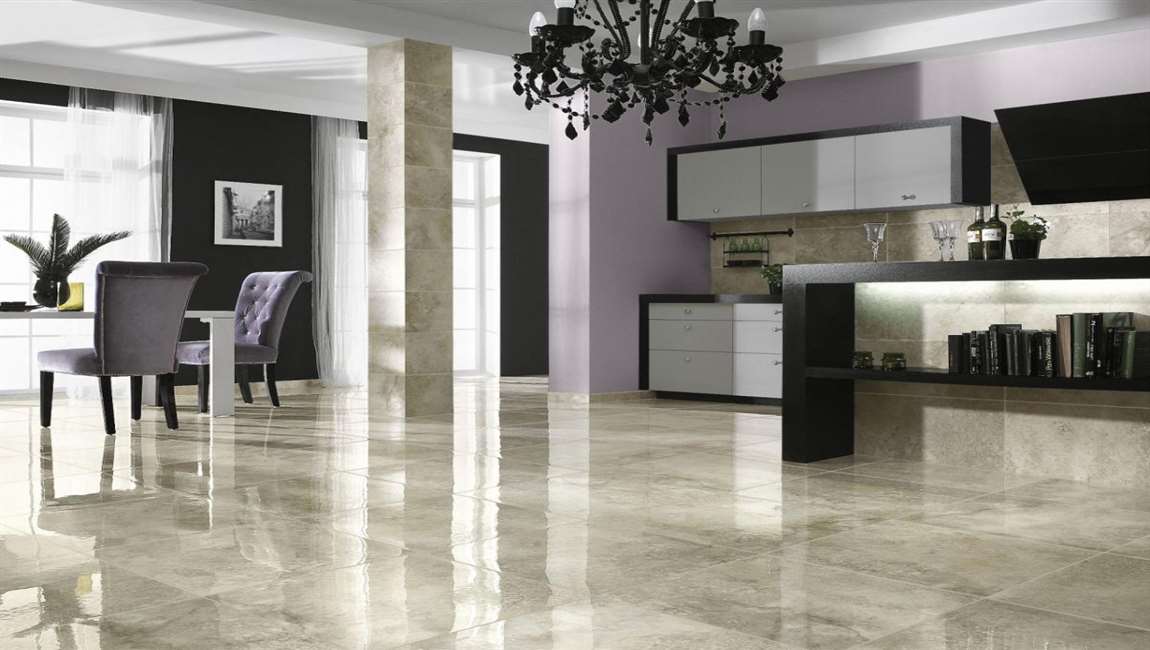 Use your chisel to scrape off the mortar. Set the chisel blade on the surface next to the adhesive mortar. Apply a firm amount of pressure to the chisel, working in short back and forth motions to scrape the mortar off. Once you’ve removed it all, use a vacuum to get rid of the residue. Make sure the surface is completely smooth or else you won’t be able to lay another