Posts

How Cleaning and Maintaining Soapstone Tiles?


Re-oil your Soapstone tiles surface once a week for the first 1-2 months. For subsequent applications, simply dab a little oil onto a folded cloth and use it to lightly buff the surface from corner to corner. Frequent treatments will encourage the stone to deepen in color even further. There’s no need to re-oil the surface at all following its initial treatment, if you don’t want to.


In fact, many homeowners opt to let their Soapstone tiles return to its original light gray color. Tip: Another benefit of periodic oiling is that it remedies the appearance of light scratches caused by cookware and cutlery. Continue oiling the surface as needed when its water-resistance wears off.


After the first couple of months, you can cut back to applying oil on a provisional basis and reduce the amount of attention you give your Soapstone tiles. A good rule of thumb is to polish on a fresh coat whenever you notice that water is no longer beading on the surface, or forms dark stain-like spots where it collects on the stone.


If you want to add oiling your Soapstone tiles surfaces to your cleaning schedule, once every 2-3 months is a good interval to shoot for. Discoloration caused by moisture is temporary, and won’t affect the look of your Soapstone tiles surfaces in the long run. Clean your Soapstone tiles quickly with a mild soap solution.


No expensive products or complicated techniques required—just stir a few drops of liquid dish soap into a container of warm water and wet a clean cloth, microfiber towel, or non-abrasive sponge or scrubbing pad. A light scrubbing will leave the surface spotless and restore its subtle shine. Use a stiff-bristled brush to get down deeper into corners, recesses, grooves, and other hard-to-reach areas.

How to Clean Cultured Marble Tiles?

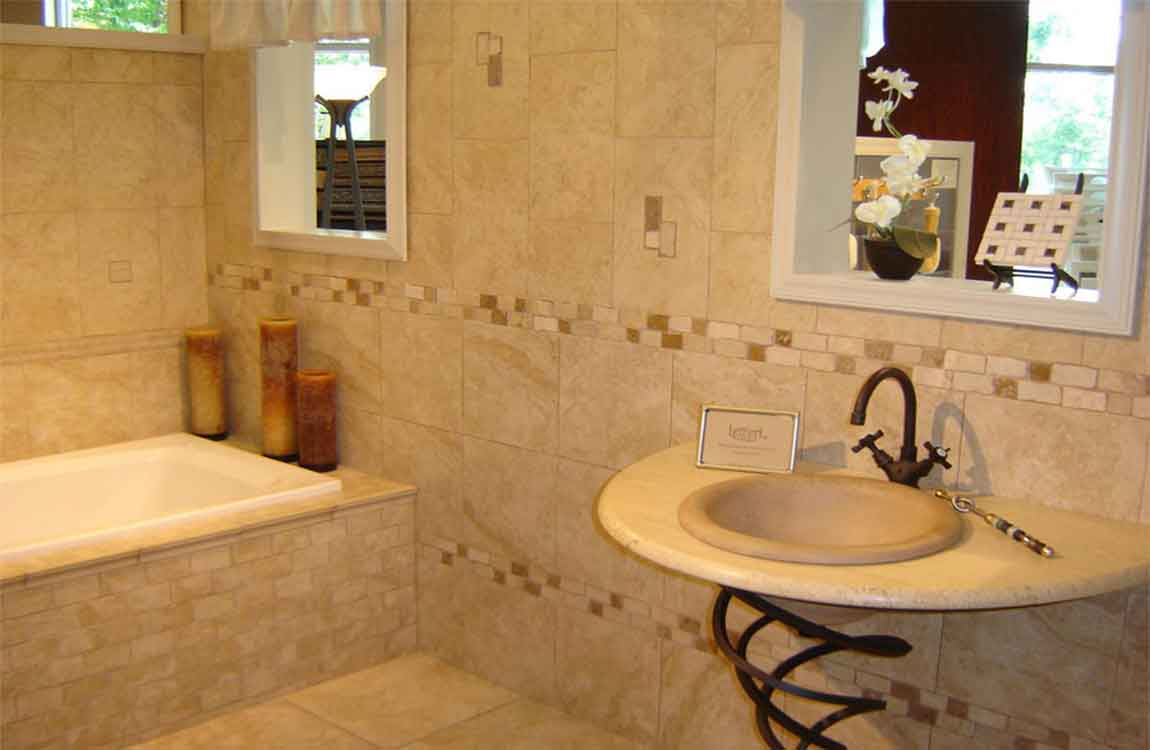
Cultured marble tiles is a resilient material frequently used for tiles, sinks, and vanities. Mineral deposits and soap scum can build up on your marble tiles, negatively impacting its appearance. Remove mild buildup and stains with a soft rag and white vinegar. Eliminate difficult stains with hydrogen peroxide or a special, heavy-duty cleaning solution.
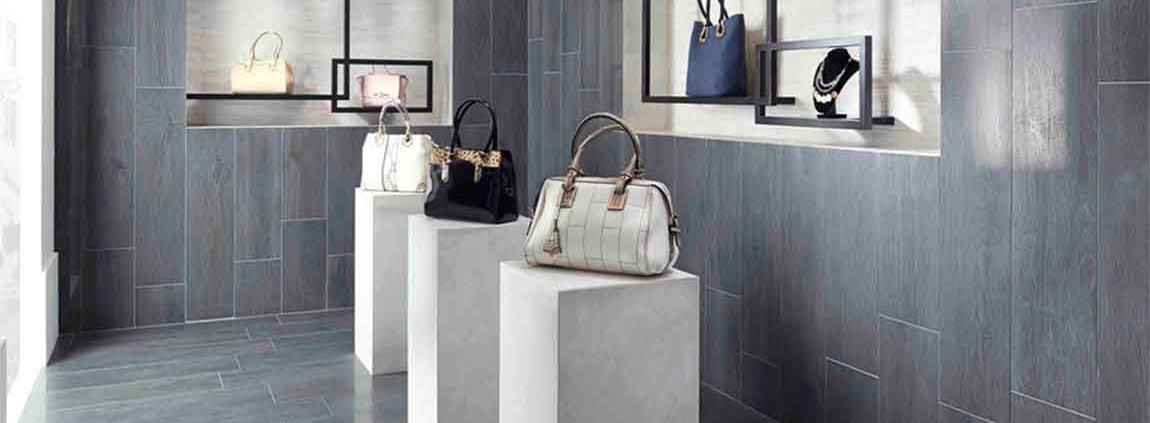

Ensure safe cleaning by avoiding harsh chemicals and abrasives. Some stubborn stains might require a longer soak time. However, soaking your marble tiles too long in this solution may be harmful to its finish. Cleanse the area with water. Rinse the cleaned area with cold water in the same fashion as previously described.


Wipe up water remaining on your marble tiles and any dirtiness with a clean, dry, soft rag. Your cultured marble tiles should now be clean. Any excess sealer that’s pooled on the surface of your marble tiles or that has not been absorbed must be removed for the health and appearance of your marble tiles, as leftover sealer can stain it.


Allow the sealer to set for 24 hours. Let the sealer fully absorb and dry into your marble tiles before trying to use your shower again. You should seal your marble tiles bathtub once every six months. Let everyone in your house know that using the shower before the sealer dries could damage your marble tiles.


After receiving your pre-cut marble tiles slabs, the first thing to do is make sure they fit on your tiles. Place the slabs on top of their installation location—also known as dry-fitting—and make sure that each piece fits into its space without creating any large gaps between its surroundings.

How to Install New Baseboard?


Baseboard is the trim that fits along the floor and makes a transition from floor to wall. It can help hold flooring in place. You may want to install baseboard in a new room or remodeled room or replace damaged baseboard. This is a simple job that most people with a few tools can handle.


Remove the old baseboard if it exists. Pry off the old baseboard carefully with a small pry bar so you can use it to mark and cut the new molding. Protect the wall as you pry off old molding so it won’t be damaged. Use a piece of scrap wood between the wall and the pry bar. You may be able to cut off damaged areas of molding and re-use part of the old molding.


Remove any nails that pull through the old molding and are left in the wall. Measure, mark and cut the new molding. Using the old molding to make a template for corner cuts and cuts around outlets or other obstructions is ideal. Make a template out of stiff paper or cardboard for difficult cuts if there is no old molding.


Molding pieces should end at a wall stud. Try to cut pieces so that you join two pieces at a wall stud. Allow for the depth of both pieces of the molding when butting two pieces together at a corner. If you have a miter box you can miter the corners (cut at an angle) so they fit together neatly. Make sure cuts where molding will meet another piece in a line are perfectly straight to avoid gaps between pieces.


Fit the molding pieces in place and adjust if needed. Make sure any flooring and wall coverings such as wallpaper or paneling are in place and any painting is done before installing the molding. Work with one wall at a time. Start at one corner and fit all the pieces in place.

How Covering the Wall with Vinyl Siding?


Measure the width of the wall and cut furring strips to match it. Use a measuring tape to figure out what length the strips need to be. Furring strips are little more than wood boards treated to be water-resistant. They are approximately 2 × 4 × 8 in (5.1 × 10.2 × 20.3 cm) in size. Cut 2 separate boards to the same width as the wall.


Look for furring strips at your local home improvement store. Some places sell pre-cut strips, but you can also ask to have treated pine boards cut to the size you need. Position the boards to the top and bottom edges of the wall. The first strip is easy to position since you situate it on the side of the wall at the very top.


For the lower board, measure up about 6 in (15 cm) from the bottom edge of the wall. Make sure the boards go from one end of the wall to the other, adding additional boards as needed if yours are too short. Consider marking the installation points with chalk first. Check the line with a level to ensure the furring boards will form a straight row when you install them.


If your wall has windows, doors, and other obstructions, keep the furring strips away from them. Install separate furring strips around each of these components, basically framing them. For soffits and fascia, you can get separate pieces of vinyl designed to fit these wood components. Slide the vinyl into a top strip or J-channel and nail them as needed to hold them in place.


Attach the boards with screws placed every 16 in (41 cm). Measure along each of the furring strips, marking the attachment points with a pencil as needed. Use a masonry drill bit 1⁄4 in (0.64 cm) in diameter to create holes all the way through the wood. Then, fit 1⁄4 in (0.64 cm) concrete screws into the holes to hold the boards in place.

How Installing Stone Veneer?

Clean the wall to remove debris and stains. Rinse the wall off with a hose, then sweep away remaining dust and debris with a concrete brush. Spray off stubborn stains with a pressure washer. Strip away any paint on the wall with a pressure washer as well. Another way to remove tough stains is by attaching a wire brush to a right-angle grinder. Use the brush to scrub off the stains.


Apply a concrete bonding agent to the cleaned wall. Dip a 3 in (7.6 cm) paintbrush into the liquid bonding agent and use it to coat the wall from top to bottom. Keep the layer as smooth as possible to ensure the veneer fits evenly on the wall. You can get bonding agents, along with any other tool you need, online or at most home improvement stores.


Combine a veneer mortar mix with water in a wheelbarrow. Prepare the mix according to the manufacturer’s instructions to get it to a firm, spreadable consistency. If you don’t wish to use a store-bought mix, try making your own instead out of masonry cement and sand. Using a pre-made mix is much simpler and faster, however.


Make your own mix by combining 1 part masonry cement with 3 parts masonry sand. Put an acrylic polymer in a separate container to mix with water according to the manufacturer’s instructions. Combine all of the ingredients in your wheelbarrow to finish the mortar.


Coat the wall with a 1⁄2 in (1.3 cm) layer of mortar. Try using a hawk to scoop the mortar out of the wheelbarrow and then transfer it to the wall with a trowel. Using both tools together makes the process much faster. Apply the stucco to the top of the wall and spread it from left to right with a single motion of the trowel. Continue doing this to add more mortar as needed to cover the wall and smooth out the layer until it appears uniform.

How to Install a Kitchen Backsplash?


Adding a backsplash to your kitchen is a great way to create atmosphere with color and texture. Thankfully, the process of applying a backsplash is easy. Here is the best way to apply a backsplash to your kitchen, using both traditional tiles and a peel-and-stick method.


Firmly attach your tiles. Press them into the tile adhesive on the wall, using a level to make sure they are even. Push them a few times to make sure they are secured to the wall. If your tiles are not attached together in sections, use spacers to make sure they are all evenly spaced. Wiggle the tile a little bit against the wall to ensure suction with the adhesive.


Completely cover your wall. Attach all remaining tiles to your wall using this method, until you reach the edges. Before you stick your tiles to the edges of the wall, cut off any excess or oddly shaped corners to make sure the fit is perfect. Always cut out holes for outlets or odd edges prior to attaching the tile to the wall.


Any empty spaces can be filled with pieces of spare tile you cut to size with your tile cutter or utility knife. Apply grout. Use your (cleaned) trowel to spread grout evenly across the tiles. Don’t worry about covering the tiles, as that is what is supposed to happen. You will remove the unnecessary grout later.


Spread the grout at a 45 degree angle in a sweeping pattern. Allow a few minutes for the grout to set, and then use a damp sponge to clean off excess grout. All of the cracks between the tiles should be filled, while the remaining tiles should be cleaned of all unnecessary grout.

How Using a Floor Gap Fixer?


Purchase a floor gap fixer tool. These days, many companies sell special devices designed to make it easier to close small gaps in hardwood and laminate flooring. These most often take the form of small, heavy rectangular blocks. The blocks feature an adhesive rubber face that provides traction to maneuver the slipped plank back into place with a few taps of a mallet.


You can find floor gap fixers at most major home improvement centers or online for around $40-60. If you’re trying to keep spending to a minimum for your repair project, try making your own floor gap fixer tool by coating one side of a 4×4 with double-sided tape.


Remove the protective backing from the adhesive face of the block. Peel the plastic covering away to expose the tacky rubber pad underneath. This surface will be used to grip the laminate plank while you force it back into place manually. The adhesive pad of the floor gap fixer is reusable, as long as it’s properly cleaned between projects.


Position the block 1 inch (2.5 cm) from the end of one of the displaced planks. Situate the tool in the center of either plank, then press down firmly on the topside with both hands to anchor it. It should stick to the plank securely enough to prevent slipping or scooting while you work. Once you get started, you’ll the shift the plank in the direction of the gap to close it off.


Avoid removing the block once it’s in place unless it’s absolutely necessary, as this may weaken the hold of the adhesive pad. Work your way toward the center of the floor and away from the wall. When using the floor gap fixer, it’s generally best to inch the problem plank towards the center of the floor, rather than outward towards the wall.

How cutting a tile with the tile nippers?


Smooth the cuts with a tile file and wipe the tiles down. Once you’ve finished cutting a tile with the tile nippers, use the tile file to sand down any rough edges along the cut. Follow this up with a damp cloth to wipe away any dust. After this, dry-fit the tile to make sure it rests snugly along the toilet base. If it doesn’t, keep nipping, or get a new tile and start again if necessary.


When all the tiles have been cut, filed, cleaned, and dry-fitted, you can move on to setting them in place permanently. Trace the outline of the flange onto the sheet(s) of paper. First, run your finger along the outline of the flange to create a crease in the paper. Then, lift up each sheet and use a pencil to trace an outline that’s slightly—about 0.25 in (0.64 cm)— larger than the creased outline.


The tracing doesn’t need to be perfect, because the toilet will rest on top of the flange and the cut tile(s) and hide any minor errors. If you have a removable flange and want it to rest on top of the tiles instead of on the subfloor, make the pencil tracing about 0.5 in (1.3 cm) smaller than your crease outline instead. That way, the outer rim of the flange will rest on the surrounding tiles.


Cut out the flange circle and trace it onto the tile(s). Use scissors to cut the sheet(s) of paper to the correct shape, then tape the sheets onto the tiles. Transfer the cut lines onto the tiles with a pencil, then remove the paper. Don’t discard the paper yet—you’ll need it again if you break a tile while cutting it!


Don’t try to cut more than about 0.125 in (0.32 cm) deep with any single pass, or the tile will probably break in a random spot and you’ll have to start over. Be as precise as possible but remember that the circle you cut doesn’t need to be perfect. The actual cut line will be covered by the toilet base.

How Eliminate mortar voids?

A typical ceramic tile installation involves spreading a thin-set mortar on the surface with a notched trowel, then pressing the ceramic tile into the mortar to collapse the ridges and improve contact between the tile and mortar. Unfortunately, this practice can leave many voids in the mortar behind the tile.


While this would not be a concern with opaque ceramic tile, the randomly distributed air pockets or voids may be visible through clear or translucent glass. The mortar should still be spread with a notched trowel onto the substrate, but it should also be spread (back-buttered) in an even, thin film onto the back of the glass tile.


Now, when the two mortared surfaces are pressed together, the back of the tile is already covered, so any remaining voids from the mortar ridges are hidden and do not show through the glass tile. Keep in mind that standard thin-set mortars can shrink and pull away from the tile, causing voids and air bubbles during the curing process, so make sure that the mortar resists shrinkage too.


Tape the sheets to the tiles, then trace and scribe the cut lines. When all the paper templates are just right, tape each one to a tile and use a pencil to transfer the cut pattern. After that, remove the paper and use a tile scribe to score 0.125 in (0.32 cm) deep lines into the tiles, tracing right over top of the pencil lines.


Tile scribes can look like thick pencils or come in other shapes. Look for them at hardware stores or online. Remove the unneeded tile with tile nippers. Slowly and carefully squeeze the handles to snip away small “bites” of tile from the sections that need to be removed. Turn your small “bites” into tiny “nibbles” as you get to the score lines. If you try to snip off too much, you risk breaking the tile and having to start over.

How to Cleaning tile?


Avoid cleaning with abrasive materials. Never clean your solid stone tiles with anything that’s abrasive. These can scratch and damage the tiles. When making or buying cleansers, avoid: Hard bristle brushes, Vinegar or lemon juice, Products with acid cleanse.


Trowel some thin-set onto the back of the tile and spread it with a notched trowel. This process is called “back buttering.” Apply mortar to the backer board along with back buttering and then set the tiles on top of that. It’s a lot cleaner, too!


Be sure not to apply too much mortar to the back of a tile. You only need a little in each corner and a little dab in the middle for back buttering. More isn’t necessarily better when it comes to thin-set. Keep in mind that back buttering is only necessary when you are using a larger tile (8″ x 8″ or larger) and you only need to add a little dab of thin set mortar to each corner.


Set the first tile in the middle of the wall (or floor). This will create a pleasant visual effect and allow each tile that is placed beside it on either side seem centered. After back buttering, simply press the tile onto the backer board and apply pressure to make sure that the mortar adhered properly to both the tile and the backer board. Then, give the tile a little twist and tap each one with a rubber mallet, especially the floor tiles.


Wipe away any excess thin-set mortar after pressing the tile onto the backer. Although you’ll be grouting and caulking between the tiles, it’s best not to leave any thin-set on oozing out from the sides of the tile. Dig out any oozing thin-set that you notice. Simply wipe away excess thinset with your finger or a Q-tip.