Posts

How Installing Stone Veneer?

Clean the wall to remove debris and stains. Rinse the wall off with a hose, then sweep away remaining dust and debris with a concrete brush. Spray off stubborn stains with a pressure washer. Strip away any paint on the wall with a pressure washer as well. Another way to remove tough stains is by attaching a wire brush to a right-angle grinder. Use the brush to scrub off the stains.


Apply a concrete bonding agent to the cleaned wall. Dip a 3 in (7.6 cm) paintbrush into the liquid bonding agent and use it to coat the wall from top to bottom. Keep the layer as smooth as possible to ensure the veneer fits evenly on the wall. You can get bonding agents, along with any other tool you need, online or at most home improvement stores.


Combine a veneer mortar mix with water in a wheelbarrow. Prepare the mix according to the manufacturer’s instructions to get it to a firm, spreadable consistency. If you don’t wish to use a store-bought mix, try making your own instead out of masonry cement and sand. Using a pre-made mix is much simpler and faster, however.


Make your own mix by combining 1 part masonry cement with 3 parts masonry sand. Put an acrylic polymer in a separate container to mix with water according to the manufacturer’s instructions. Combine all of the ingredients in your wheelbarrow to finish the mortar.


Coat the wall with a 1⁄2 in (1.3 cm) layer of mortar. Try using a hawk to scoop the mortar out of the wheelbarrow and then transfer it to the wall with a trowel. Using both tools together makes the process much faster. Apply the stucco to the top of the wall and spread it from left to right with a single motion of the trowel. Continue doing this to add more mortar as needed to cover the wall and smooth out the layer until it appears uniform.

How Adding Stucco?

Wash the wall and remove debris to make it as flat as possible. Spray the cinder block wall with a hose to rinse off most of the debris. Look for tough stains, damaged spots, and other issues you need to address. Spend time lifting stains with soap, trisodium phosphate, and other cleaners. Also, clear debris out of damaged spots and repair them.


To repair damage, mix mortar. Fill in the gaps to level out the wall as much as possible. Brush a concrete bonding agent on the wall and let it dry overnight. The bonding agent provides a surface for the first layer of stucco to adhere to. If you don’t apply it, the finished wall may end up looking patchy and uneven.


Use a 3 in (7.6 cm) paintbrush to go over the entire wall top to bottom. Coat the wall with a single layer of the bonding agent. Concrete bonding agents, tools, and the ingredients you need for the stucco mix are all available online and at home improvement stores.


Get a stucco mix or mix your own in a wheelbarrow. Pour store-bought stucco mix into your wheelbarrow and stir in water until it has a paste-like consistency. If you’re making your own, get sand, lime, and Portland cement. Try combining 3 parts sand, 1 part lime, and 1 part cement to create a good mix that adheres well to vertical walls.


You can also mix in a concrete pigment to color the stucco if you don’t plan on painting it later. Apply a 1⁄4 in (0.64 cm) scratch coat with a trowel. If you have a concrete sprayer, use it to cover large areas quickly. Otherwise, try picking up the stucco mix with a flat tool like a hawk and then transferring it to the wall with a trowel.

How Using Concrete?


Clean debris off the wall with water and a sprayer. Remove as much debris as possible from the wall so the concrete bonds cleanly to it. Spray away most debris with water from a garden hose. Also, try mixing 1 cup (240 mL) of a mild dish soap into about 5 US gal (19,000 mL) of hot water to scrub off tough stains with a concrete brush.


Use a power washer for extra cleaning power. If you don’t own one, see if your local hardware store has one to rent. For tough stains you can’t quite remove by hand, mix 1 cup (240 mL) of trisodium phosphate in about 1 US gal (3,800 mL) of water. Scrub it into the stains with a brush before rinsing it off with clean water.


The chemical is strong, so cover up with long-sleeved clothing, gloves, goggles, and a respirator mask. Mix surface bonding cement with water to a pasty consistency. The easiest product to use on a cinder block wall is surface bonding cement. All you have to do is pour the cement into a container such as a wheelbarrow, then stir in the water with a shovel.


You need approximately 4 cups (950 mL) of water for an 80 lb (36 kg) bag of cement mix. Shop online or visit your nearest home improvement store for cement and all the tools you need to apply it. With surface bonding cement, you don’t need to apply a concrete bonding adhesive.


If you wish to use another type of cement or concrete, also get a bag of adhesive. Mix it with water and spread it on the wall first. Wet a section of the wall again to prepare it to bond with the cement. Spray the entire wall thoroughly with water from a garden hose. Then, go back to a section of the wall to work on first. Spray it once again with water.

How Buffing Your Floor by Hand?

Start in the far corner of the room. Then, work your way backward toward the entrance to the room. Don’t pass back over areas you’ve already buffed, as they need time to dry. Work in 3 ft (0.91 m) by 3 ft (0.91 m) sections until you finish buffing. Focusing on small sections will help you achieve better results. Plus, it will keep you from getting overwhelmed during the process.


If you don’t like the results of your first few sections, you might decide to stop hand buffing the floor and switch to a machine. Some floors won’t show much improvement from hand buffing. Depending on the size of your room, it can take a while to finish buffing. It’s a good idea to take regular breaks, if necessary.


Spray a buffing solution onto your floor for extra shine. When you’re buffing by hand, spray the solution onto just the area where you’re working so the solution won’t be dry by the time you get across the room. It’s best to use a bottle with a spray nozzle to evenly distribute the solution.


If your solution doesn’t have a spray nozzle, use a clean cloth to wipe it onto the floor. Make sure you choose a buffing solution that’s formulated for your type of flooring material. If you prefer a natural option, create a white vinegar solution by adding 1 cup (240 mL) of white vinegar to 1 gallon (3.8 L) of water. Put the solution into a spray bottle, then spritz it onto your floor.


Use a microfiber cloth to buff the floor using tight, circular motions. Move your cloth slowly from side to side as you work each section. When you complete each pass, start the next one with some overlap with the previous pass. As you buff, apply as much pressure to the cloth as you can.

How to Avoid Common Glass Tile Installation Mistakes?


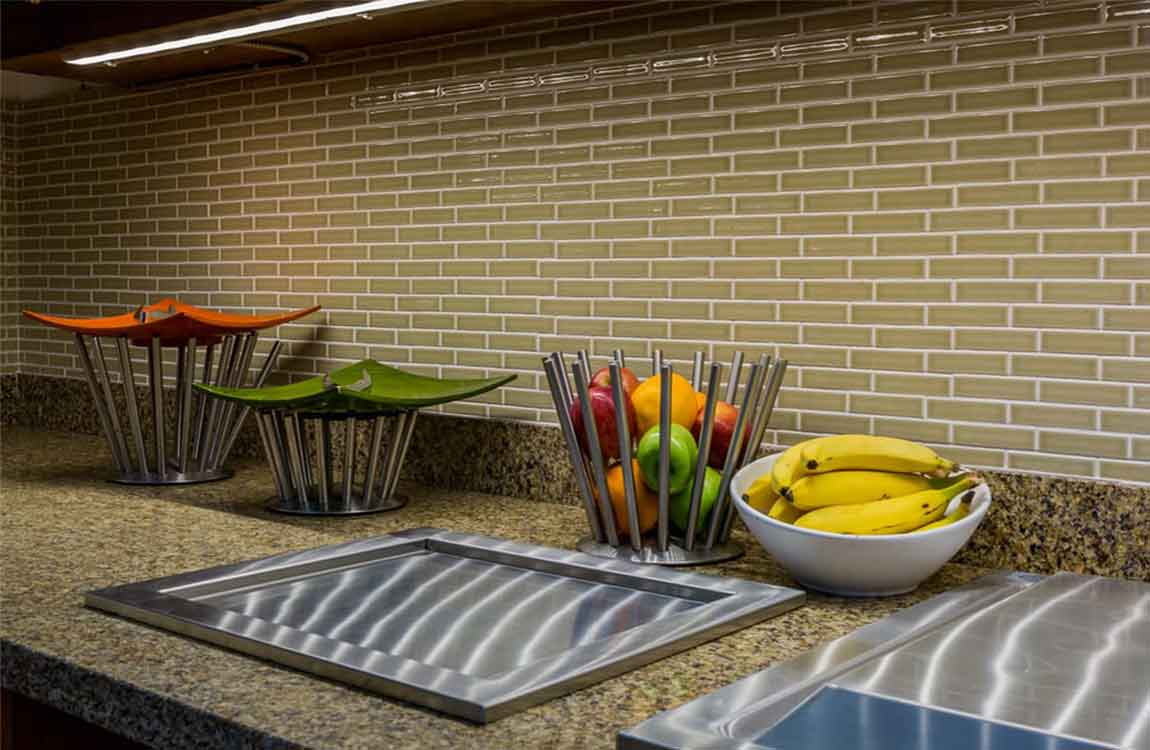
Homeowners and interior design professional who want a fashion-forward, fresh look select glass tile accents more frequently than ever. Glass tile harmonizes with either traditional, transitional or contemporary architecture, adding a splash of style. For years, glass tile was only used for accent and trim pieces, with ceramic tile filling the field.


there was not much thought given to the installation materials, which were generally the same as those used for the ceramic tile. Modern design trends continue to push the envelope with glass tile, moving beyond the traditional accent pieces – glass tile is now being used as field tile with sizes 12″ x 12″ or larger, and with these new tiles come new challenges.


Ensure color consistency behind glass tile. Since glass can be the sole material in an installation, it is essential to choose a bonding mortar that meets its unique demands. In most cases, the color of the thin-set mortar was not an issue when installing opaque ceramic tile.


But with clear and translucent glass, the mortar appears through the tile: if the color varies in the mortar, it will in the glass tile too.To eliminate variations across a glass tile installation, choose a glass tile mortar with a bright white shade that is controlled to a consistent standard color.


The color consistency will ensure a uniform appearance on the face of the glass tile, even in large installations that require multiple batches of mortar. As an added bonus, the bright white shade of the mortar can enhance the color of the clear or translucent glass tile.

How Cutting a Single Tile before Toilet Installation?

Use an angle grinder to score the circular shape into the tile. Attach a 4 in (10 cm) diamond wheel blade to the grinder, and position it so the circular blade is at roughly a 45-degree angle to the tile. Slowly work your way around the circle traced into the tile, using very light pressure. You only need to score the tile about 0.125 in (0.32 cm) deep on this initial pass


Use caution at all times. Tie back long hair and remove any dangling jewelry, and wear long sleeves and safety glasses. The grinder will kick up a lot of dust, so wear a dust mask and consider buying a vacuum attachment that you can connect to your grinder. Angle grinders are an affordable and useful small power tool you can find at any hardware store.


Diamond blades are more expensive than other blades you can get for the grinder, but they cut through tile much better. Cut sacrificial break notches if the circle is near the tile’s edge. If there is less than about 1.5 in (3.8 cm) of space between your traced circle and an edge of the tile, there’s a good chance the tile will break while cutting it.


If this is the case, use a grinder to cut two or more deep lines from the circumference to the nearest edge of the tile (about half of the tile). Our goal is to have tiles stick to these selected, controlled points, not random ones. Once you put the tiles in place, the straight, short, controllable cracks on the tiles will be almost invisible, especially because the toilet will be placed on them.


Continue grinding around the circle with gentle pressure. Once you’ve finished scoring the tile surface and creating any sacrificial break notches, keep making slow, steady passes with the grinder at a 45-degree angle. If the tile breaks at the sacrificial points, remove that section and keep cutting. Eventually, you’ll grind your way through the tile and have the circular cutout that you need.

Using Commercial Polishing Products


Remove any obstacles that may get in the way. The first thing you should do is remove any furniture or obstacles that may obstruct your ability to clean your floor. This includes tables and chairs, but also placemats and rugs. You don’t want to have to stop in the middle of the process to slide furniture out of the way.


This also includes the family pets! You may want to consider keeping the door closed, using a baby gate, or blocking off the entrance to the room with a chair or something that would prevent any four-legged friends from getting in.


Sweep the floors to remove large dirt particles. After clearing the room, take a broom and sweep up any dust and dirt that may have built up on the tile floor. If you plan to apply wax later, a dirty floor will make it difficult to adhere, and make the floor look grimy. You also don’t want to just move dirt around as you polish, so it’s best to thoroughly sweep the floor first.


Be sure to get into the nooks and crannies and remove as much dirt as you can. You could also use a dry mop, also called a dust mop, to sweep the floor. Dry mops are great for picking up dirt and dust without leaving streaks.


Scrub the grout in between the tiles with a soap and water and a scrub brush. Before you mop the entire floor, take a stiff brush and focus on cleaning the grout in between the tiles. Grout requires a little more effort to scrub clean, so you may need to get down on your hands and knees to scrub it well. Discolored or dirty grout will really stand out once your tile floor is polished.

How to Clean Outdoor Tiles?


Outdoor tiles are a great way to beautify a space, but you do need to clean them regularly. Identify what your tiles are made of (porcelain, wood, composite, or solid stone). Dust or dry mop the dirt and debris before you wash the tiles with a mild soap or vinegar solution. You’ll need to deep clean the tiles once or twice a year to prevent mold and mildew from growing. To keep the tiles looking great, always avoid using abrasive cleansers and products.


Remove stains as soon as you notice them. Try to remove any stains as soon as you notice them. Fill a 5 US gal (19 L) bucket with water. Buy a commercial floor cleaner that’s safe to use on porcelain and add 3 to 4 capfuls of the product to the water. Use a small brush or mop to scrub the mixture over the stain until it’s removed. Avoid using an oil-based cleanser for stain removal on your porcelain tiles. These can leave an oily residue on the tiles which can make them slippery.


Avoid cleaning with abrasive materials. While you might think that you need to scrub built on dirt with a rough brush, you should avoid anything that’s abrasive to the porcelain. Avoid using abrasive cleaners like: Hard bristle brushes or steel wool, Cleaning products with ammonia or bleach, Oil-based detergents or wax cleansers.


Avoid cleaning with abrasive materials. Your wood or composite tiles may become slightly scuffed over time. These scuffs may disappear on their own, so avoid trying to remove them with abrasive cleansers (like sandpaper or pressure washers). If you place salt or ice on your tiles in the winter, clean it off as soon as the hazardous weather passes. Ice and salt can damage the tiles if they sit on them for very long.


You’ll need to change the water several times and keep rinsing until the soap residue is completely removed. Stone tiles tend to fade in color over time due to sun exposure, so use a stone enhancer and sealer to protect them. Make sure you find one that is safe for outdoor use.

How Preparing the Shower for Tiles?


Gut the shower stall down to the studs. You may need to remove the shower pan and ceiling, as well. Do not put down any plastic because this can trap moisture and lead to rotting. Instead, use a product that you can paint on to help prevent moisture.


Choose a vapor barrier to install and introduce according to manufacturer directions. If you fail to install a vapor barrier, you might grow mold and mildew as moisture from your shower escapes through the tiles and into walls. Improperly installed tile and grout can allow water vapor to pass into the space behind.


When installing a vapor barrier on an exterior wall, it may be helpful to seal a plastic vapor barrier to the concrete floor but not all the way up to the top of the ceiling. With insulation improperly installed, or in colder climates, there’s a chance that condensation that forms behind the vapor barrier will cause the framing members to rot. In order to avoid that possibility, install the vapor barrier with space to spare so that the gap behind the vapor barrier can breathe. Use a roll on product, such as Red Guard.


Wedi boards are another option some consider even better than cement board. If you choose a membranous barrier such as Trugard or Kerdi, you can install plain old drywall or you can just install a cement board instead.


Put up a sturdy cement board backer. Putting up cement board is just like putting up drywall. You cut it to fit using a grinder with a diamond bit, and then screw it to the studs. Leave a 1/8″ gap between panels and then a very small space between the shower pan and the bottom of the backer so that the two don’t squeak by rubbing together.

Cleaning Porcelain Tiles

Sweep the tiles daily. Try to sweep your porcelain tiles every day or so. Use a soft, natural bristle broom or take a vacuum attachment and suck up the dirt. Regular sweeping will prevent your tiles from becoming caked with dirt and stained. If your porcelain tiles lead up to an entryway for your house, you’ll want to sweep them more often. This will prevent people from tracking dirt into your house.

Wash the tiles with clean water once per week. Every few days (or whenever you notice a little dirt or grime building up) you should clean your outdoor porcelain tires with warm water. Fill a bucket with clean, warm water and mop the tiles. This will remove most of the dirt and keep the marble tiles looking their best. Try to wring most of the water out of the mop. You don’t want excess moisture just sitting on the tiles.

Deep clean the tiles once a month. At least once a month, fill a large bucket with 2 gallons (7.6 L) of clean water. Add 1⁄4 cup (59 ml) of white vinegar and stir the mixture well. Submerge a mop into the cleanser and wring it out. Mop the floor with the cleaner to loosen any dirt. If you prefer, you can buy a commercial cleaner designed for porcelain tiles instead of using the vinegar mixture.

Rinse and dry the deep-cleaned wall tiles. Once you’ve scrubbed the floors with the vinegar mixture, submerge the mop into clean water and wring it out. Mop the floor with the water to rinse off the rest of the cleanser. Take a large clean towel or microfiber cloth and dry the tiles.

If your porcelain tiles are really dirty, you may need to deep clean and rinse them a second time. If your porcelain tiles cover a large space, consider mopping, rinsing, and drying small sections of the floor at a time.