From China to Latin America: A Green-Compliant One-Stop Building Materials Supplier’s Rise to Industry Leader
Positioned as Latin America’s leading green-compliant one-stop building materials solution provider, our company has spent over a decade transforming from a Chinese exporter into a regional benchmark enterprise. We deliver integrated solutions combining project-based packaging, rapid response, and full-category consolidation — creating long-term value for customers across the Americas. Our product portfolio includes ceramic tiles, porcelain tiles, floor tiles, bathroom vanities, sintered stone, flexible stone veneer, WPC decking, and PVC wall panels.
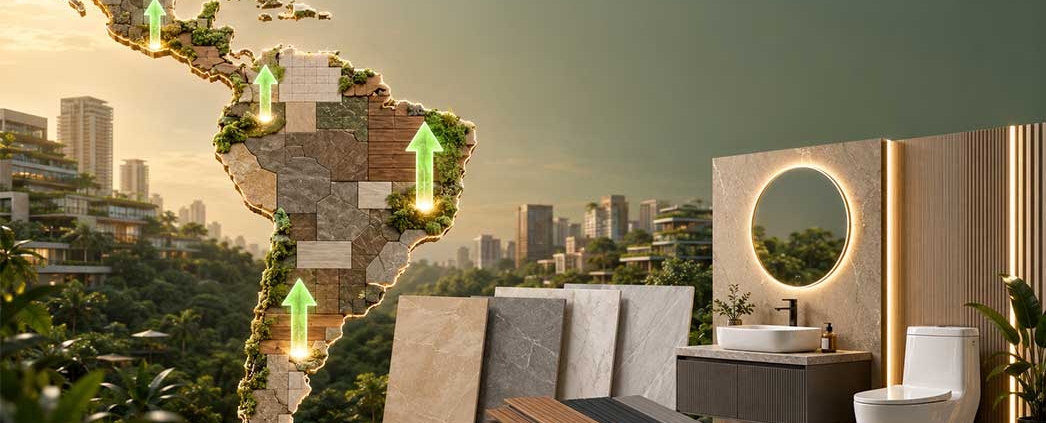
Our Service Footprint
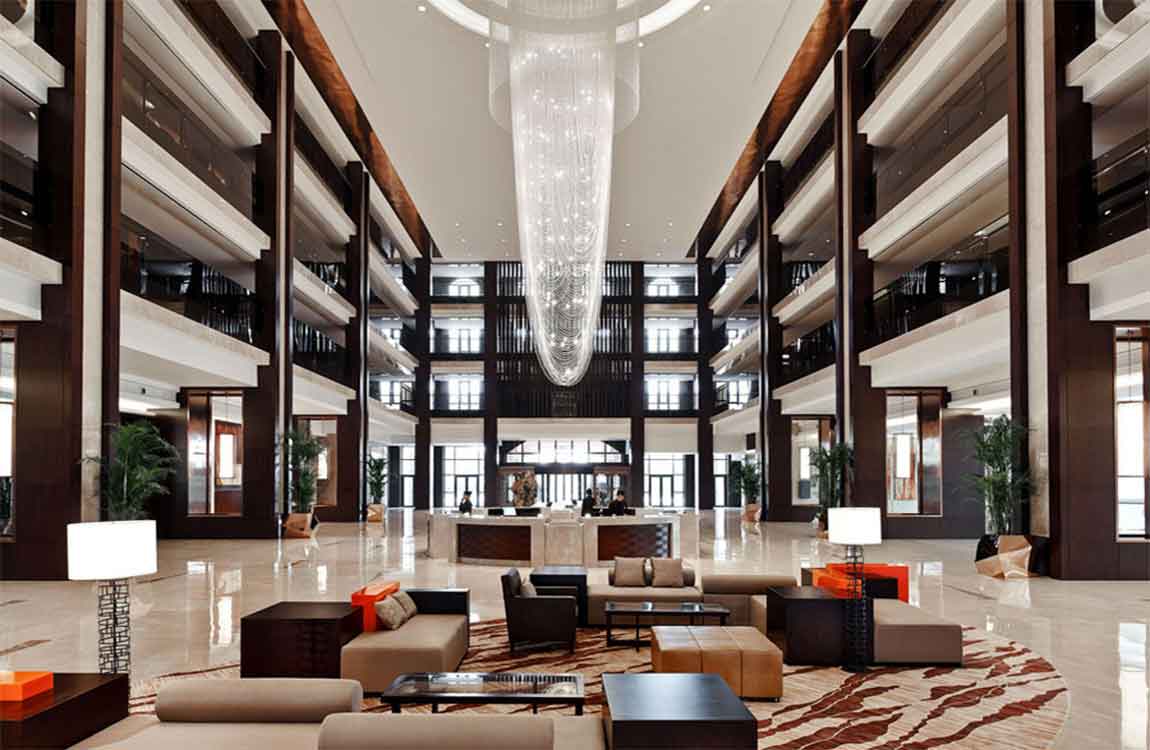
Our market coverage spans 70% of Central and South America, complemented by a growing presence in Africa, Central Asia, and the Middle East. We serve large wholesalers, retail chains, project contractors, small B2B buyers, and design studios — each with unique requirements demanding tailored solutions.
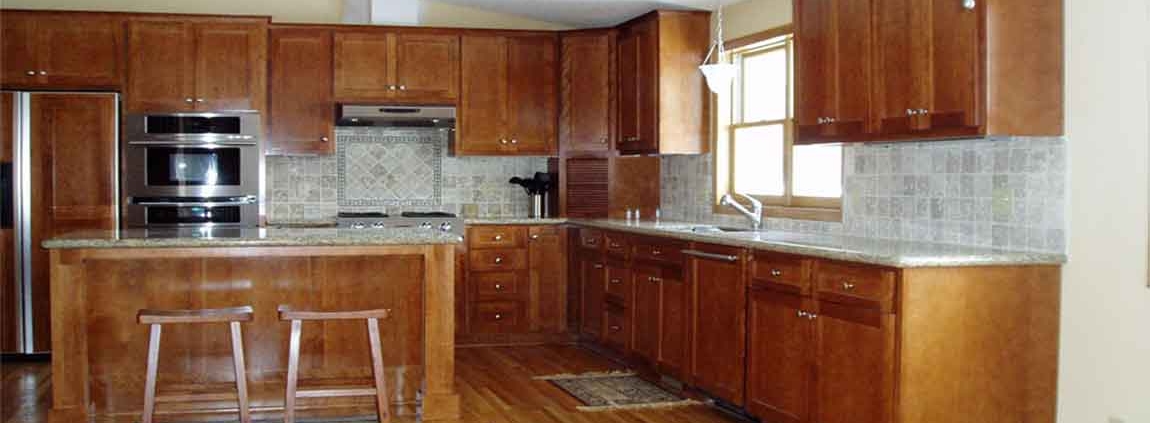
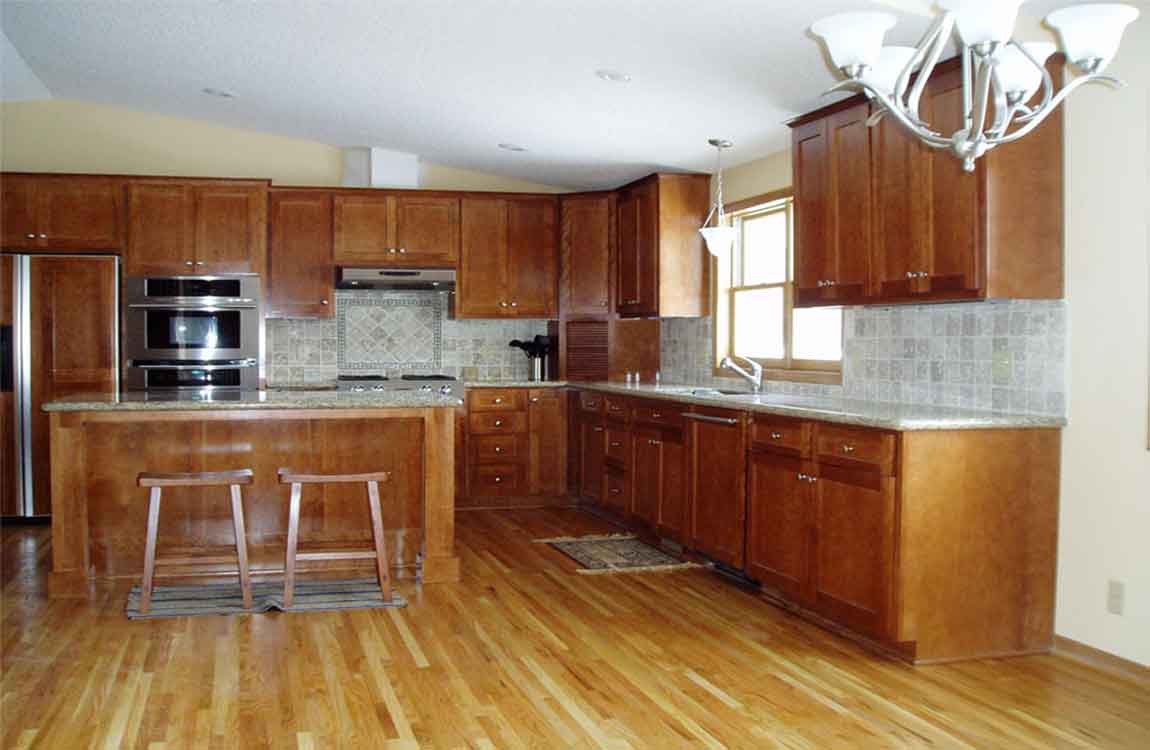
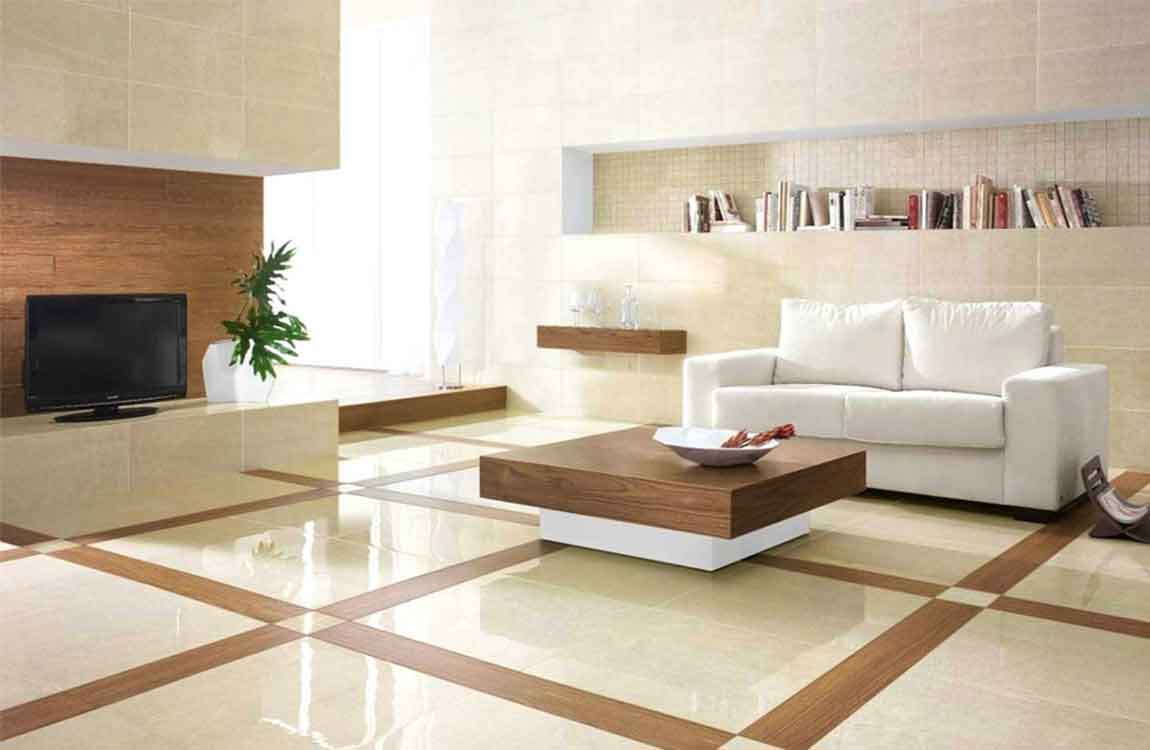
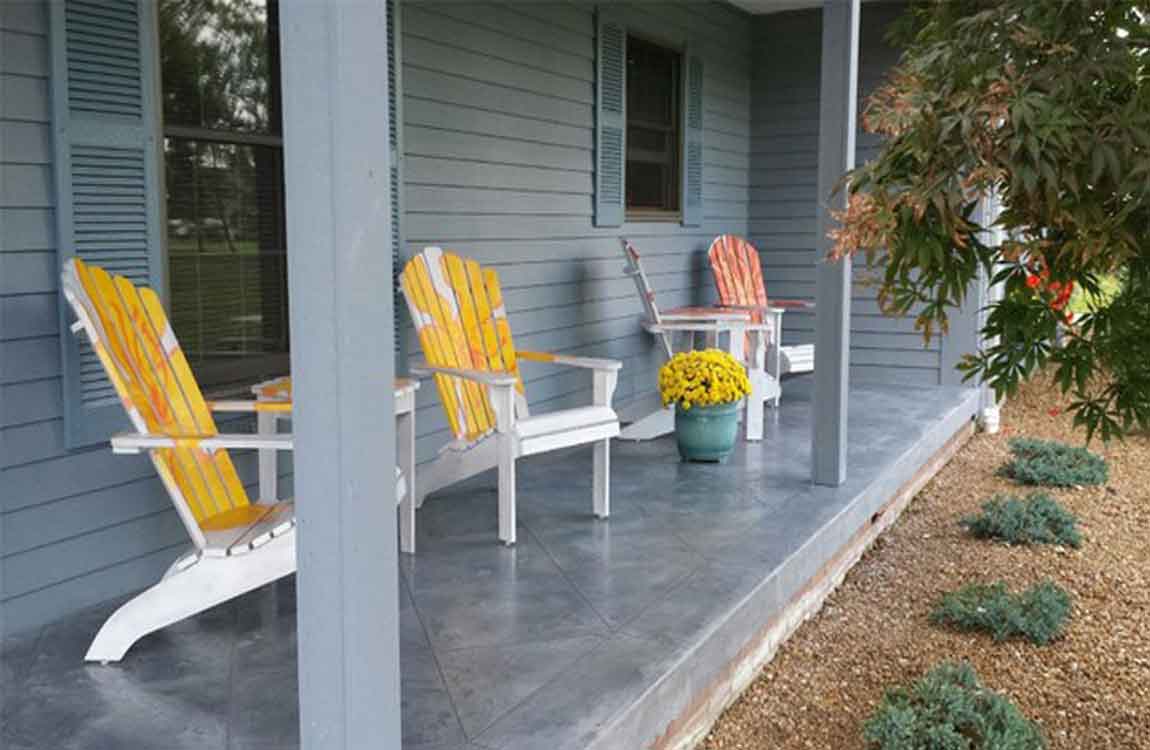
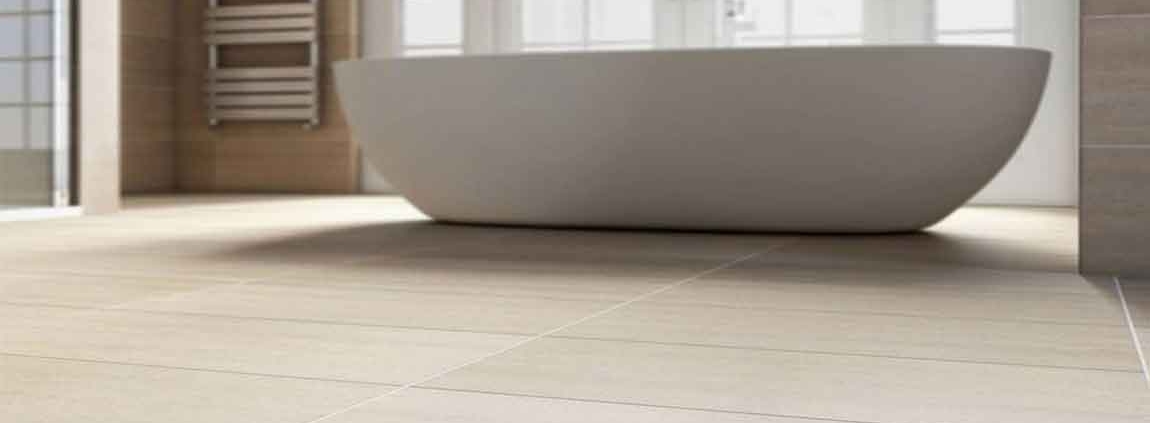
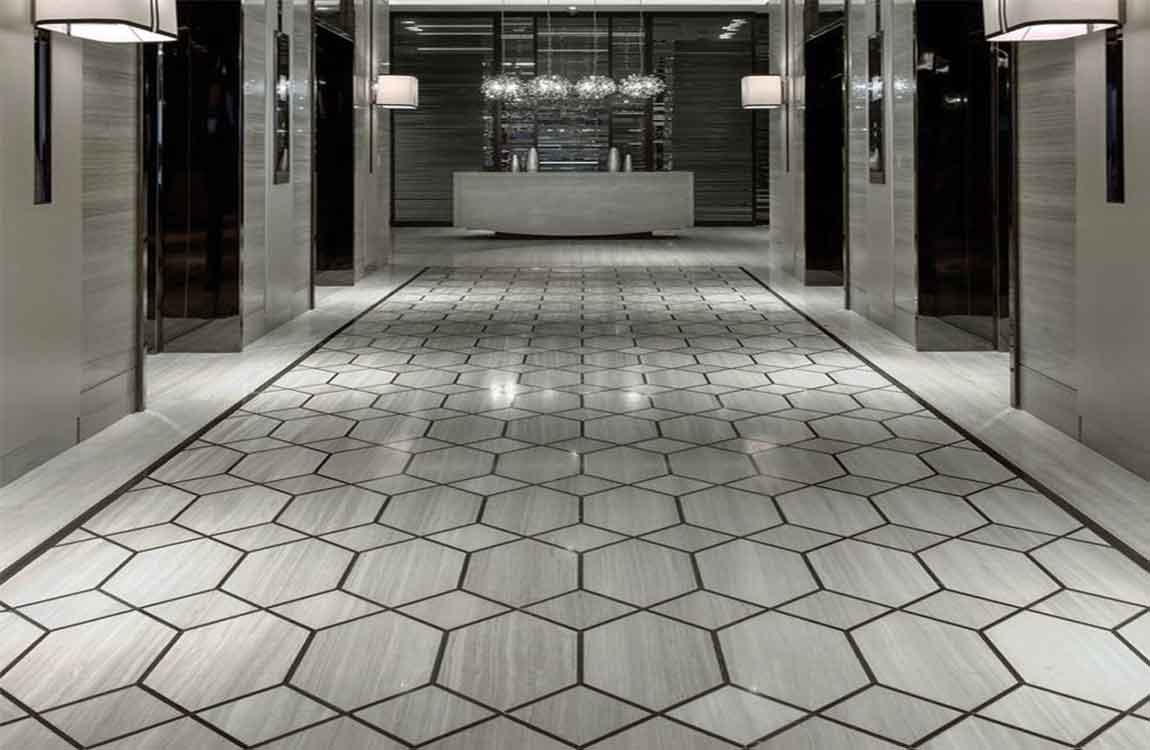
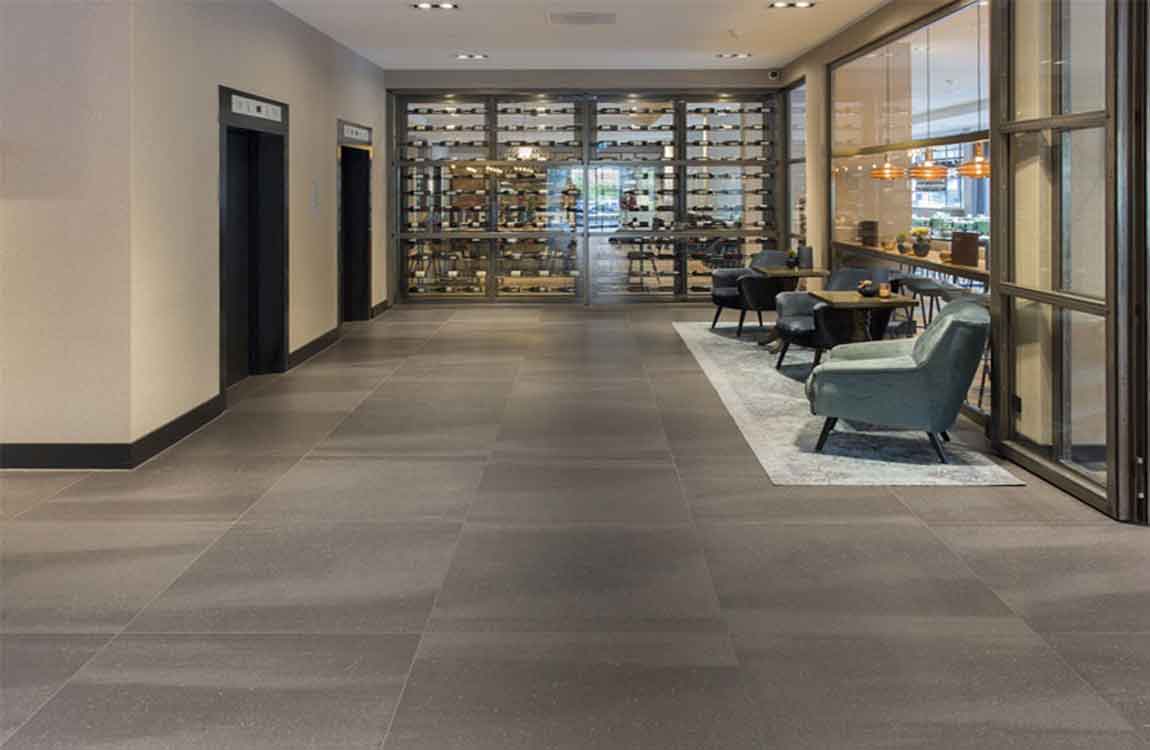
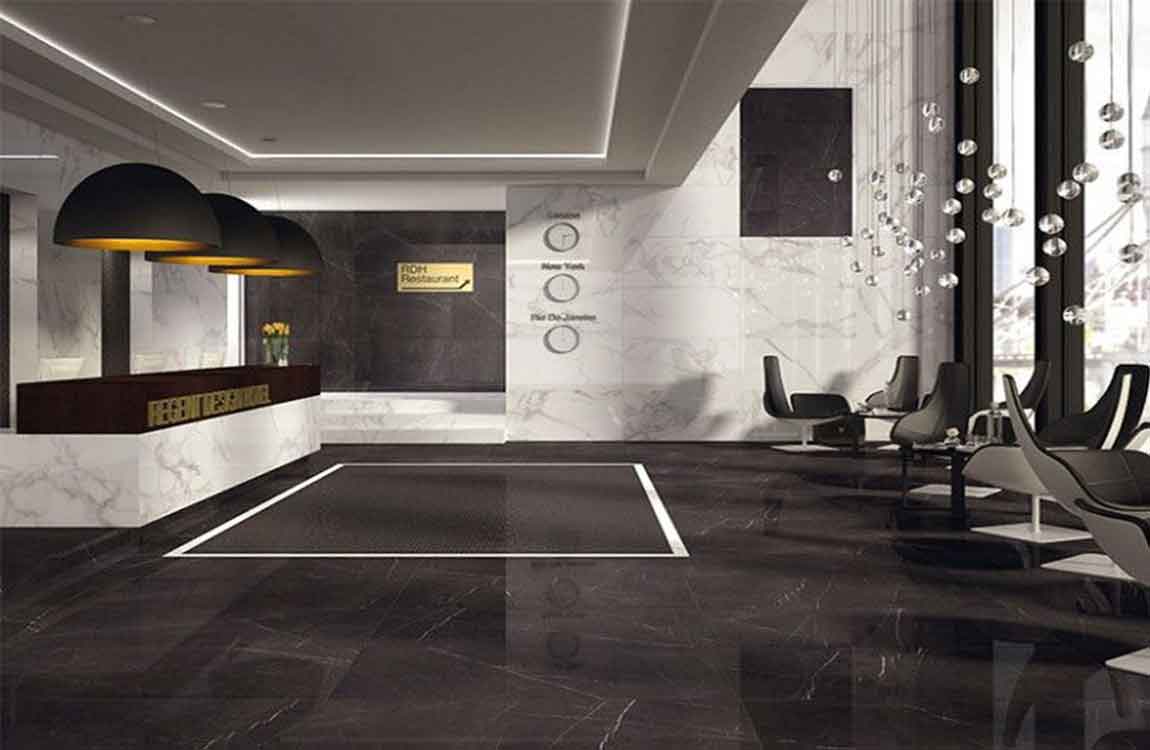
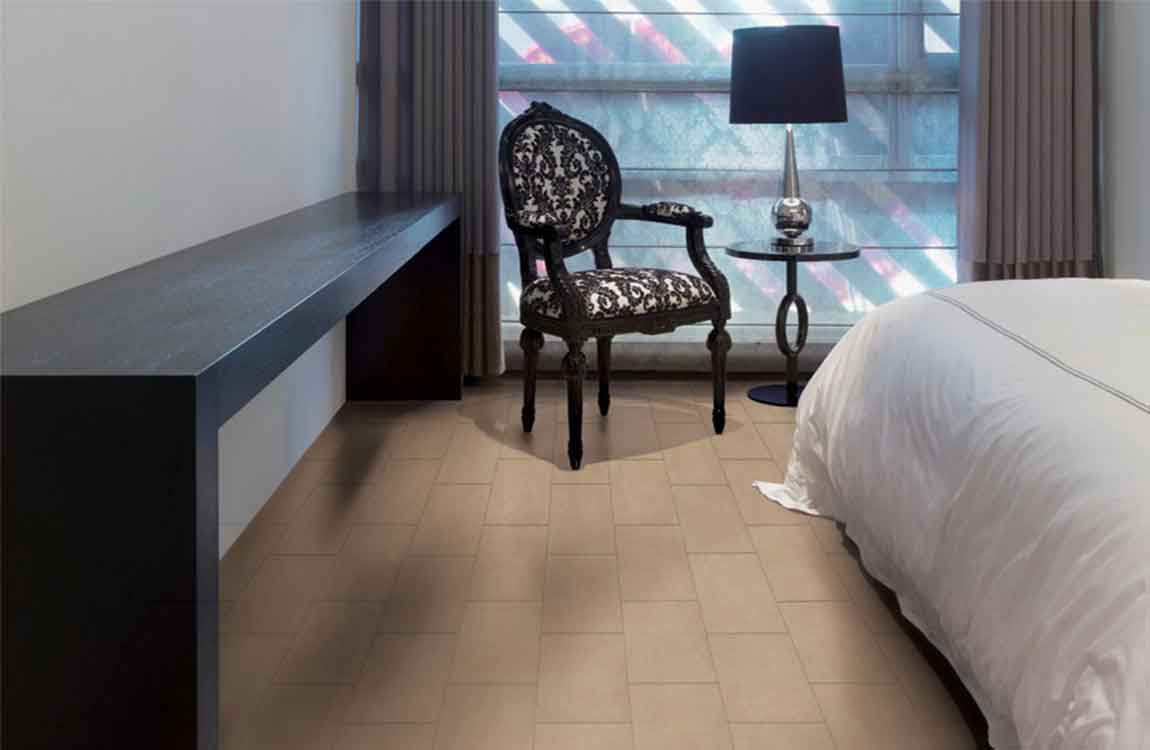
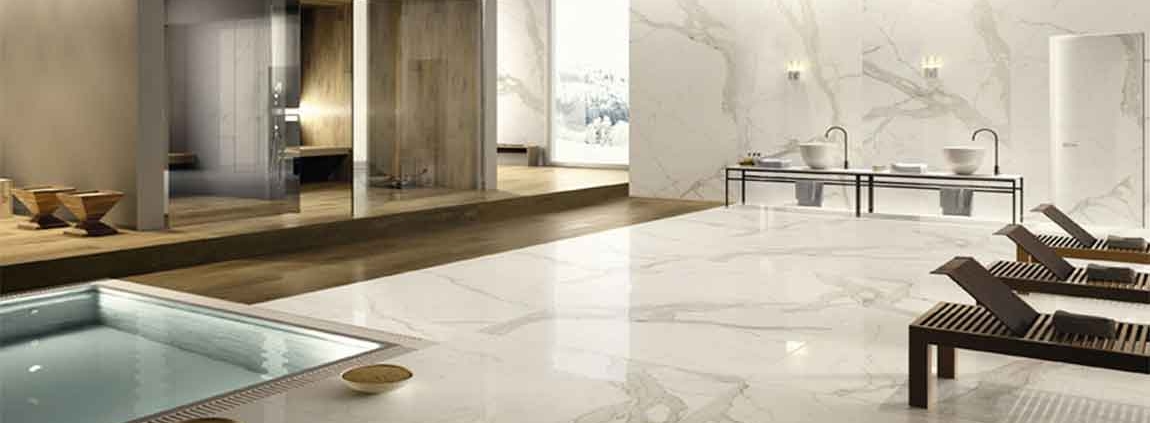
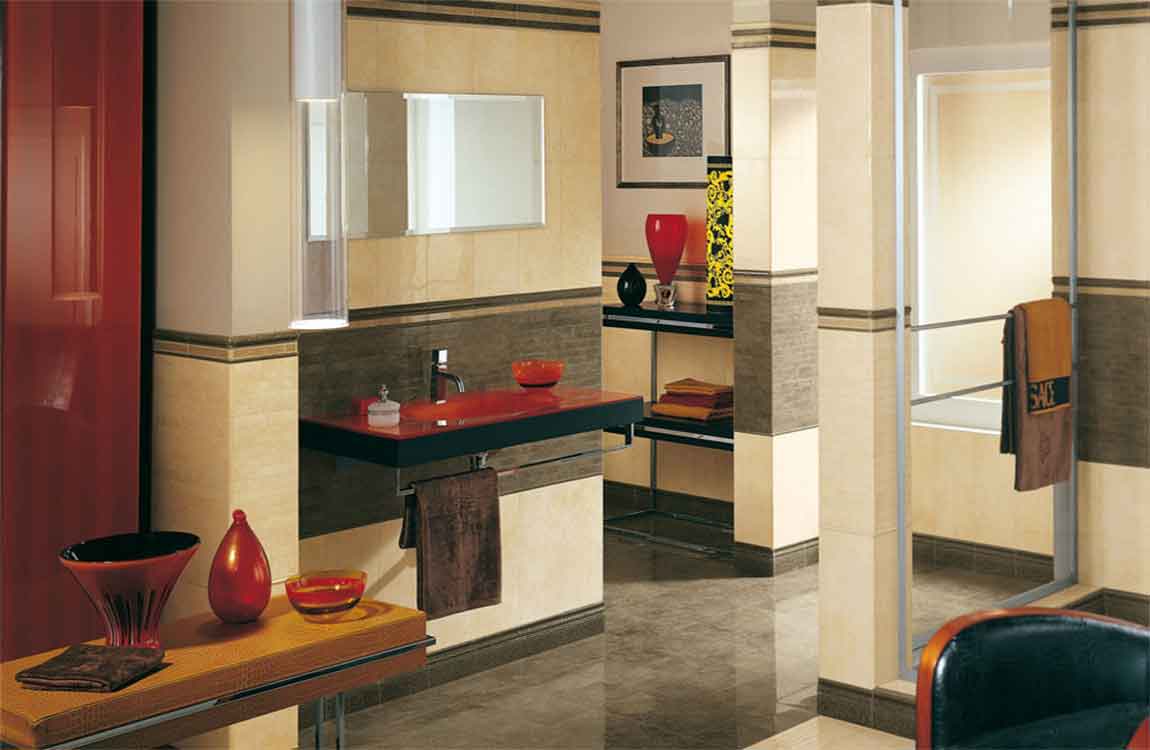
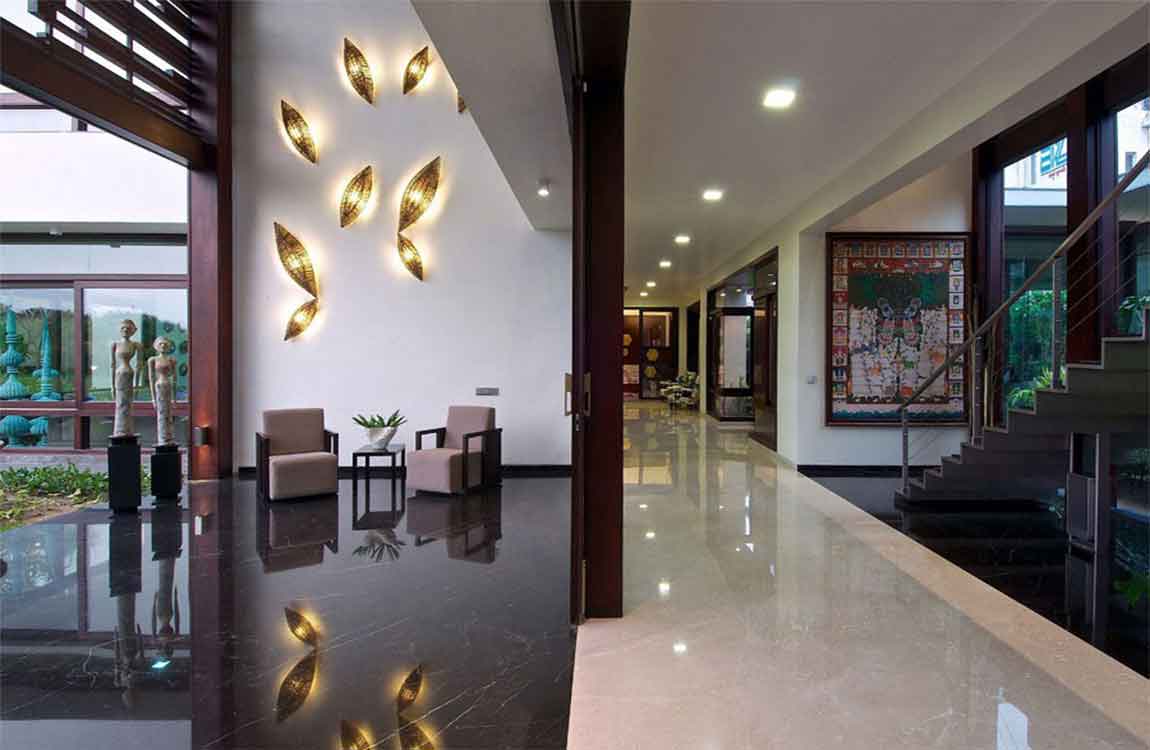
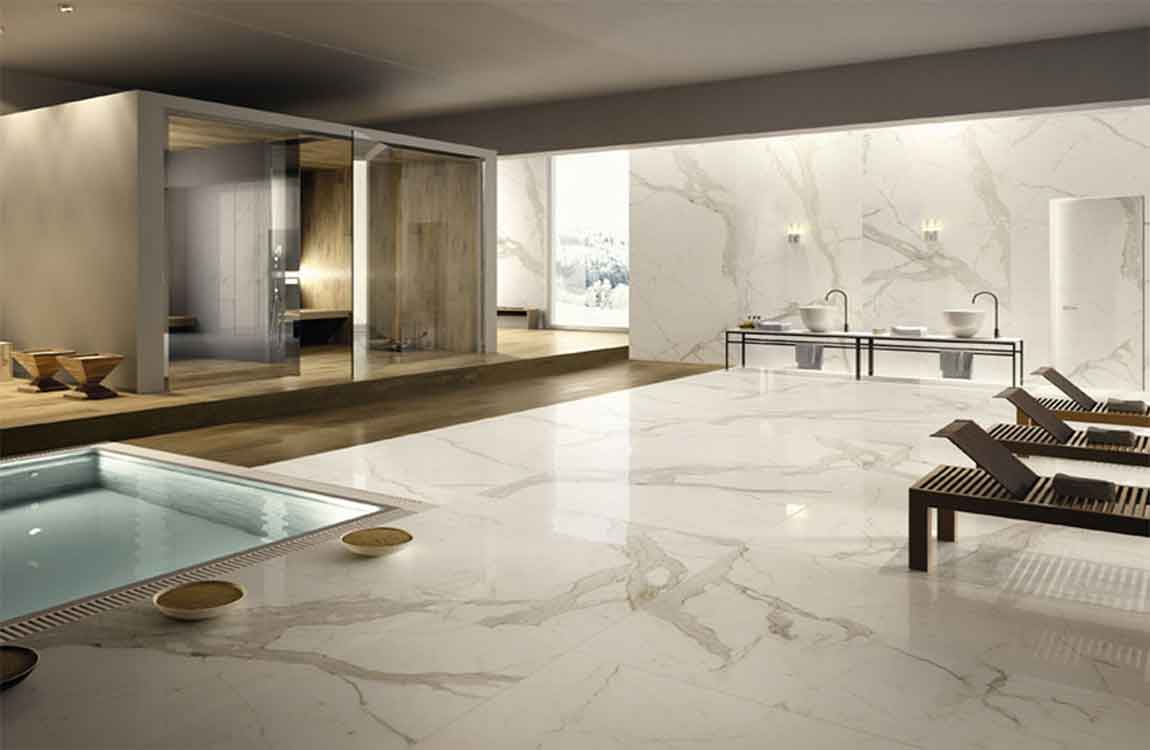
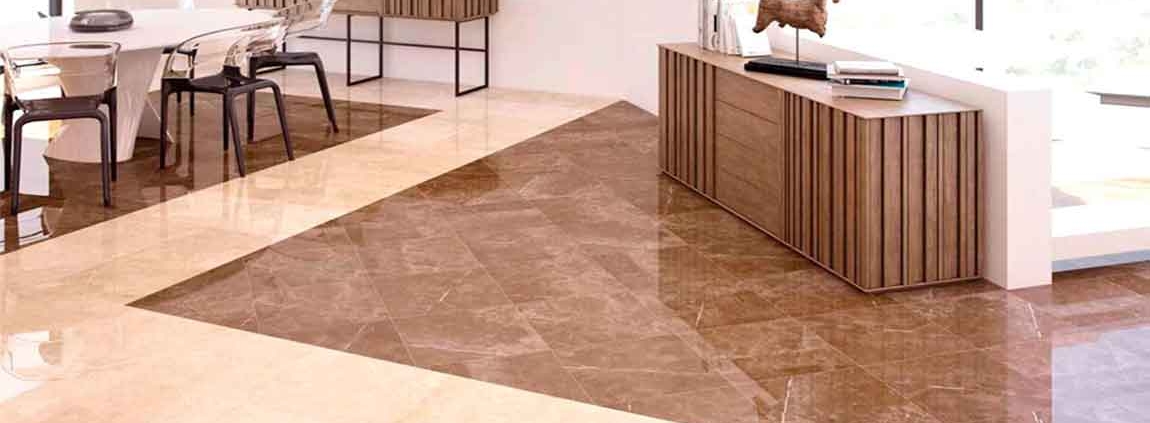
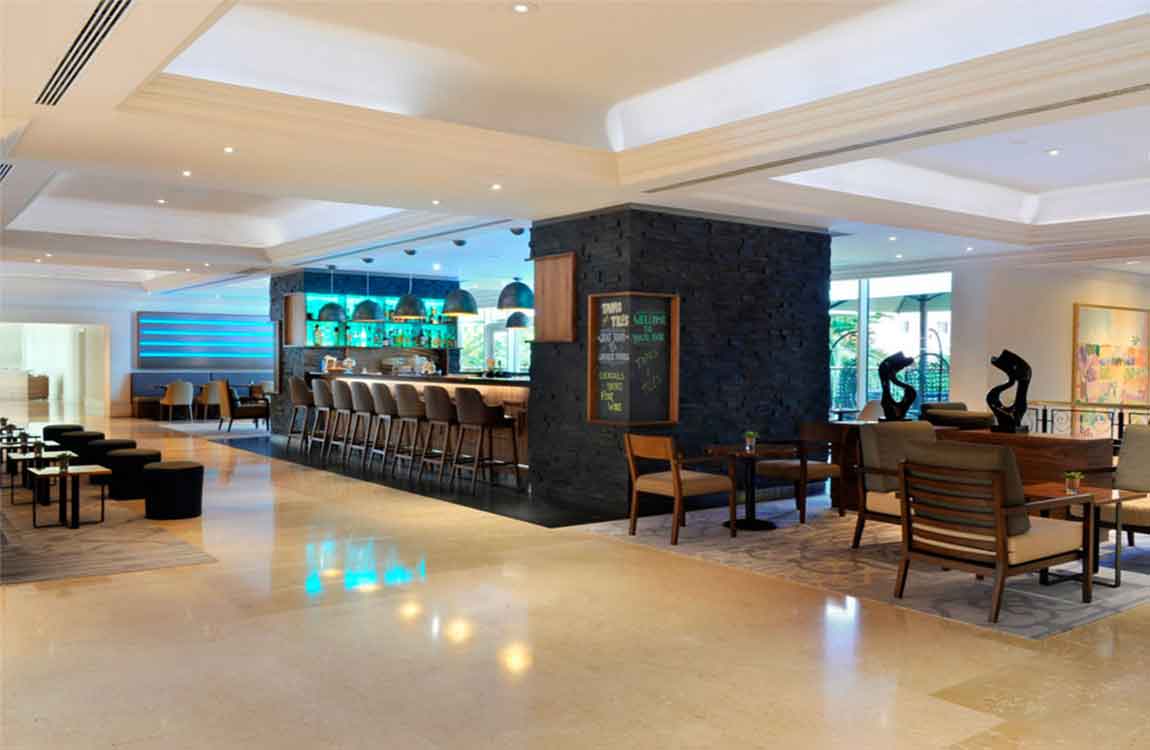
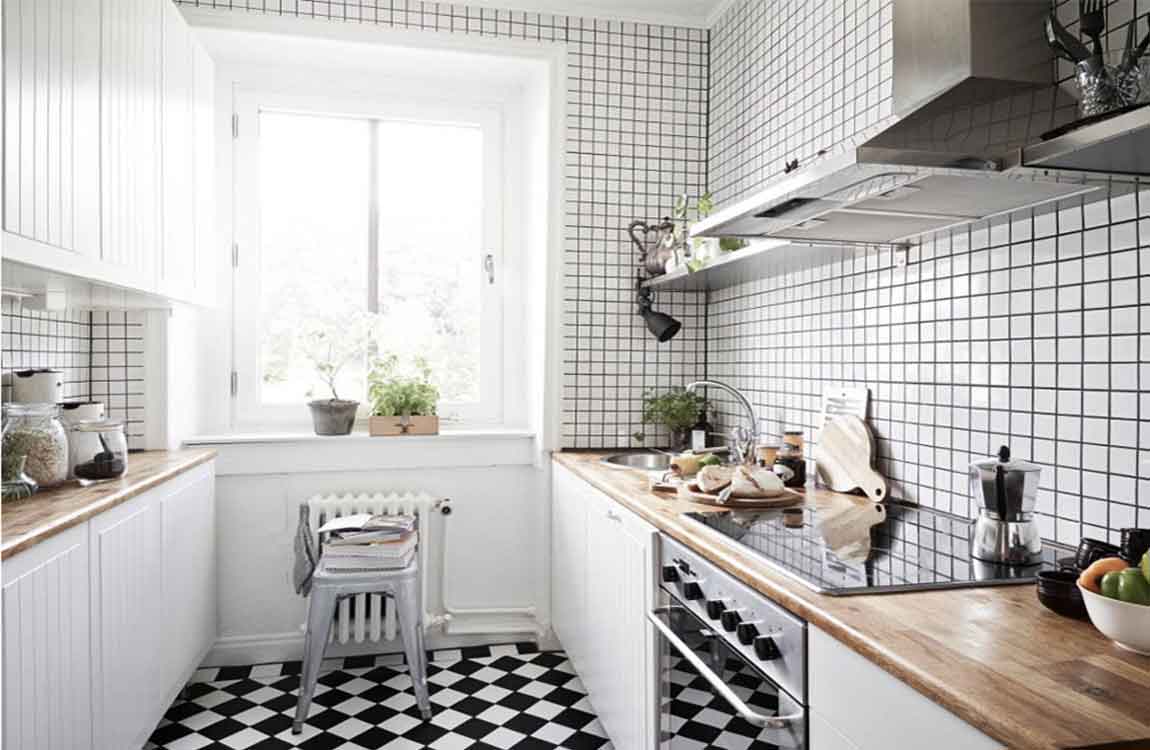
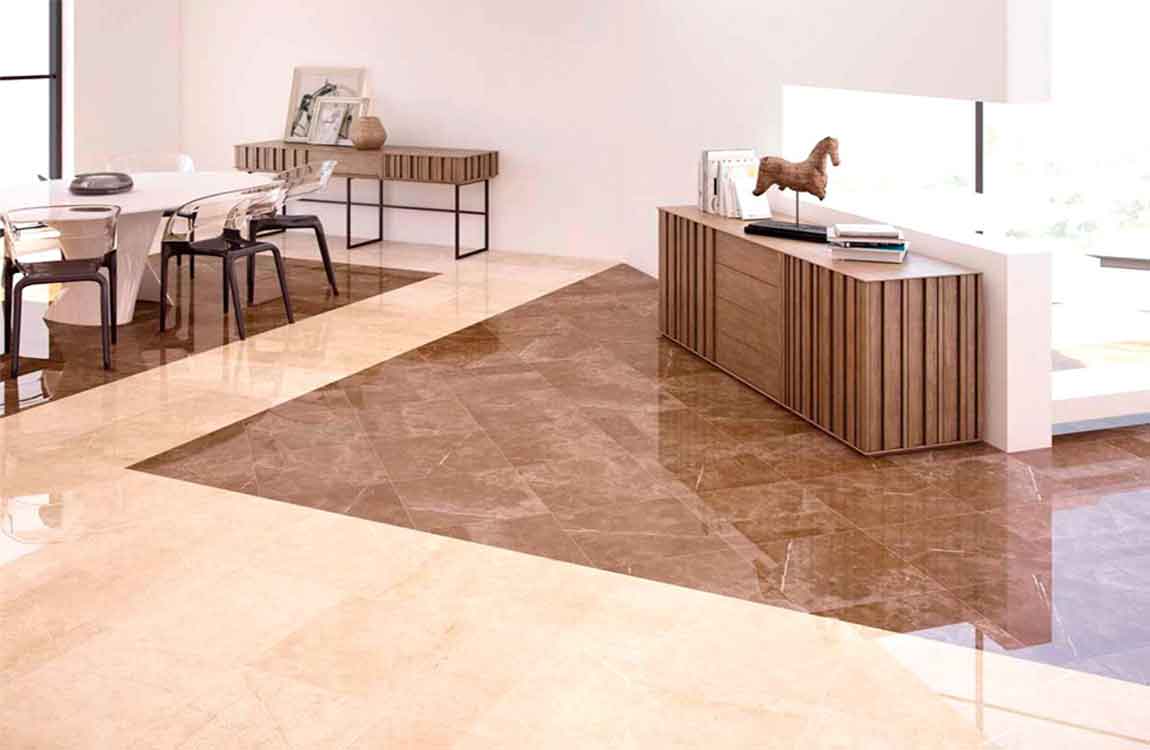
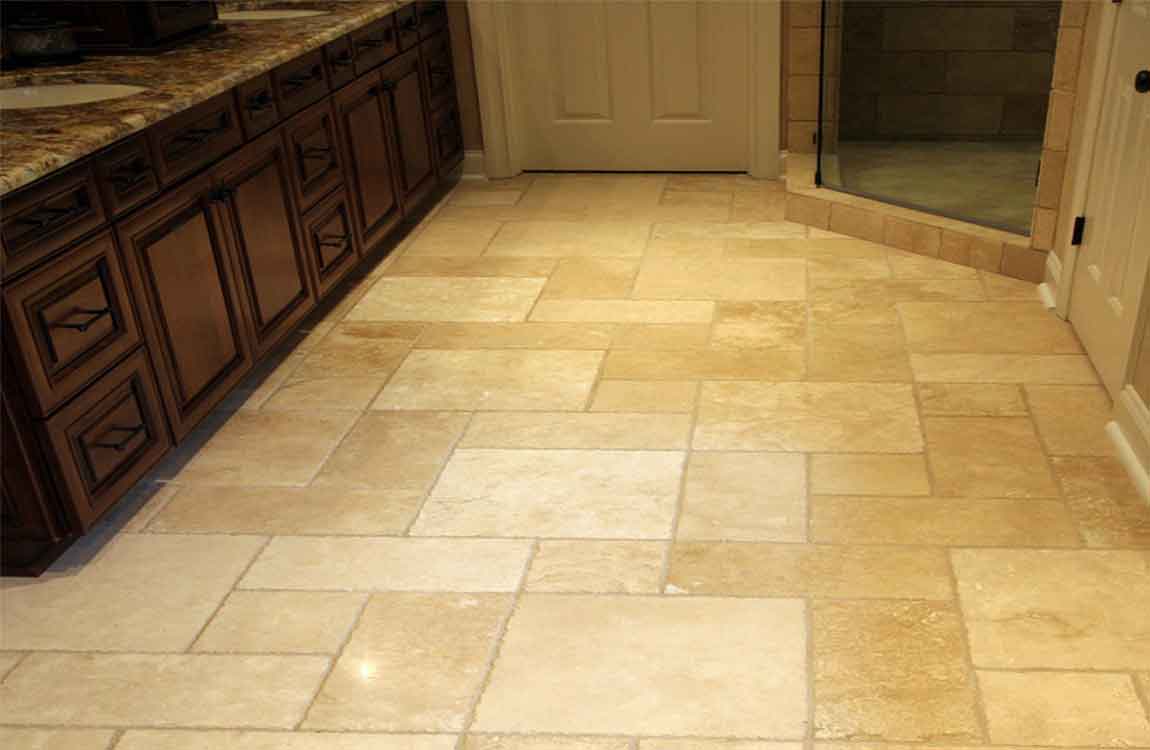
Our product system encompasses green, intelligent, and design-driven materials. From ceramic tiles and porcelain tiles for residential and commercial flooring to sintered stone and large slab countertops for kitchen surfaces; from bathroom vanities, one-piece toilets, and LED mirrors combining water efficiency with contemporary design to flexible stone and bendable stone veneer enabling curved facade innovations. Our WPC decking, WPC doors, and outdoor flooring deliver sustainable, low-maintenance outdoor solutions, while PVC wall panels and waterproof wall panels provide moisture-resistant, low-VOC alternatives for wet areas.
Three Core Differentiators
One-Stop Solution Provider. We are not merely a supplier — we are a solution enabler. Clients source their entire material requirement from a single partner, reducing procurement complexity and supplier management costs. From floor tiles to sintered stone to WPC decking, our full-category matrix ensures consistency in quality and delivery.
Panama-Based Localization. Our strategic Panama headquarters enables “same-day inquiry, same-day response” service. We understand each market’s regulations, from Brazil’s ABNT to Mexico’s NOM, with Spanish and Portuguese documentation and responsive technical support.
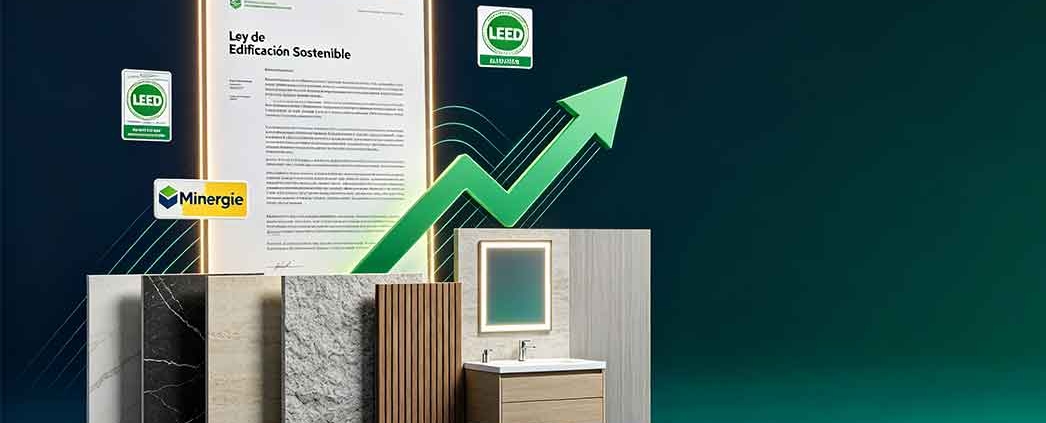
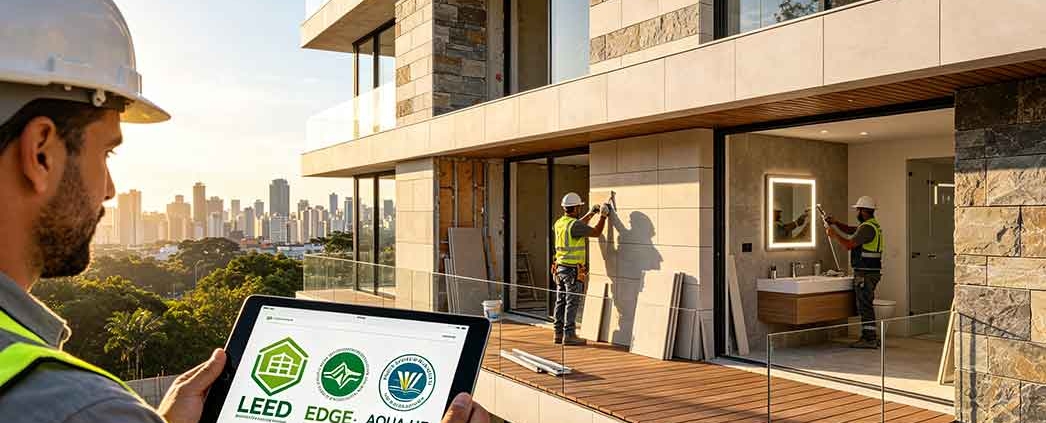
Green Compliance Leadership. Our products are pre-qualified for LEED, EDGE, and AQUA-HQE requirements. From low-emission PVC wall panels to recycled-content porcelain tiles and responsibly sourced sintered stone, we guide clients through the complex compliance landscape.
Creating Long-Term Value
For wholesalers, we consolidate multiple categories — from ceramic tiles and bathroom vanities to WPC decking and waterproof wall panels — simplifying procurement and reducing overhead. For contractors, our engineering packaging ensures on-time delivery of coordinated material sets. For design studios, our green-compliant, design-forward products — including flexible stone veneer and LED mirrors — enable sustainability goals without compromising aesthetics. We provide regulatory guidance, certification documentation, and technical training that help customers reduce costs, ensure compliance, and upgrade quality.
Looking Ahead
The Latin America green building materials market, valued at US$24.9 billion in 2025, is projected to double to US$49.8 billion by 2034. As a leading one-stop building materials supplier to Latin America, we are committed to deepening our presence, expanding our portfolio, and strengthening our green compliance capabilities. For suppliers of porcelain tiles, sintered stone countertops, WPC decking, bathroom vanities, flexible stone panels, and PVC wall panels, the region offers unparalleled growth opportunities — and we remain the partner of choice.