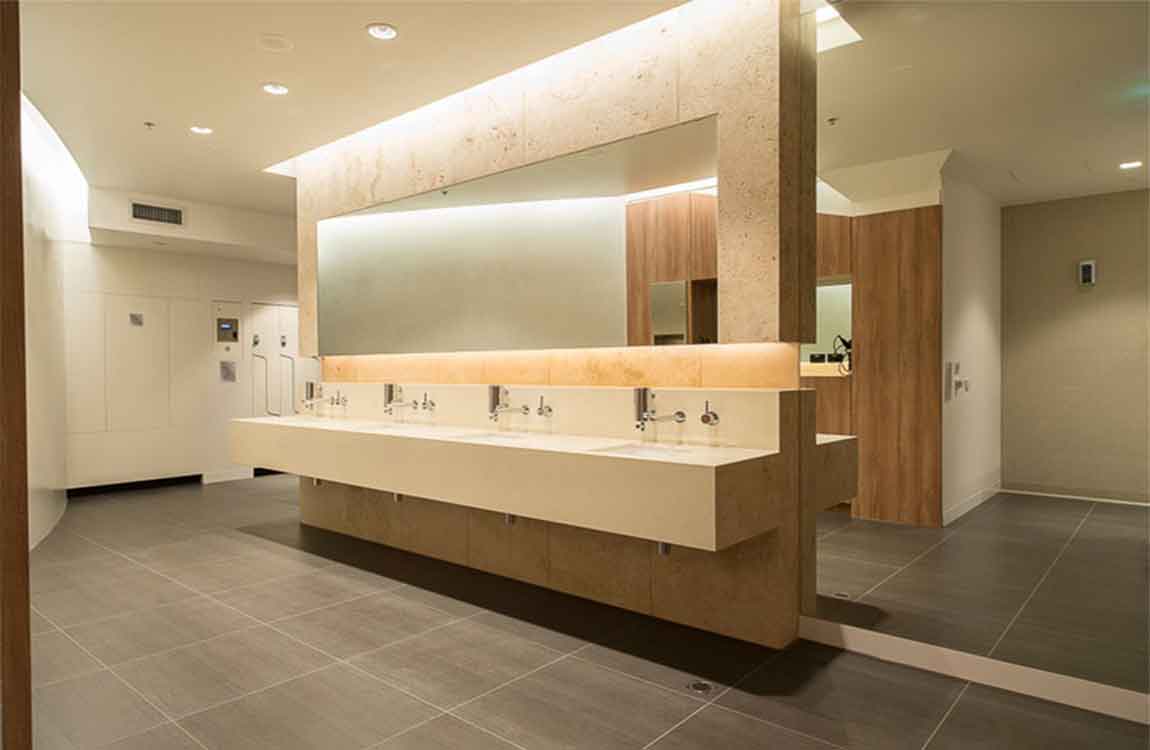
BARANA Ceramic Sanitary Ware: Elevate Your Bathroom, Redefine Comfort & Style!
Tired of settling for a bathroom that’s either “functional but boring” or “stylish but high-maintenance”? Look no further—BARANA Ceramic Sanitary Ware delivers precision-crafted toilets that blend sleek design, unbeatable performance, and endless adaptability. Whether you’re renovating your home or upgrading a commercial space, these toilets turn your bathroom from a “utility room” into a cozy, luxurious retreat you’ll love.
Unmatched Performance: No More Flush Woes or Space Hassles
Every BARANA toilet is engineered for reliability—say goodbye to weak flushes or ill-fitting fixtures:
Powerful Flush Tech: Choose between siphonic and washdown systems. Siphonic toilets ensure quiet, thorough waste removal; washdown options offer strong, efficient flushing—both keep your toilet clean with minimal effort.
Flexible Trap Sizes: No more “one-trap-fits-none” stress! Most models come with S-Trap options (220mm/250mm/300mm/400mm) or P-Trap (180mm), fitting standard bathroom plumbing worldwide. From compact apartments (220mm S-Trap) to spacious homes (400mm S-Trap), BARANA has you covered.
Perfect Sizing: Sizes range from space-saving 520x400x355mm (BCMBZ11-W smart toilet) to roomy 760x380x840mm (BCL8808-W)—ideal for tiny powder rooms or grand master bathrooms.
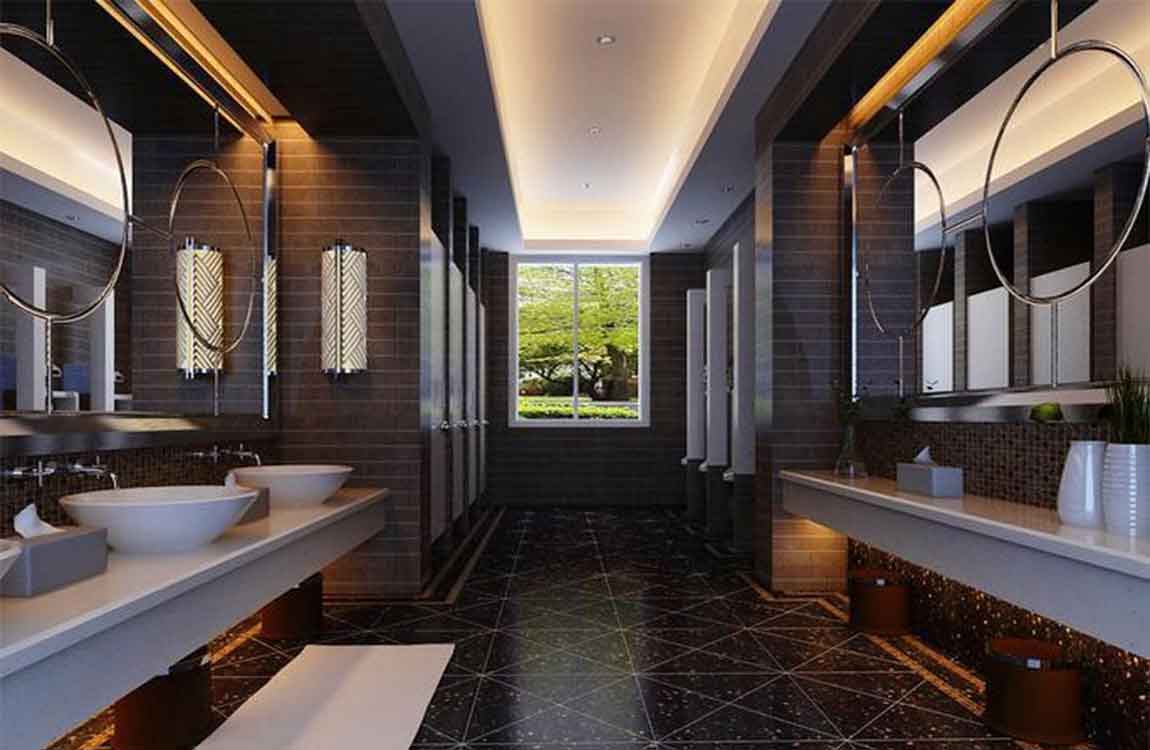
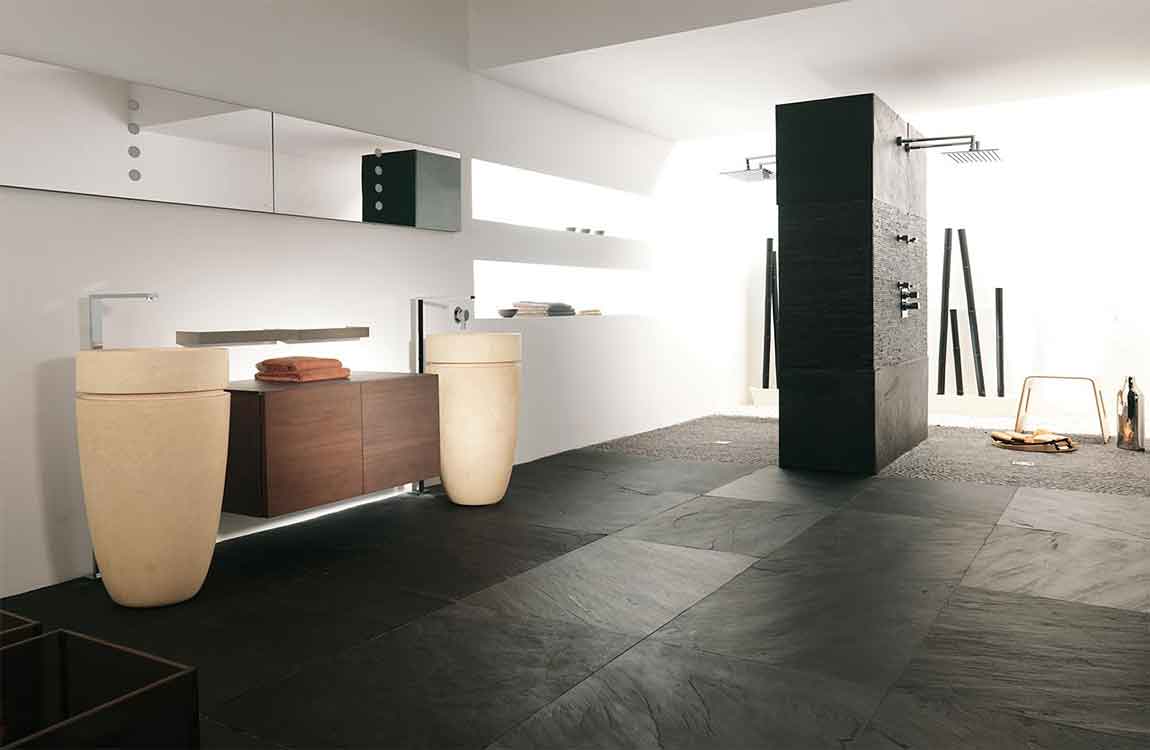
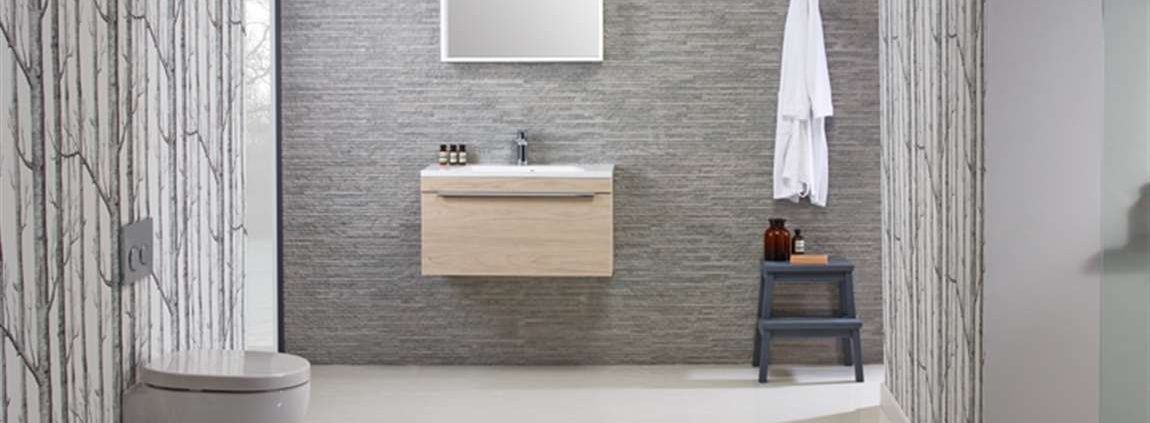
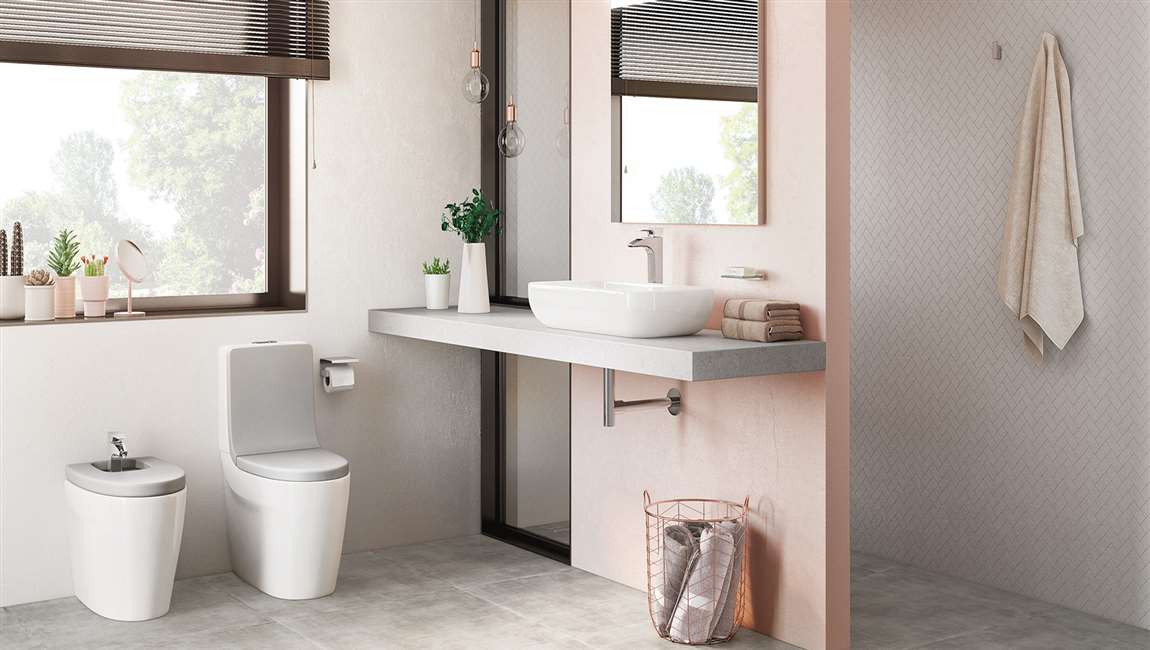
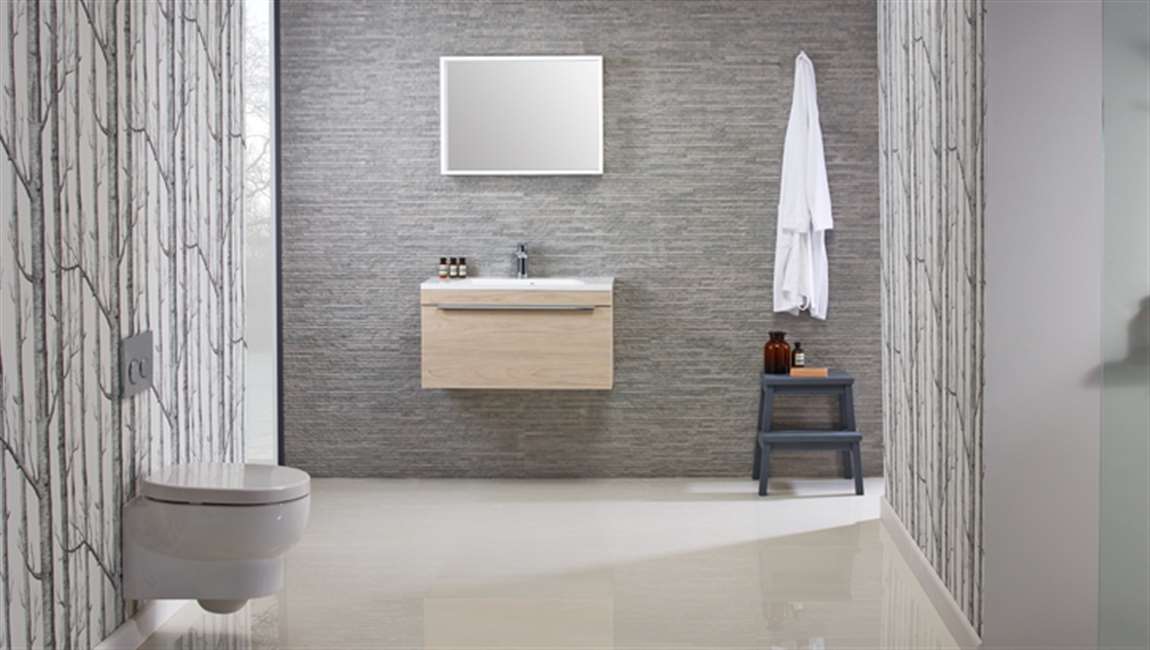
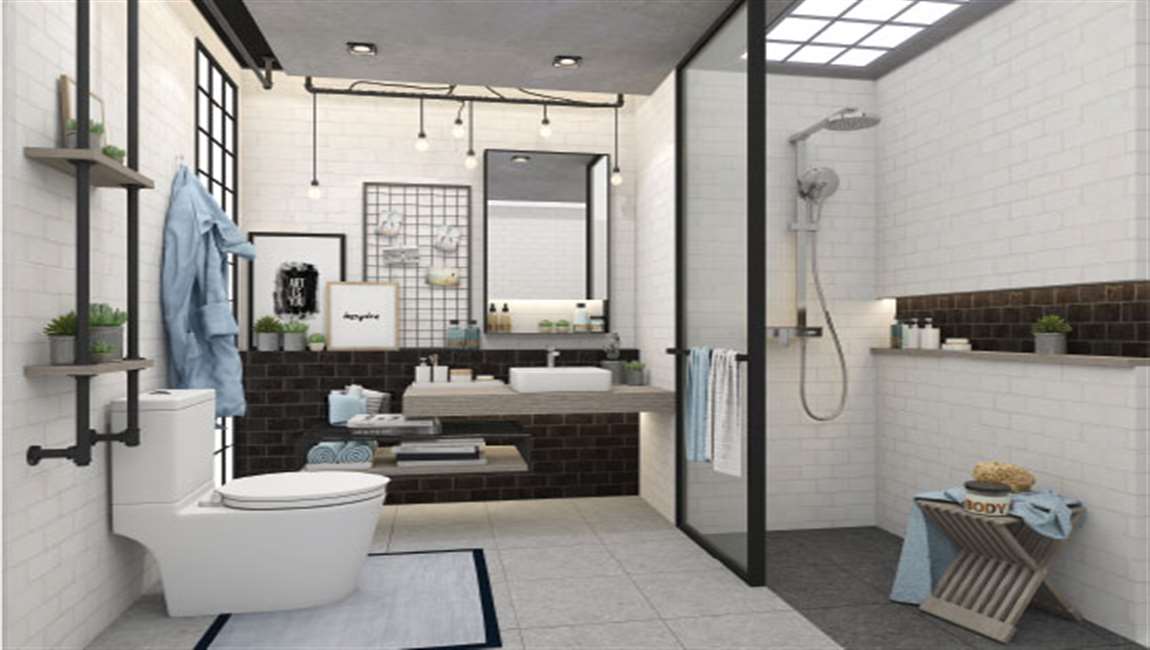
2. Style That Shines: From Minimalist White to Bold Colors
BARANA knows style matters—whether you love classic calm or playful personality:
Timeless White: Most one-piece and wall-hung toilets come in crisp white, matching any bathroom decor (modern, Scandinavian, traditional). The smooth ceramic finish adds a sleek, easy-to-clean touch.
Vibrant Color Options: Want to make a statement? Opt for color toilets in pink, blue, orange, grey, black, green, or red. Turn your bathroom into a focal point—perfect for kids’ rooms, boutique hotels, or anyone who hates “boring beige.”
Sleek Designs: One-piece toilets (seamless, easy to clean) and wall-hung models (save floor space, create a floating look) elevate your bathroom’s aesthetic. Even smart toilets (e.g., BCMBZ01-W) blend tech with style—no clunky buttons, just modern elegance.
3. Smart & Space-Saving Choices: For Every Lifestyle
BARANA thinks about how you live—whether you want luxury or practicality:
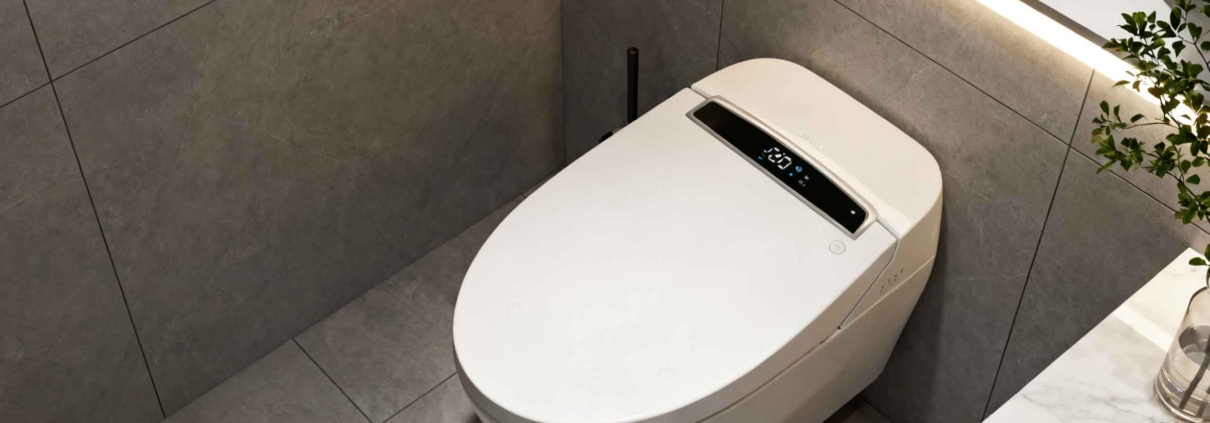
Smart Toilets (CE-Certified): Enjoy hotel-level comfort at home! Models like BCMBZ02-W offer 220V/110V compatibility (works globally), plus sleek designs. Perfect for busy families or anyone who loves modern convenience.
Wall-Hung Toilets: Maximize floor space and simplify cleaning (no more hard-to-reach gaps!). Collision-type flush (BCGQ135-W) and washdown (BCGQ116-W) options keep things sleek—ideal for small bathrooms or minimalist designs.
Built-In Tanks: Conceded water tanks (BCSXT09, BCSXG03) hide plumbing for a seamless look, turning your bathroom into a high-end spa.
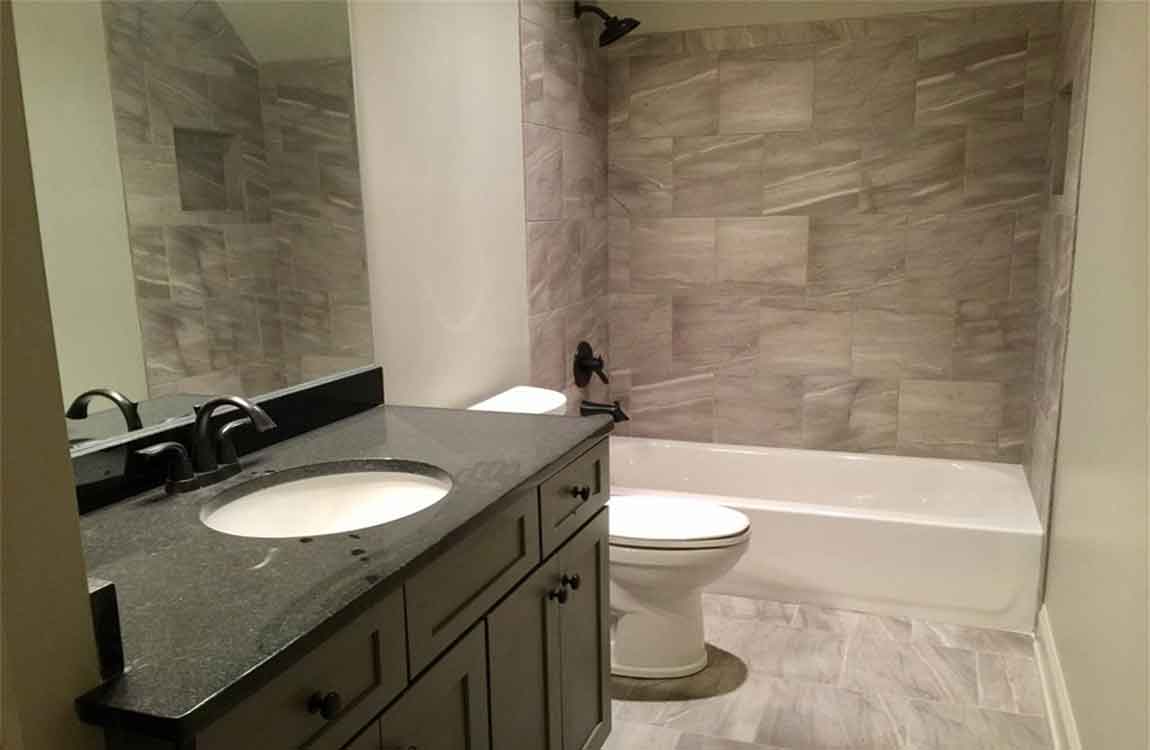
4. Quality You Can Trust: Precision Crafted, Durable Ceramic
BARANA’s core promise? “Precision in quality, simplicity in form.” Every toilet is made from high-grade ceramic—scratch-resistant, stain-proof, and built to last decades. No chipping, no fading—just a toilet that looks and works like new, year after year.
Your dream bathroom isn’t just a “maybe”—it’s a BARANA toilet away. Whether you need a space-saving smart model, a bold color statement, or a reliable family toilet, BARANA has the perfect fit. Don’t settle for less—upgrade to BARANA today, and turn every trip to the bathroom into a small luxury!